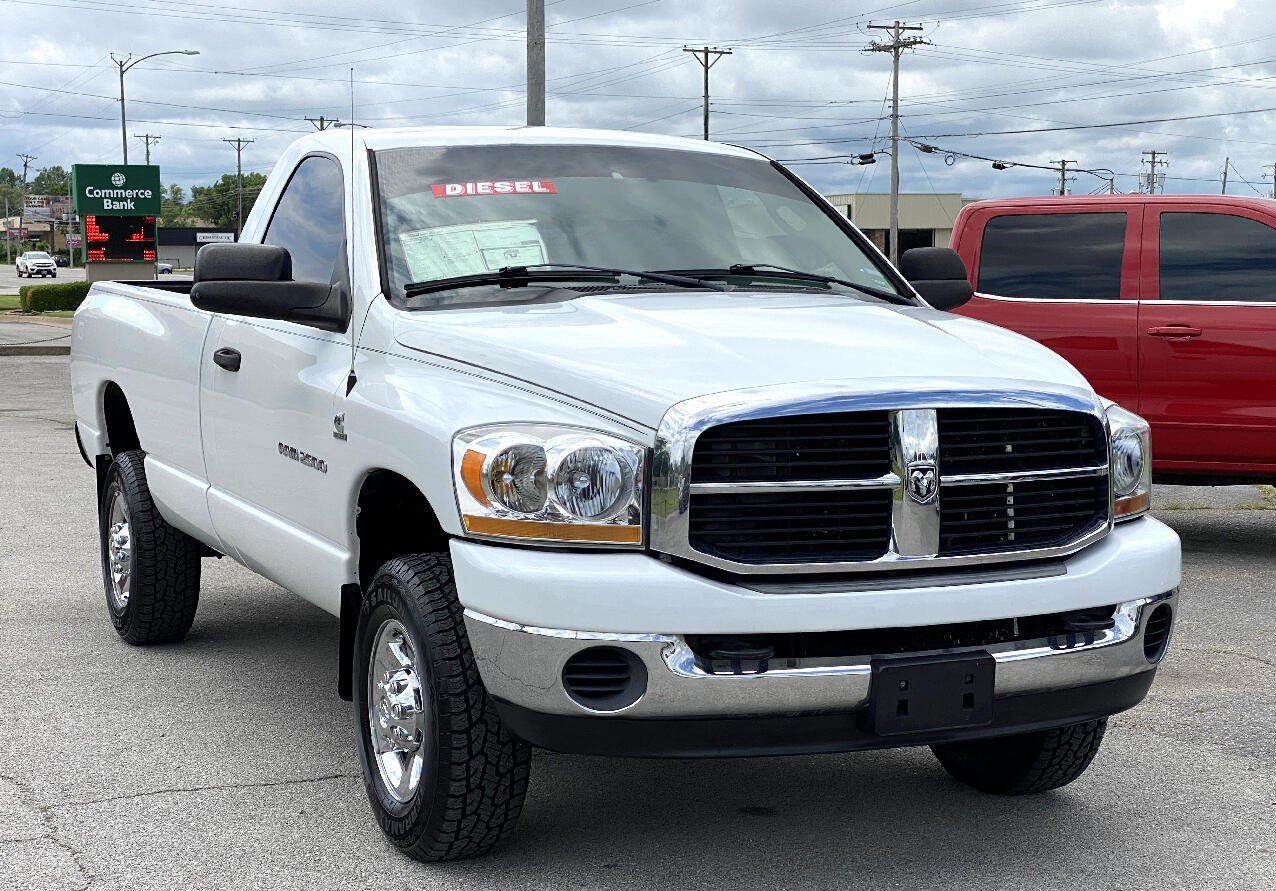
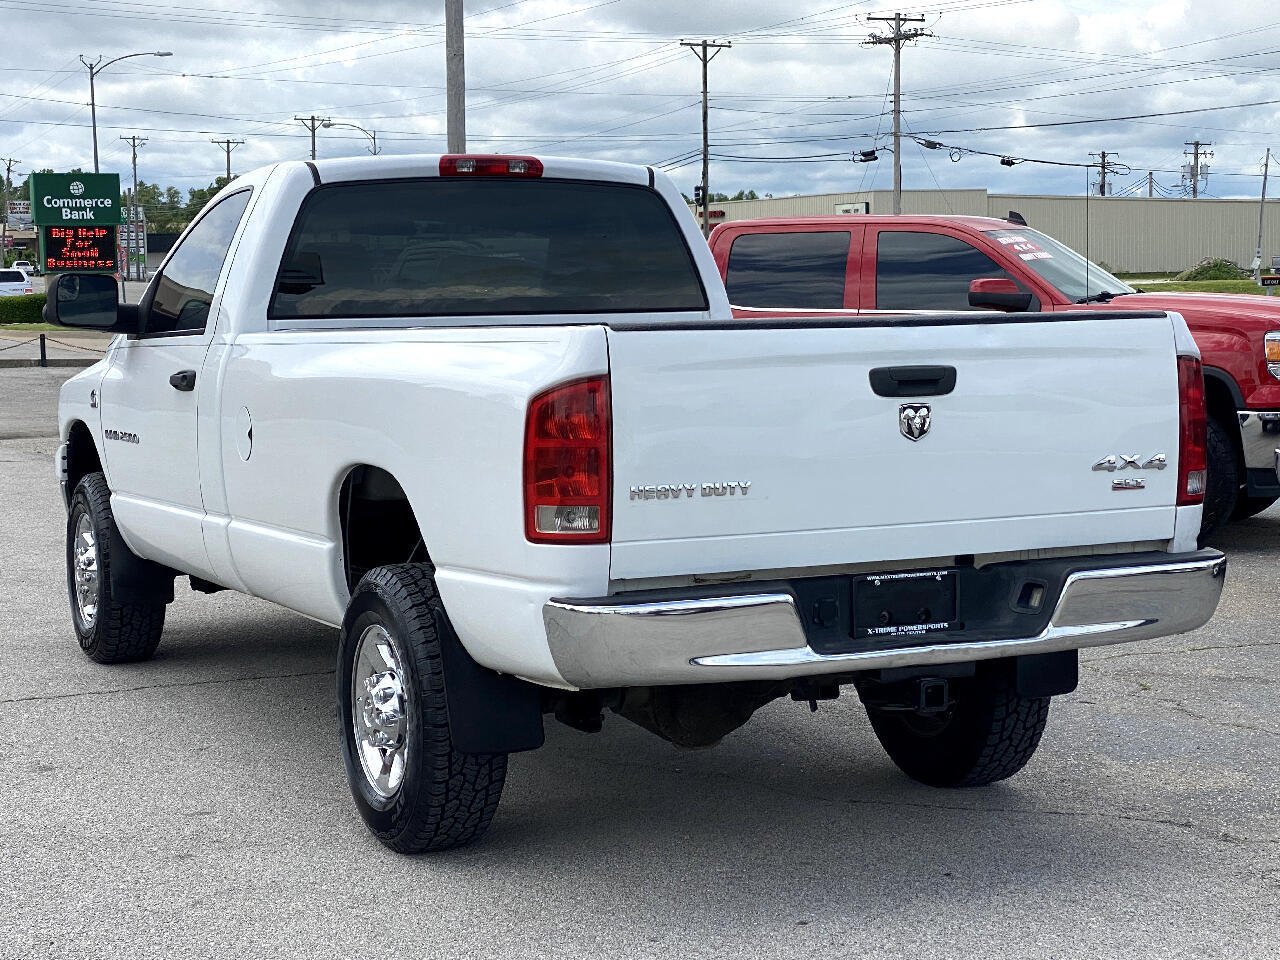
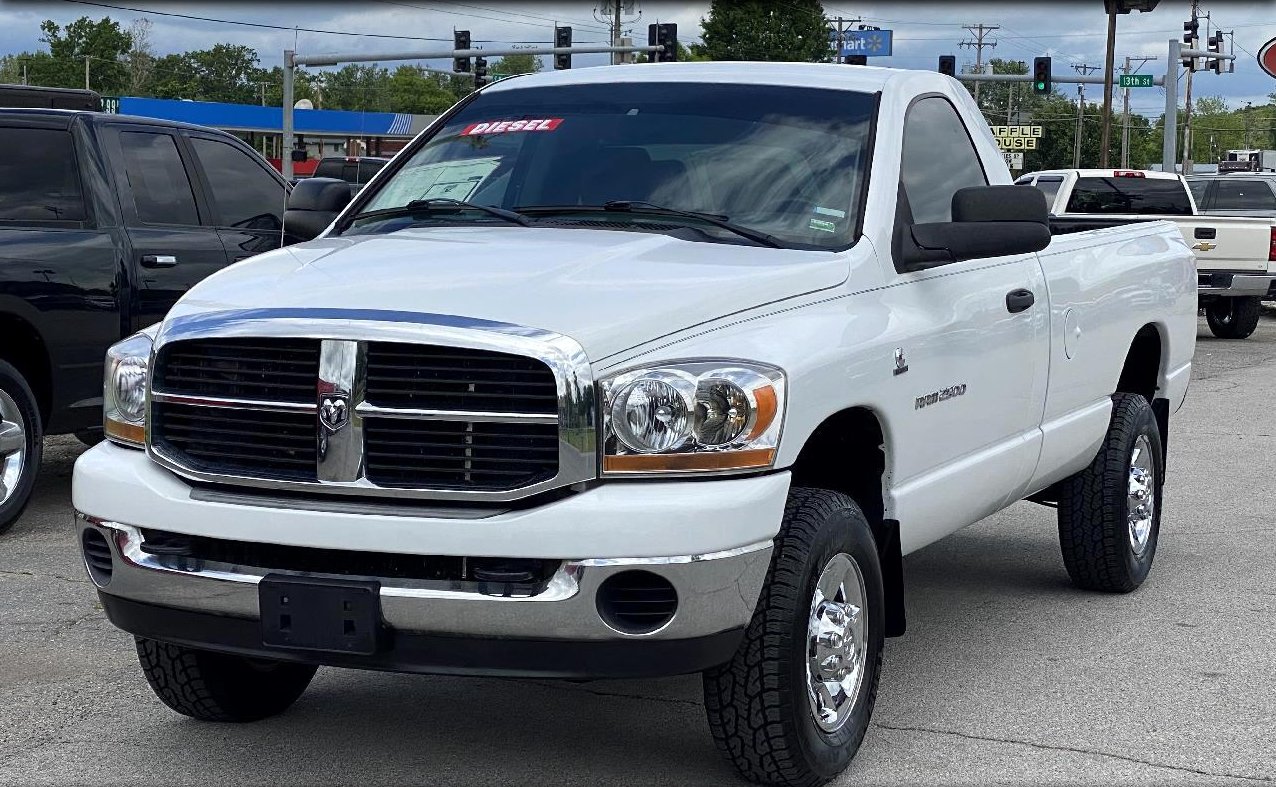
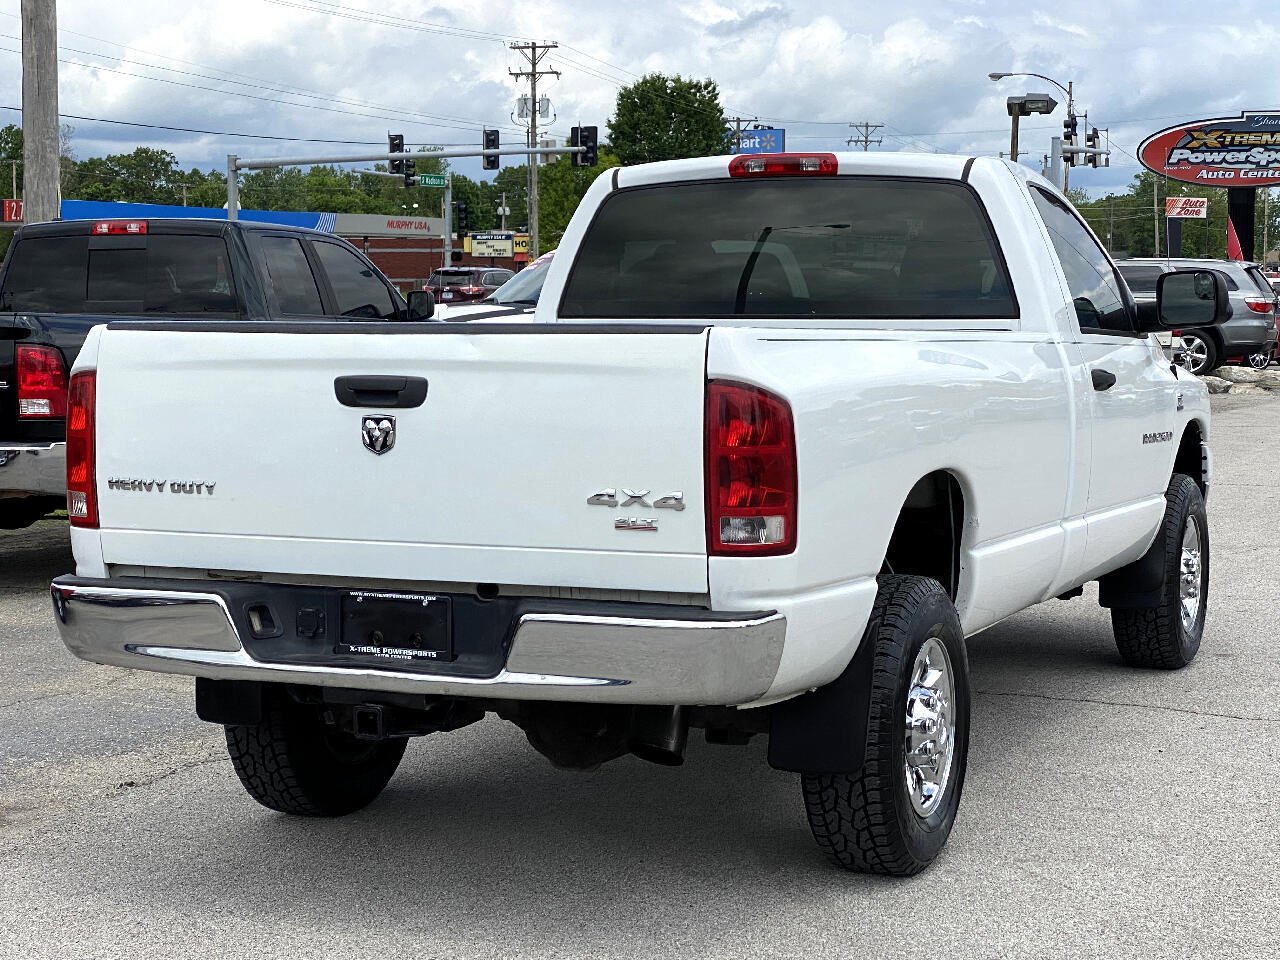
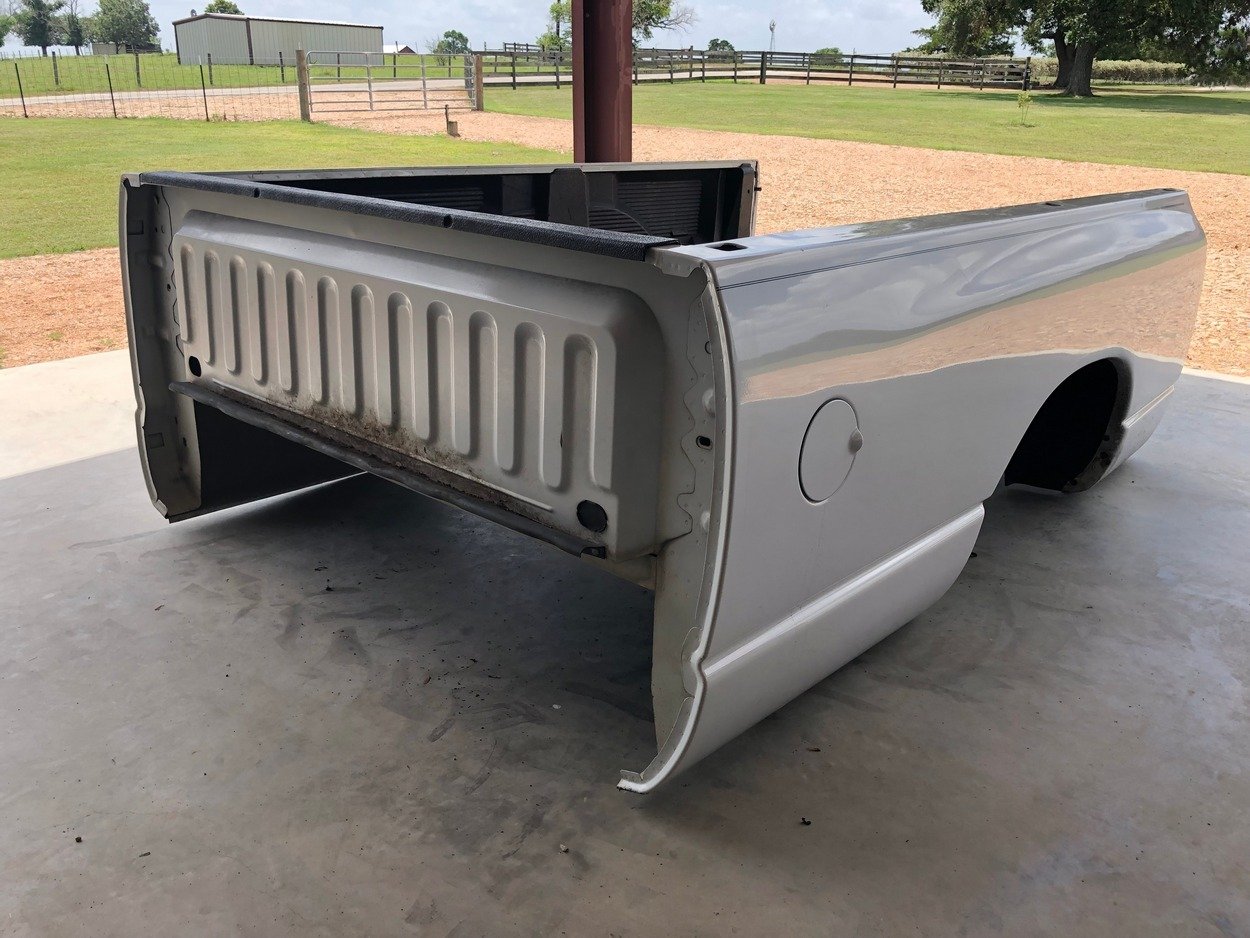
Pulled off the old bed and sold it.
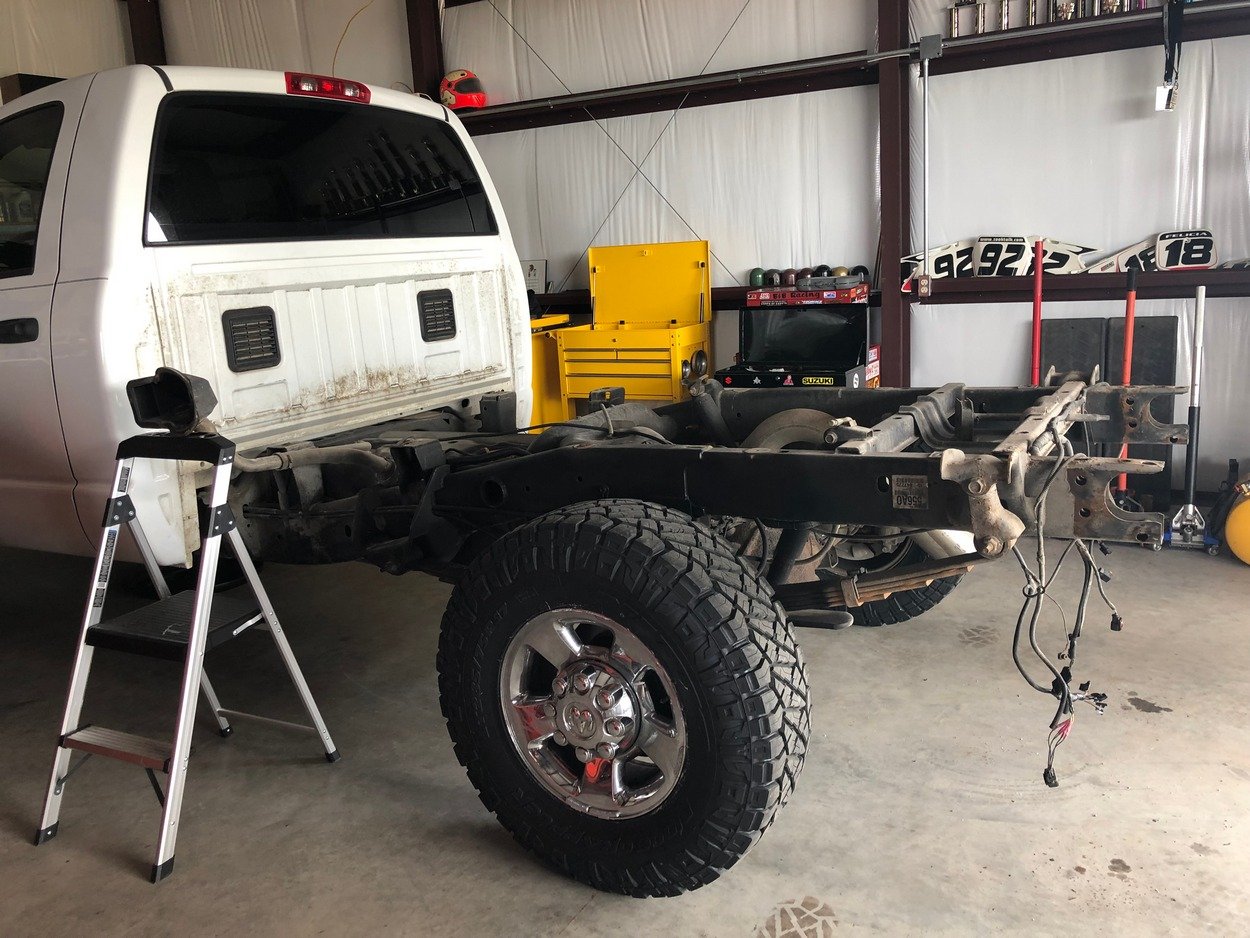
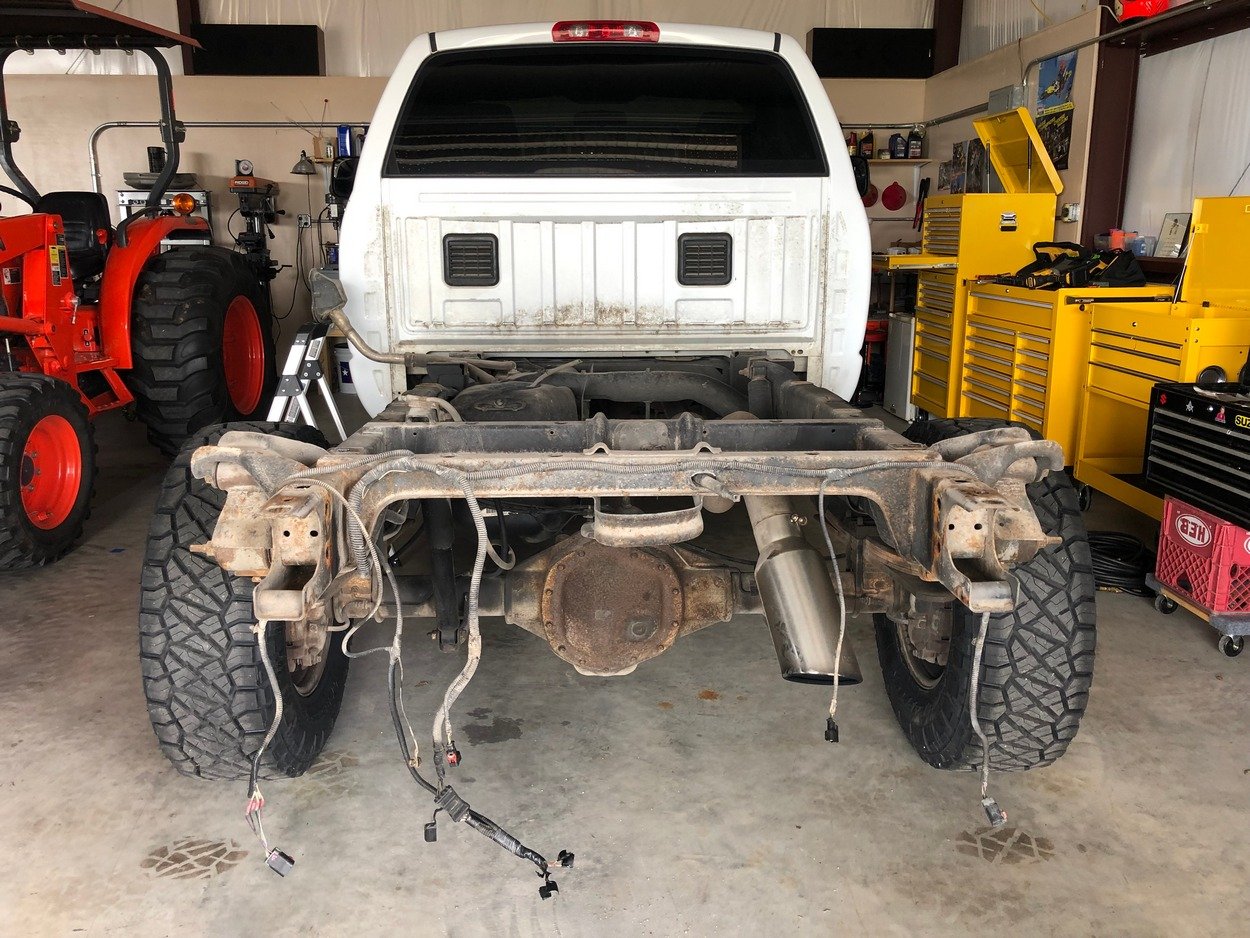
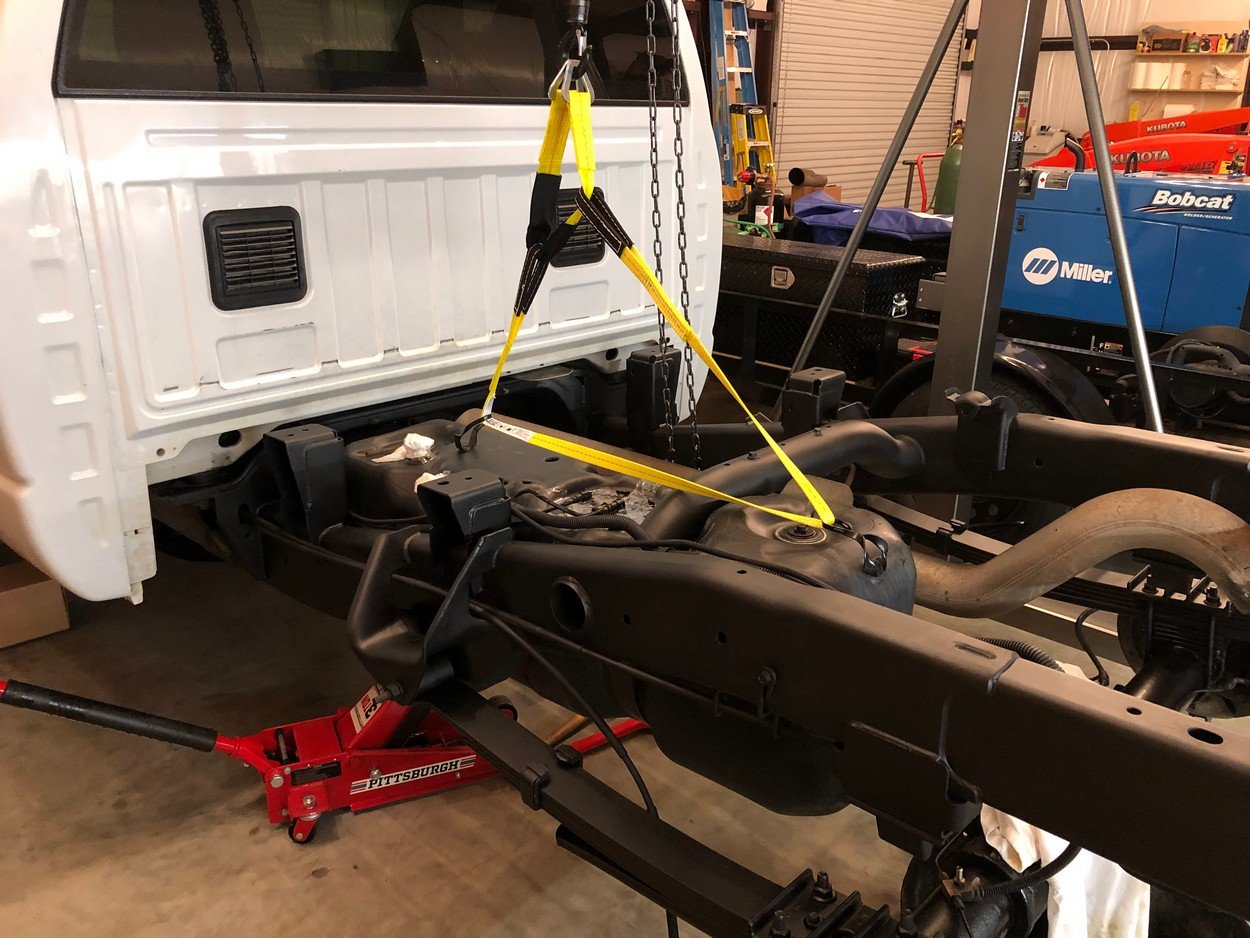
Dropped the fuel tank and started cleaning up frame.
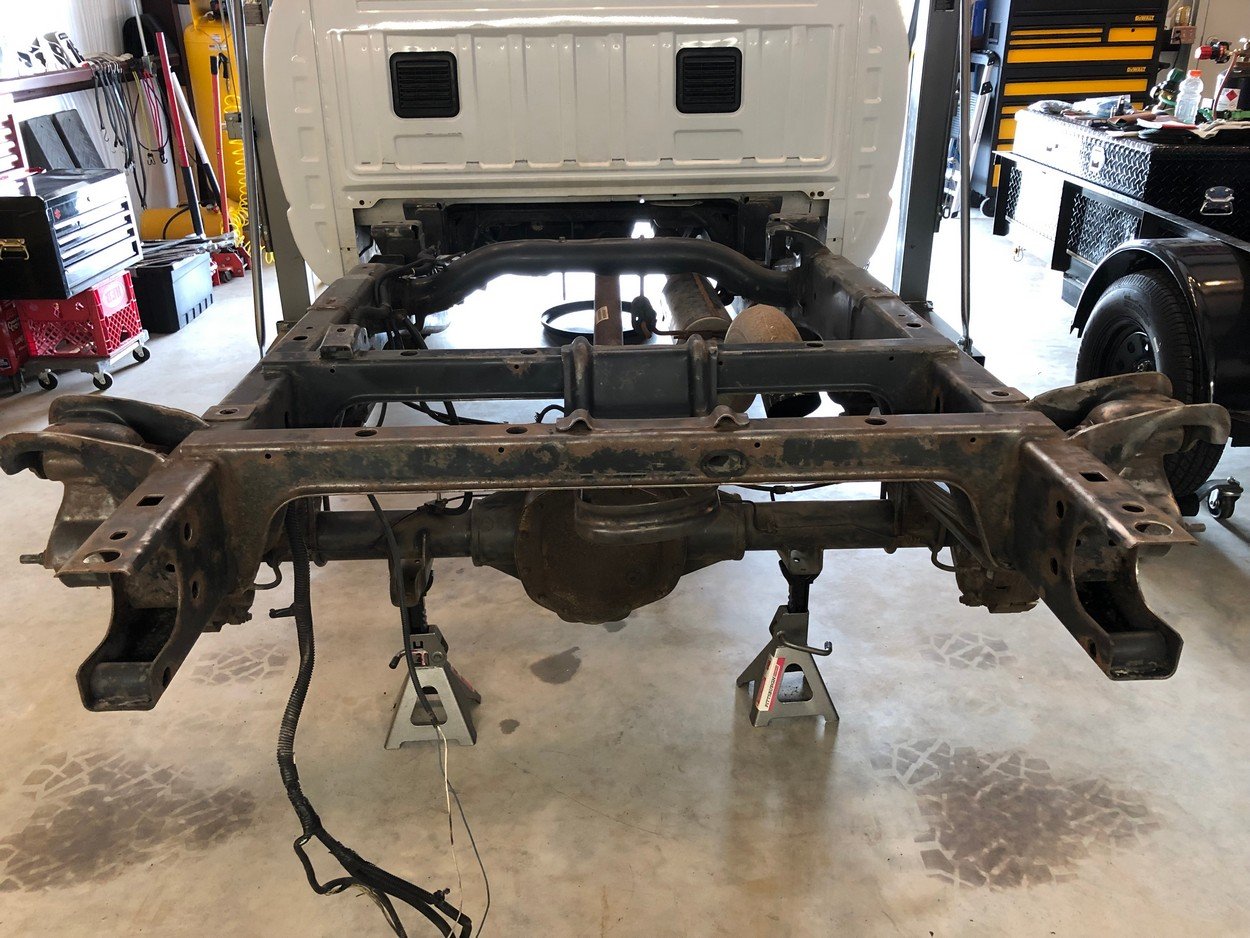
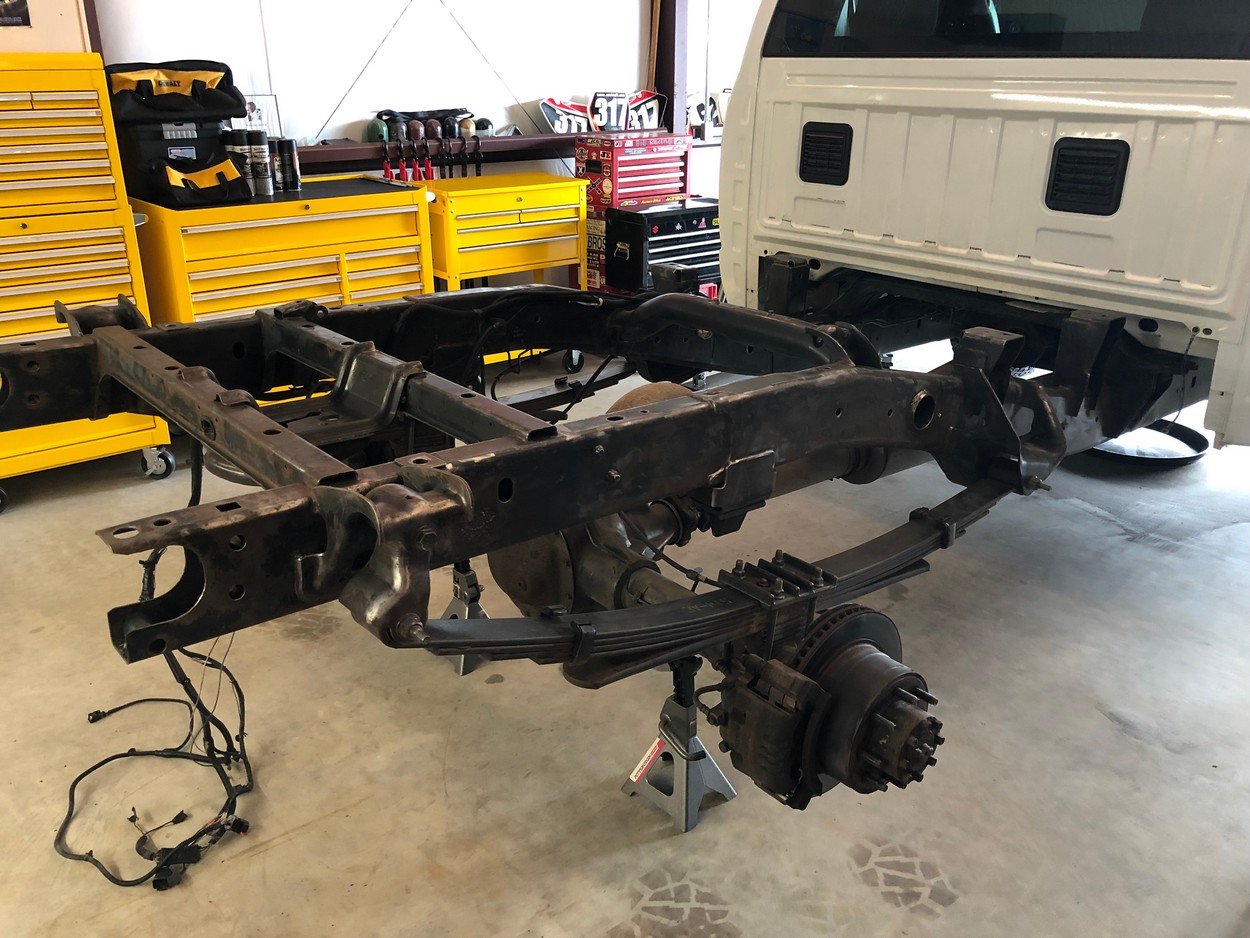
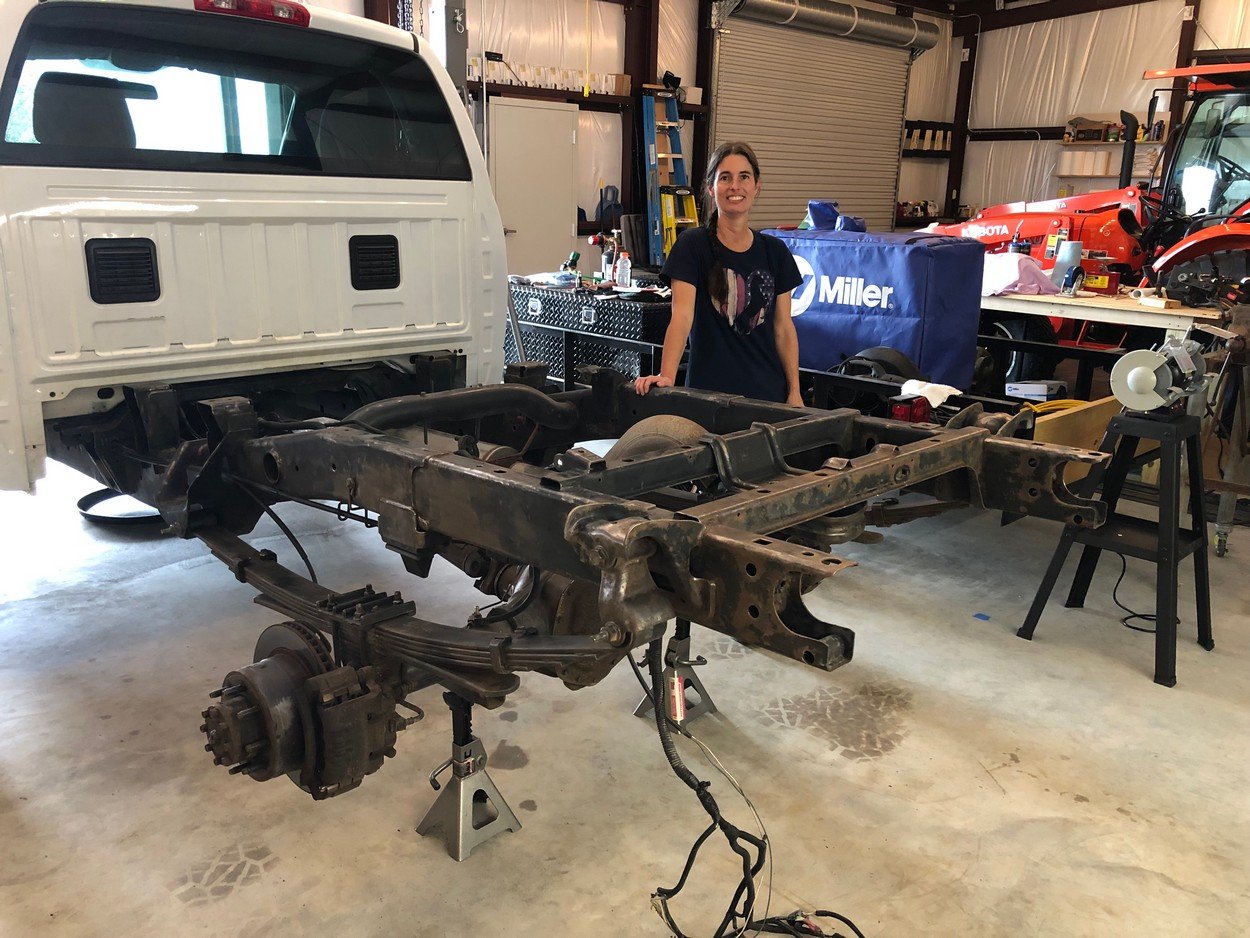
Got the rear frame repainted and coated.
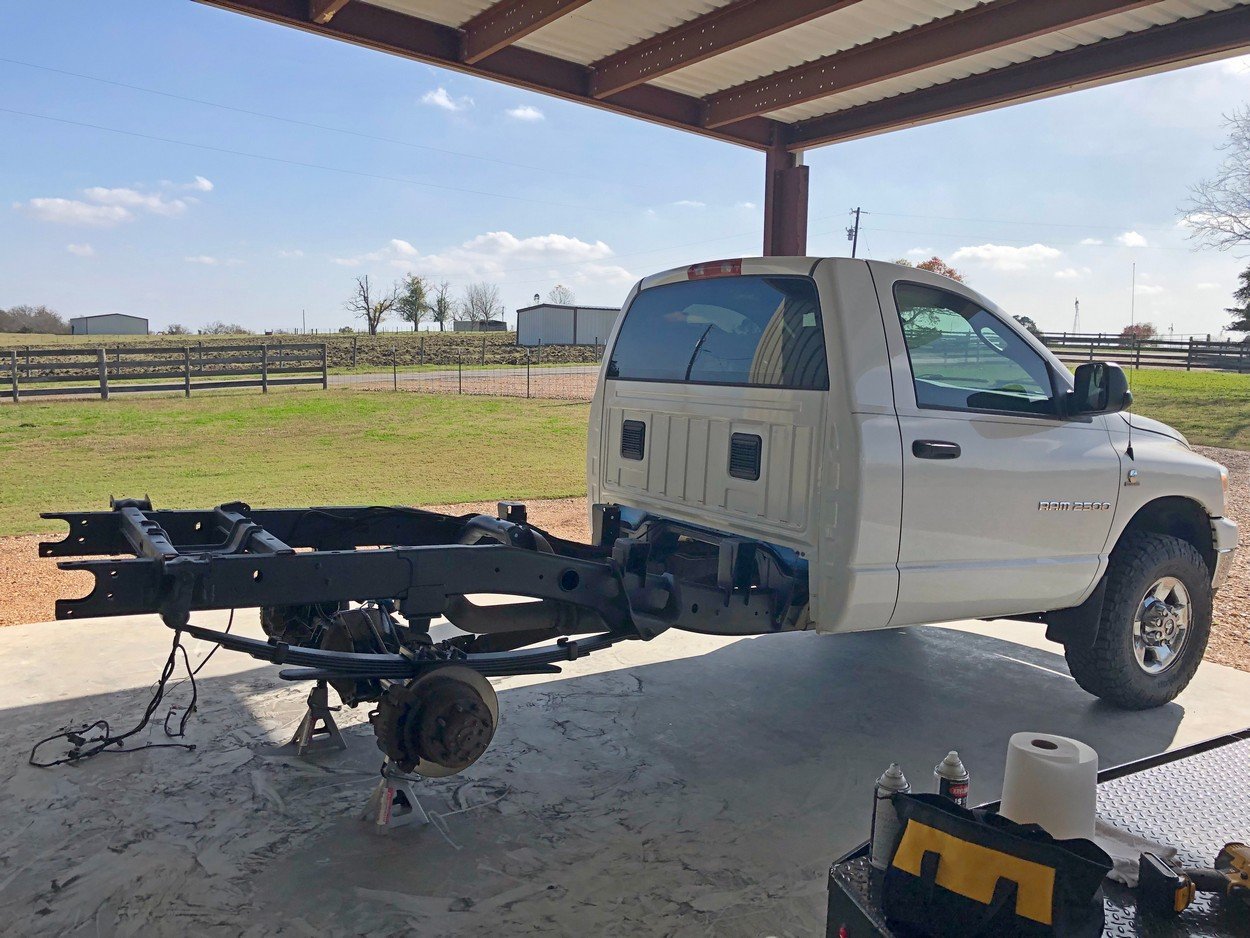
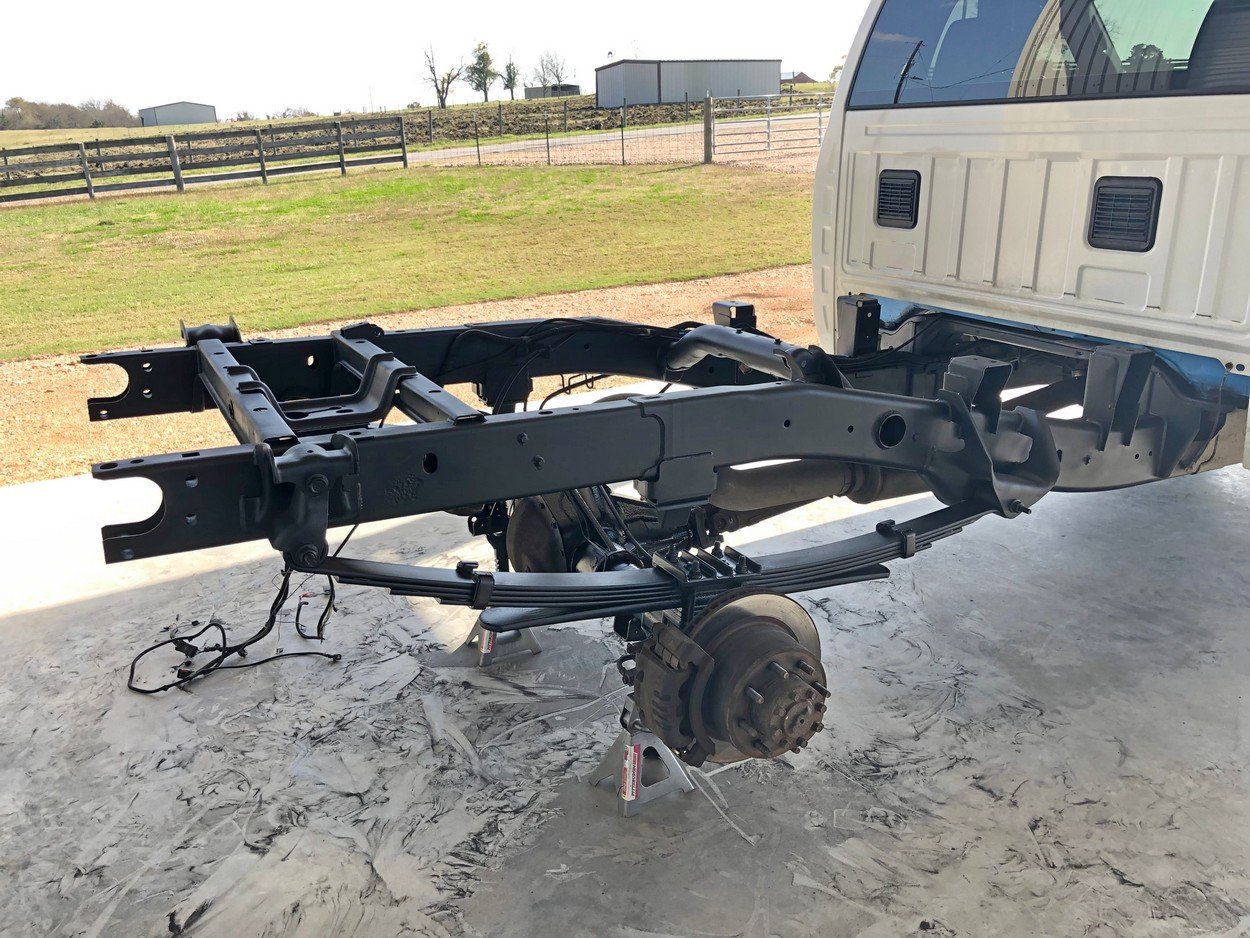
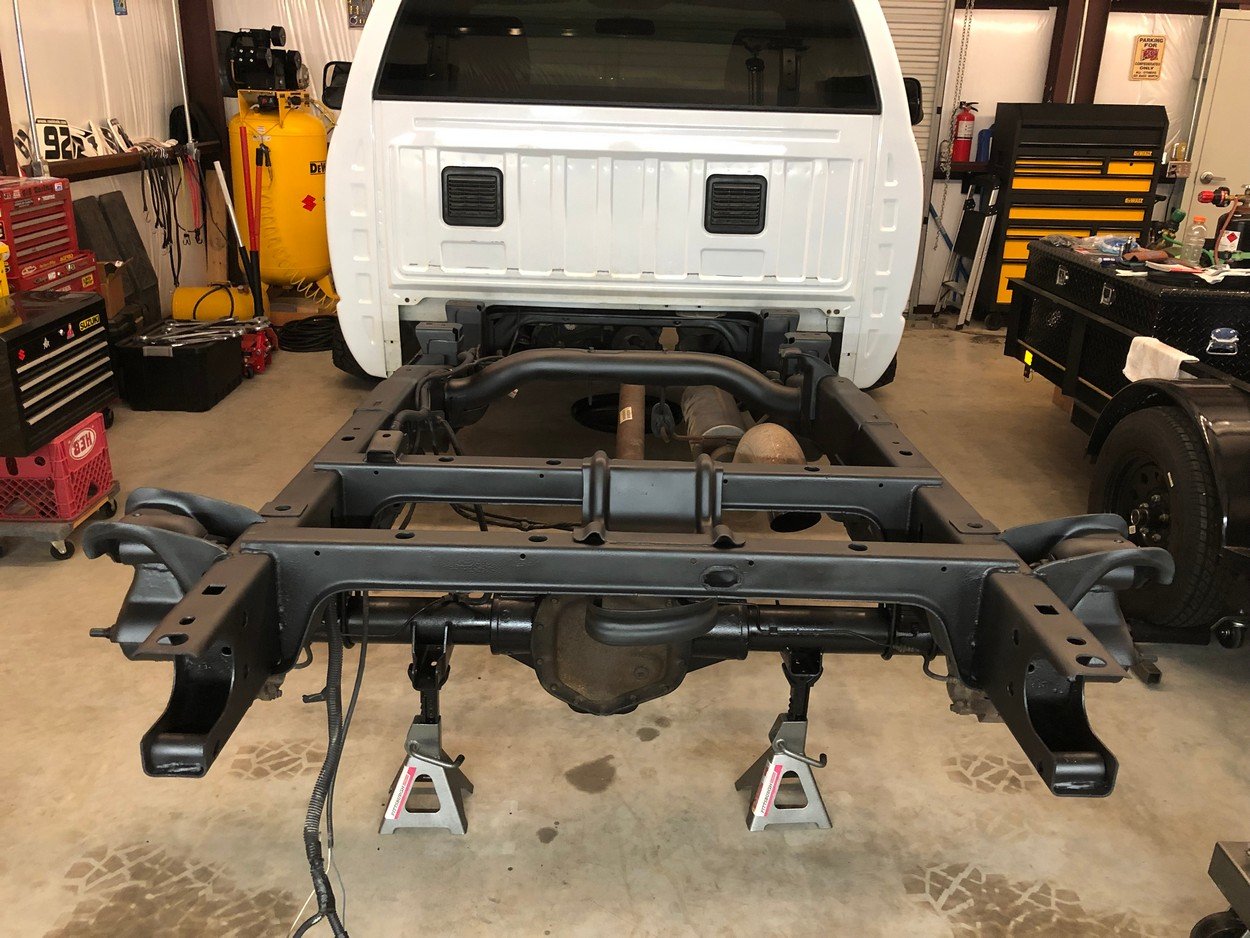
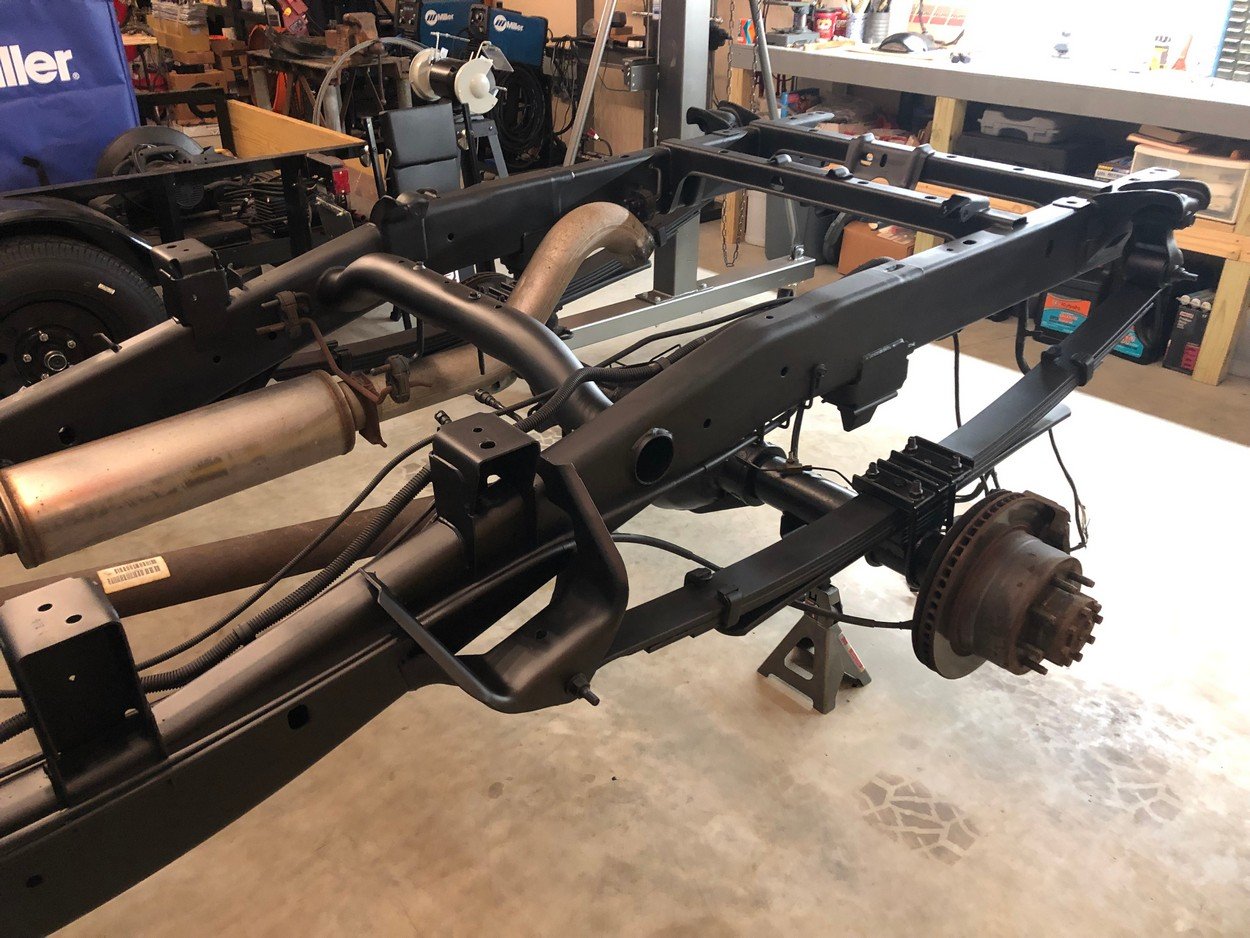
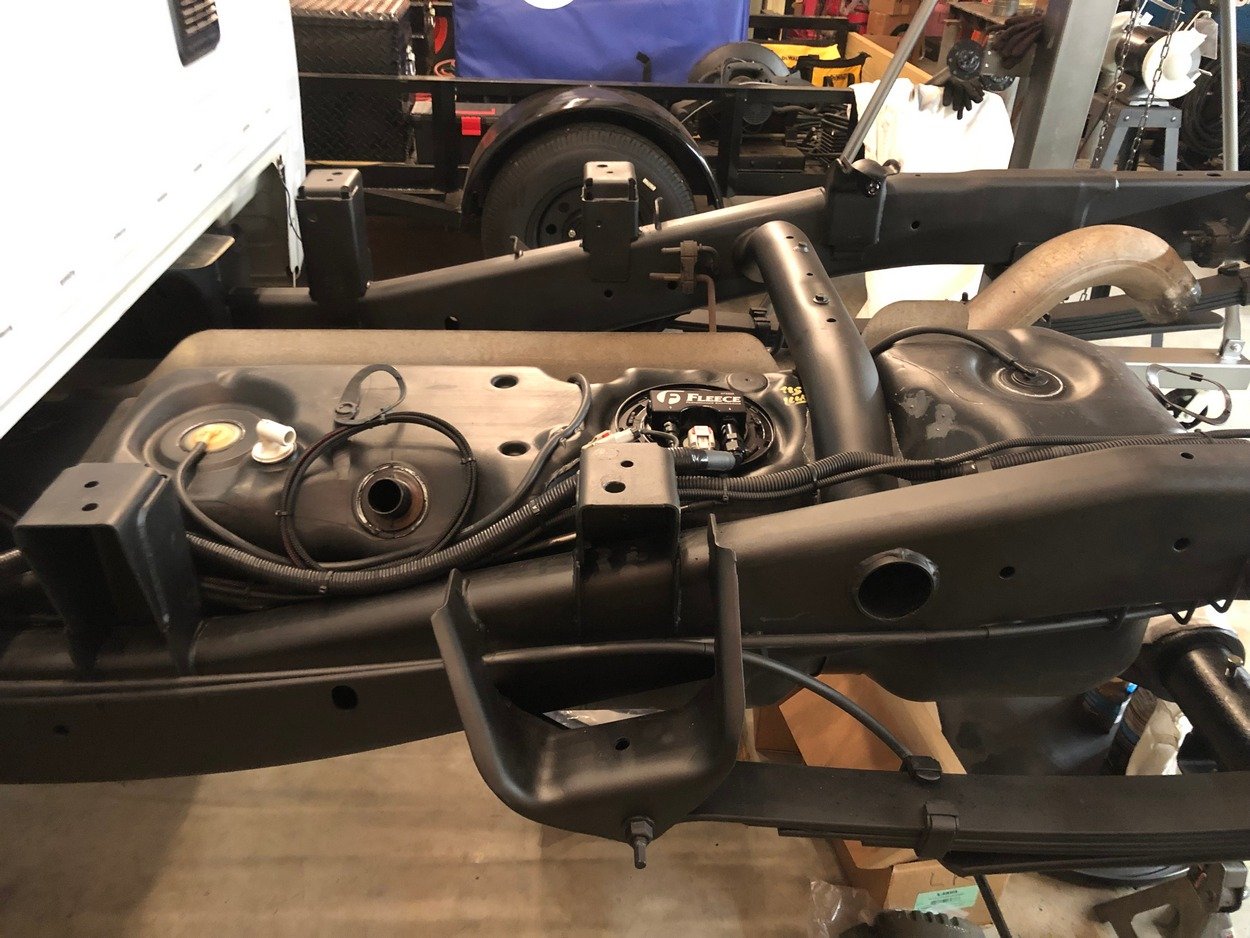
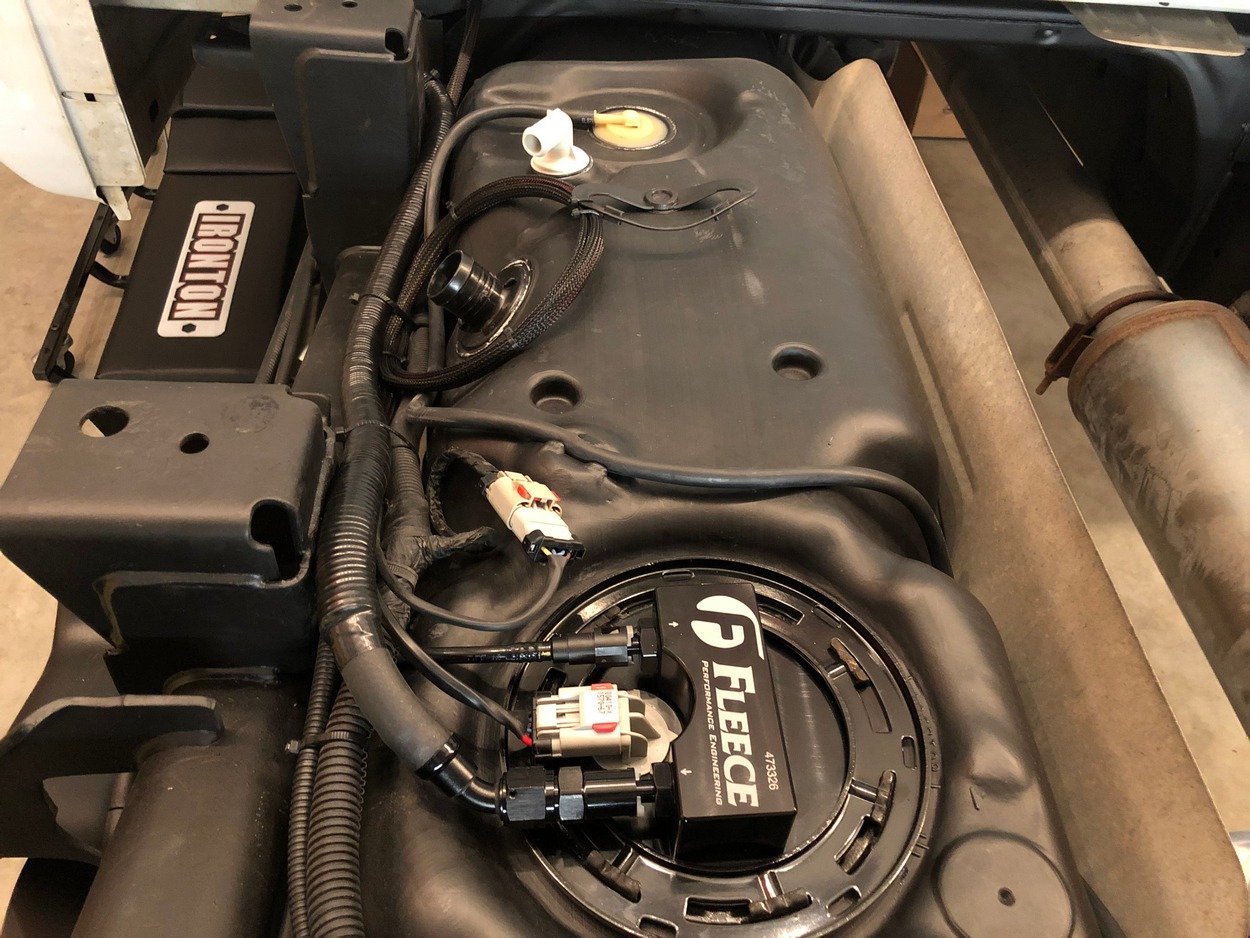
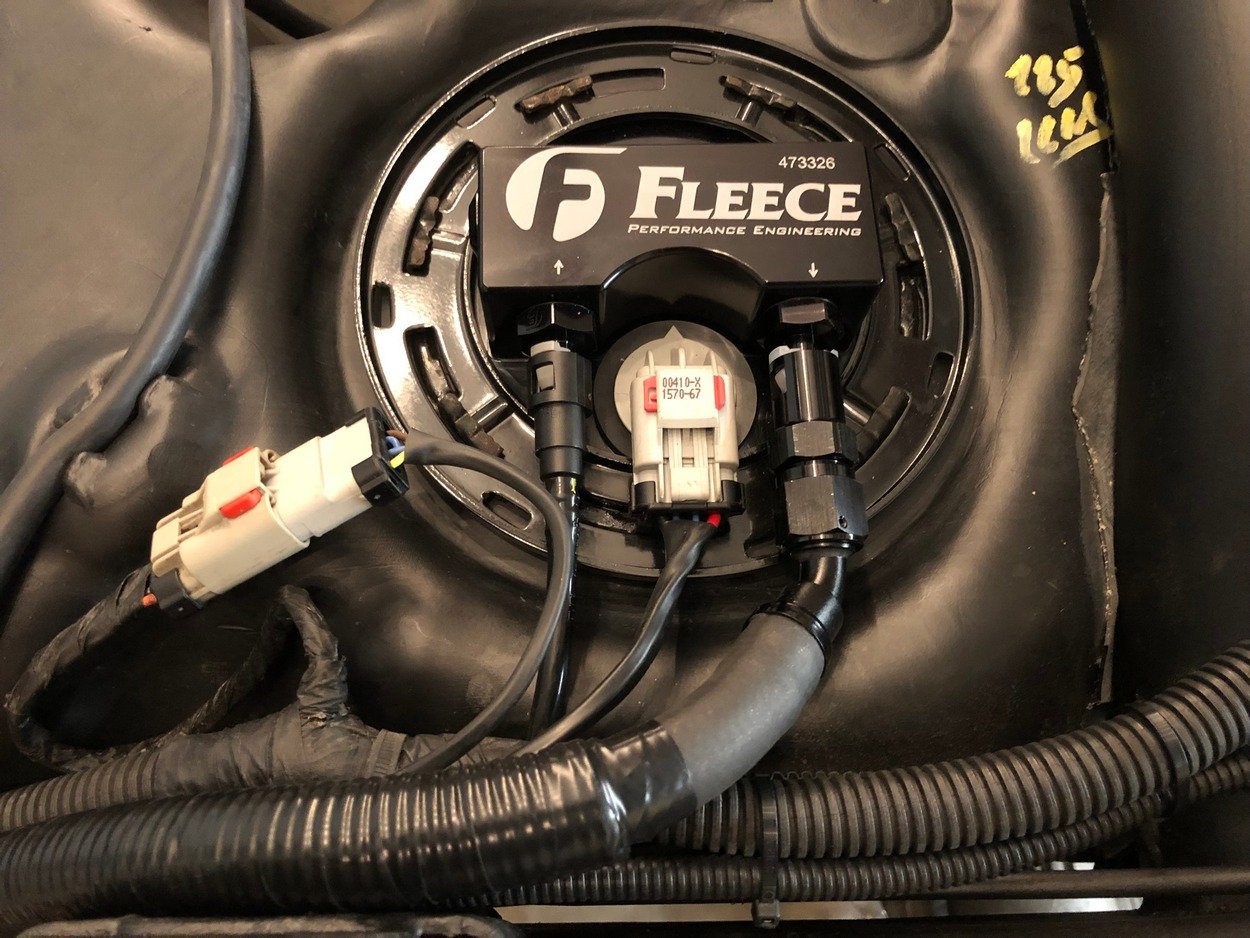
Cleaned & reinstalled fuel tank. Put in new Fleece liftpump, supply line and filter system.
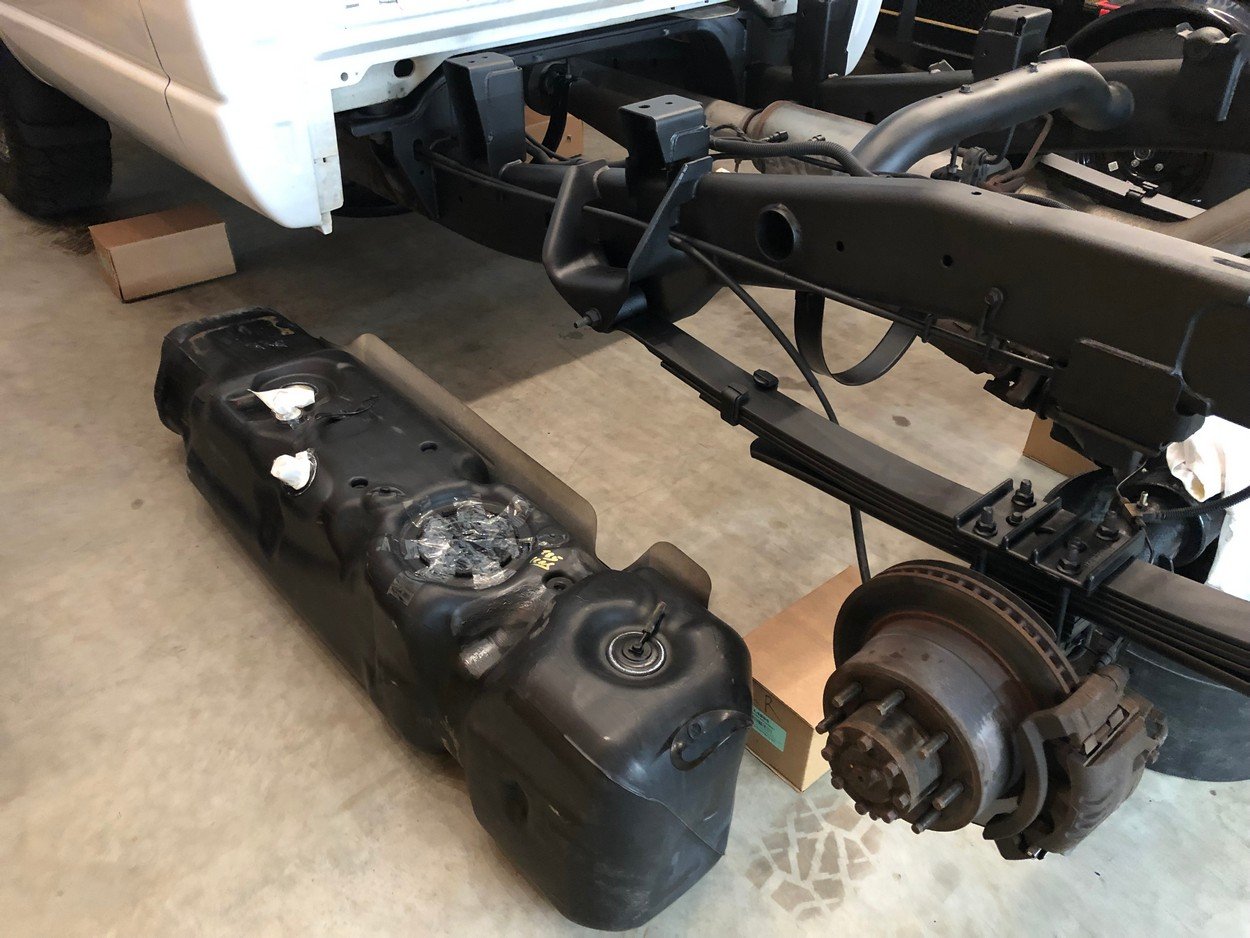
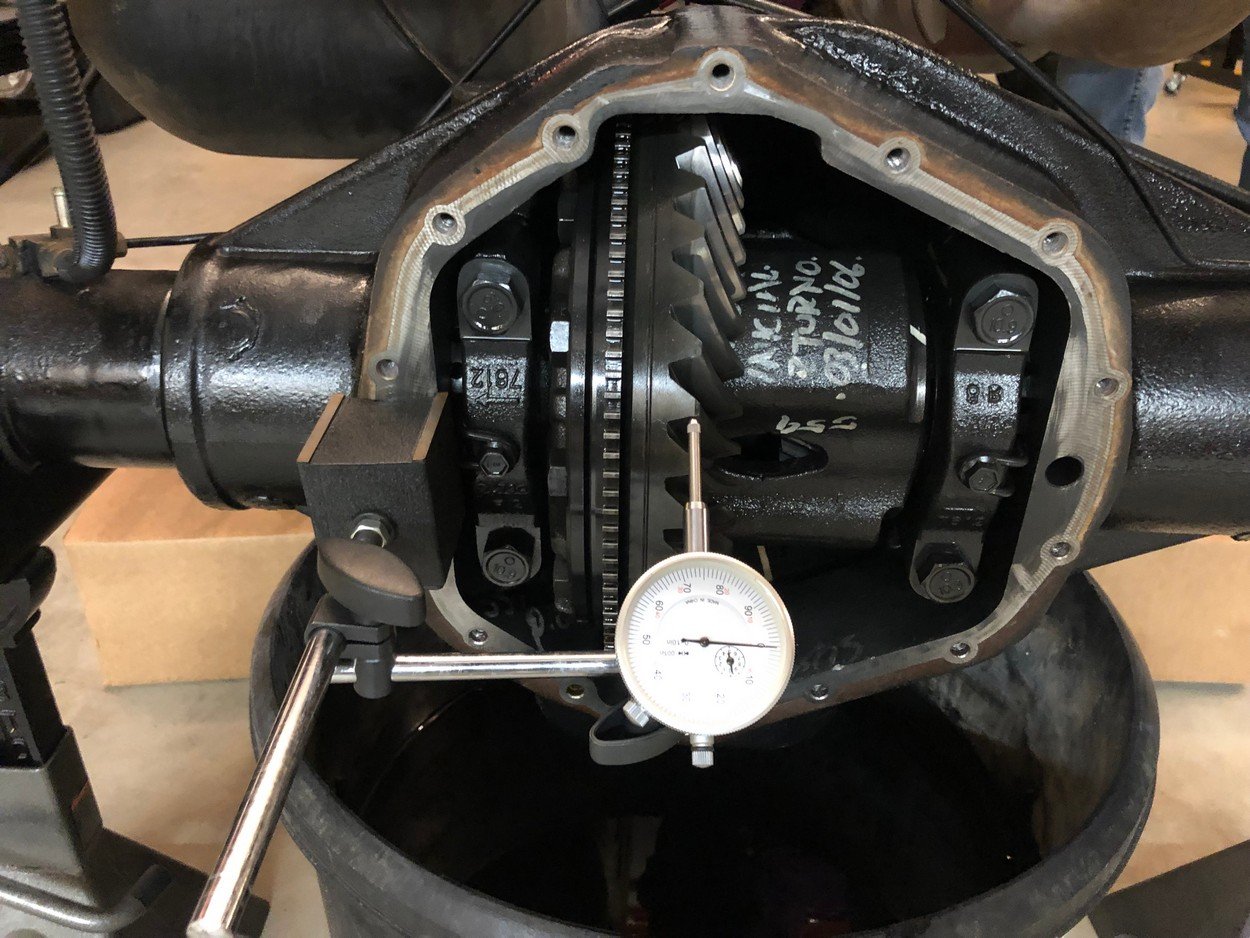
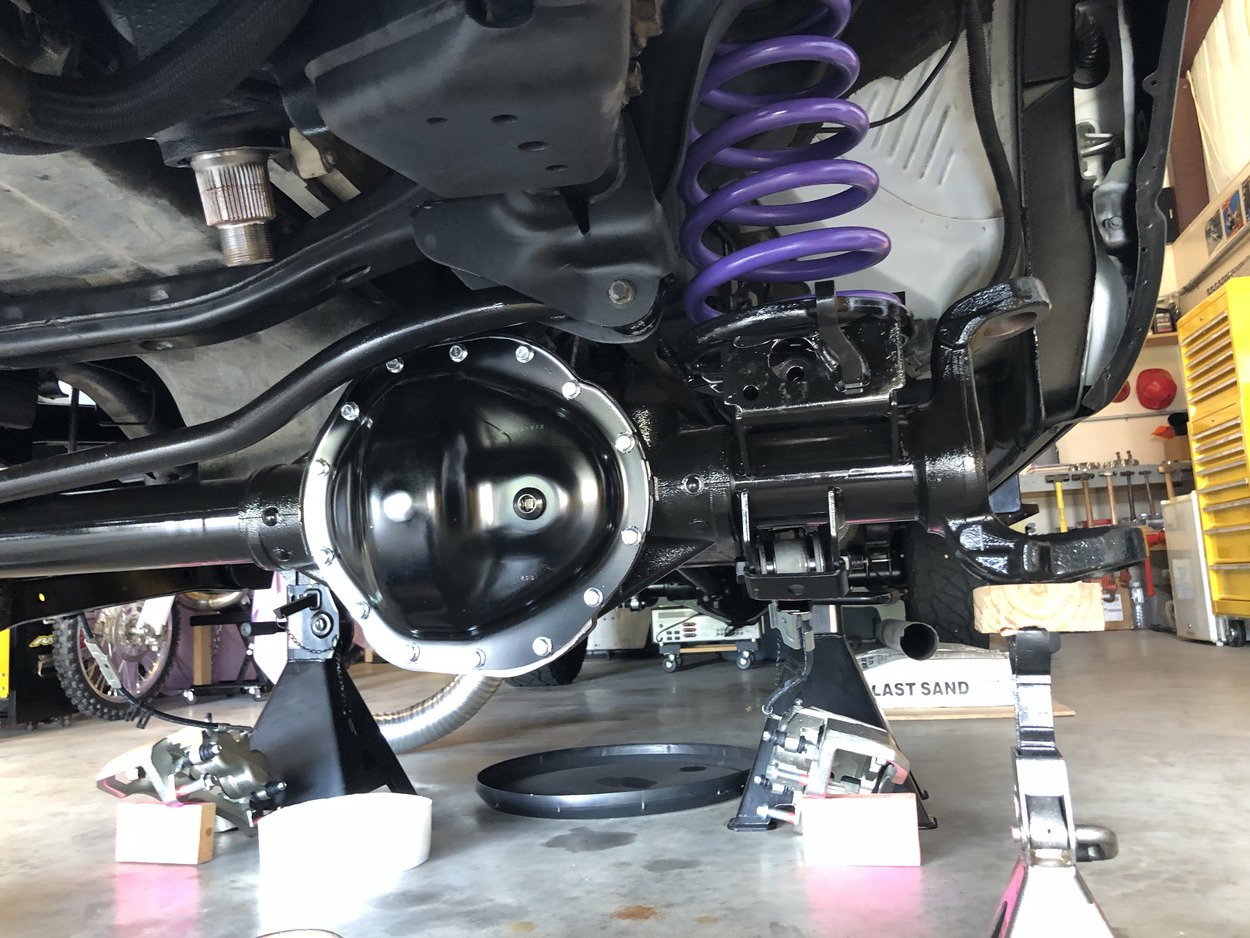
Refurbish rear axle, starting with checking ring & pinion lash.
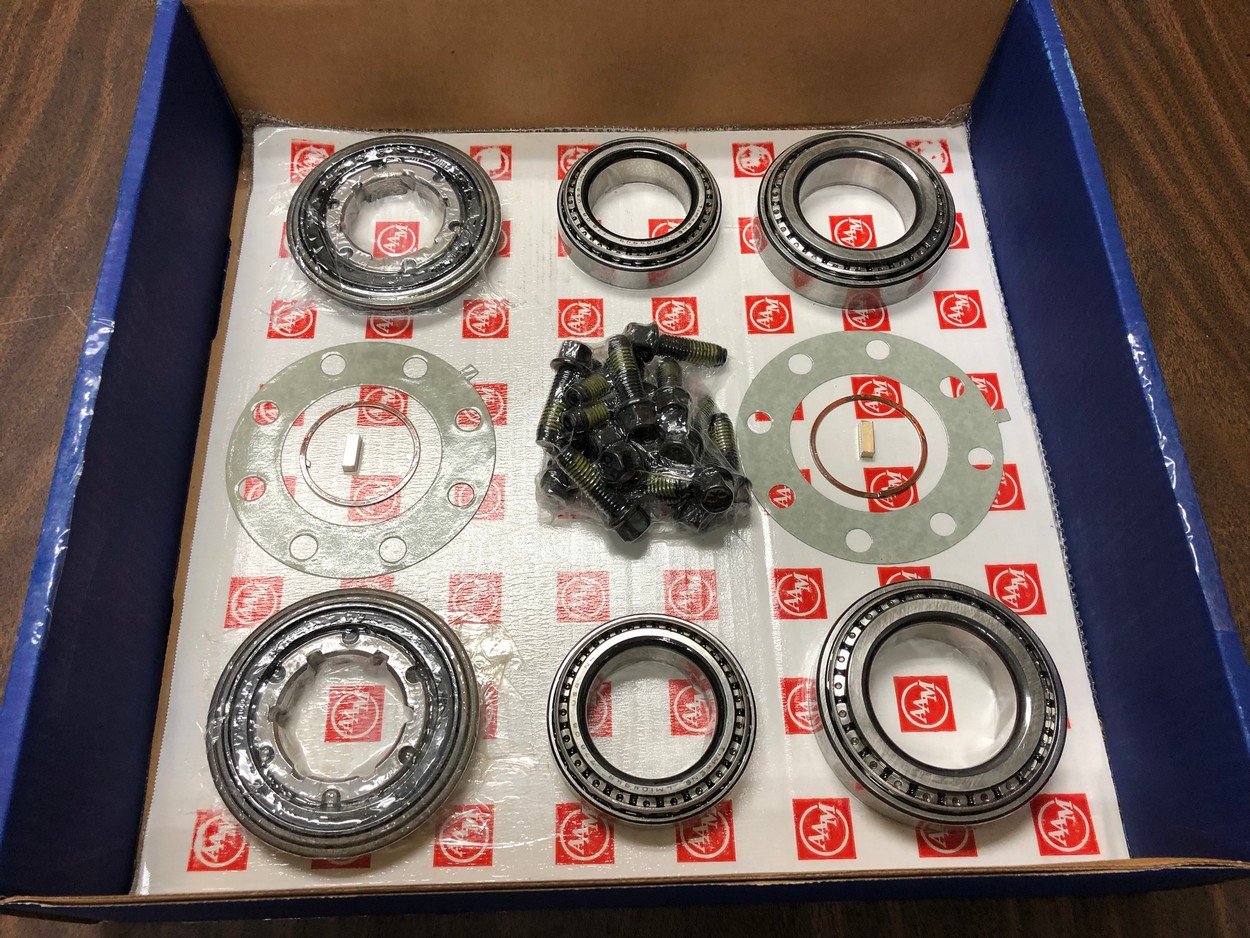
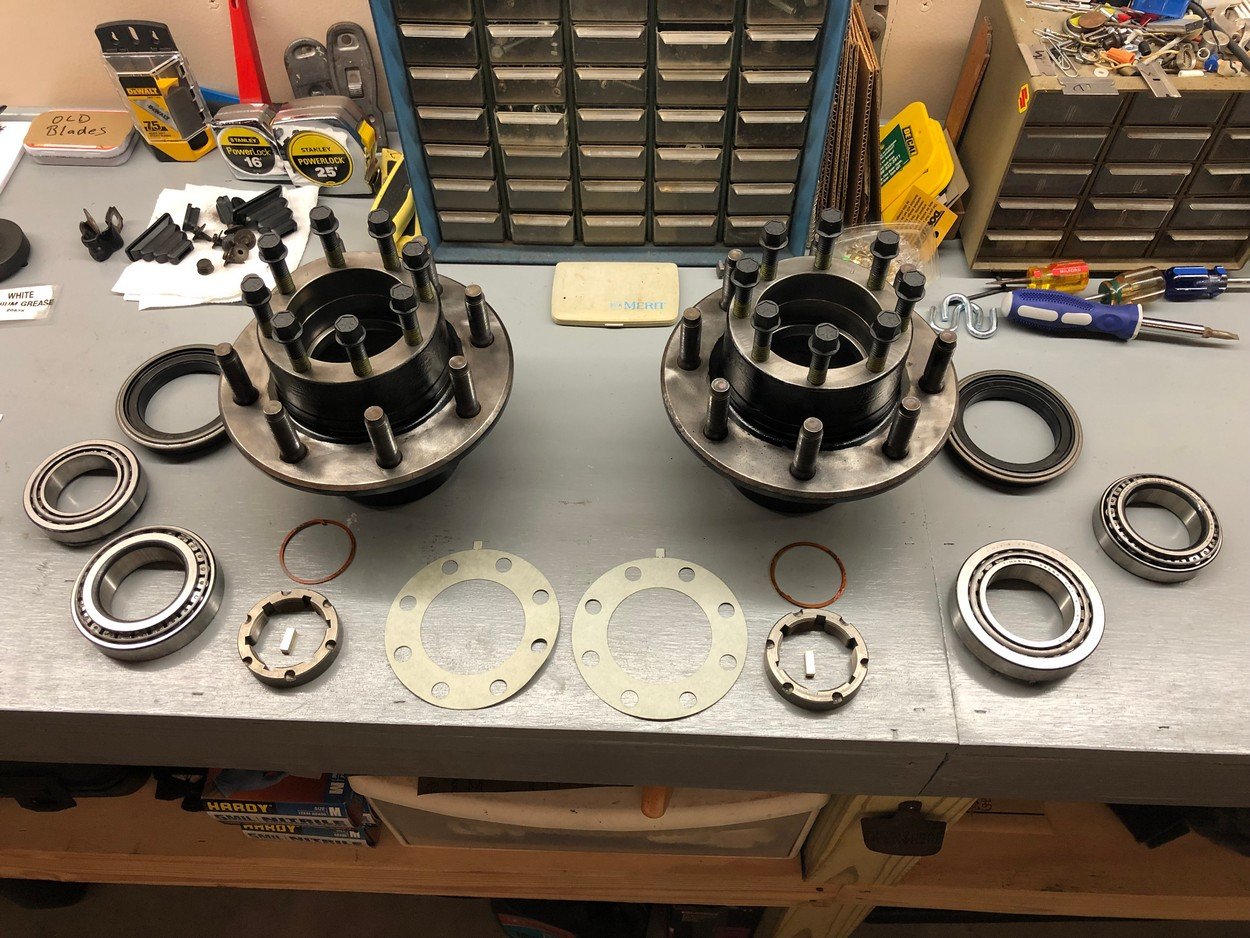
New Timken bearing kit from AAM for 11.5" rear end.
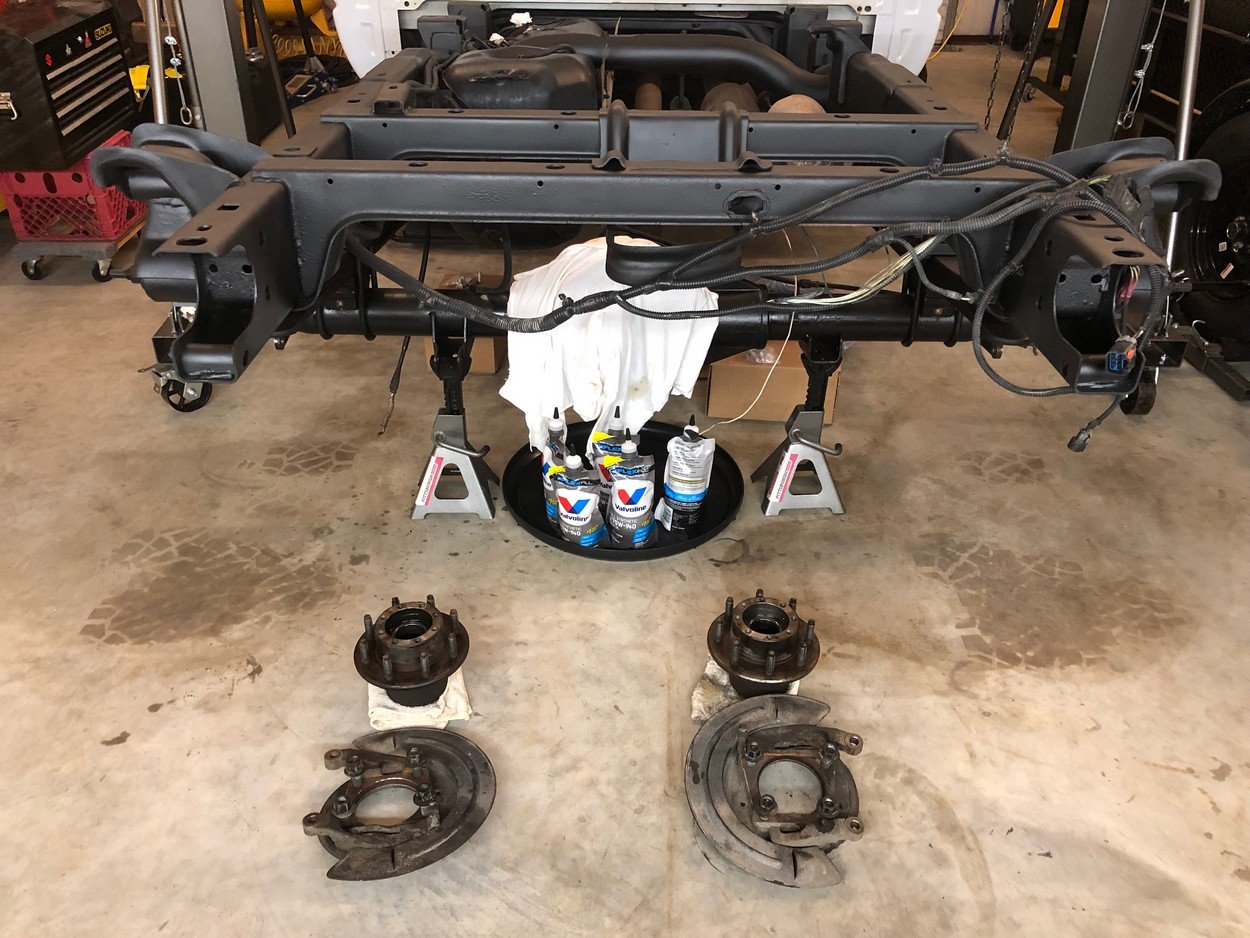
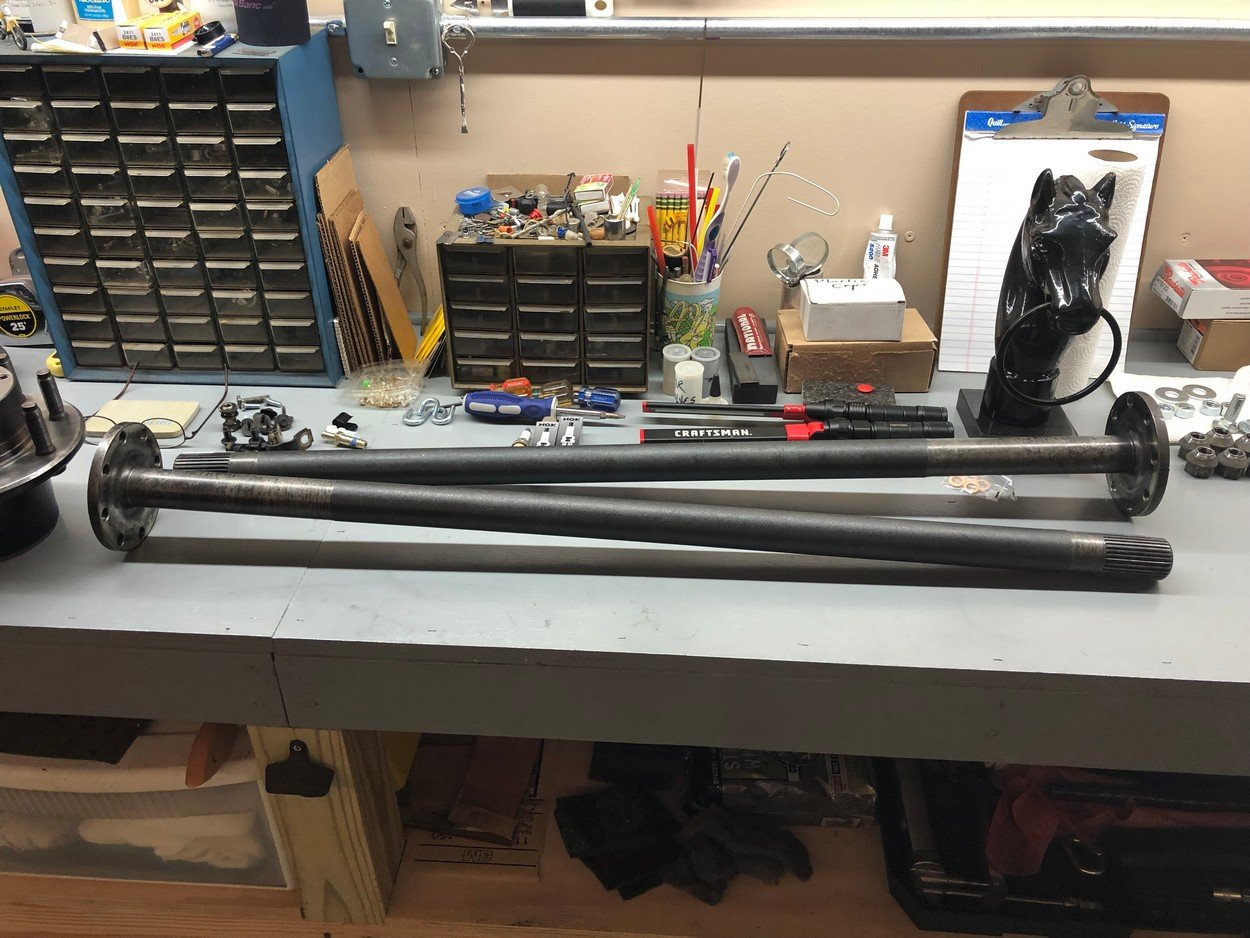
Pull hubs & axles off each side, clean and repaint entire differential housing.
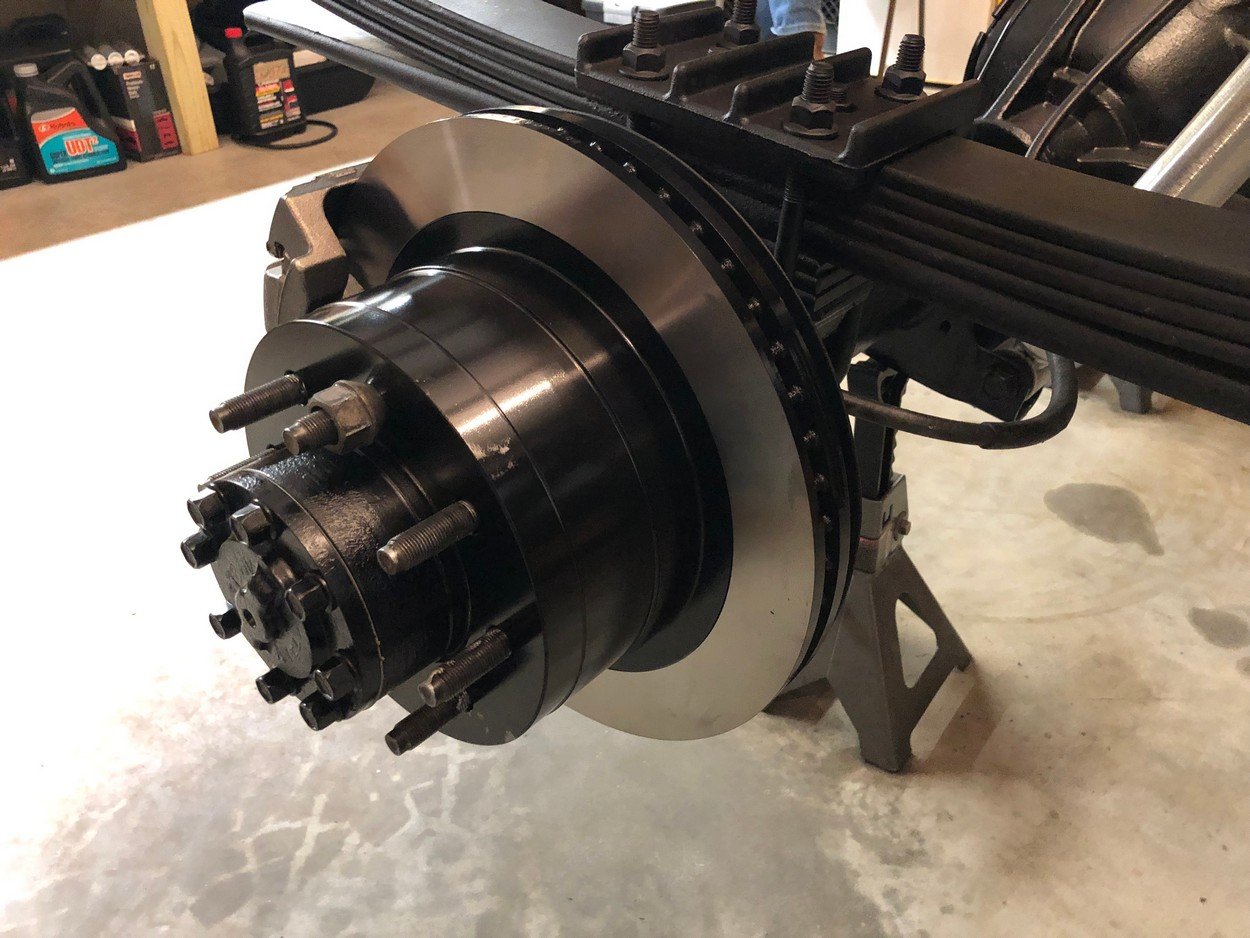
Cleaned / bead blasted axle caliper brackets and hubs and repainted them.
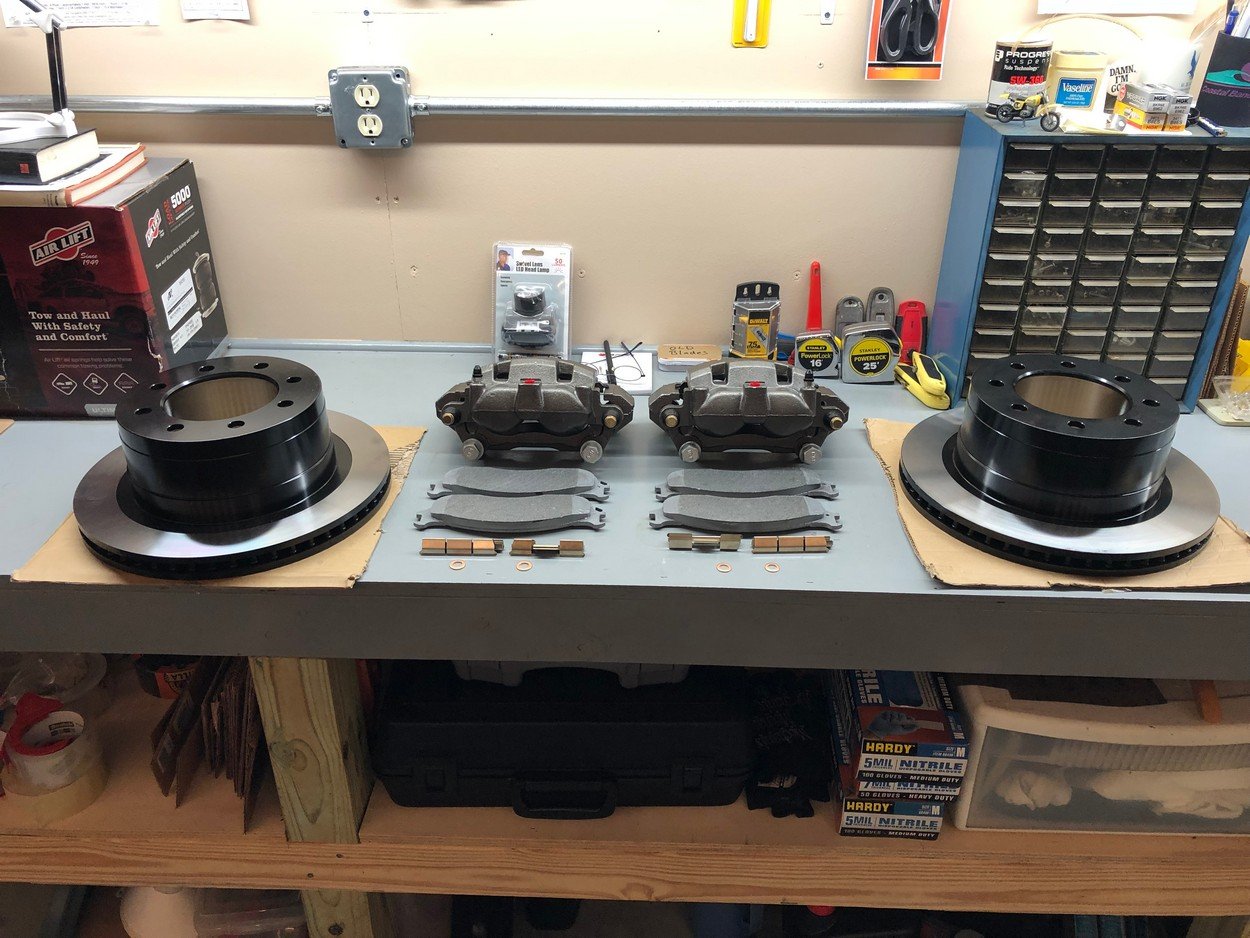
Bought ALL new brake components including backplates.
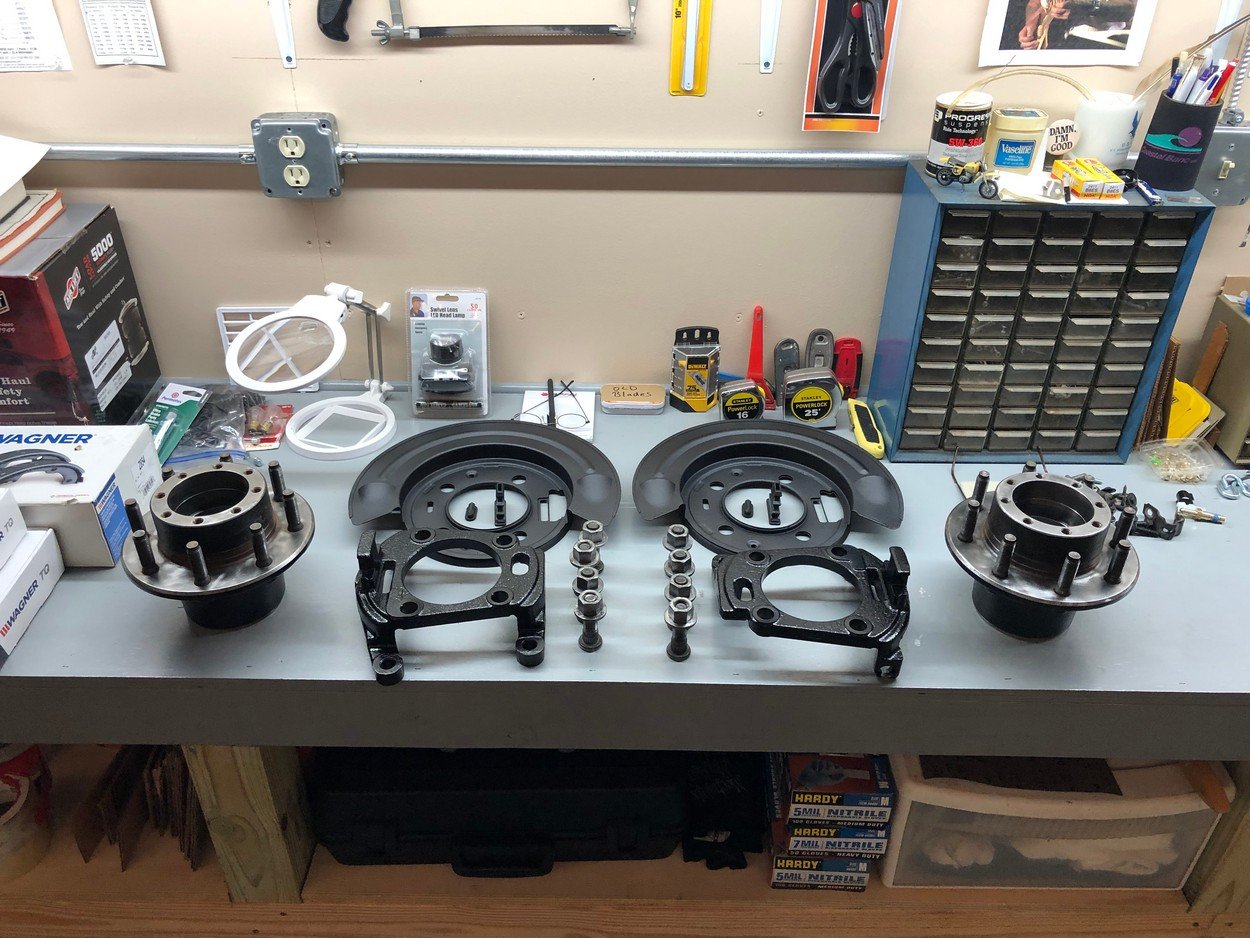
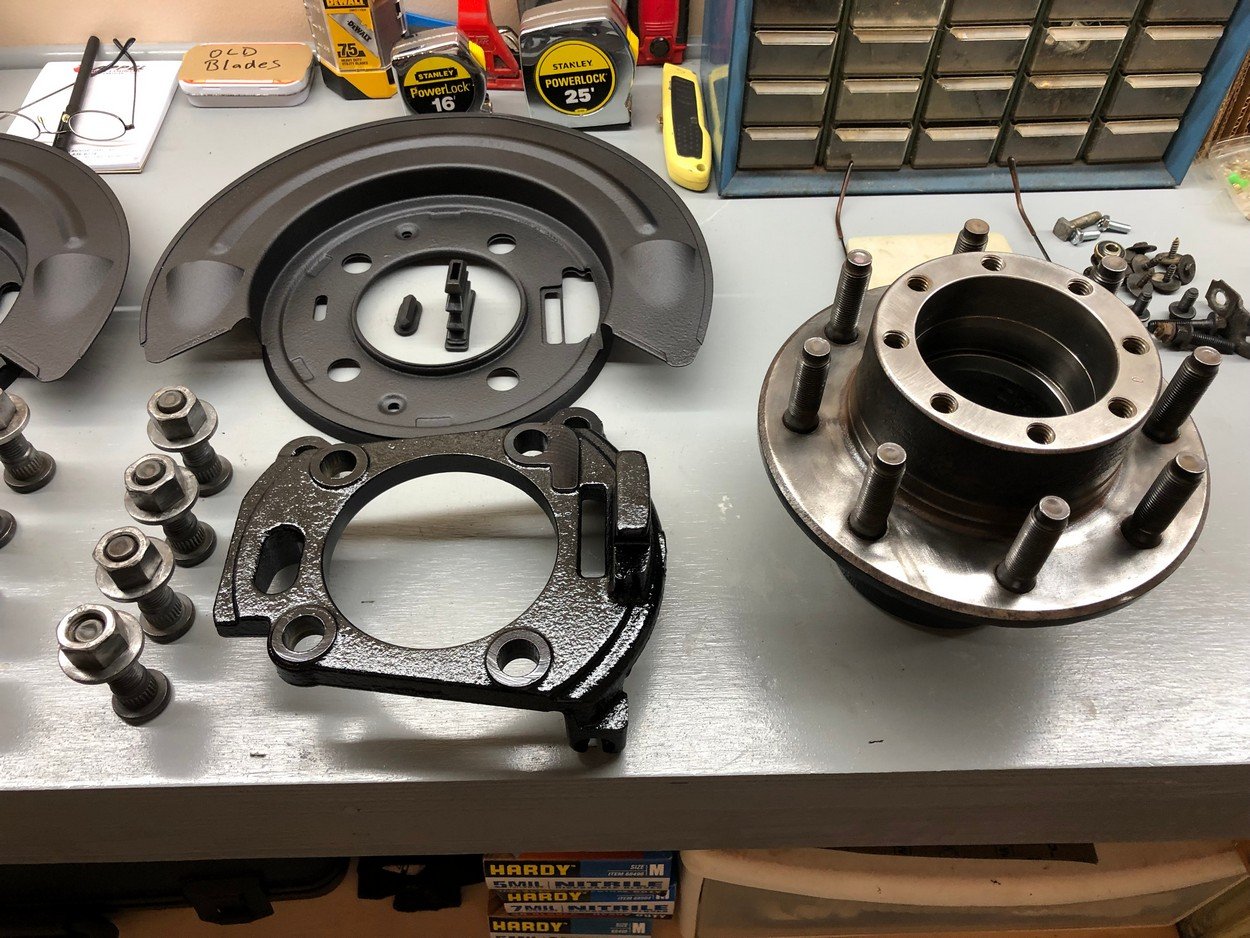
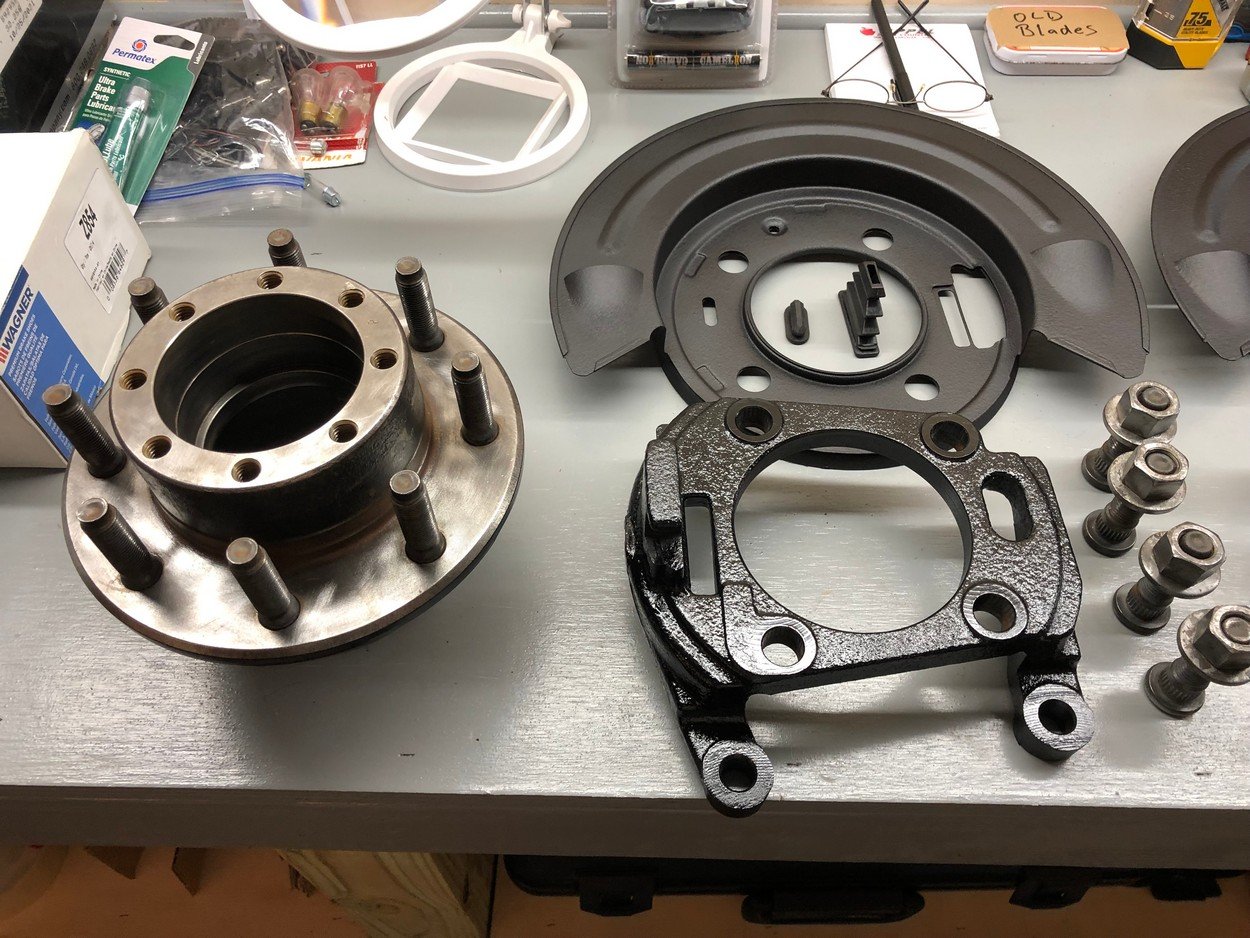
Painted new dust plates with undercoating and assembled with caliper brackets.
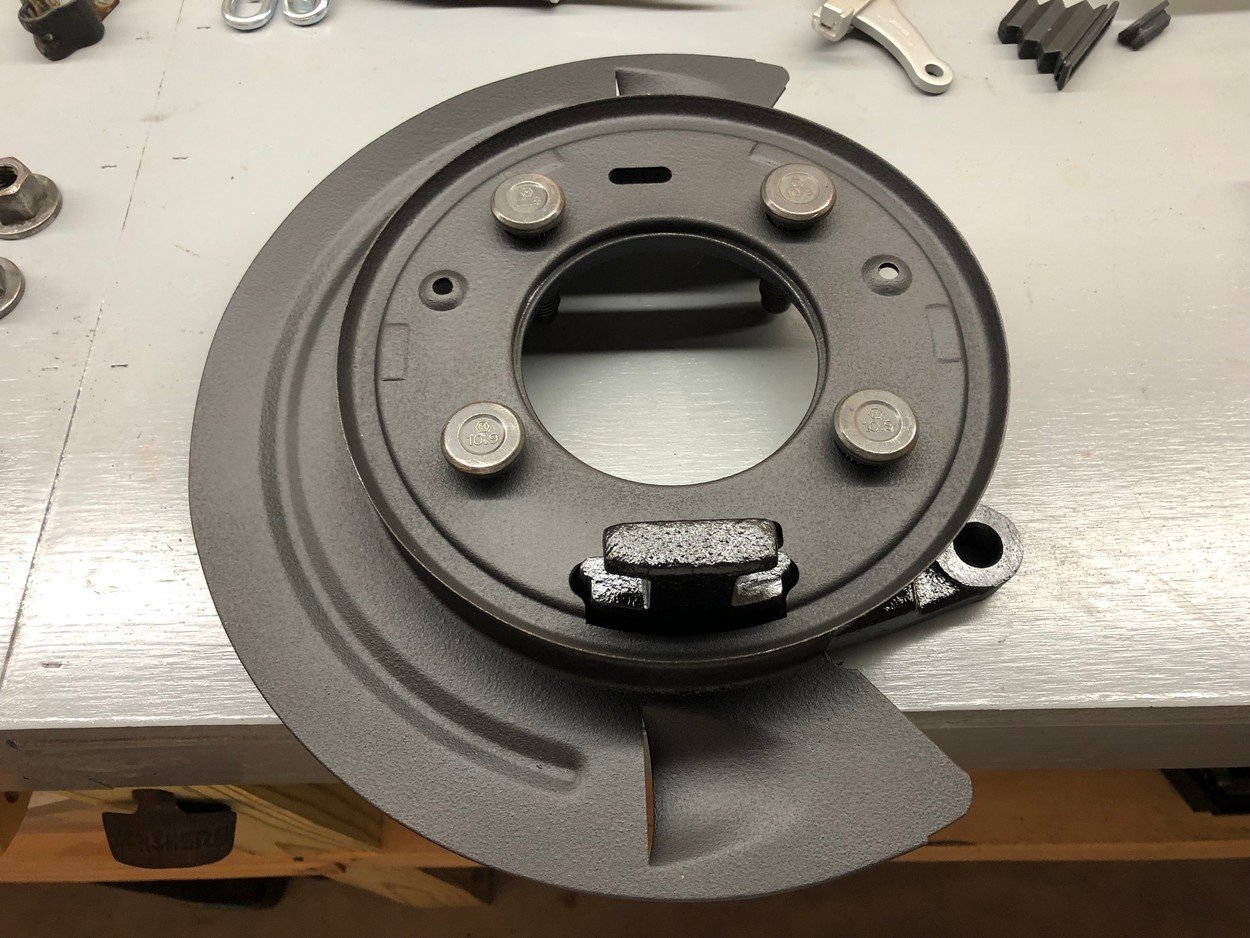
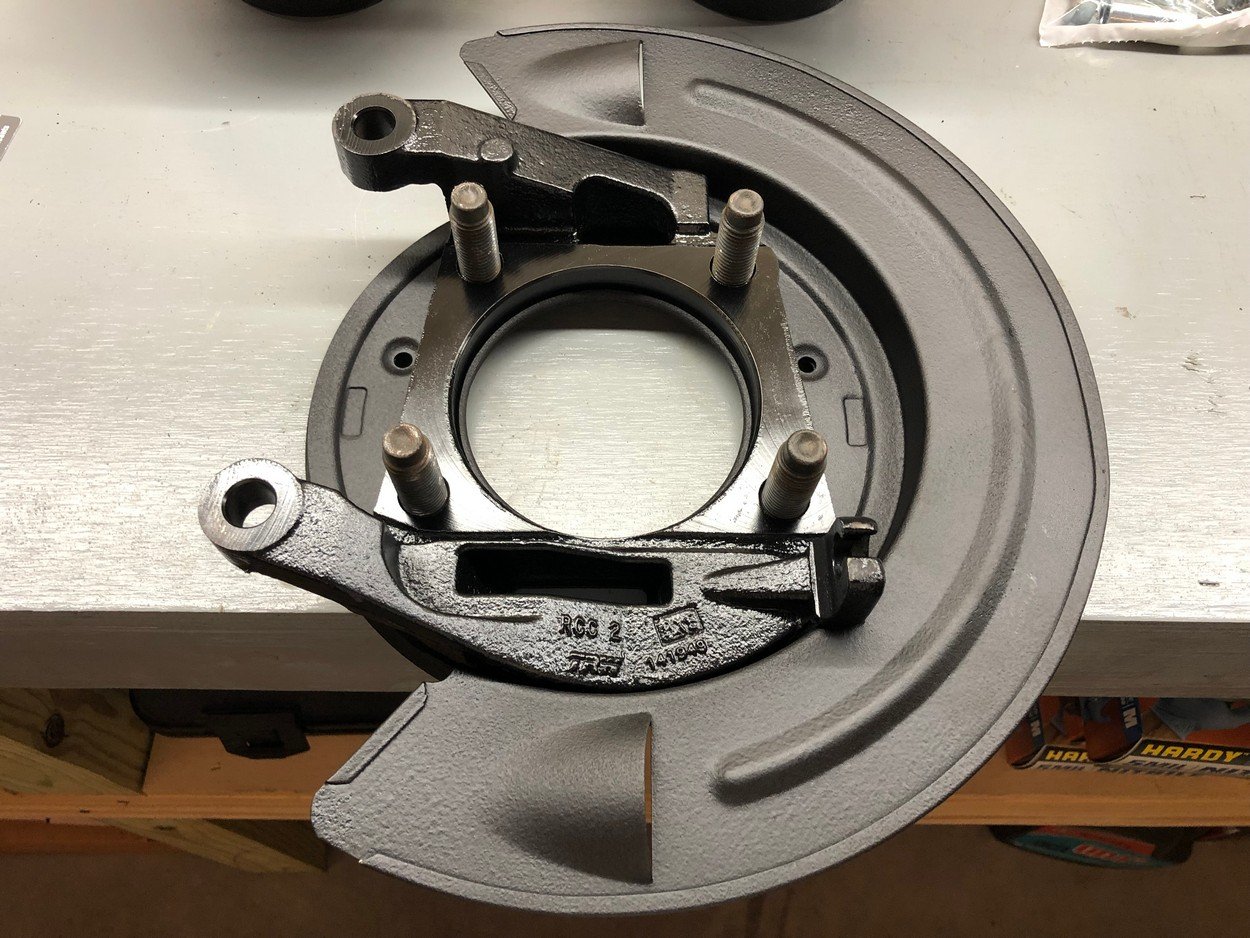
Polished spindle seal surfaces with emery cloth. then put on emergency brake assembly.
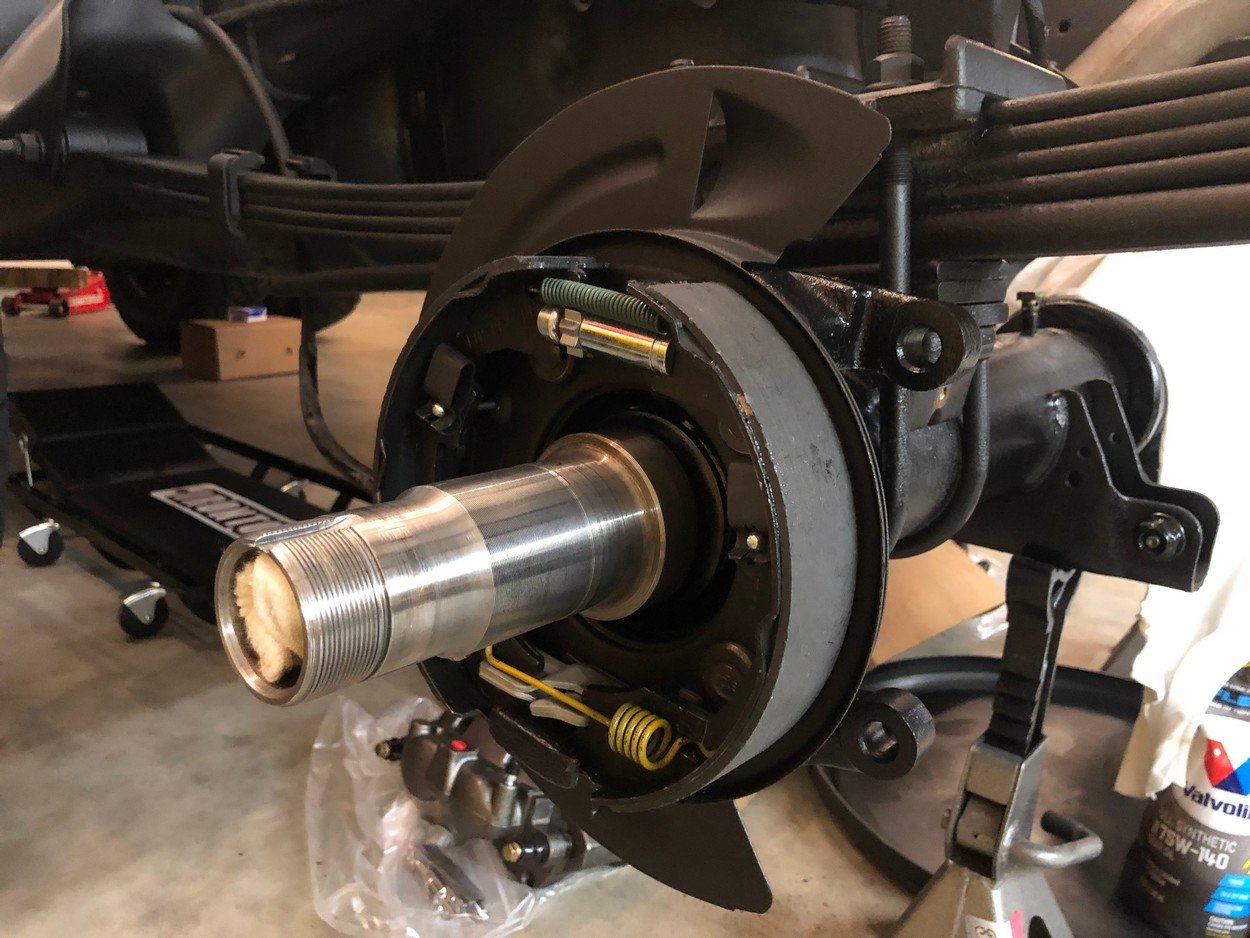
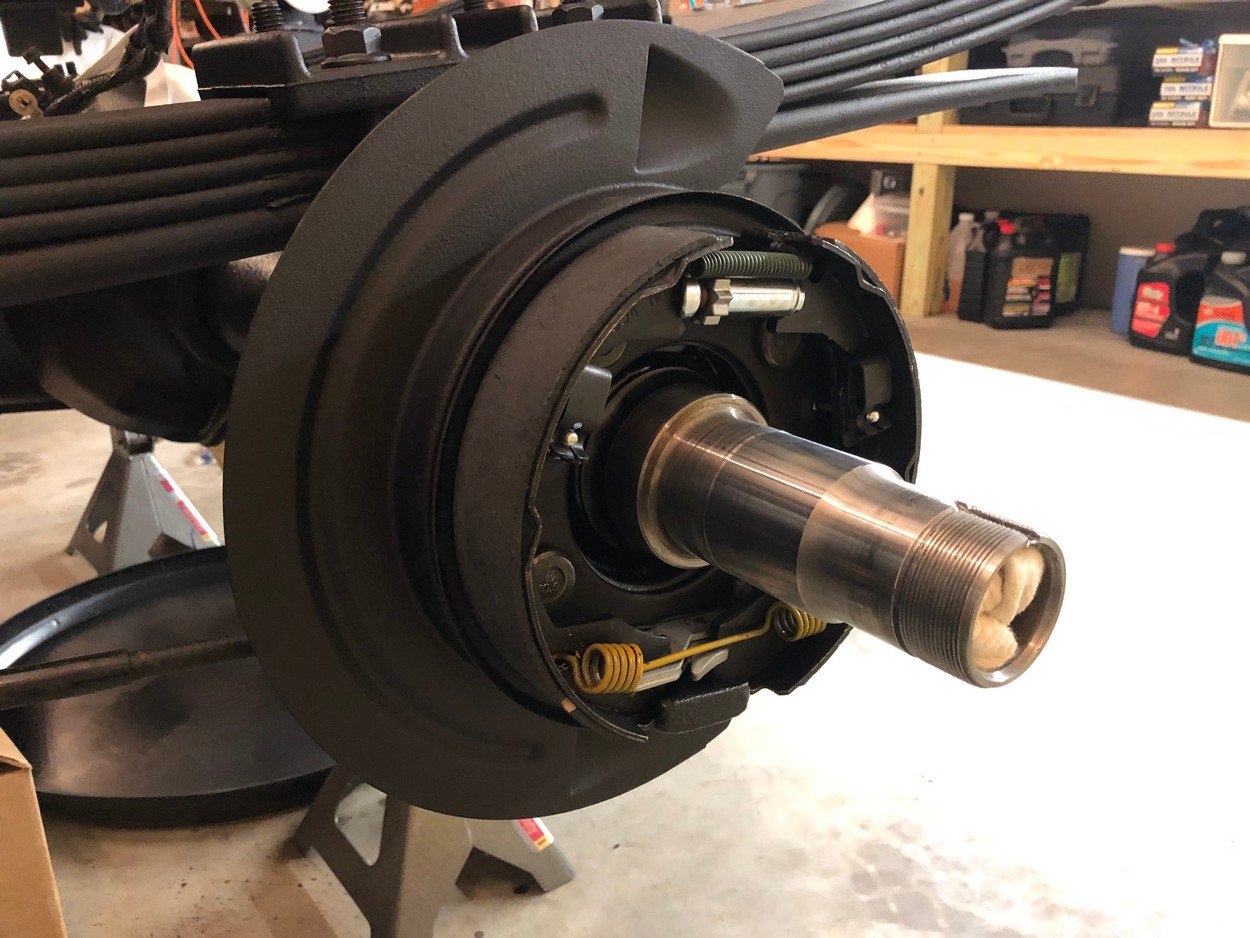
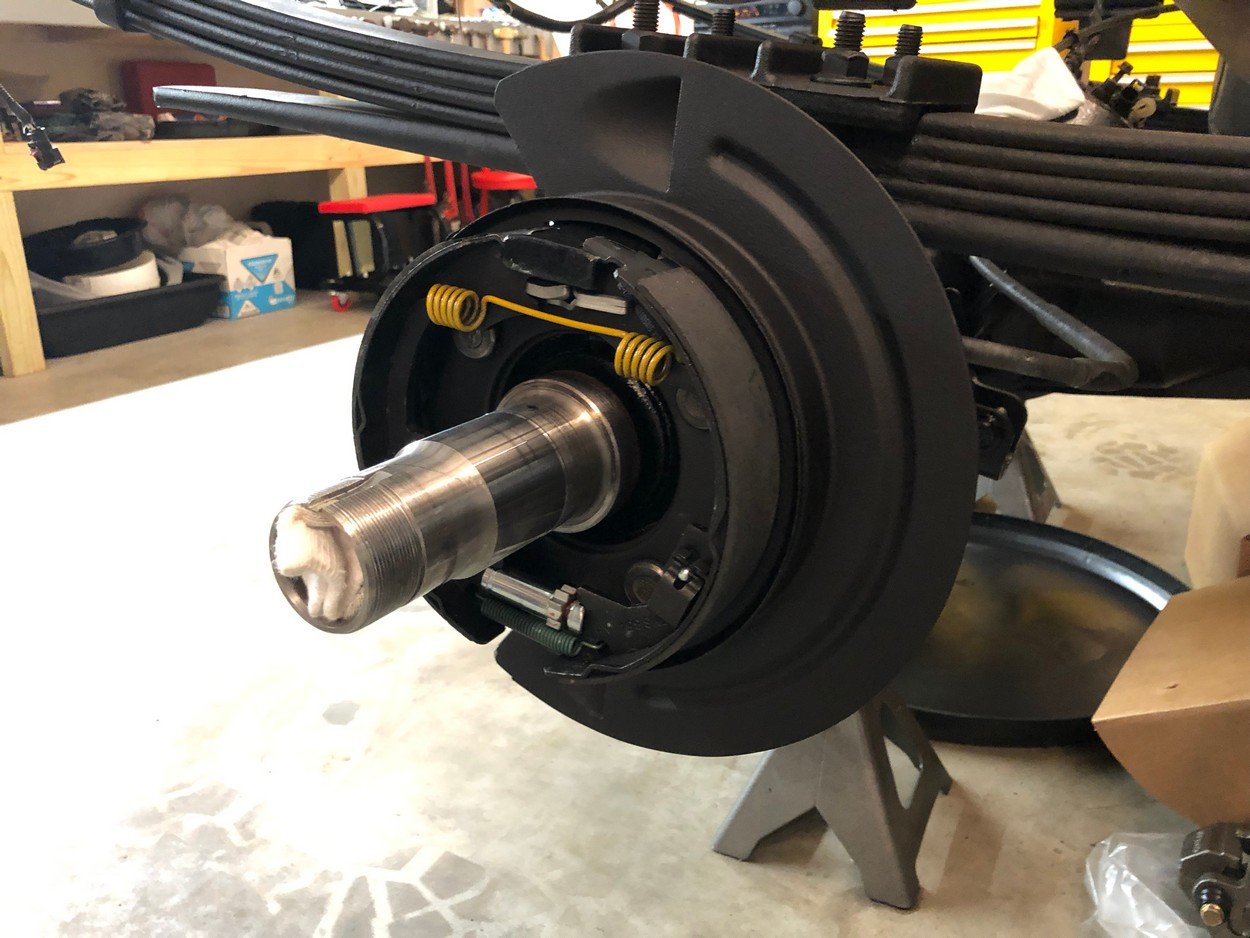
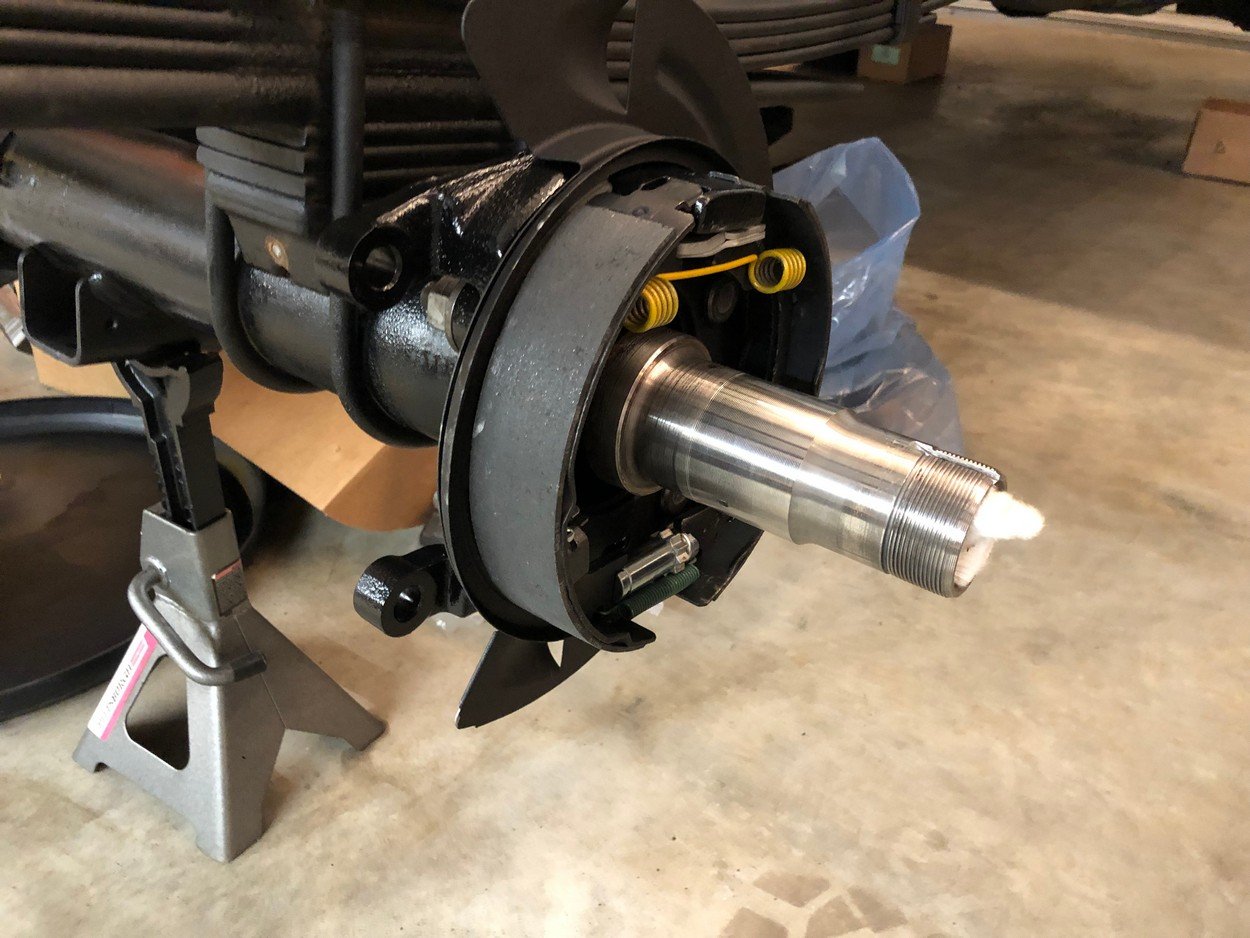
Put Timken new races, bearings and seals back into hubs, install on spindles and slide in axles.
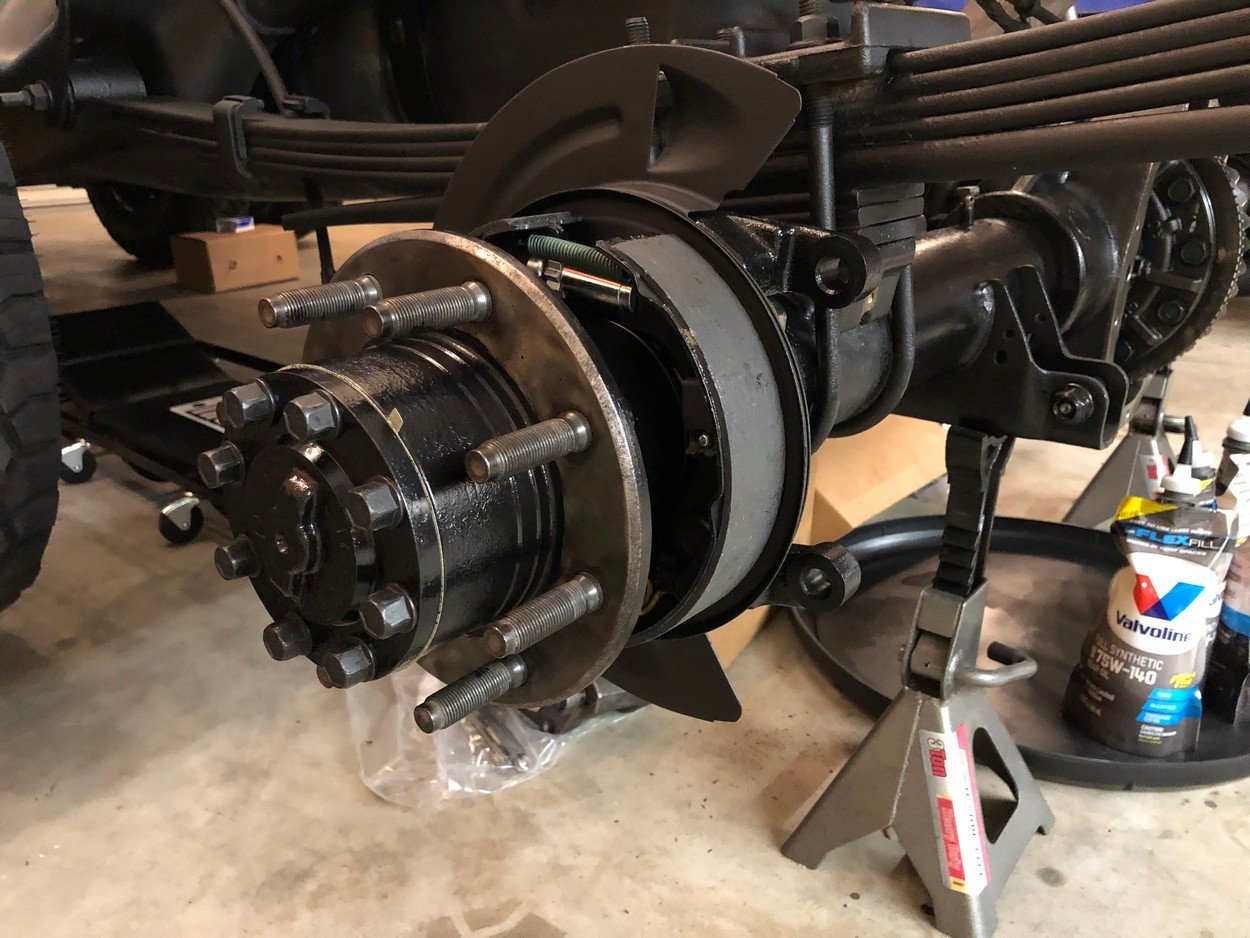
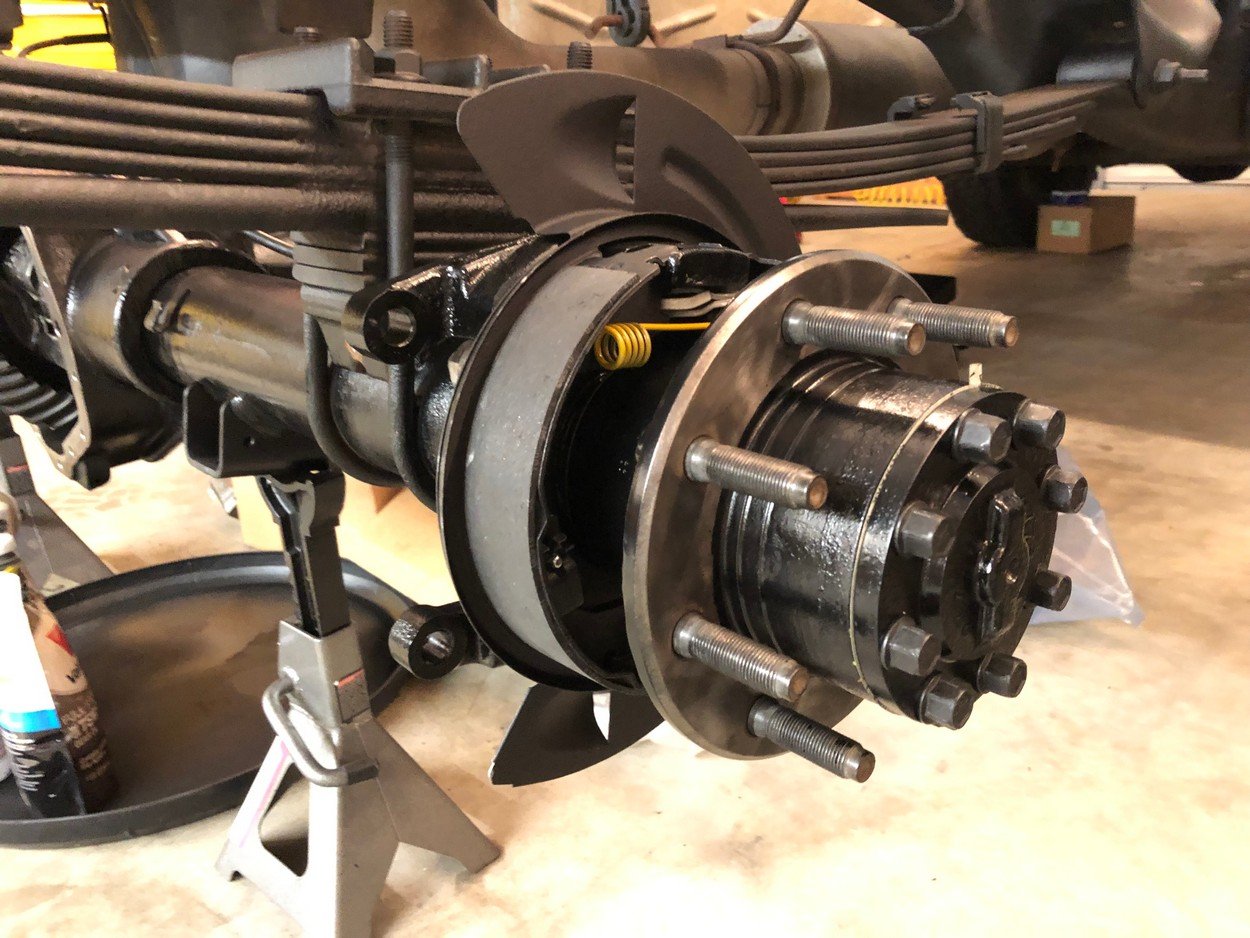
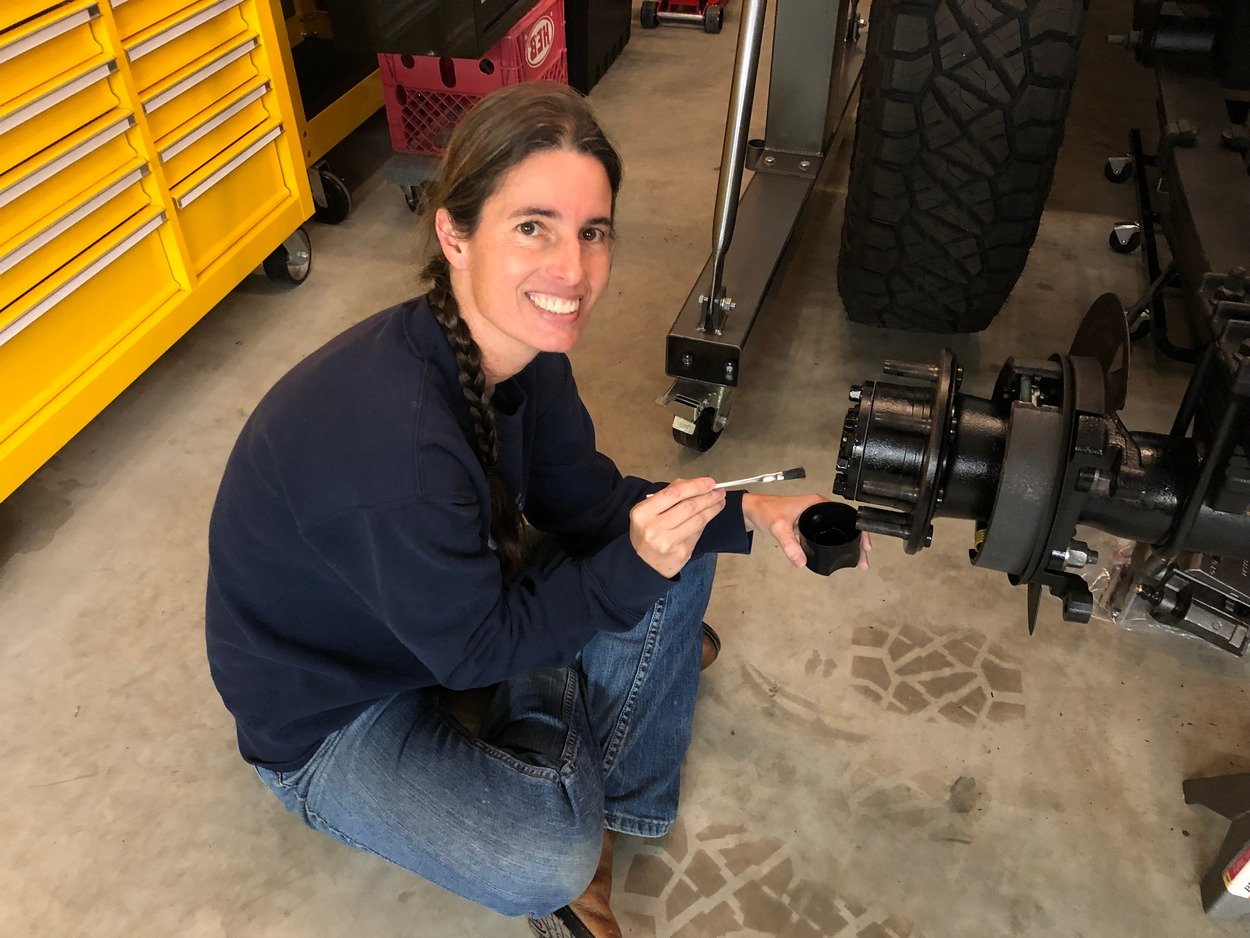
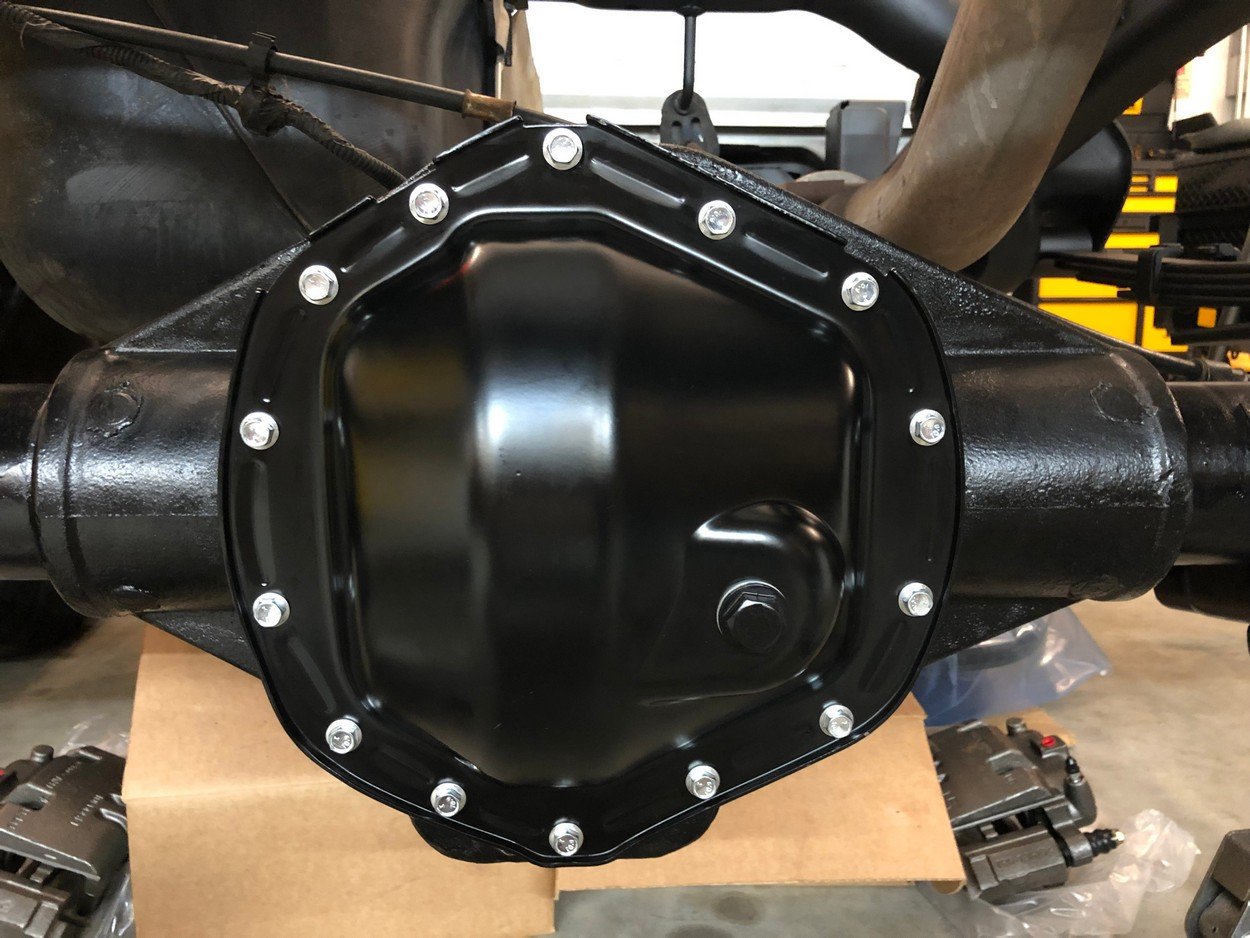
Put axles, new differential cover/gasket and new gear oil.
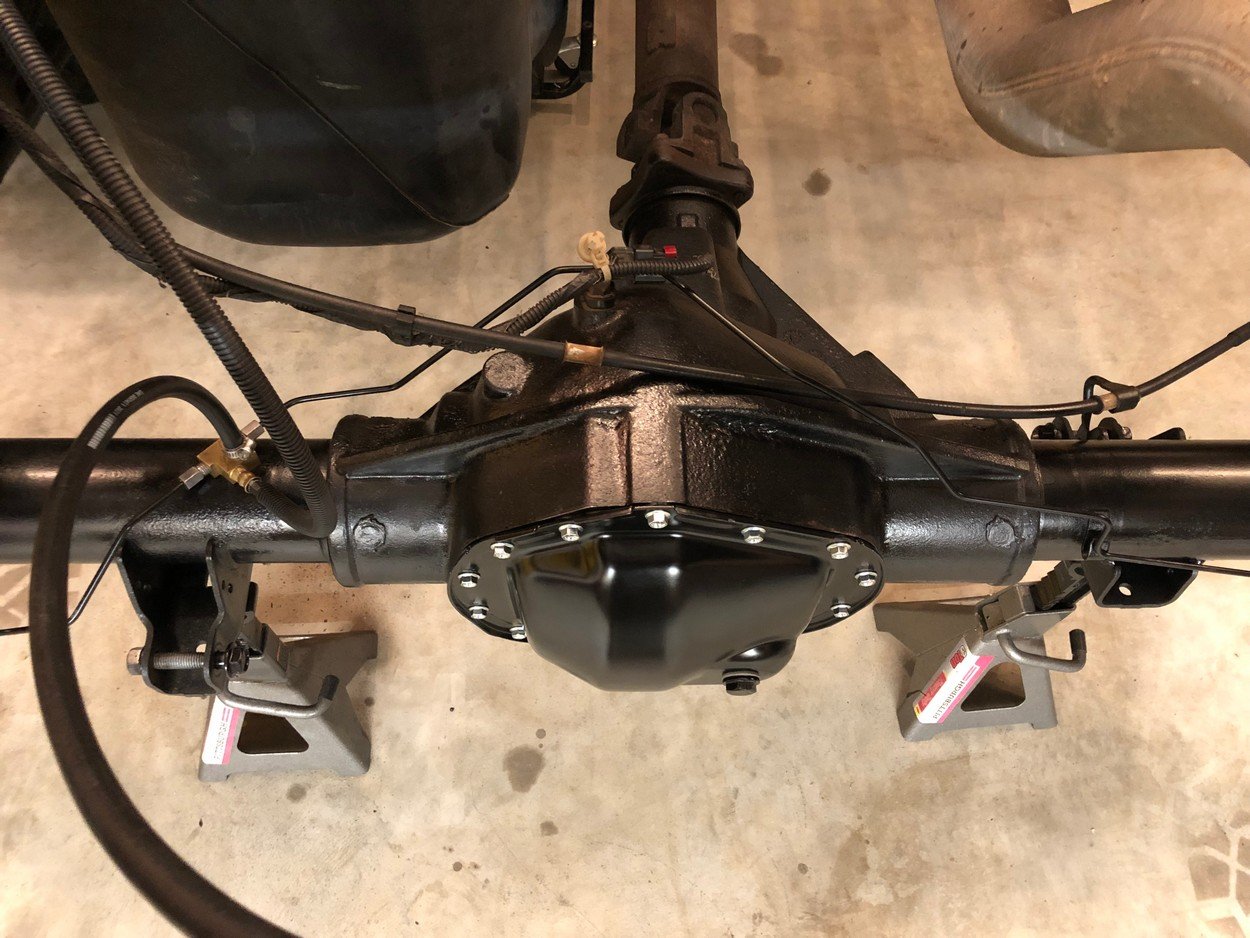
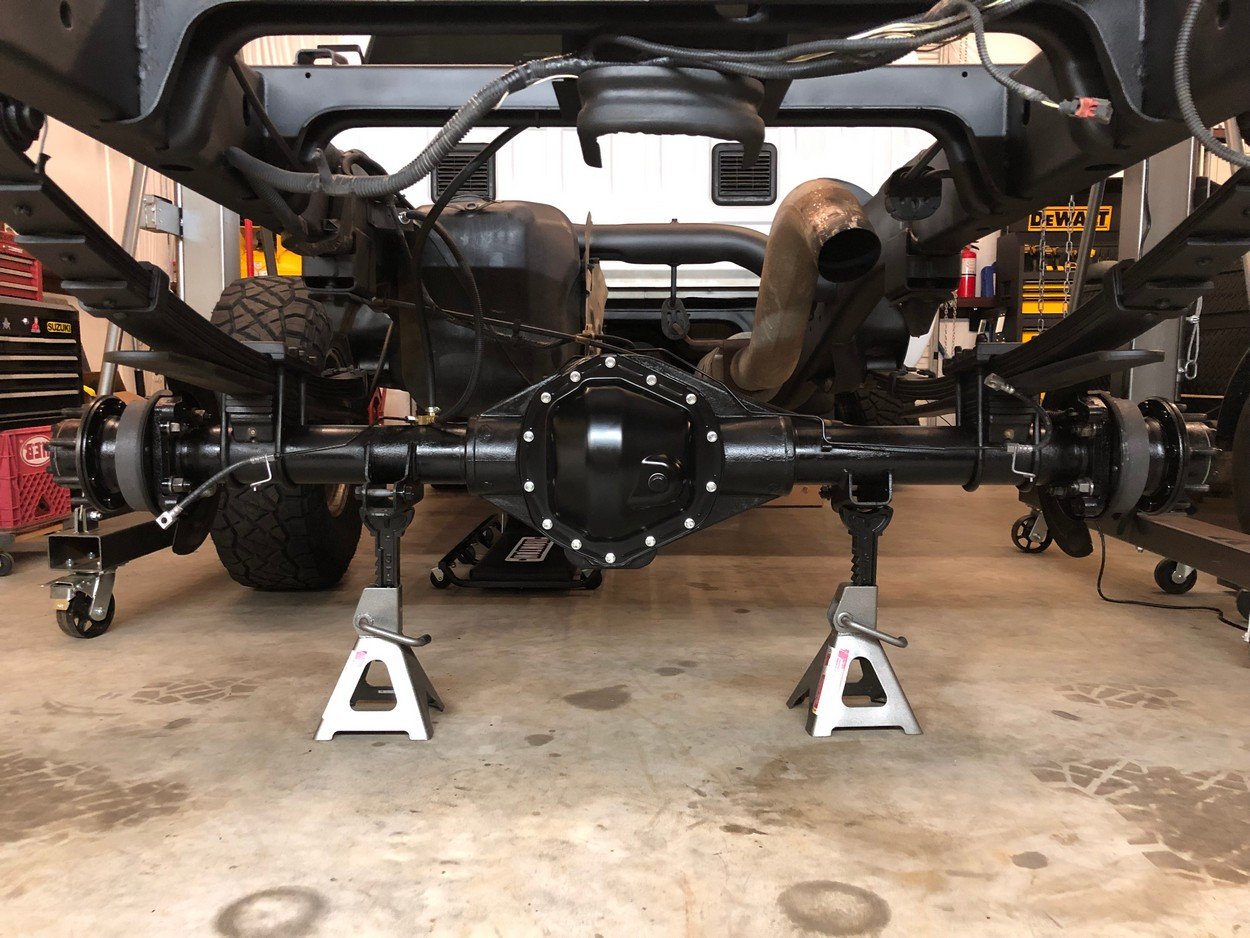
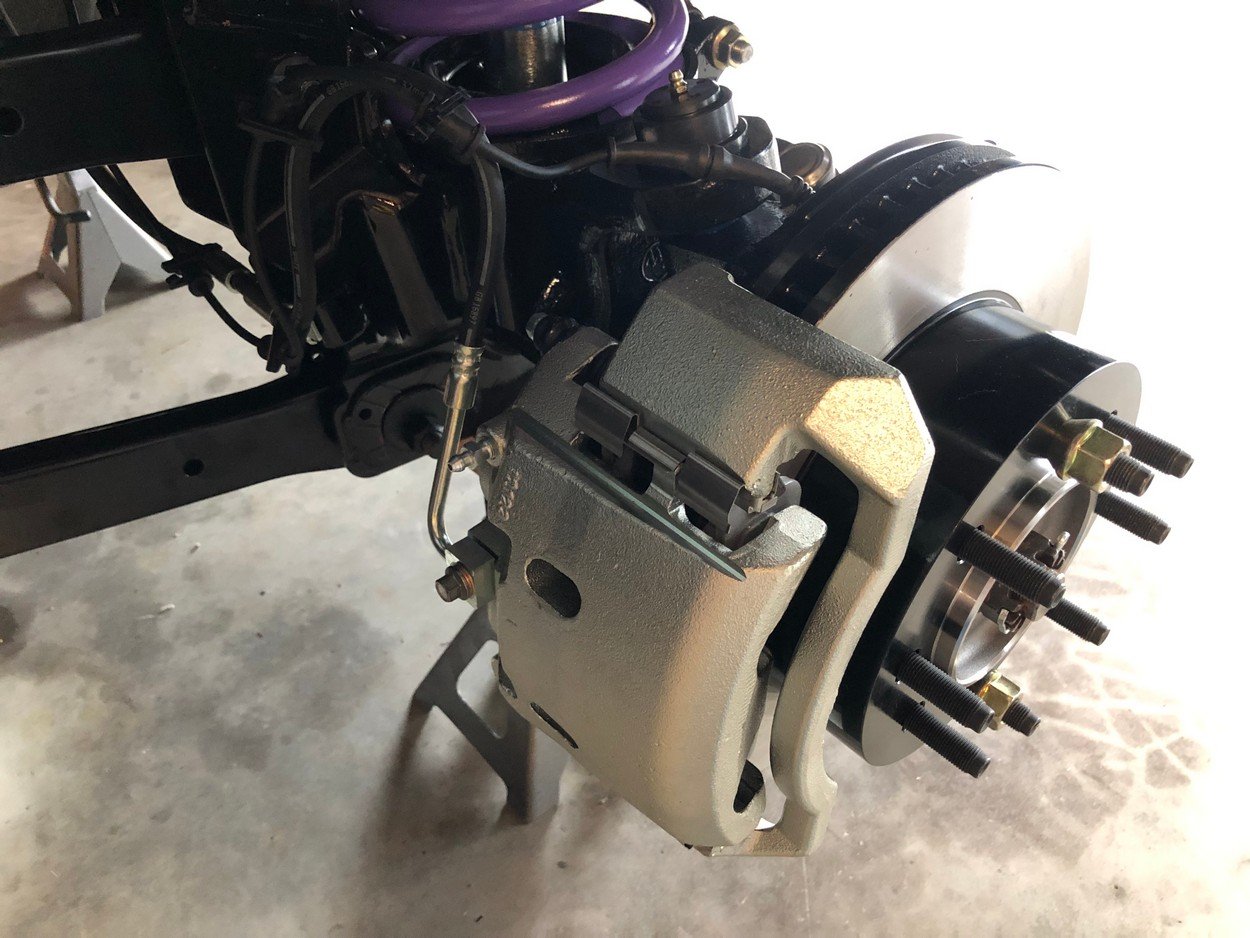
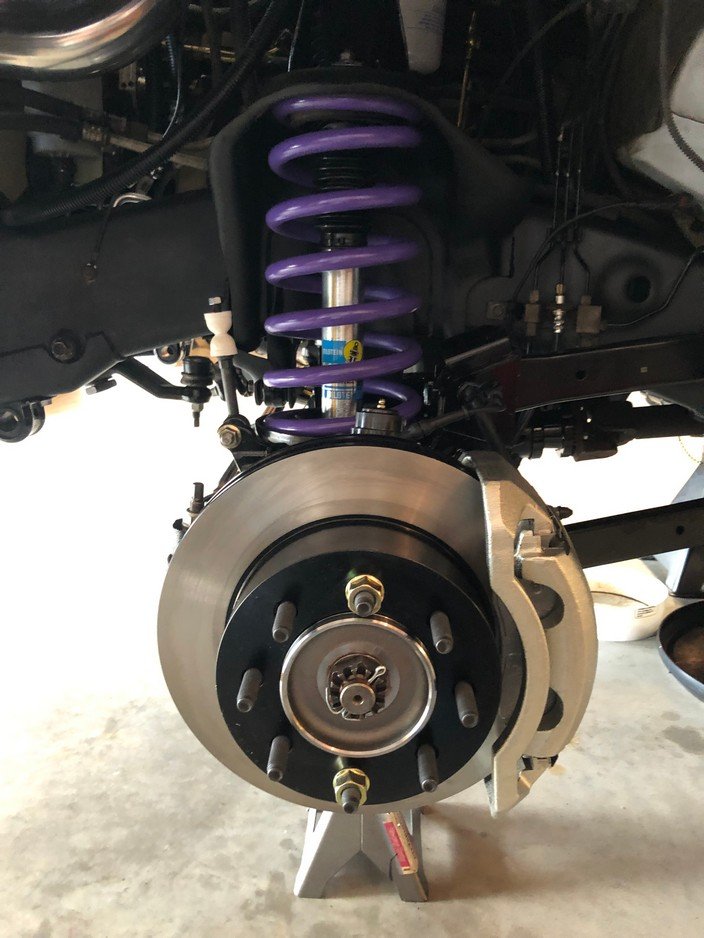
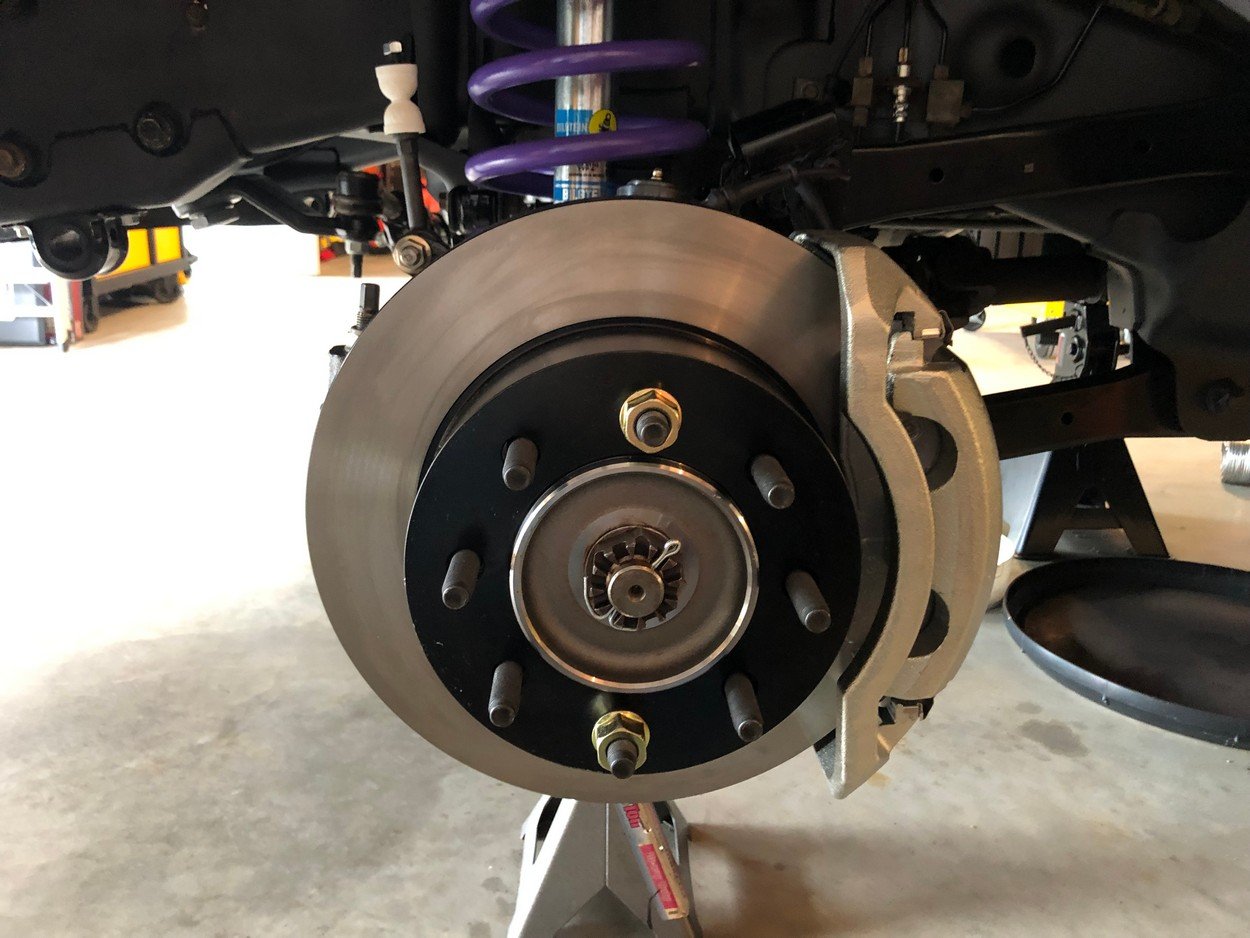
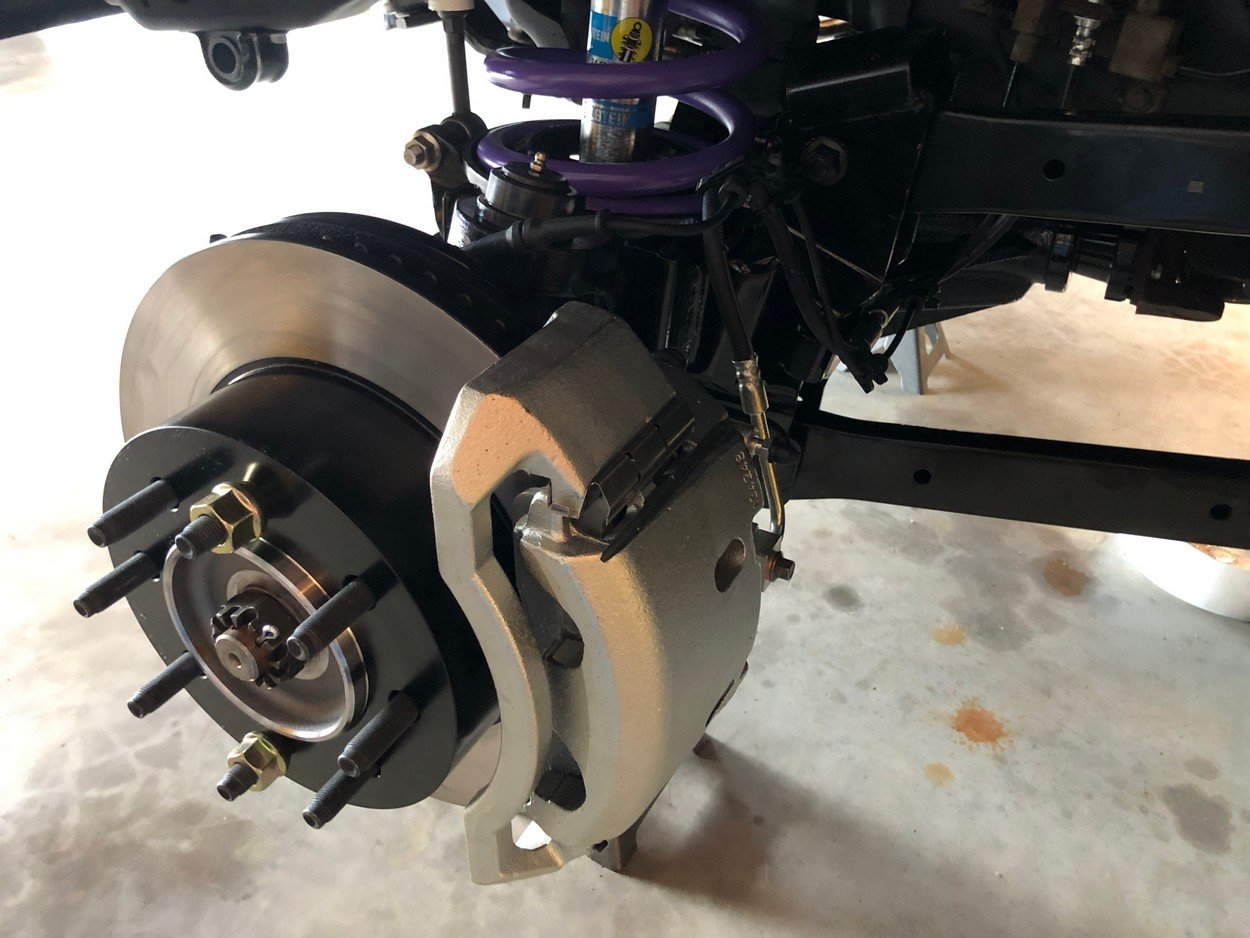
All new brake system. All hardware, new brakelines, calipers, rotors and pads
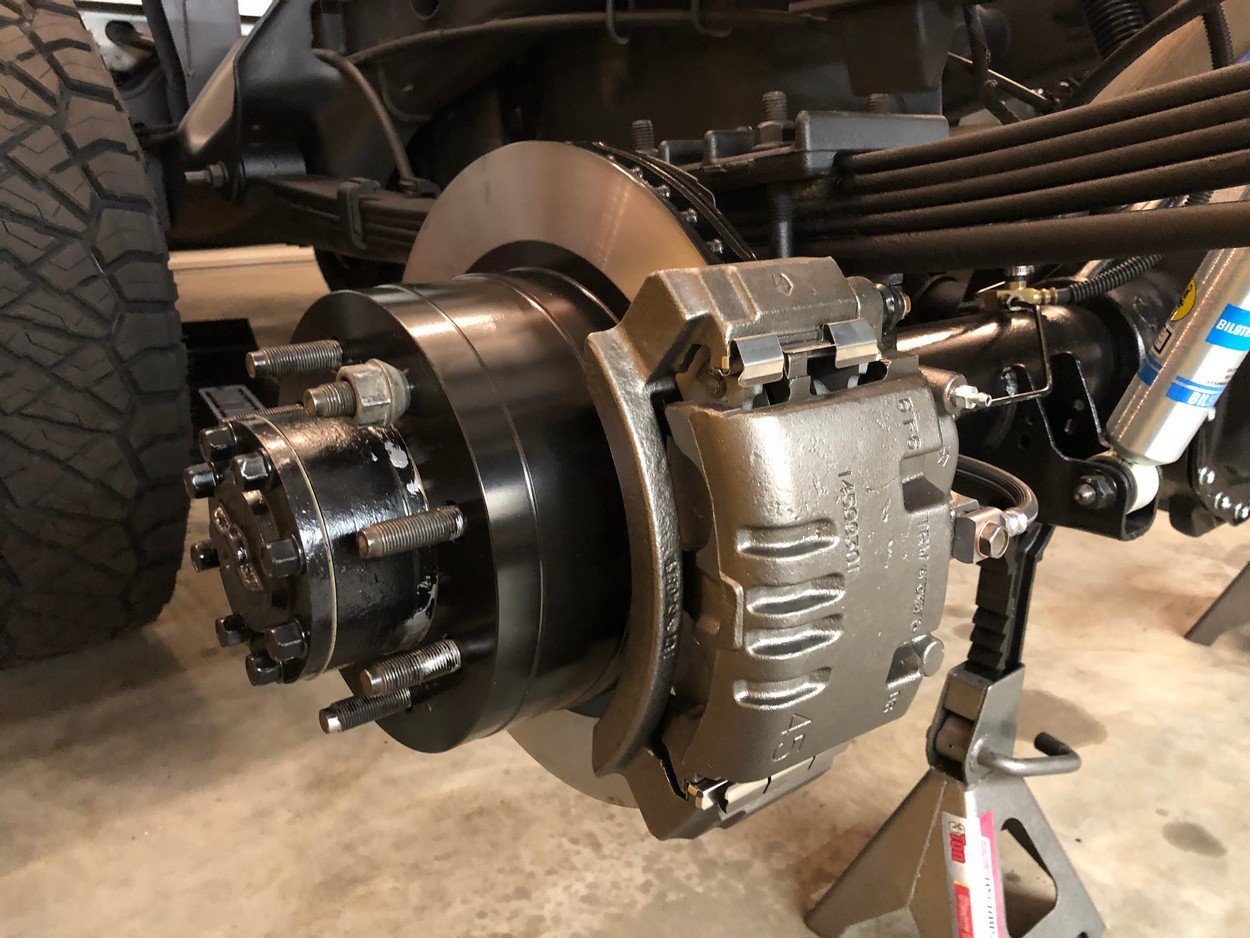
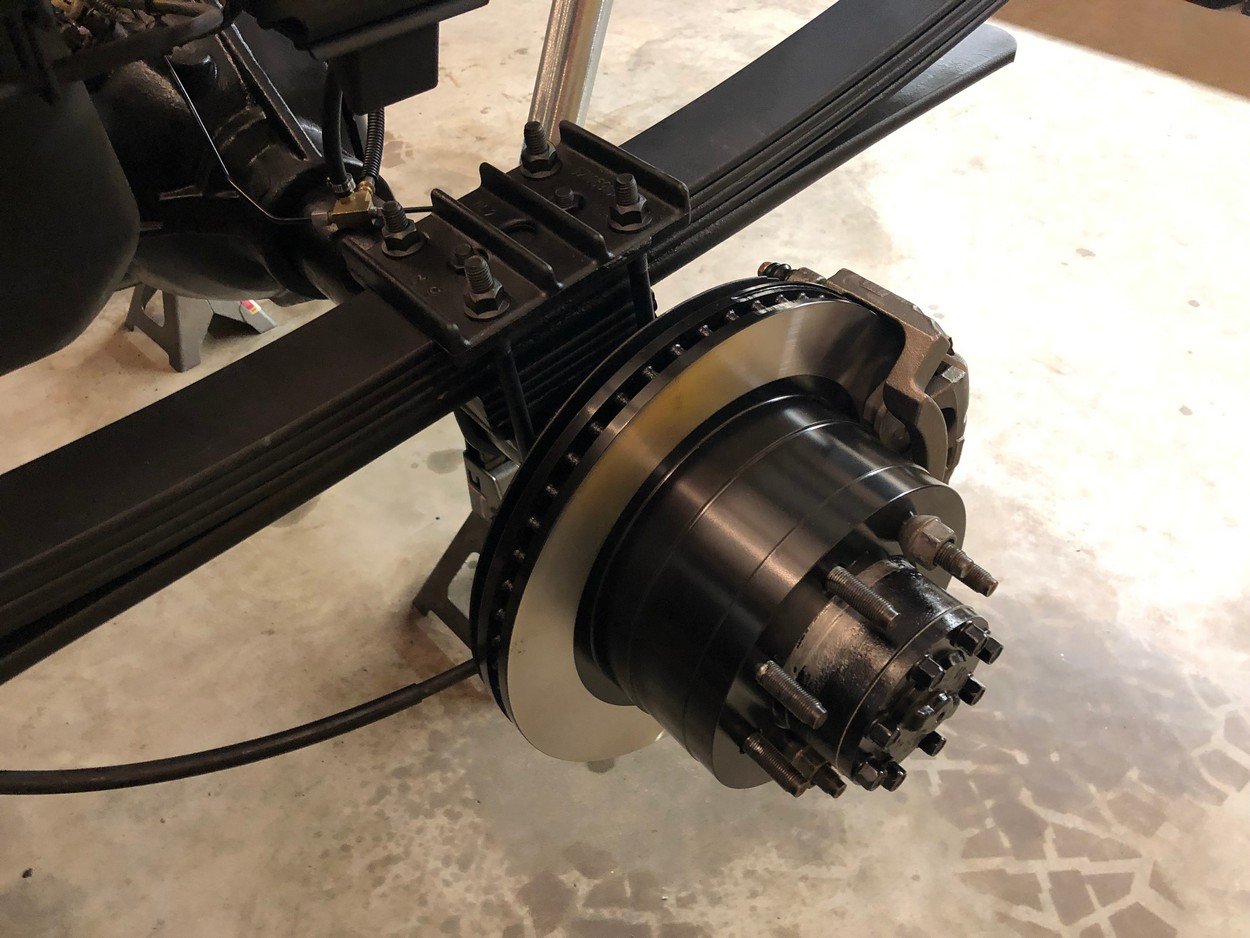

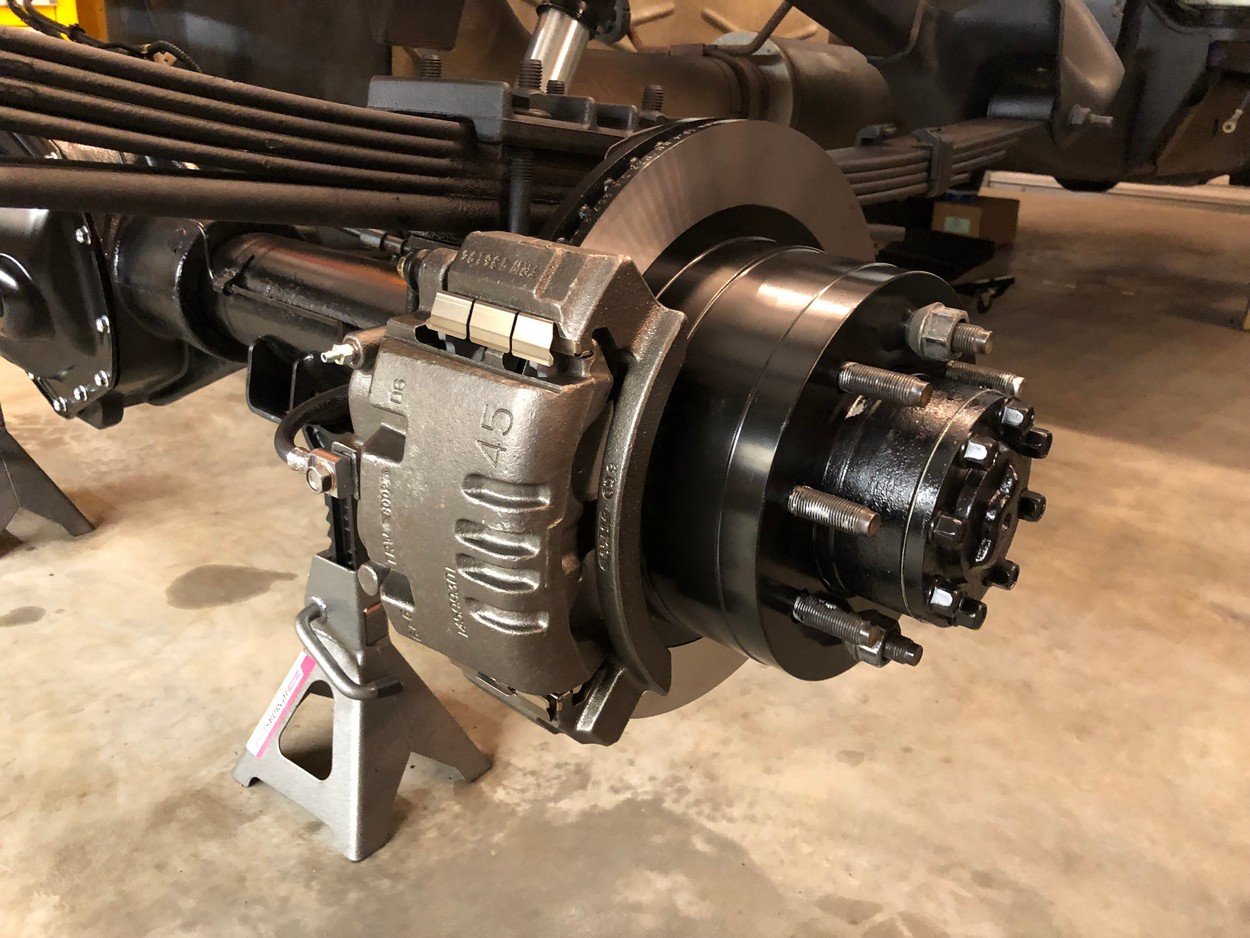
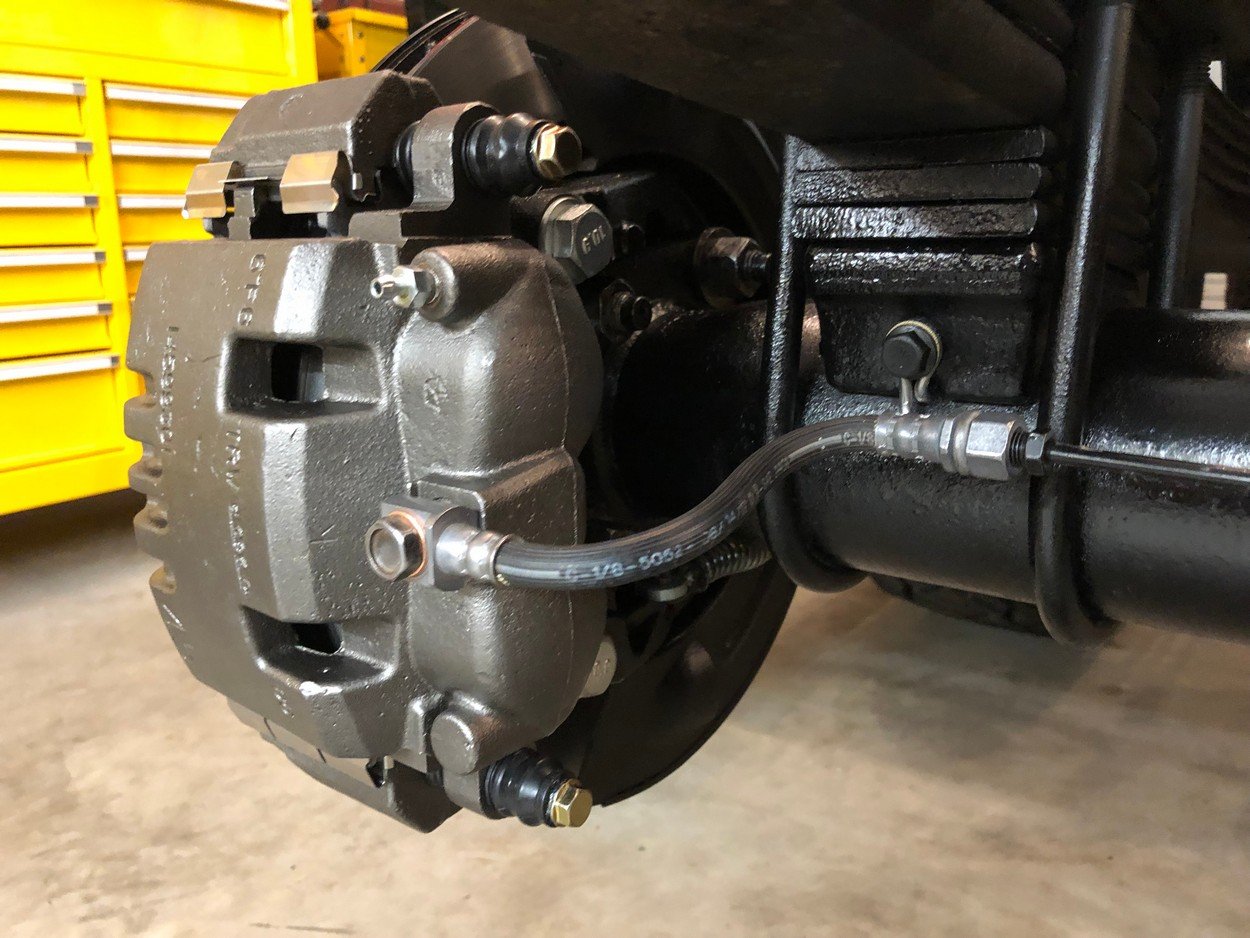
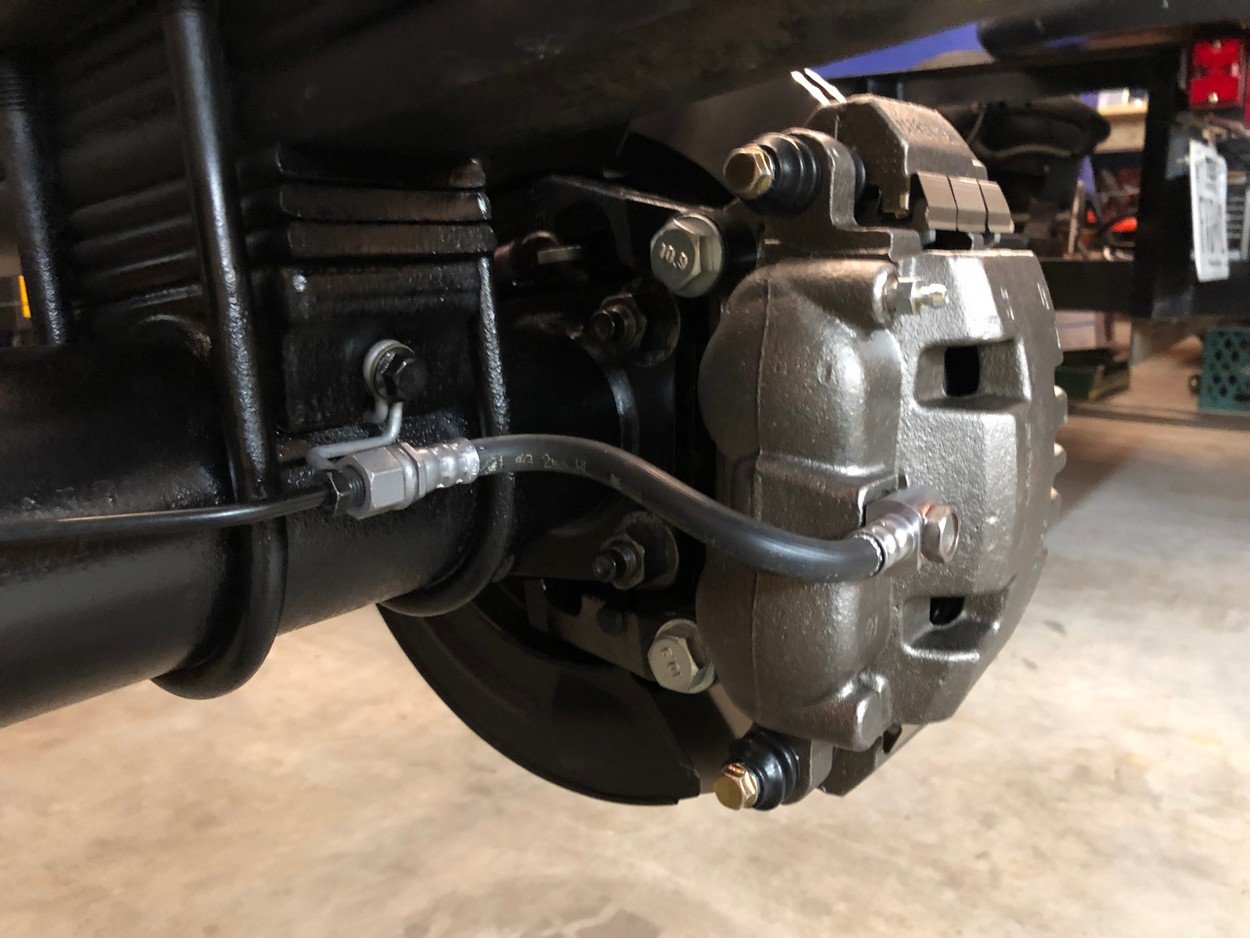
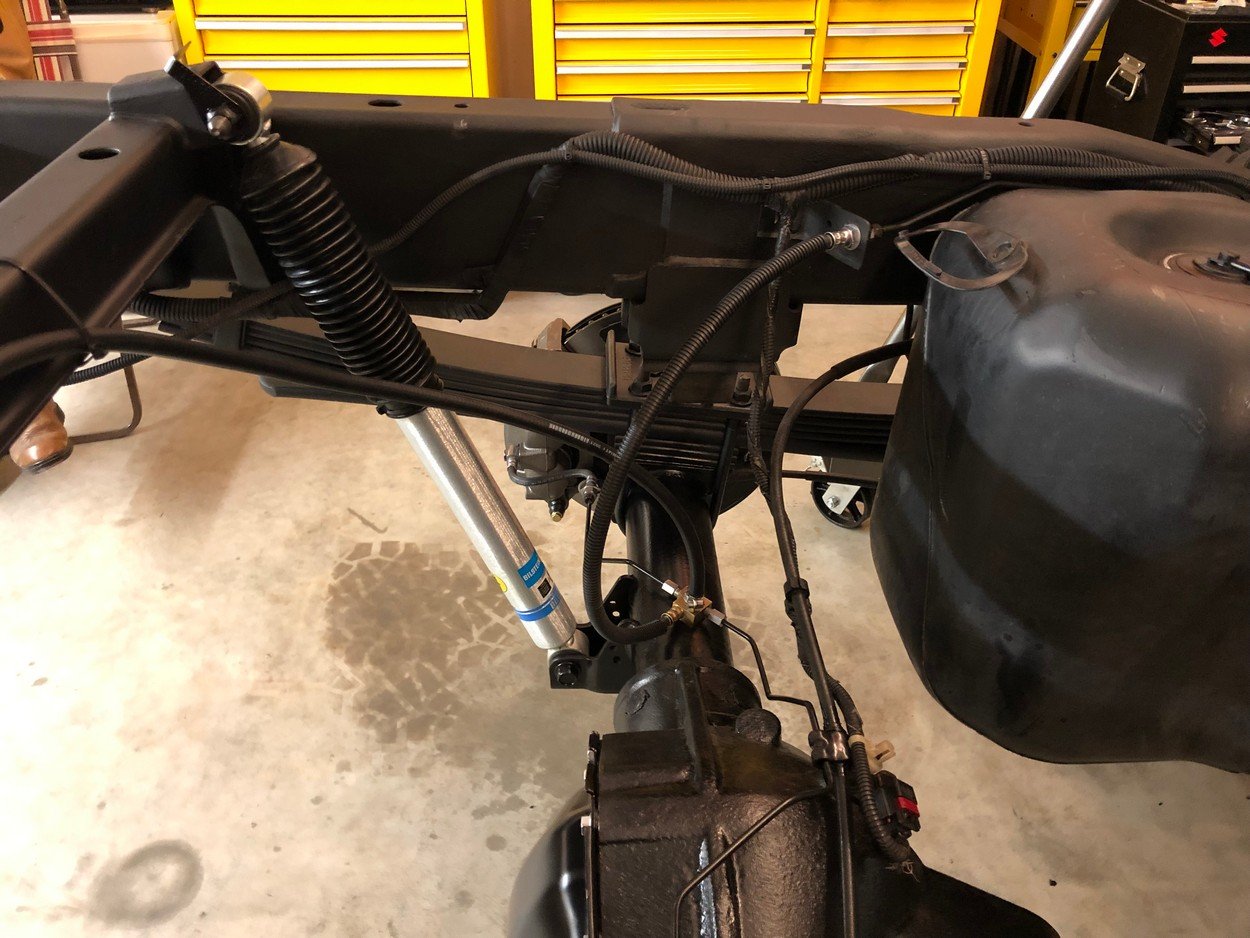
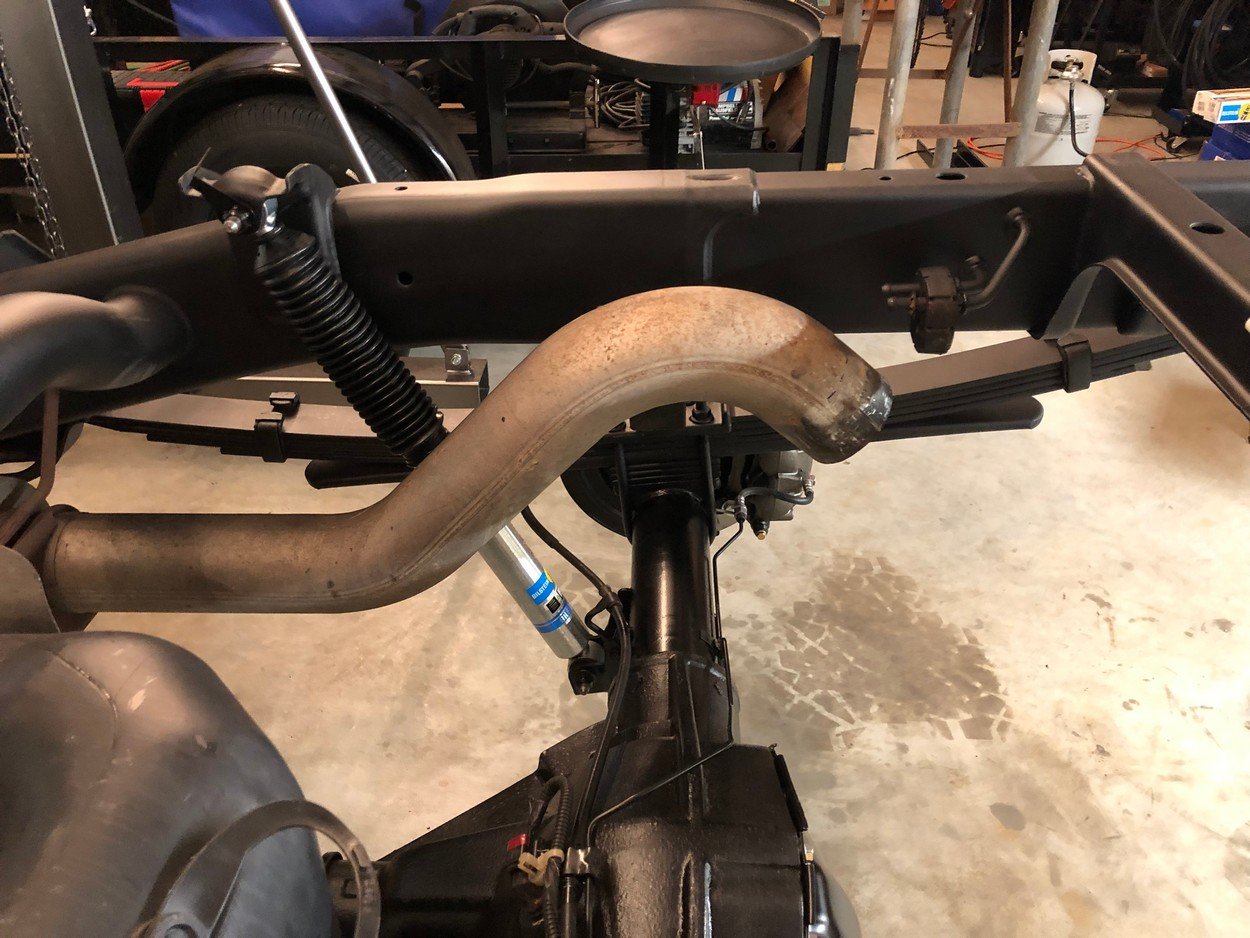
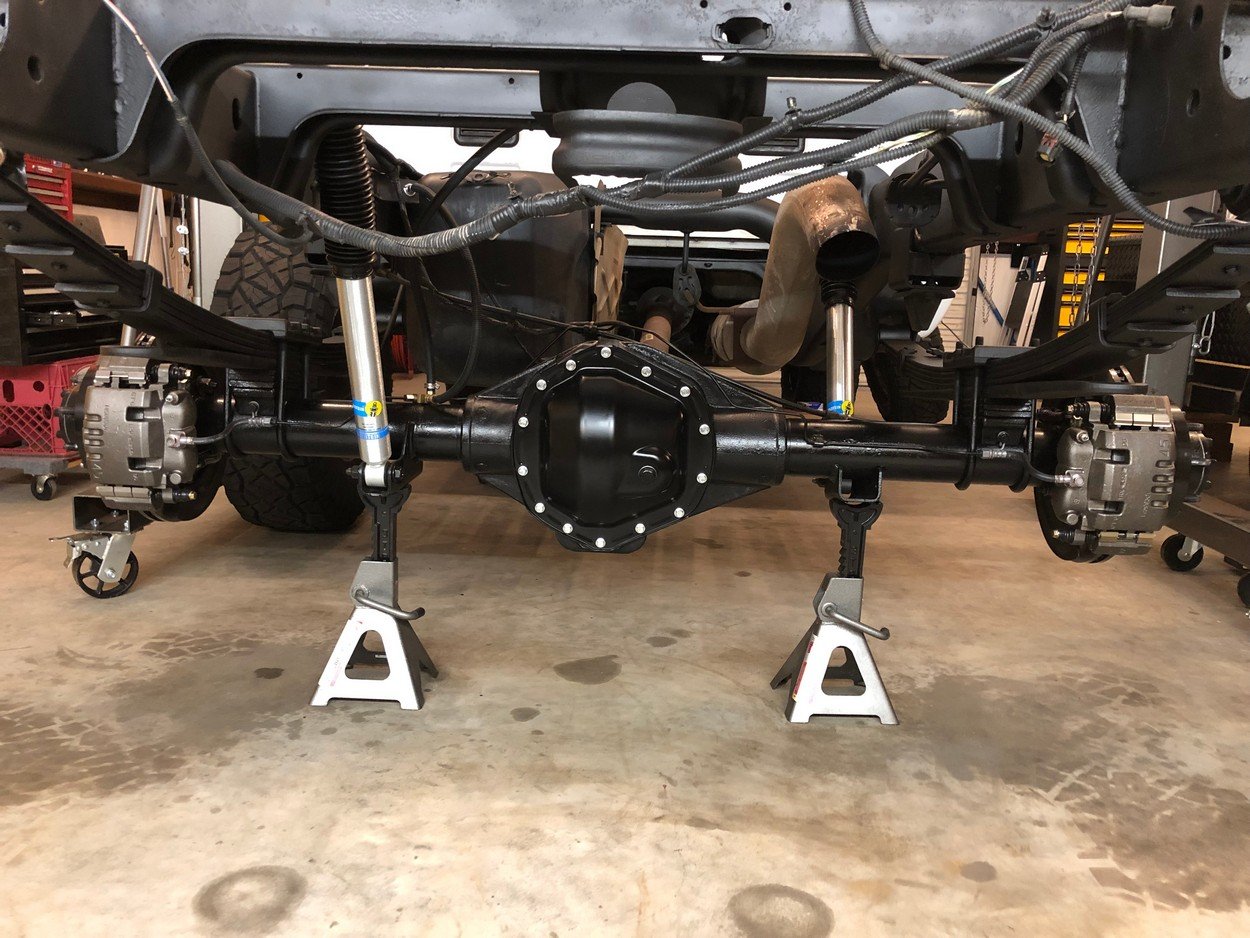
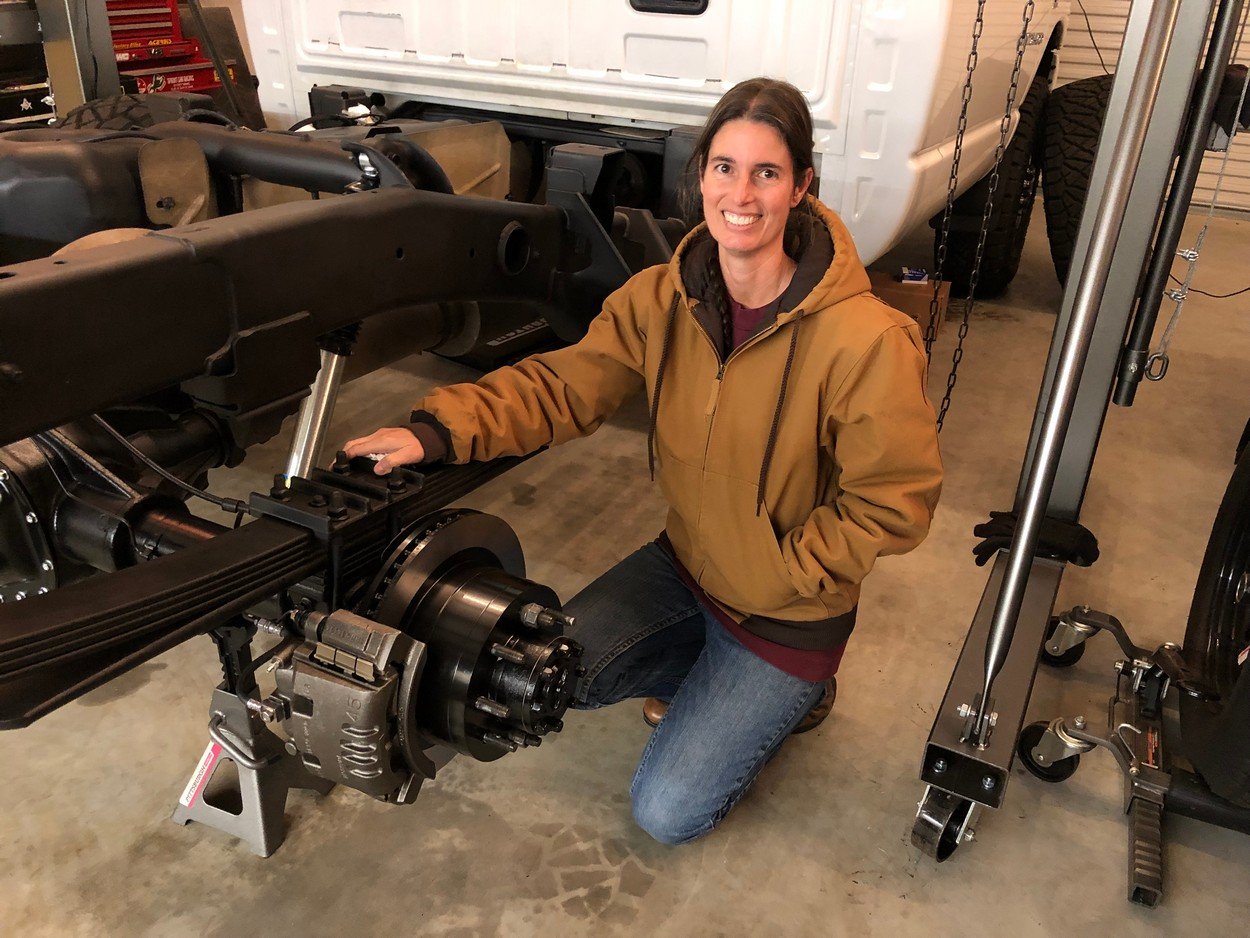
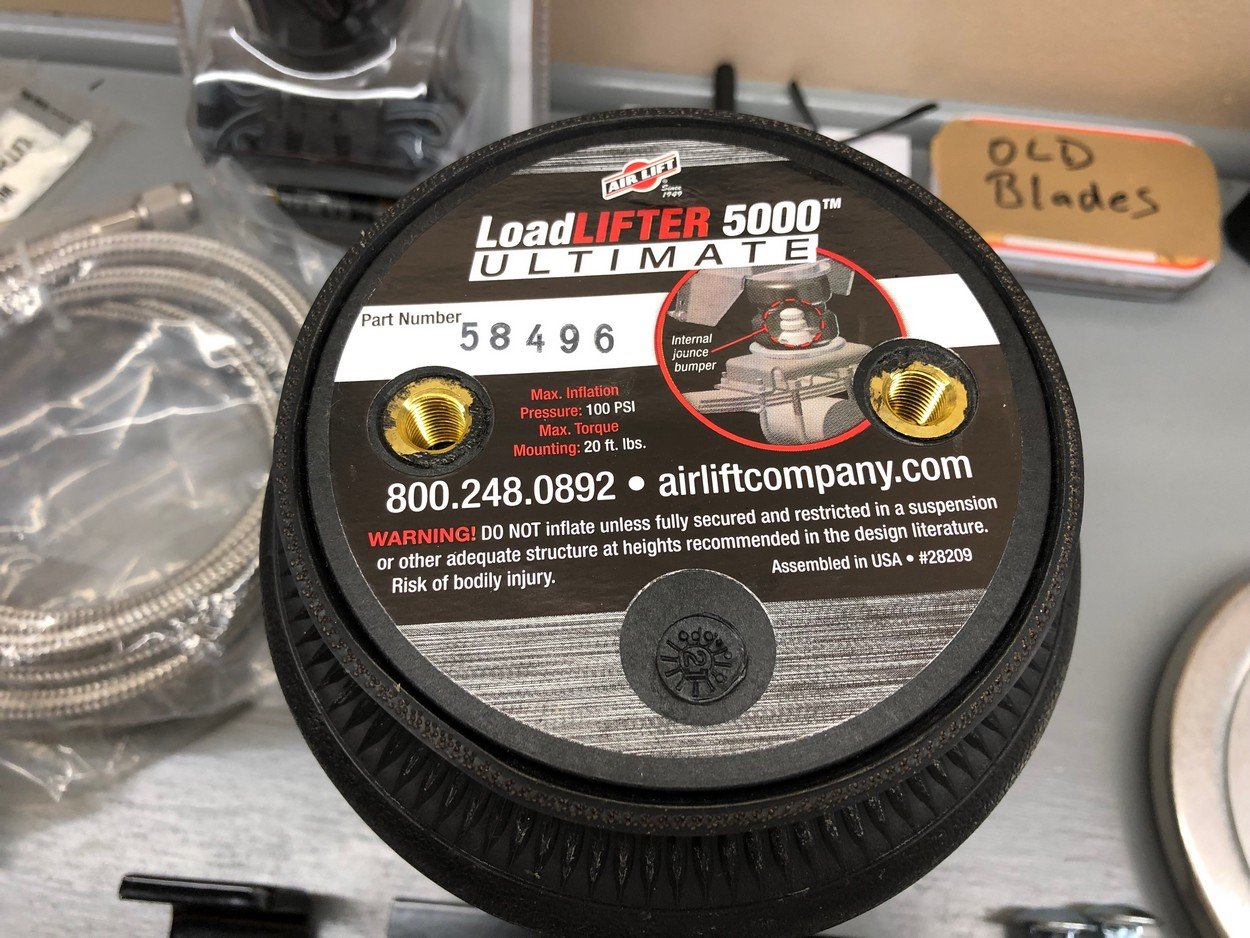
Installed new airbags
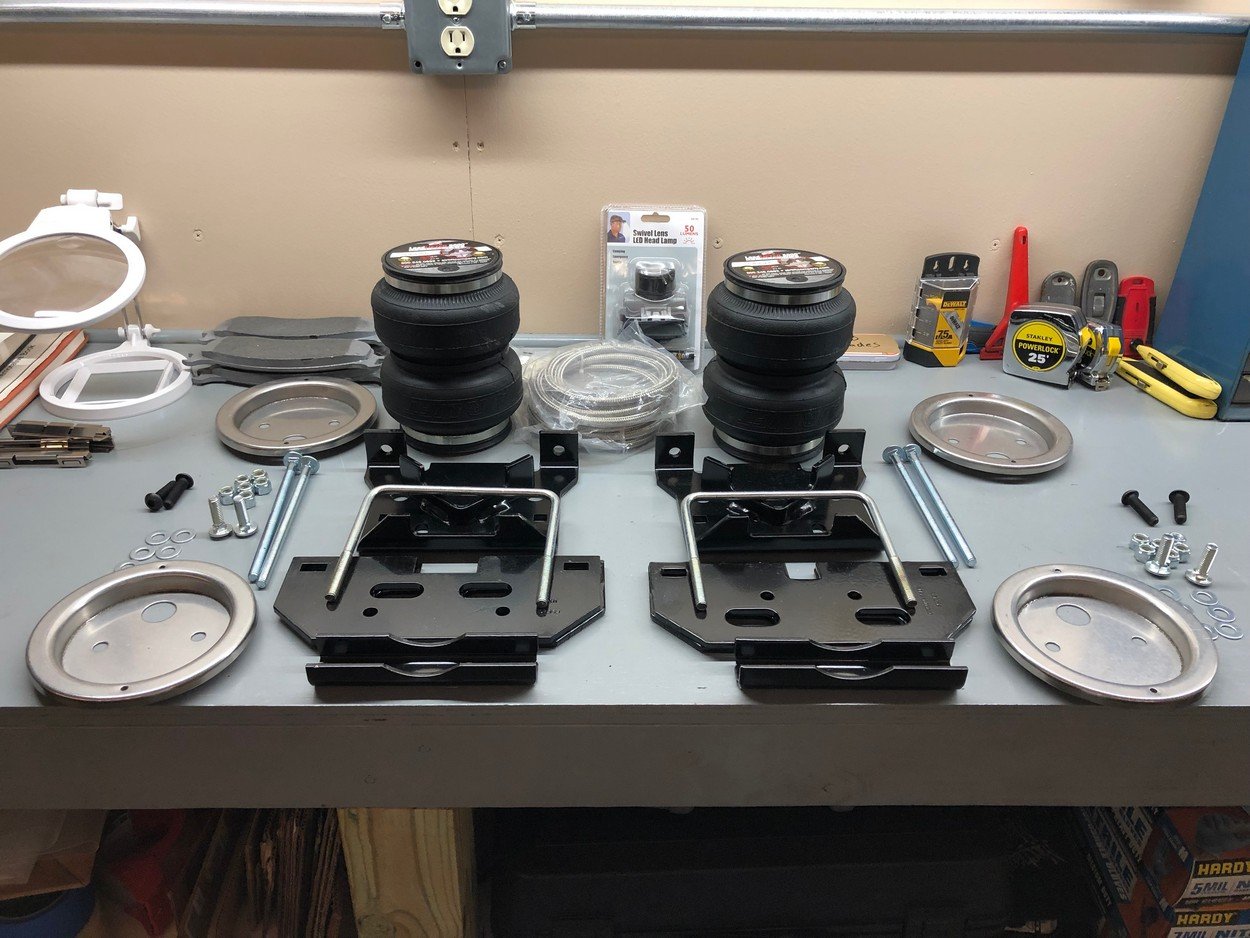
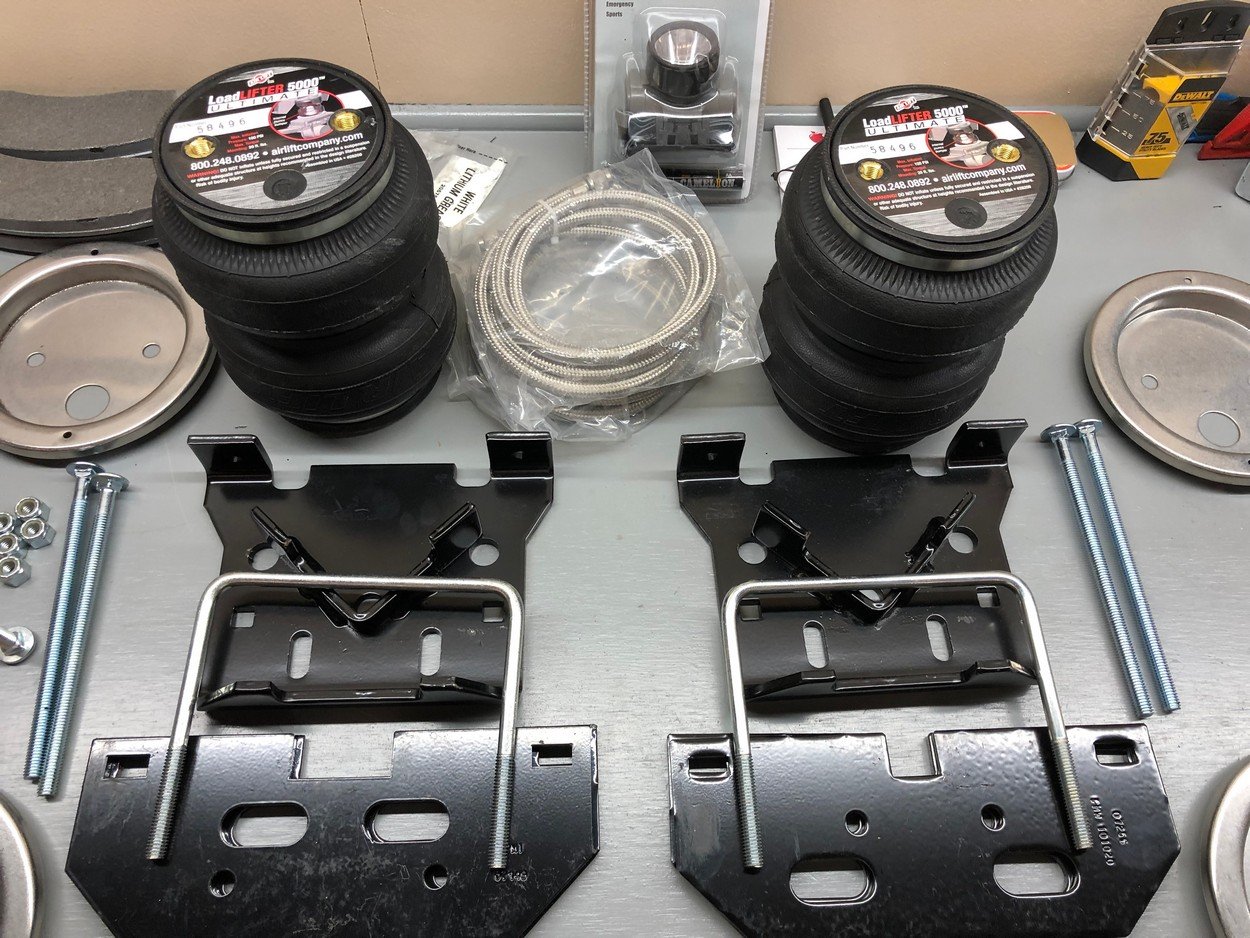
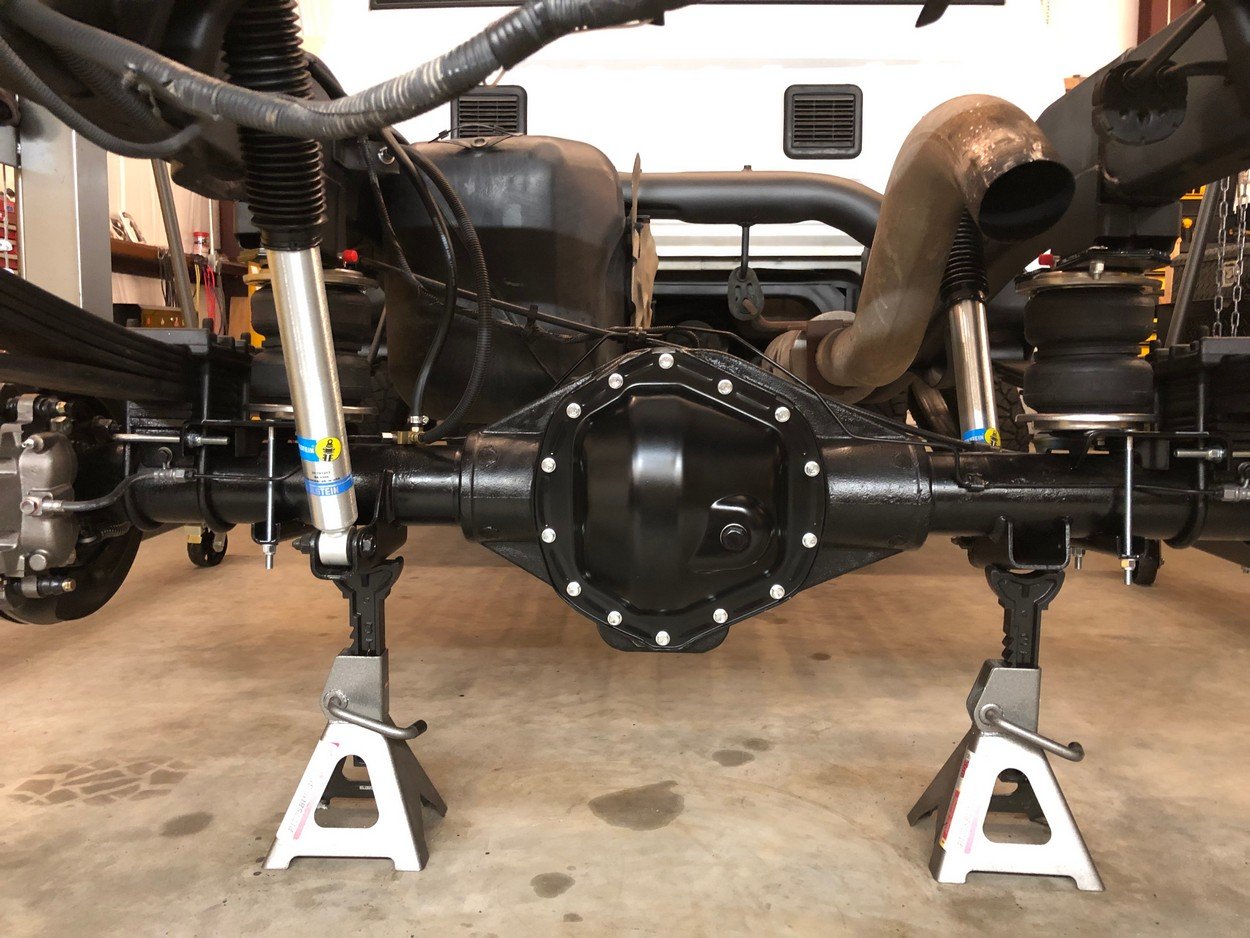
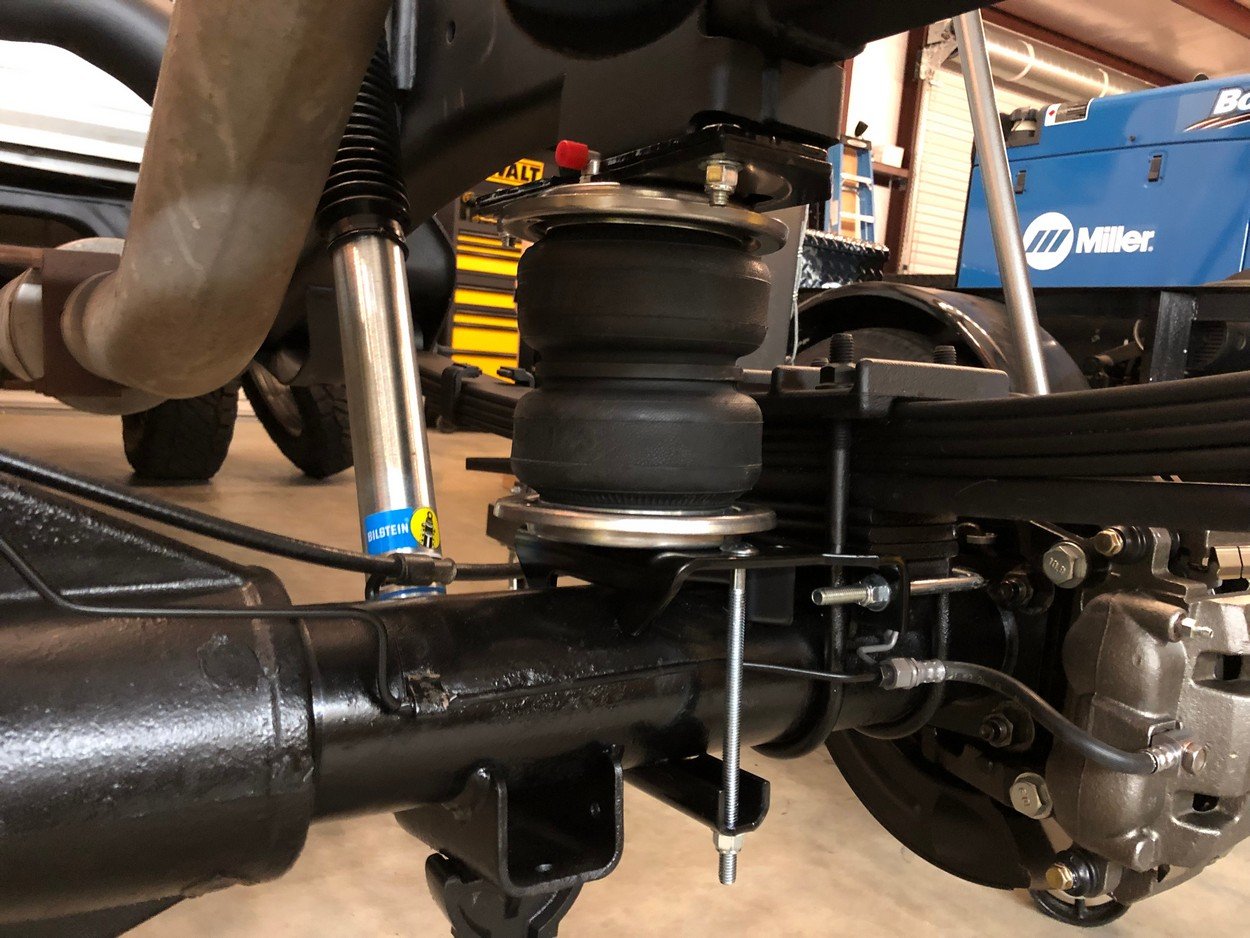
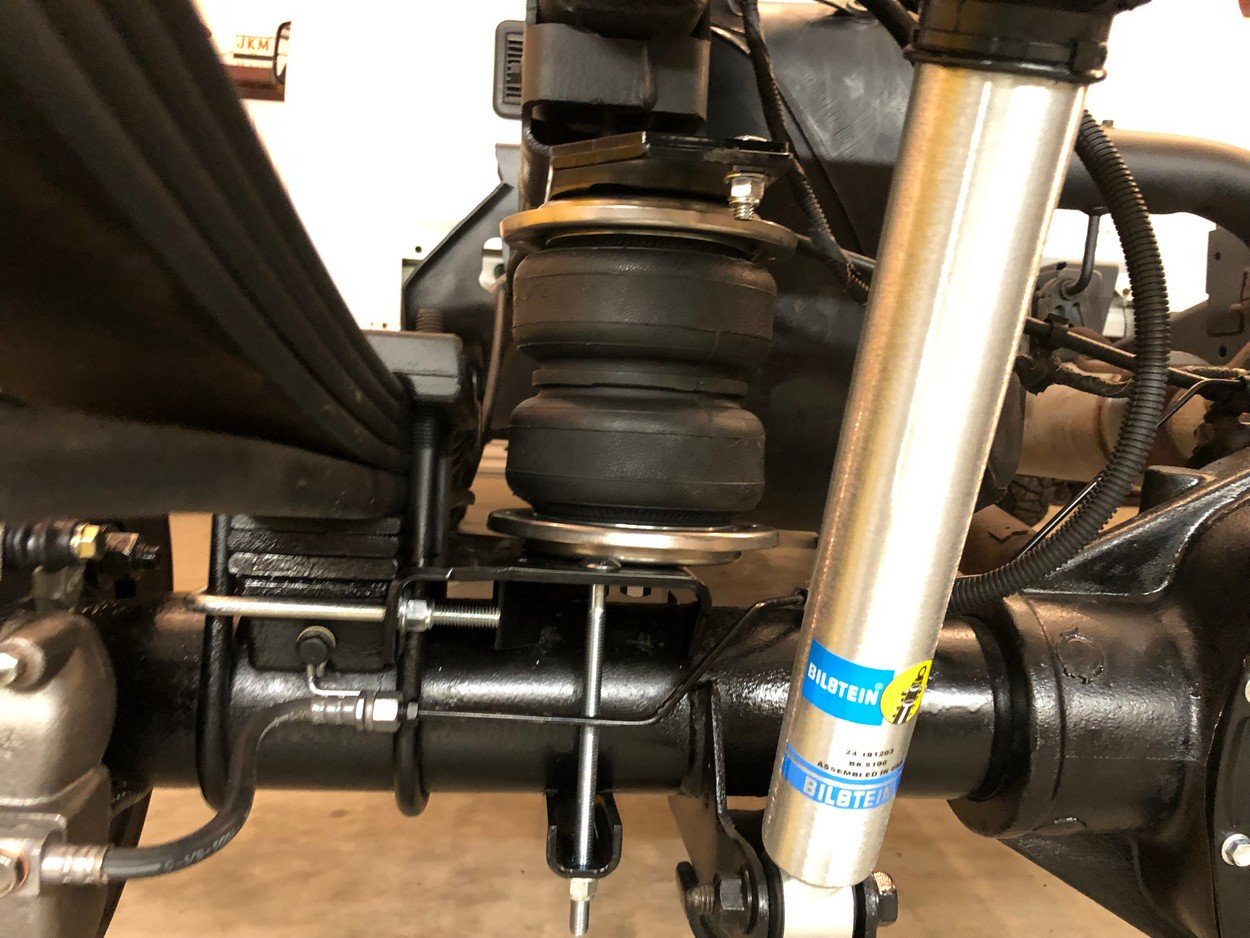
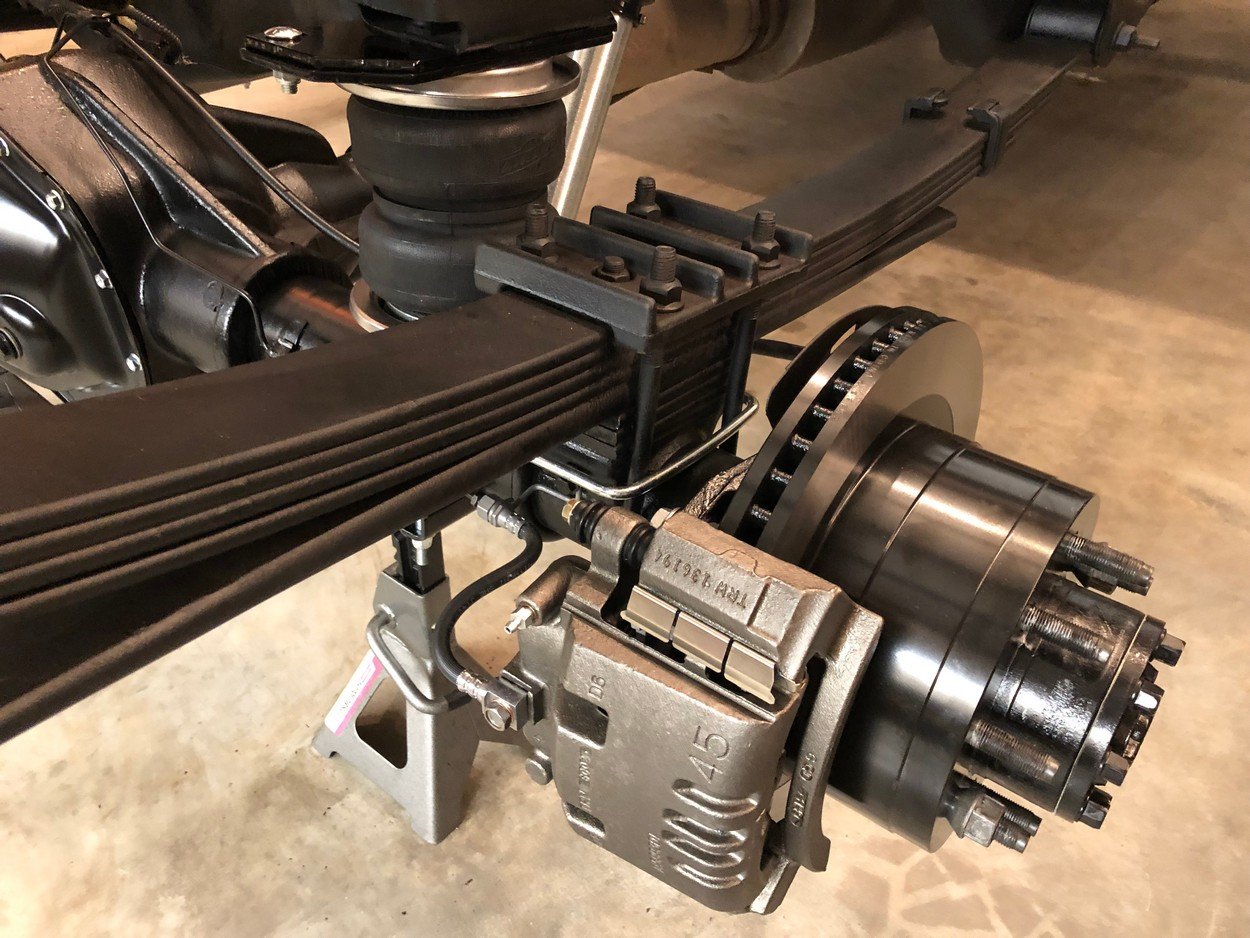
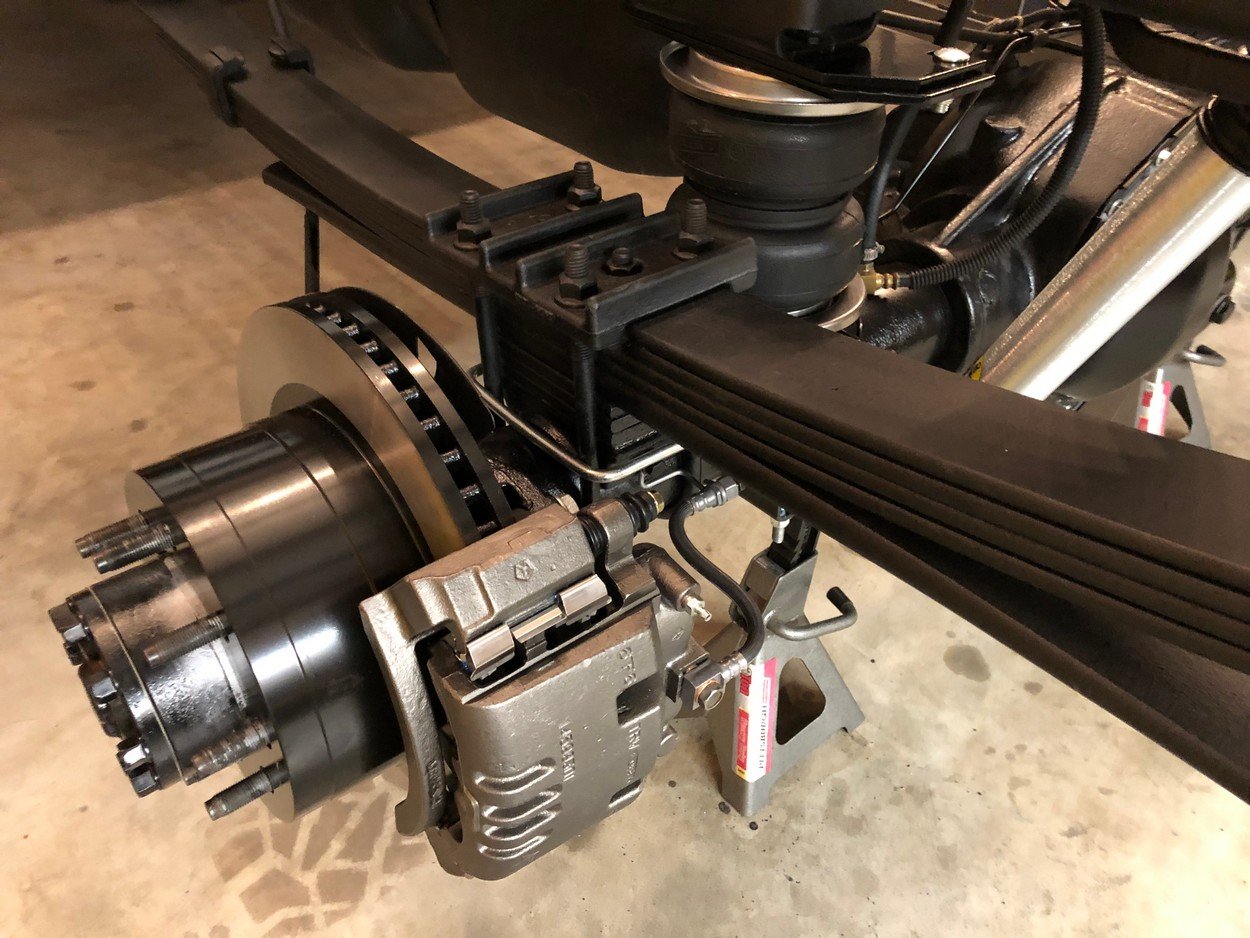
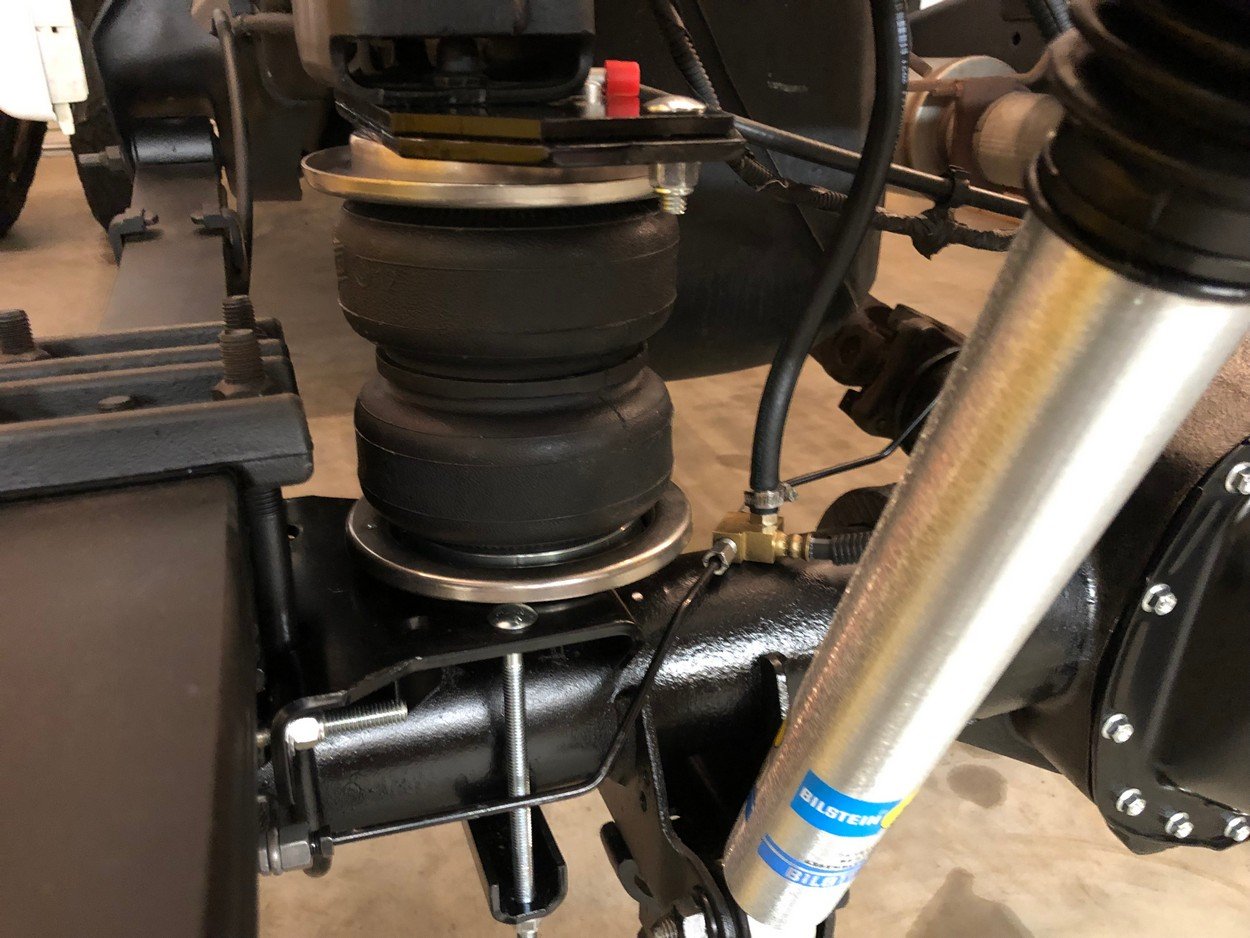
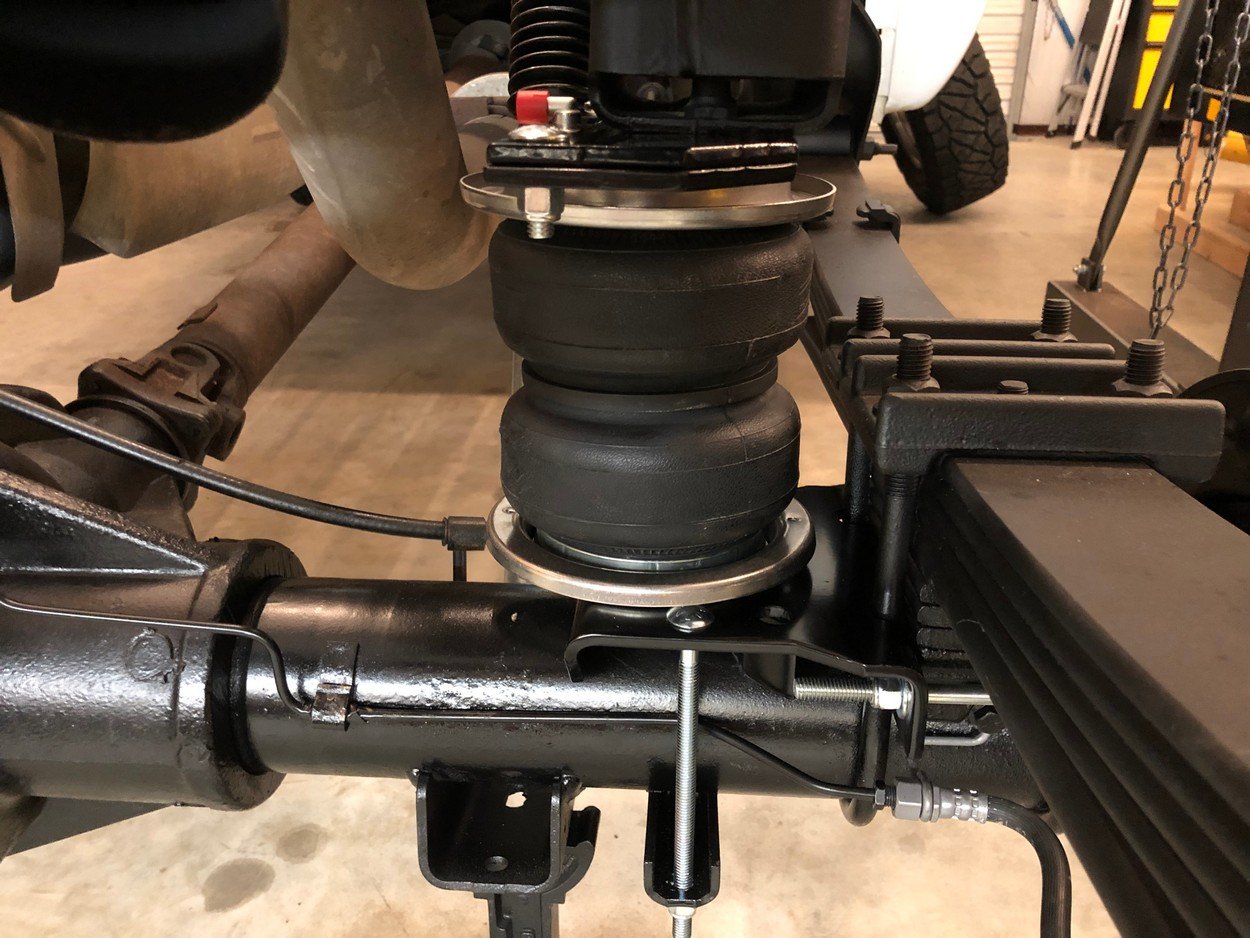
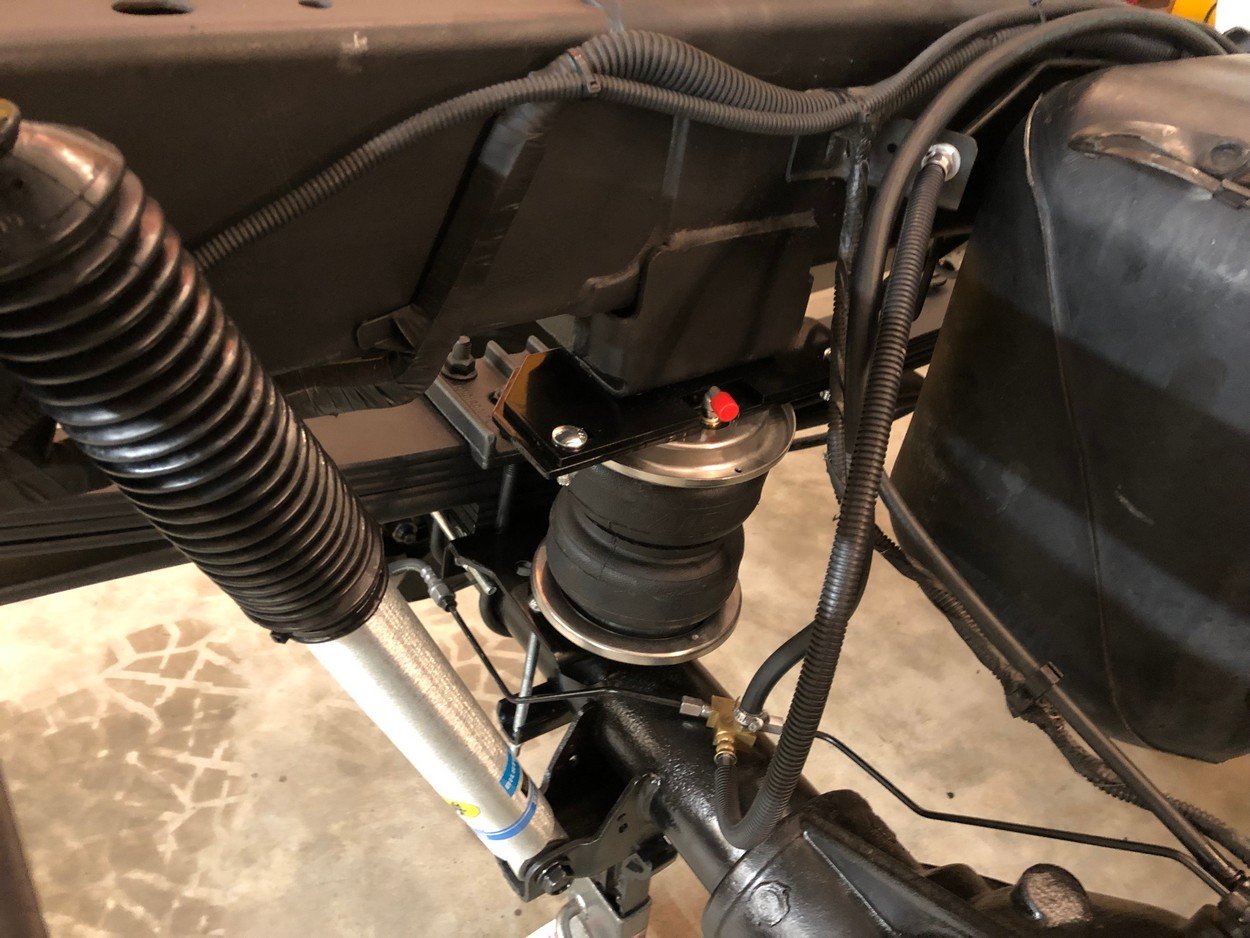
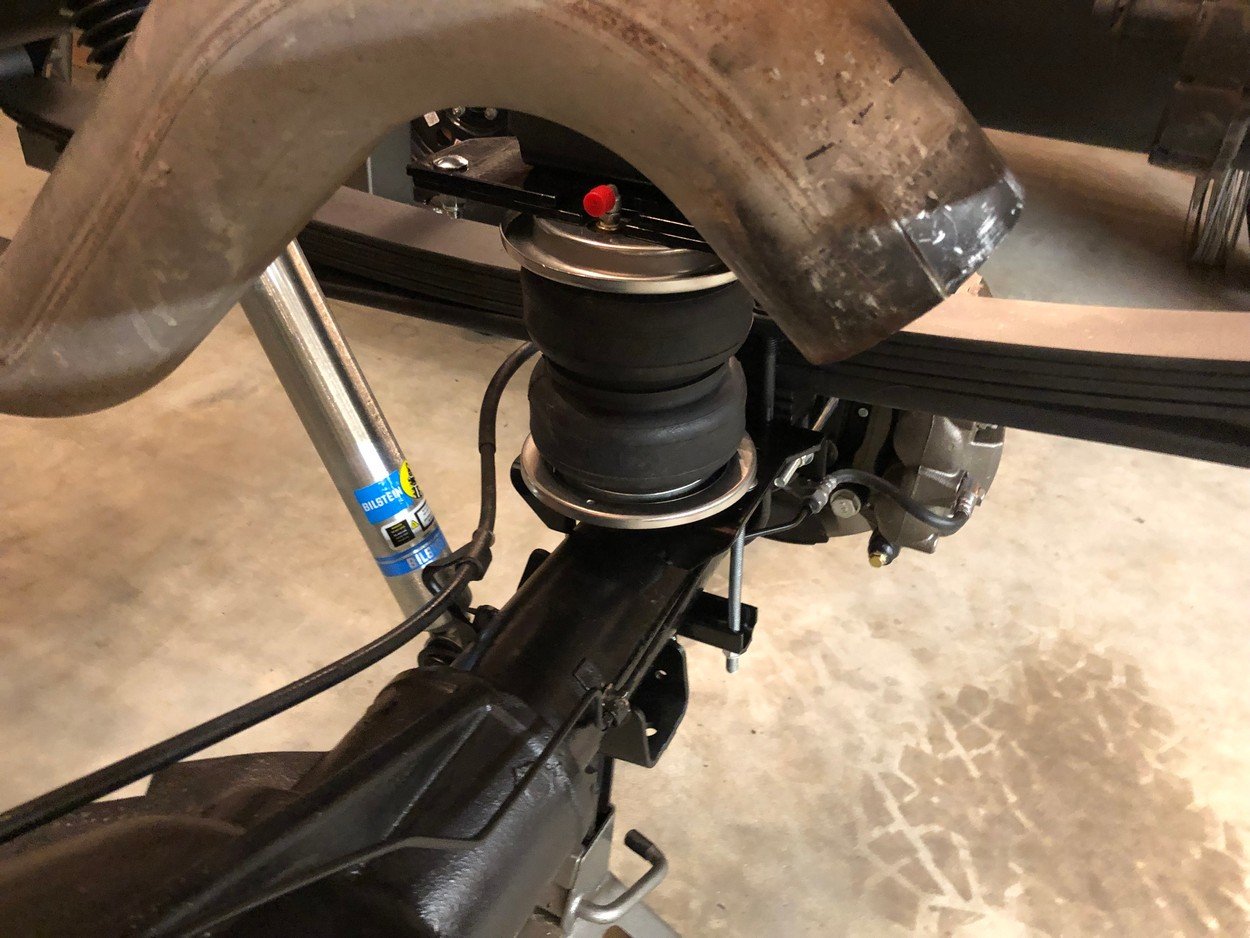
Rear end project wrapped up Everything from cab back replaced.
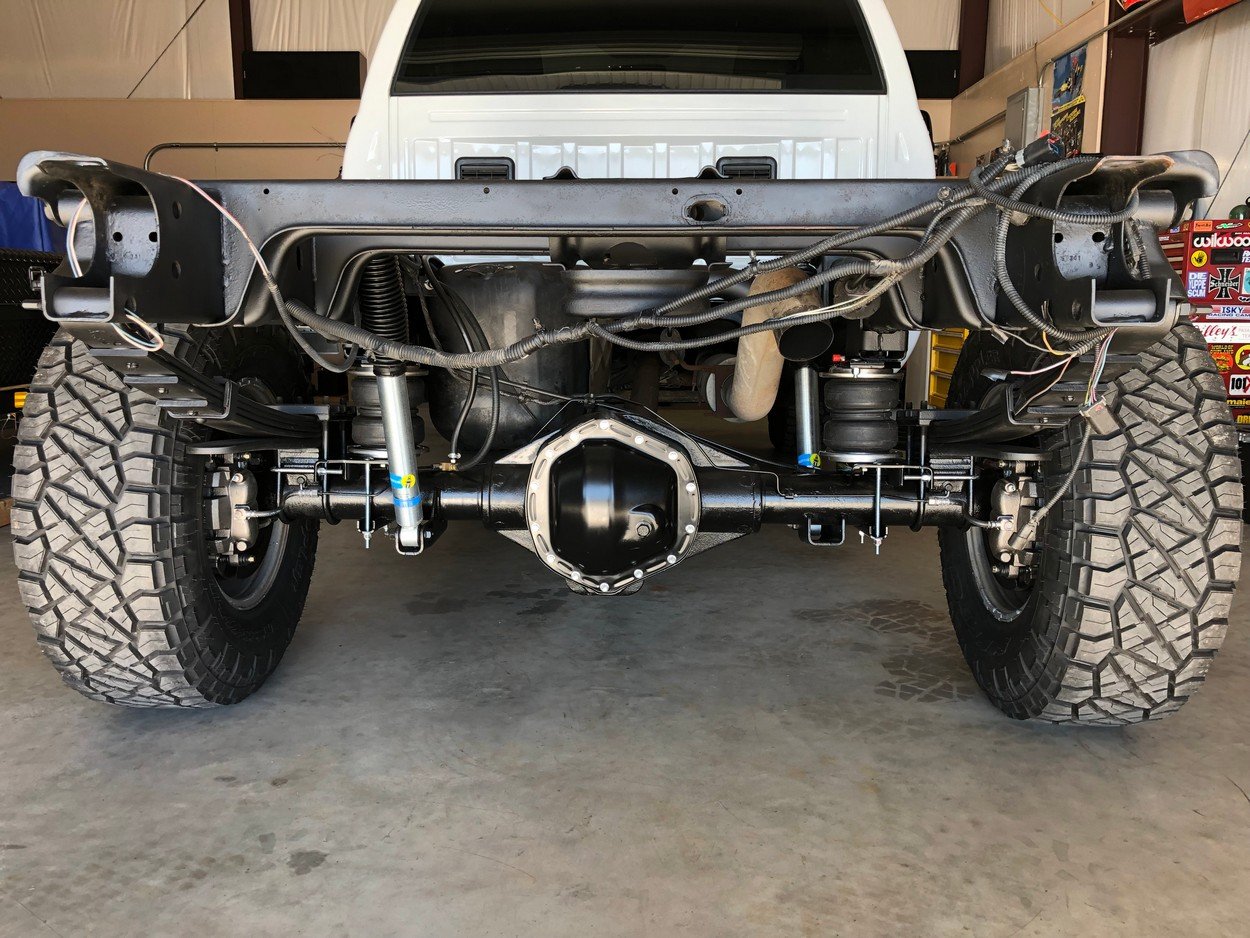
Next, address rust on rockers and fender edges.
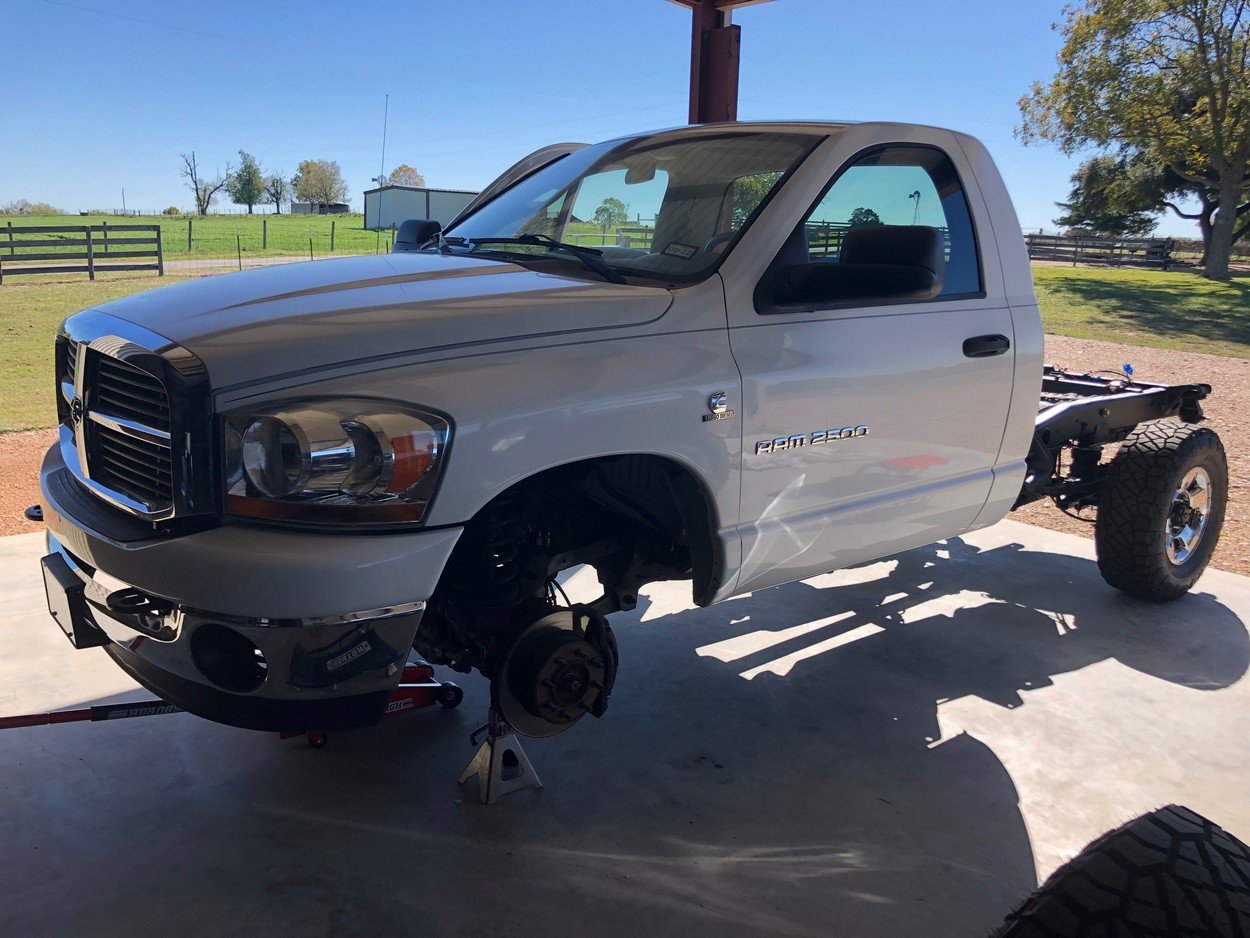
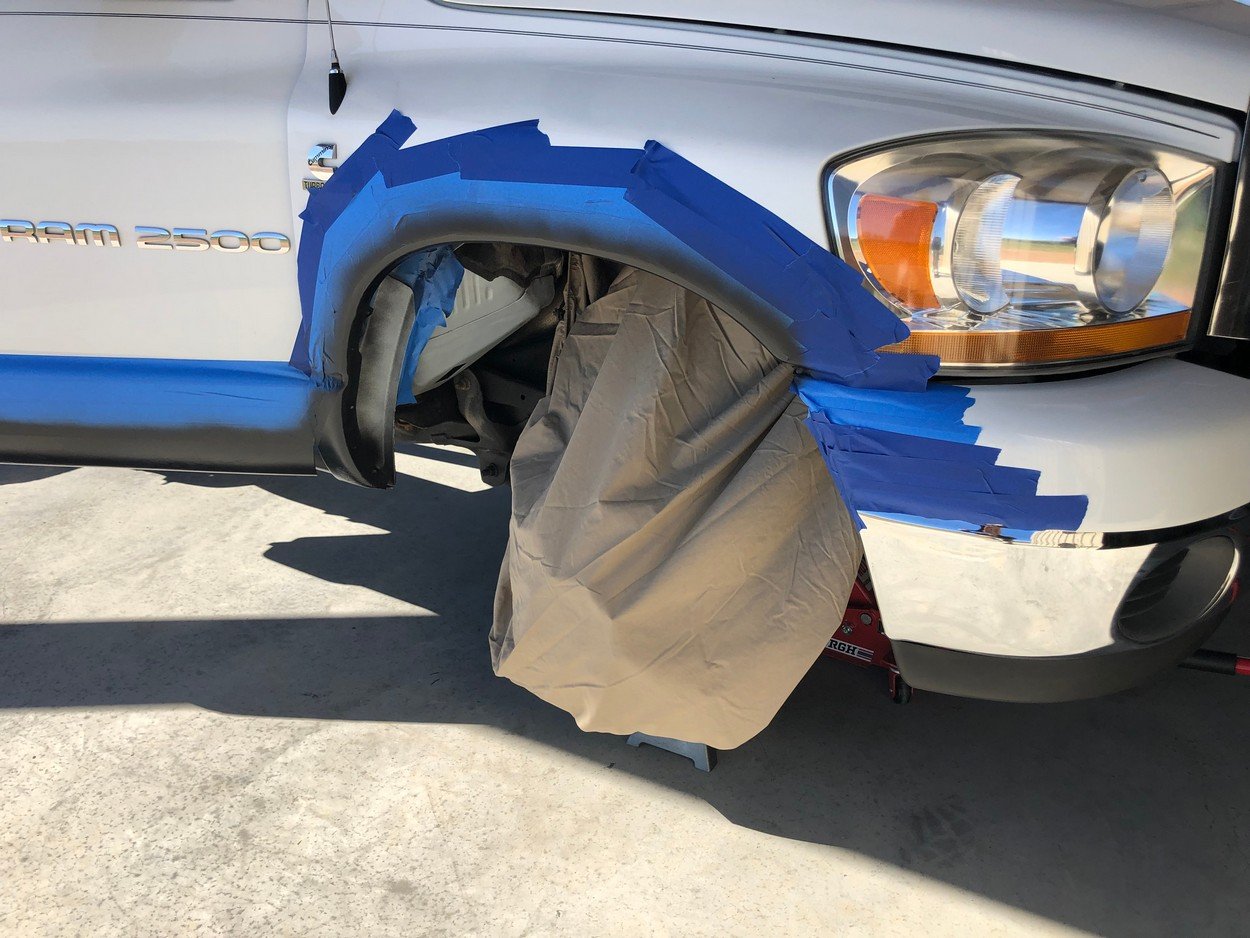
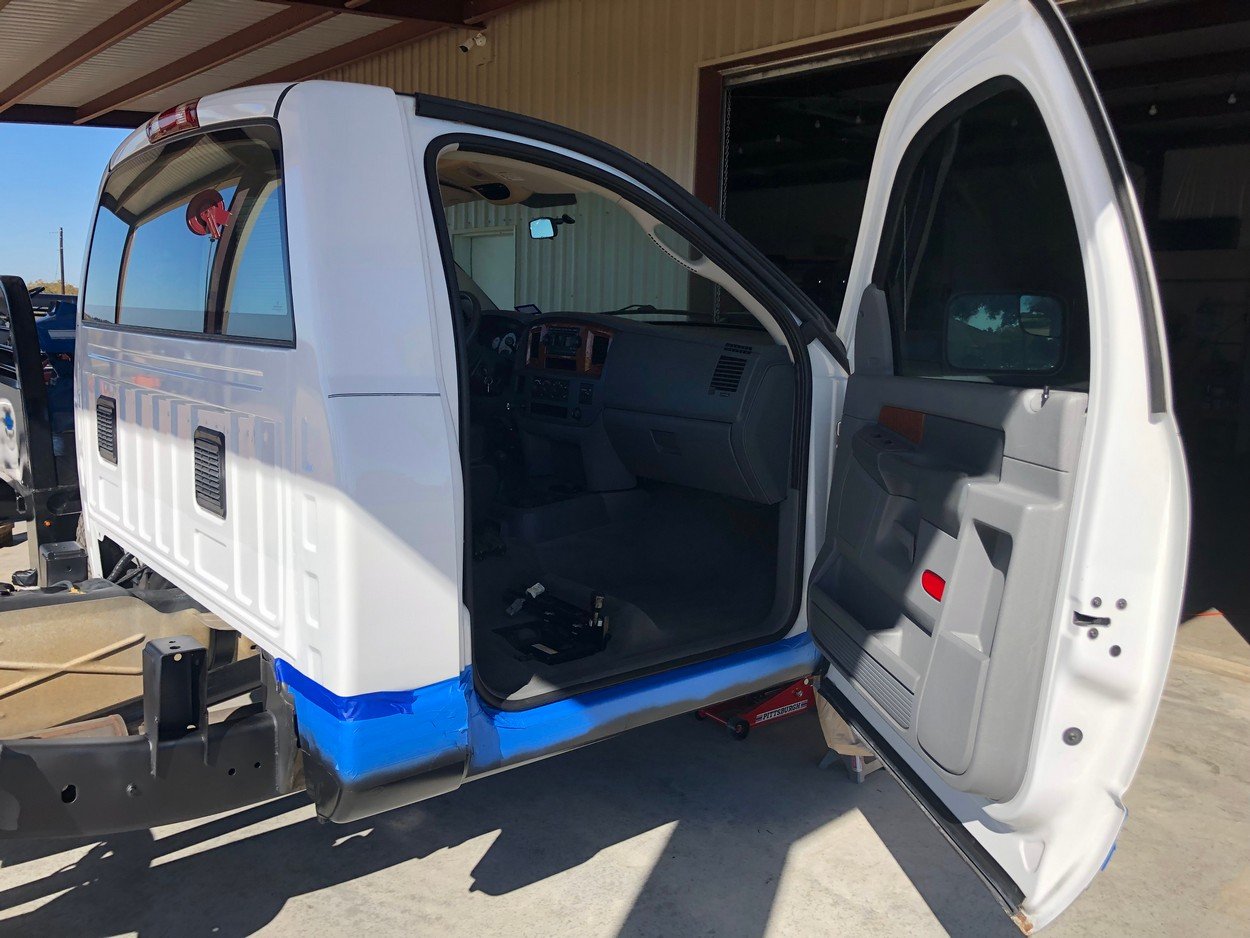
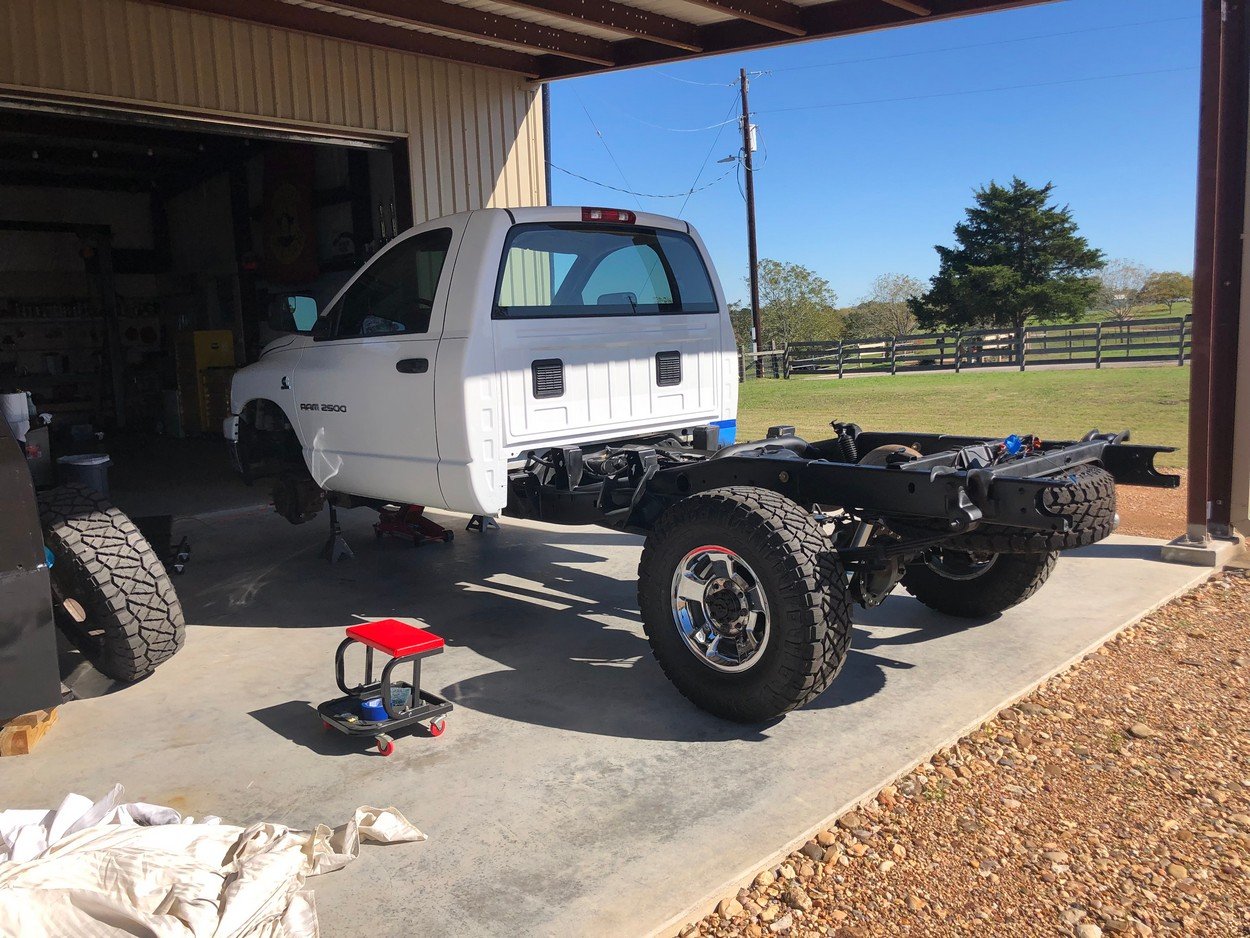
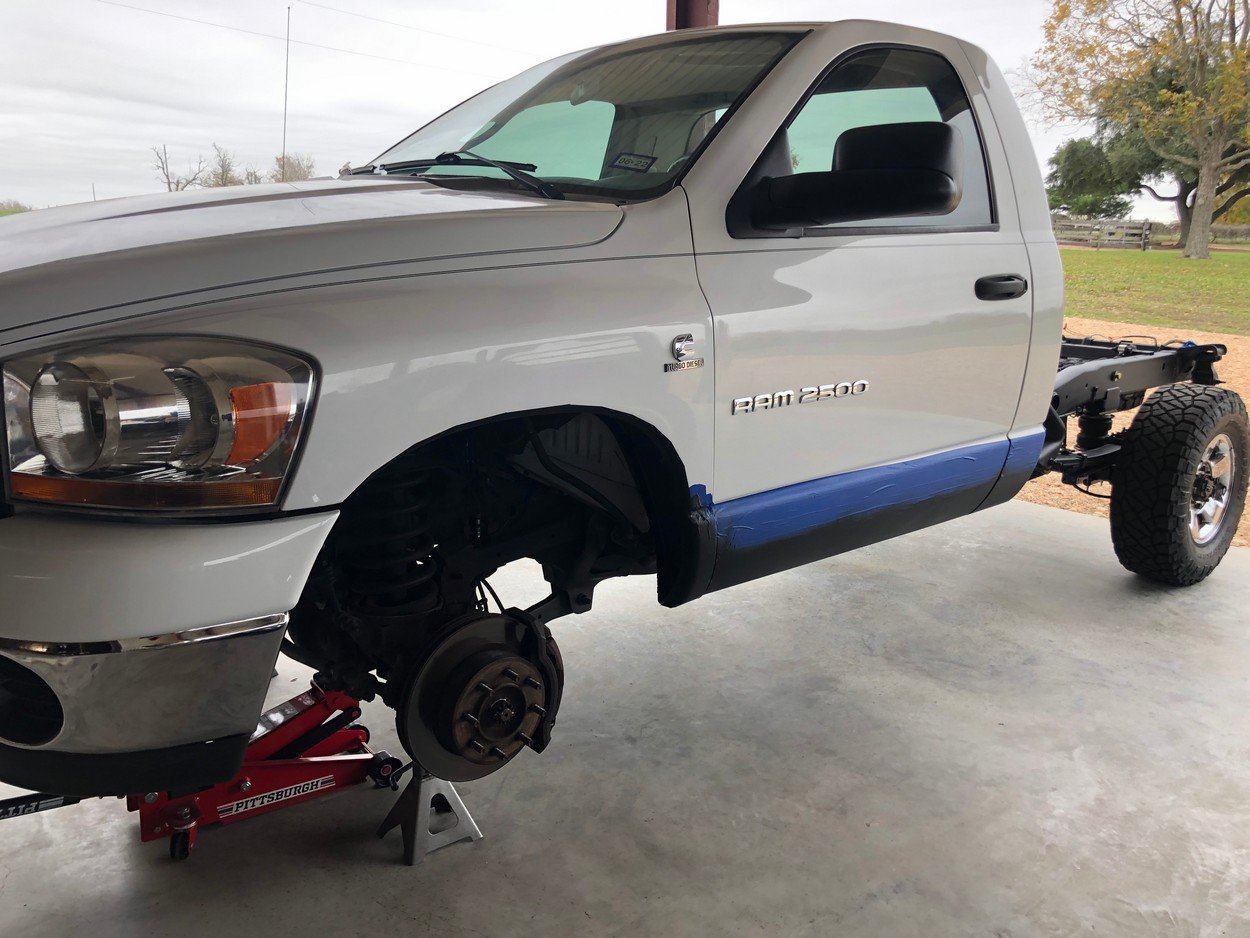
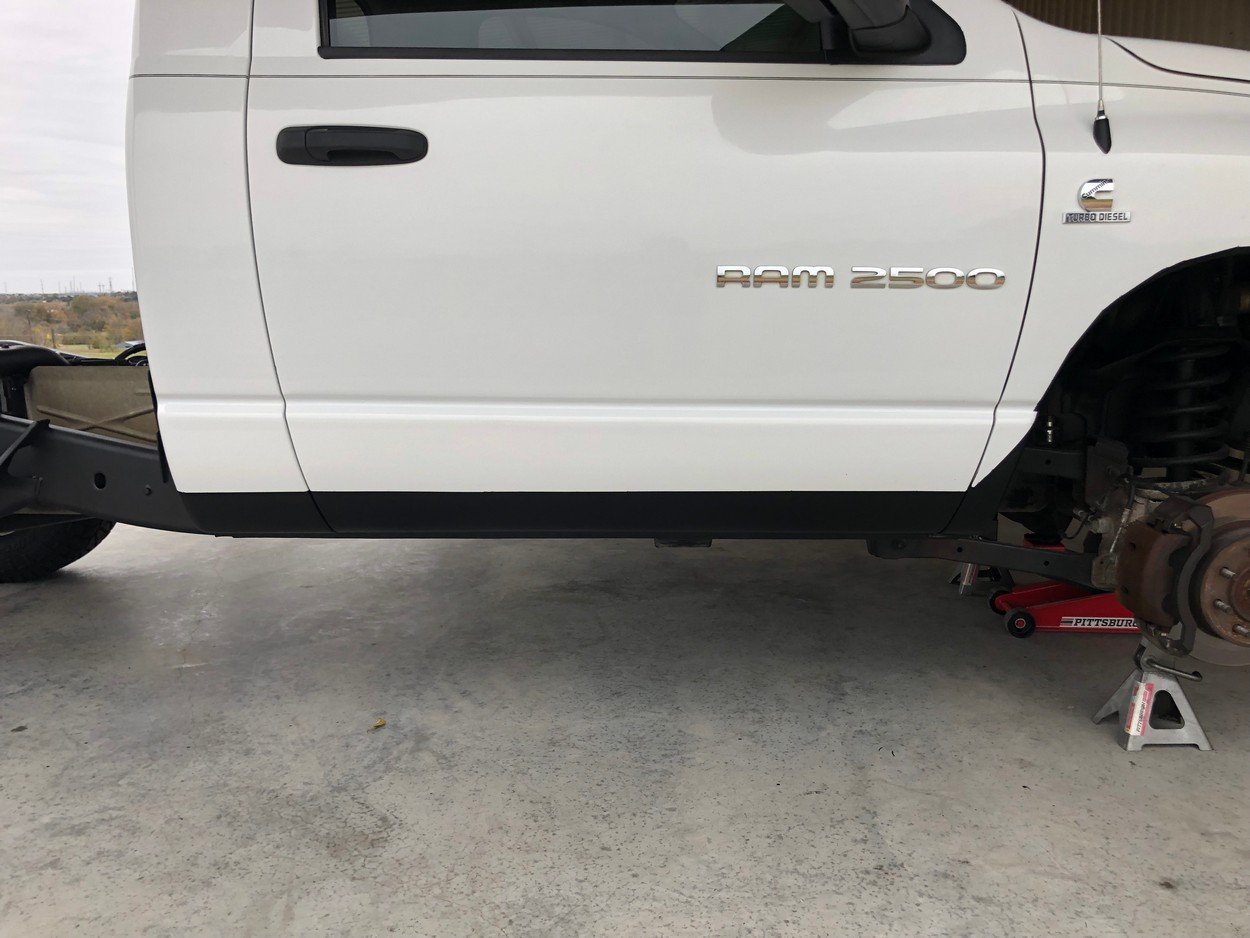
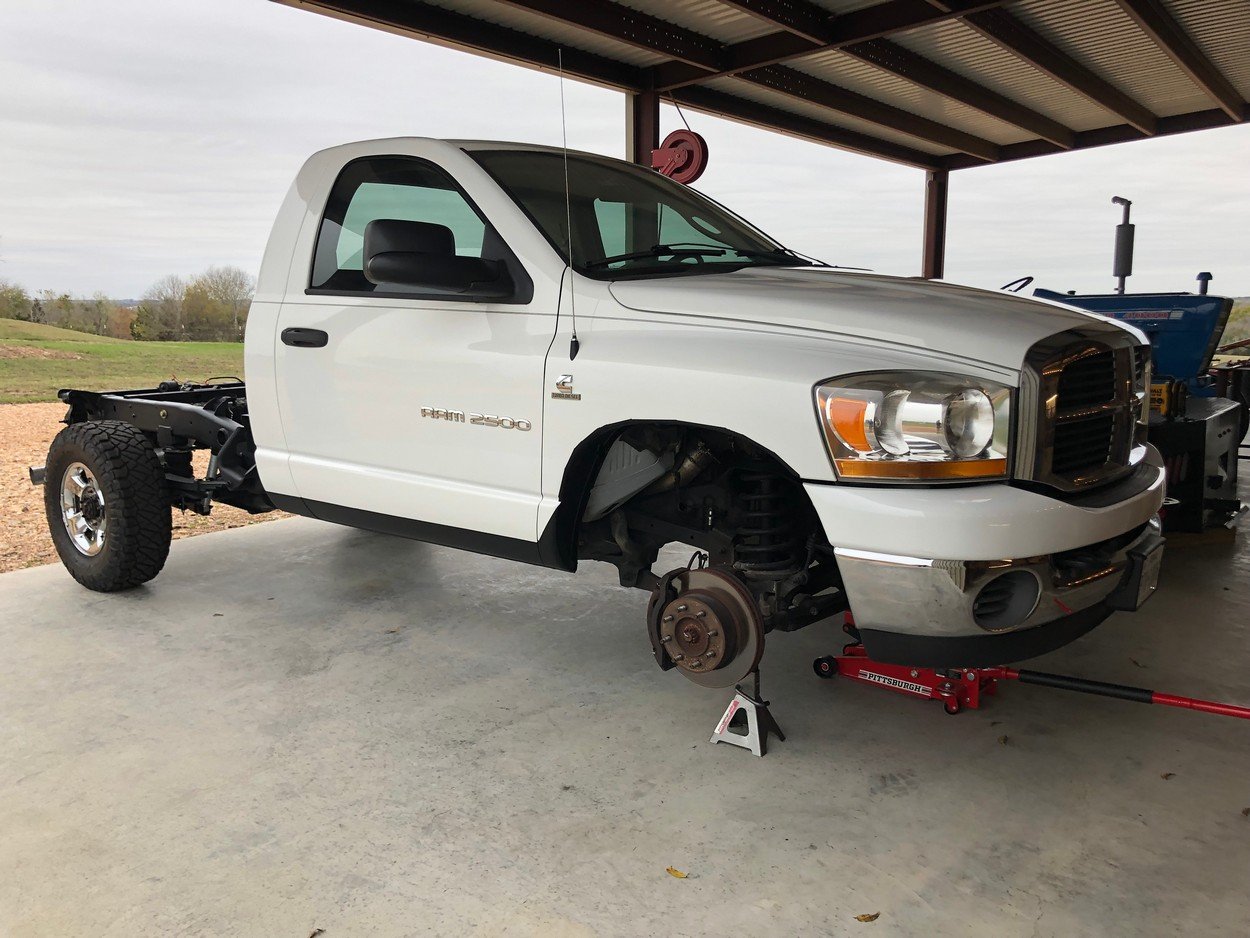
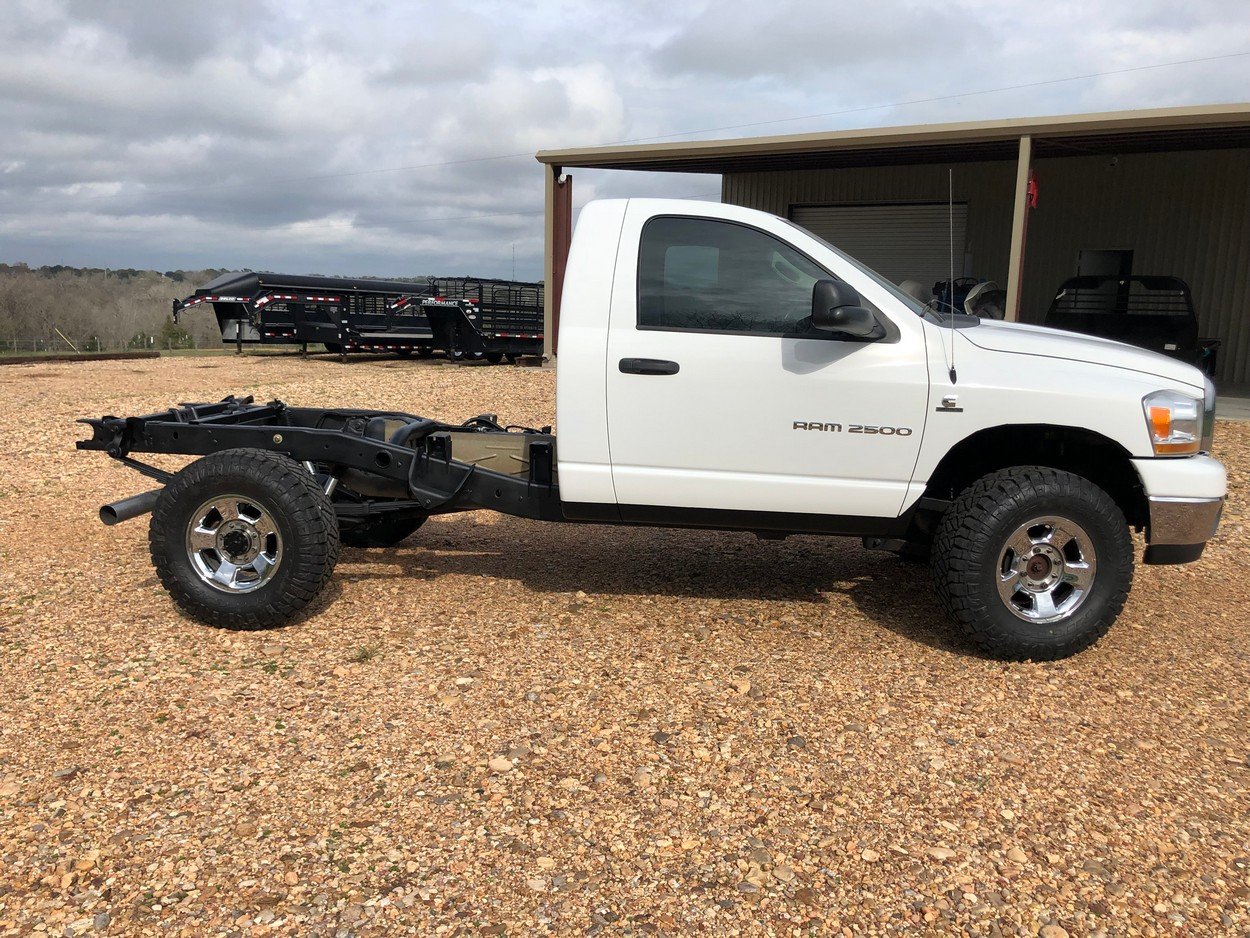
Once finished, the truck will have new fender liners and OEM fender flares up front.
Before mounting bed, fabricate a electric spare tire winch.
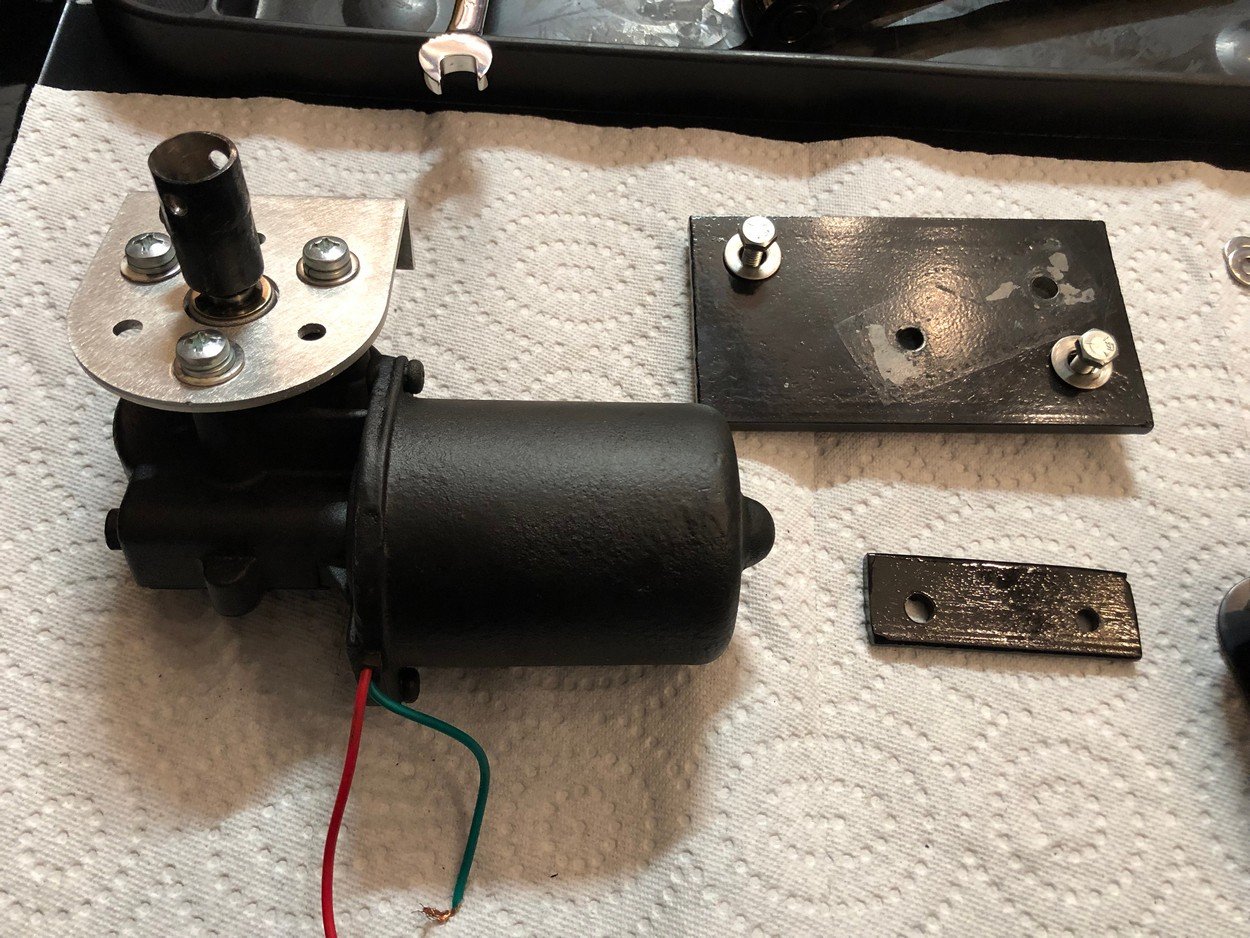
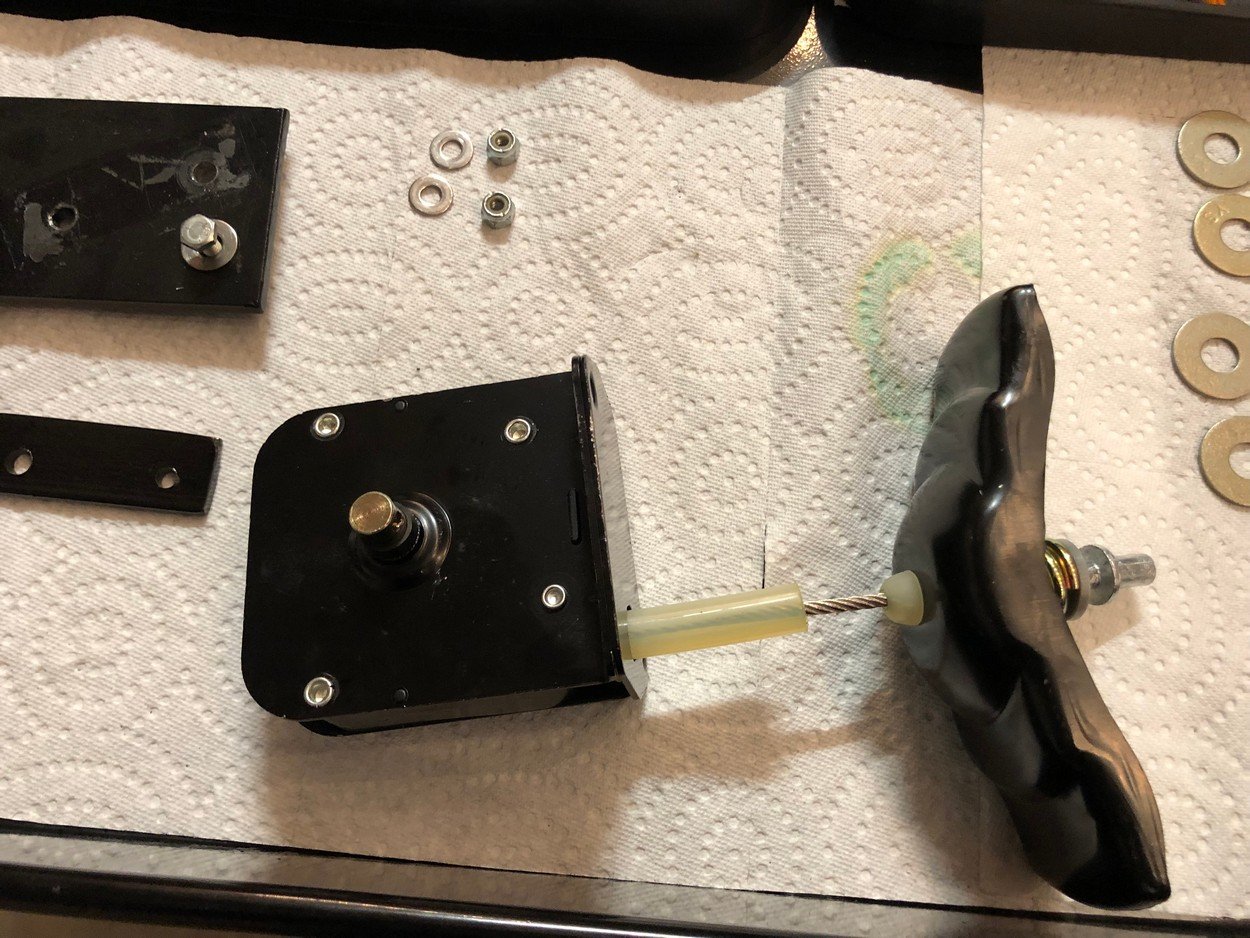
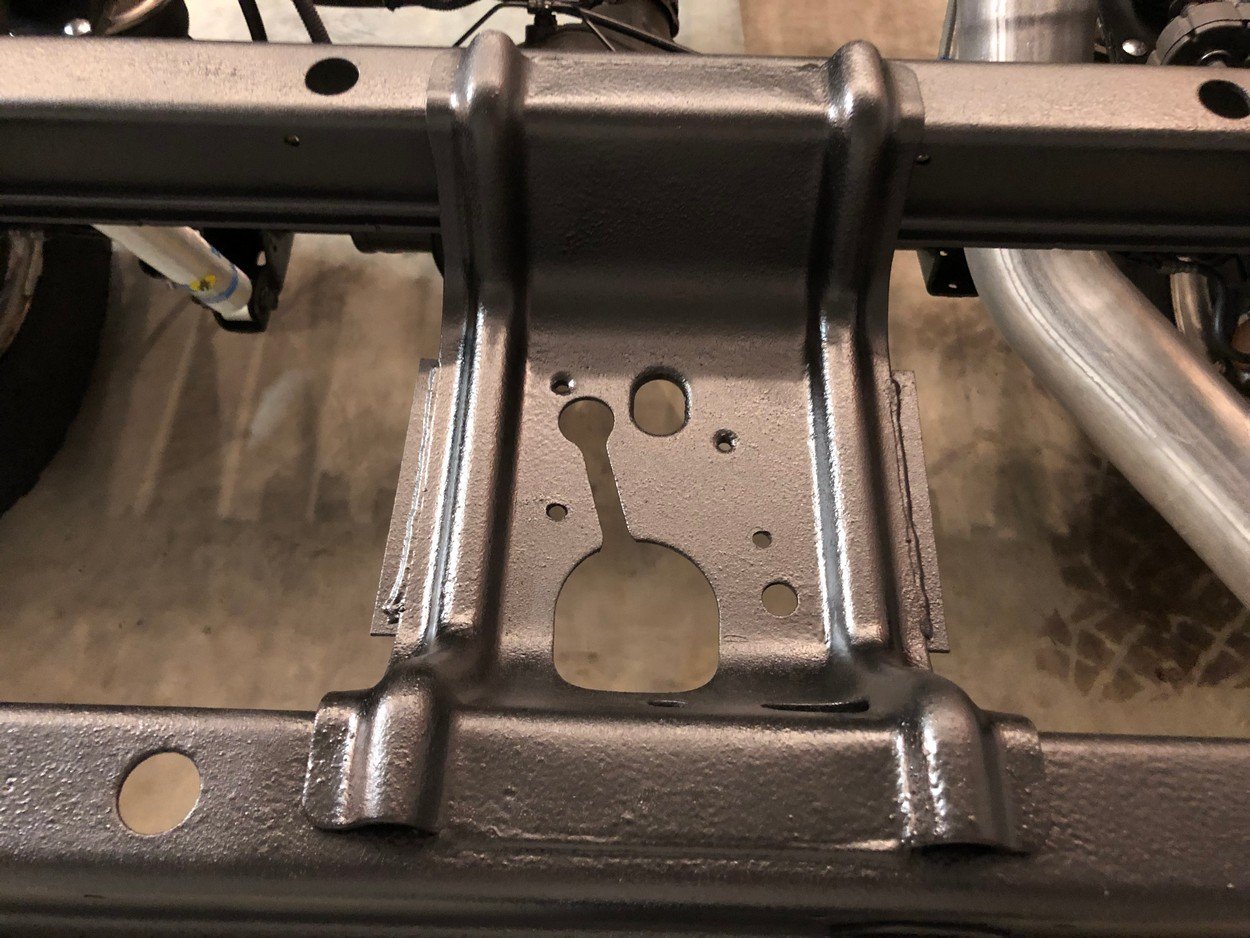
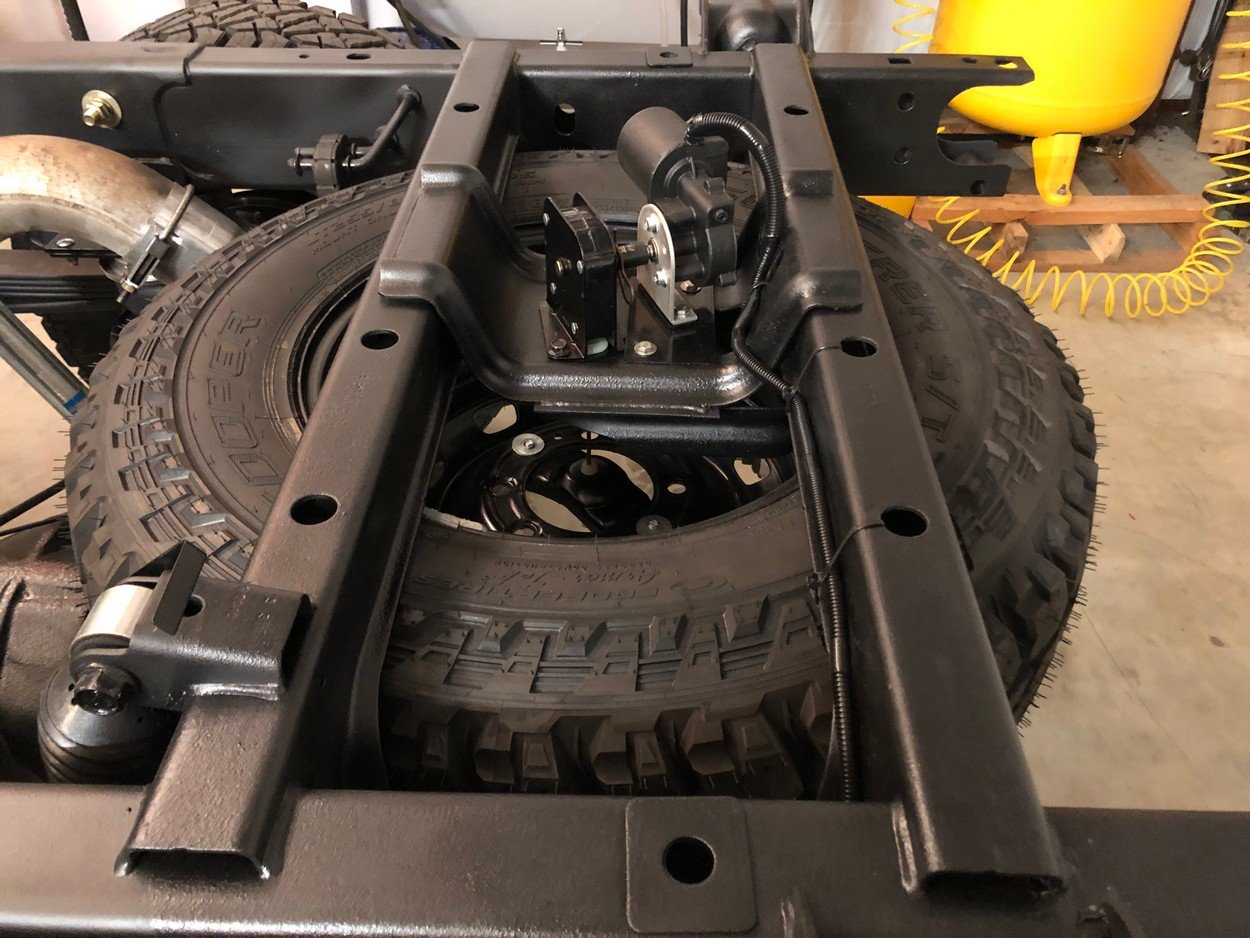
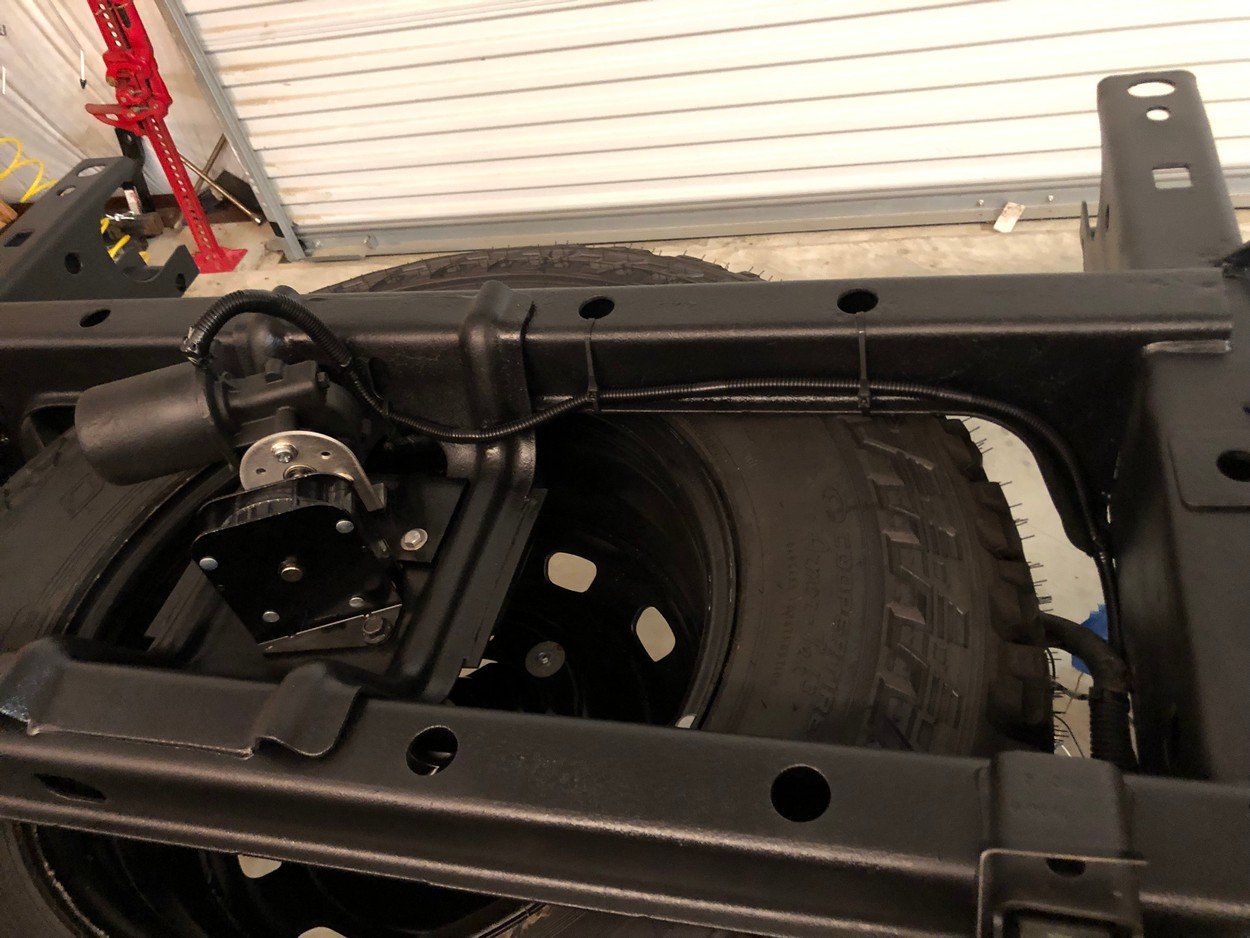
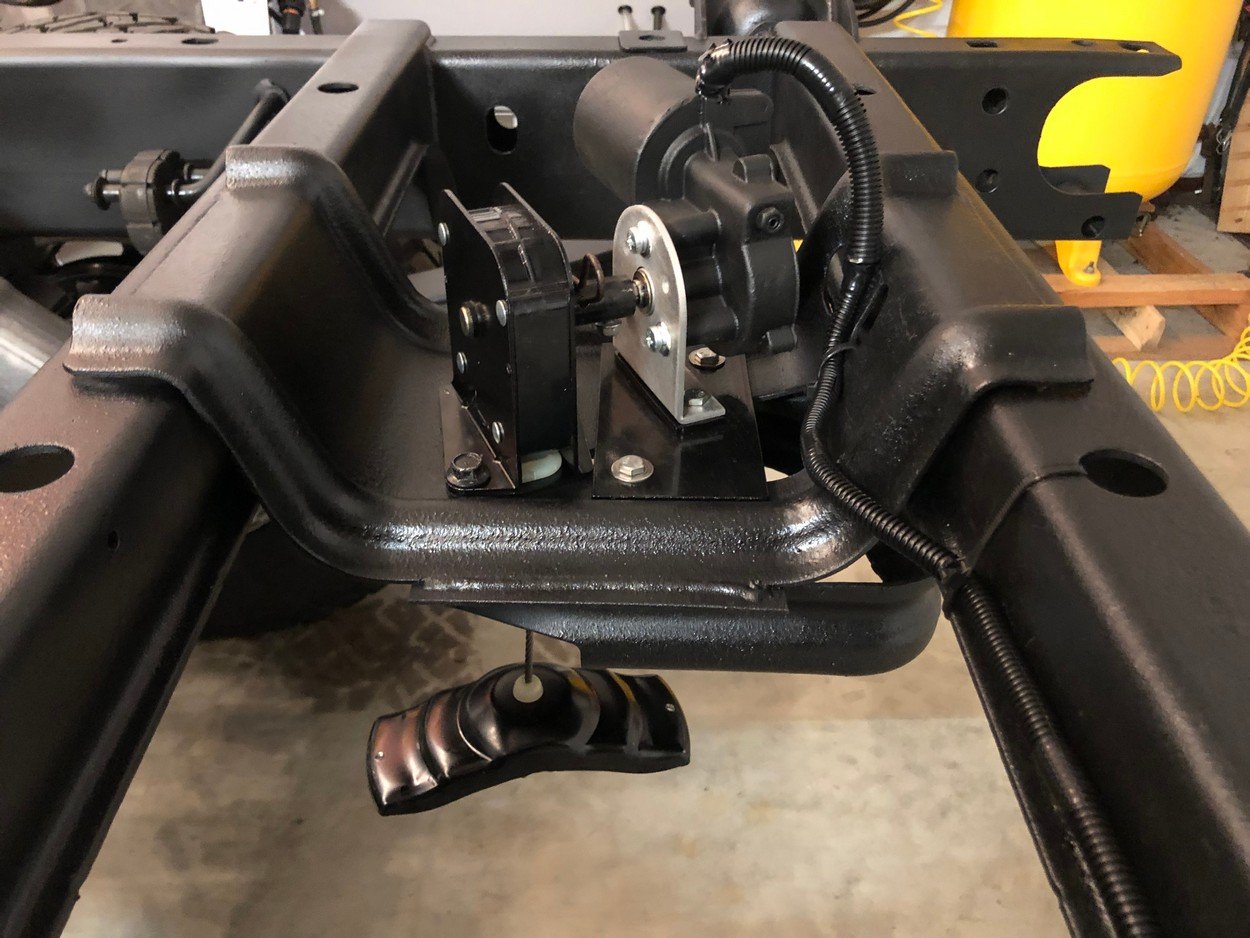
Switch to raise and lower spare tire will be located inside drivers side - rear tool box.
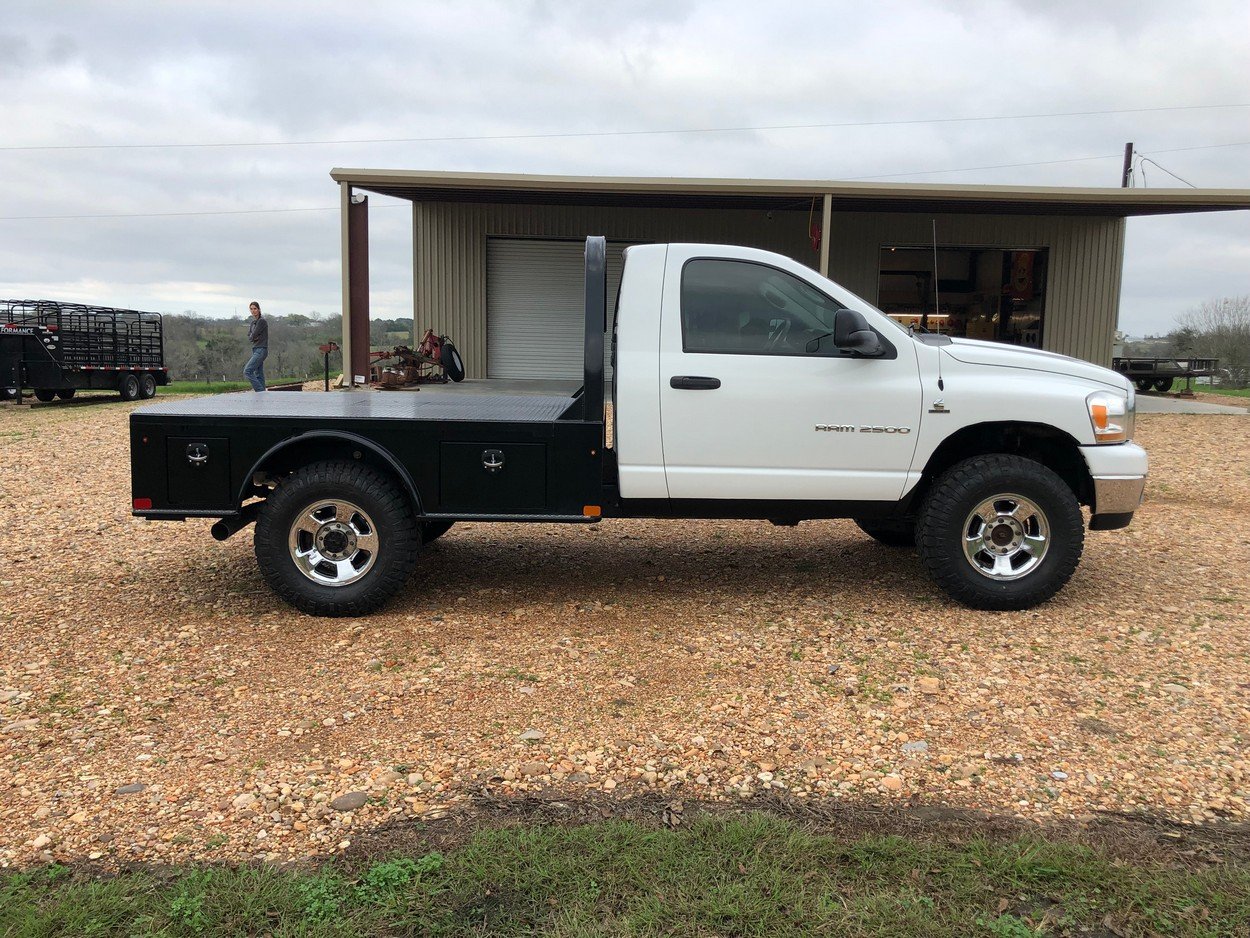
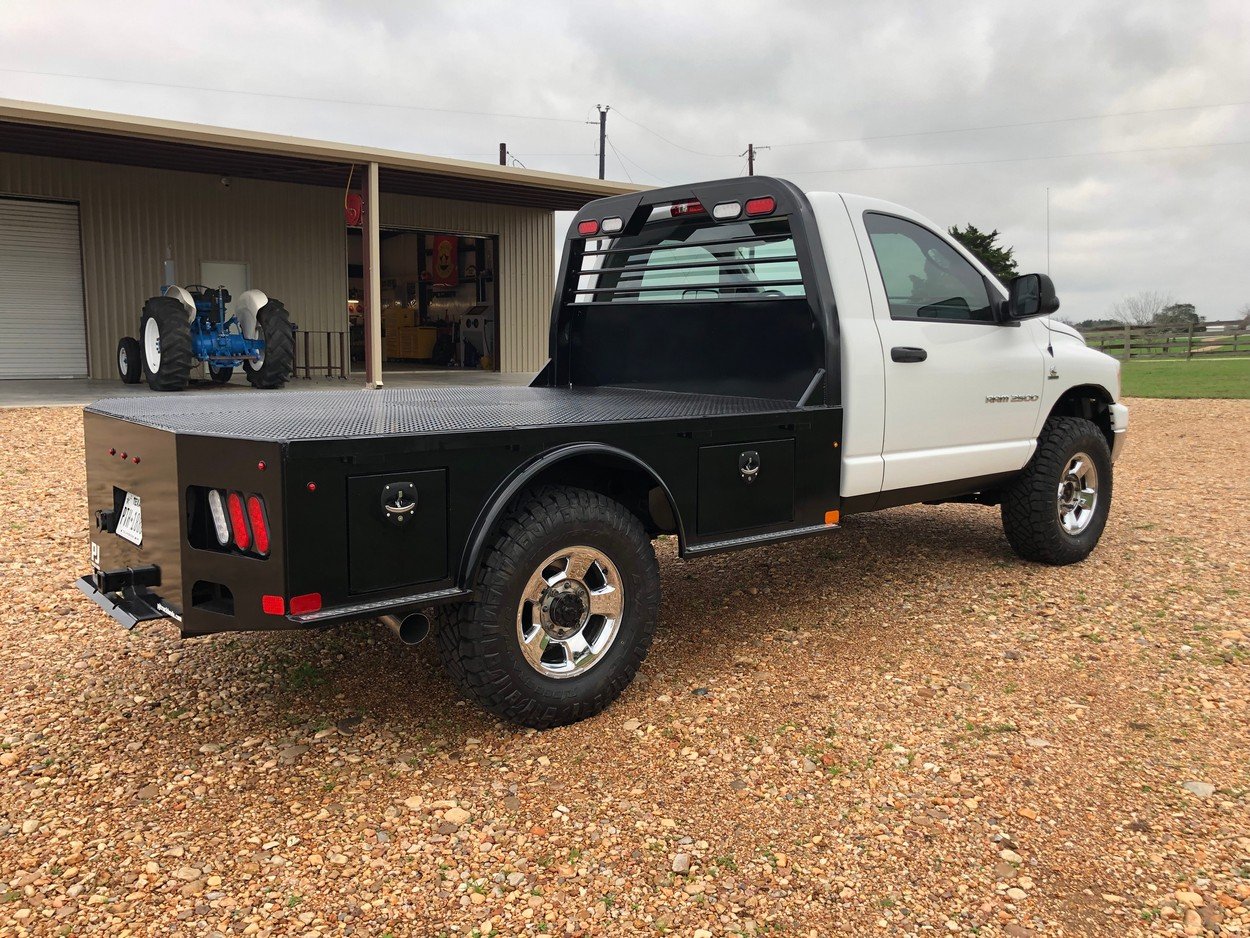
Rear complete and ready to mount bed.
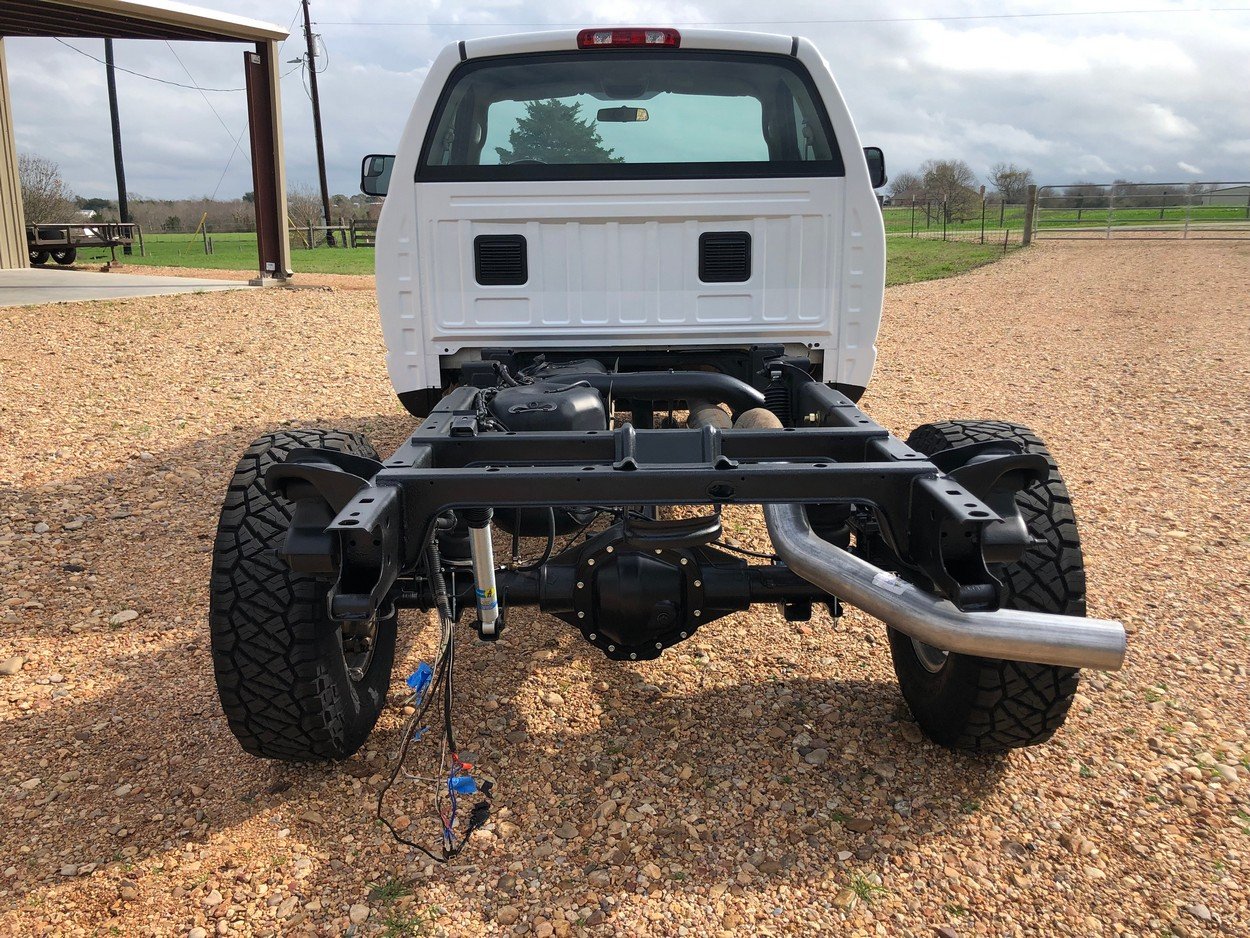
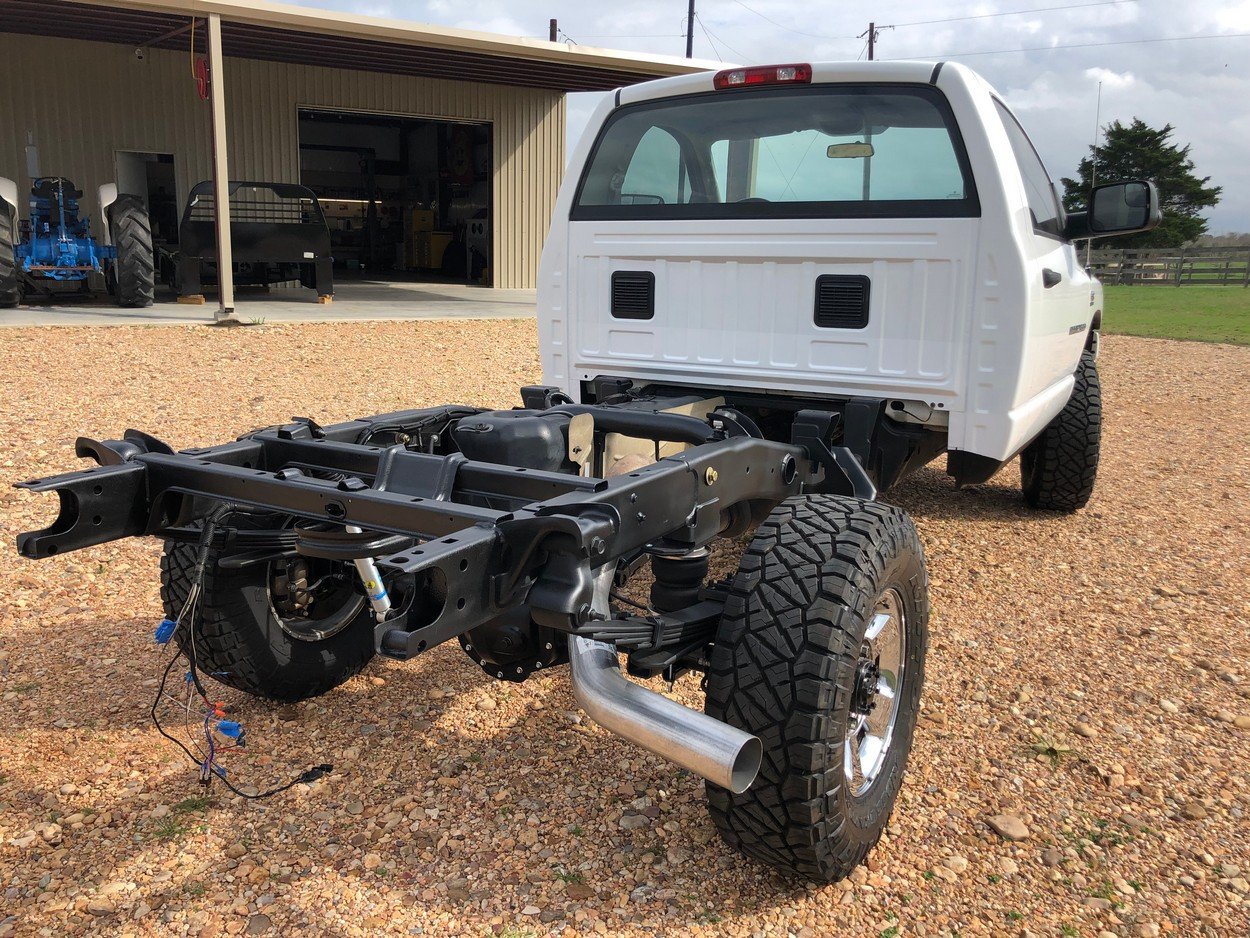
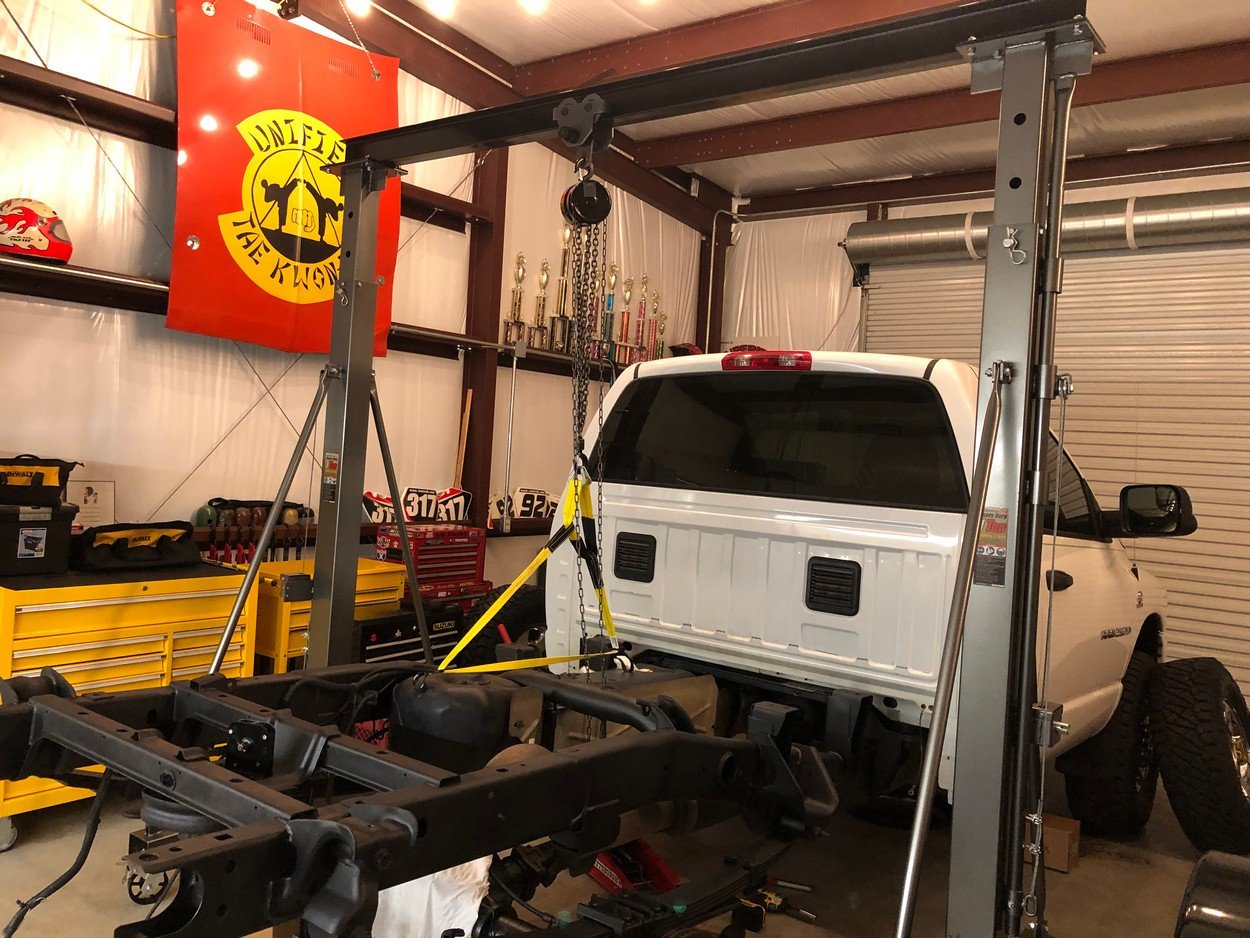
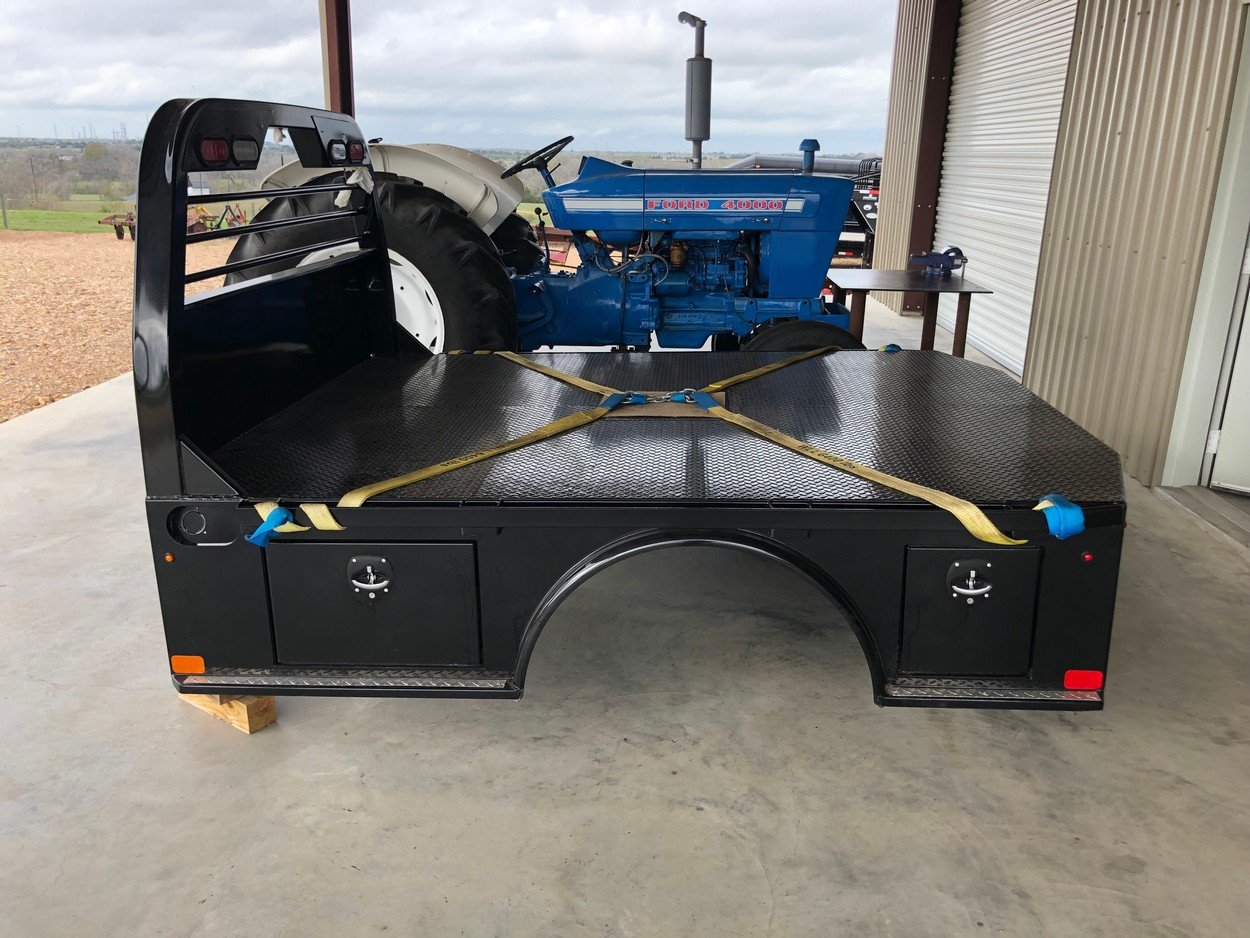
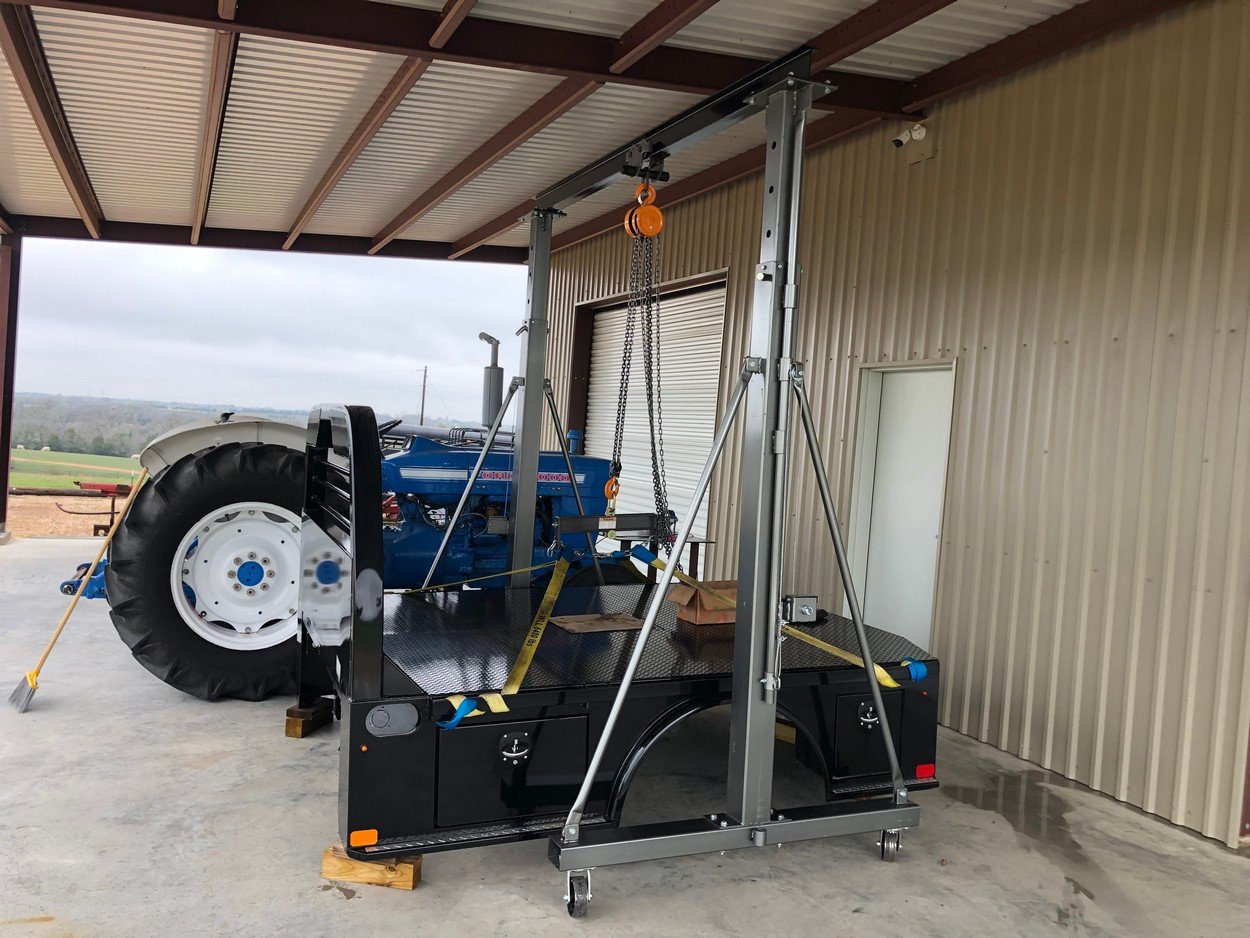
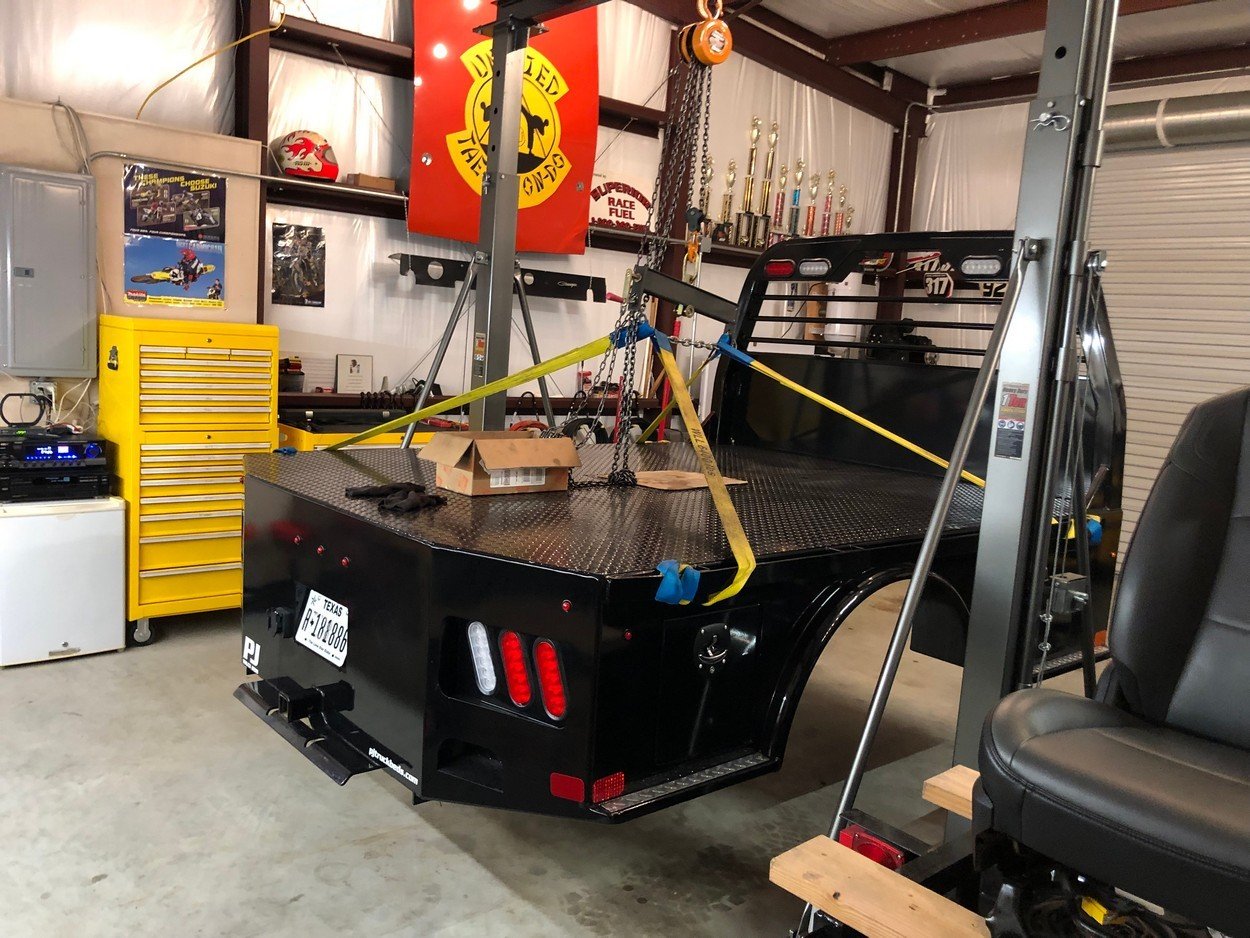
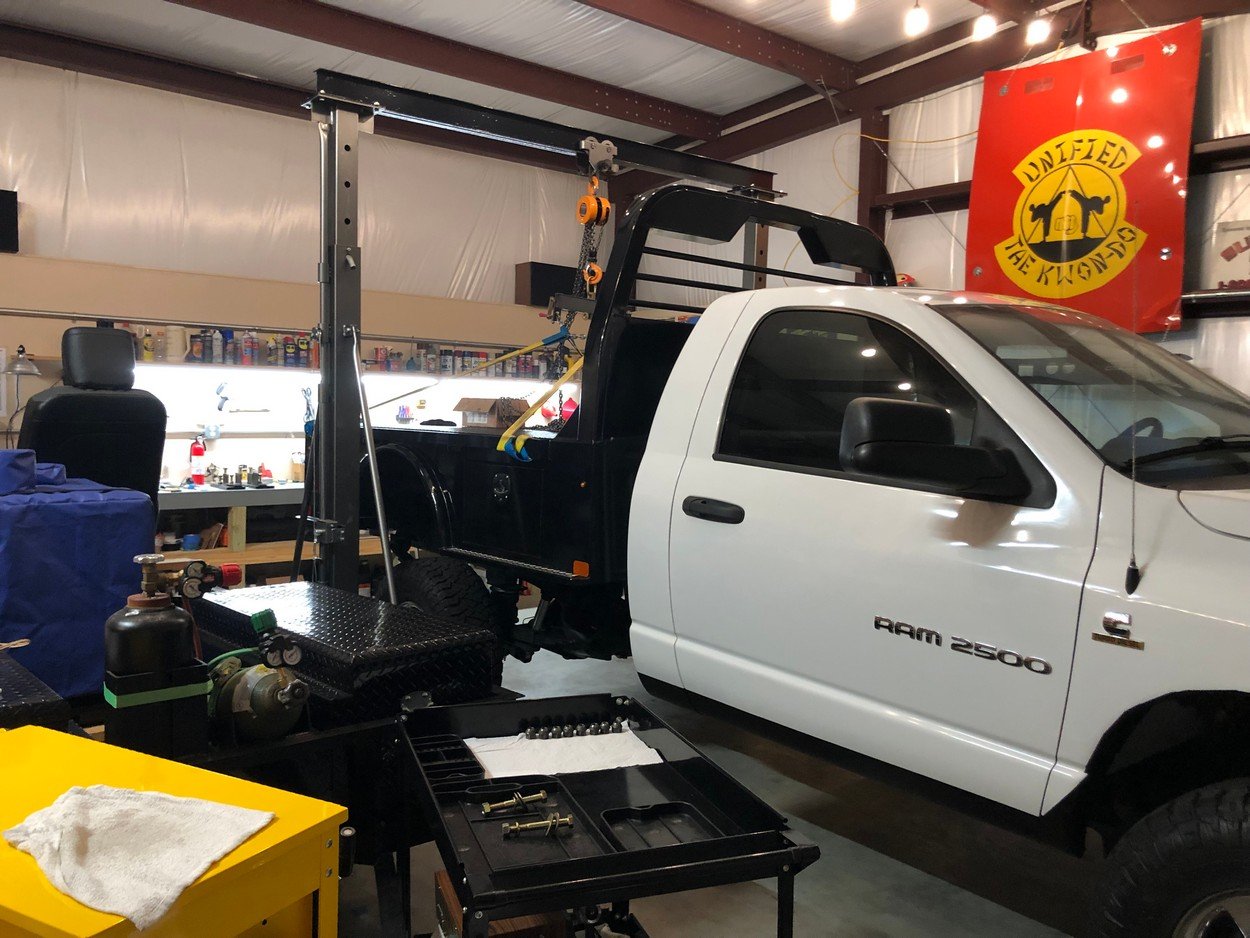
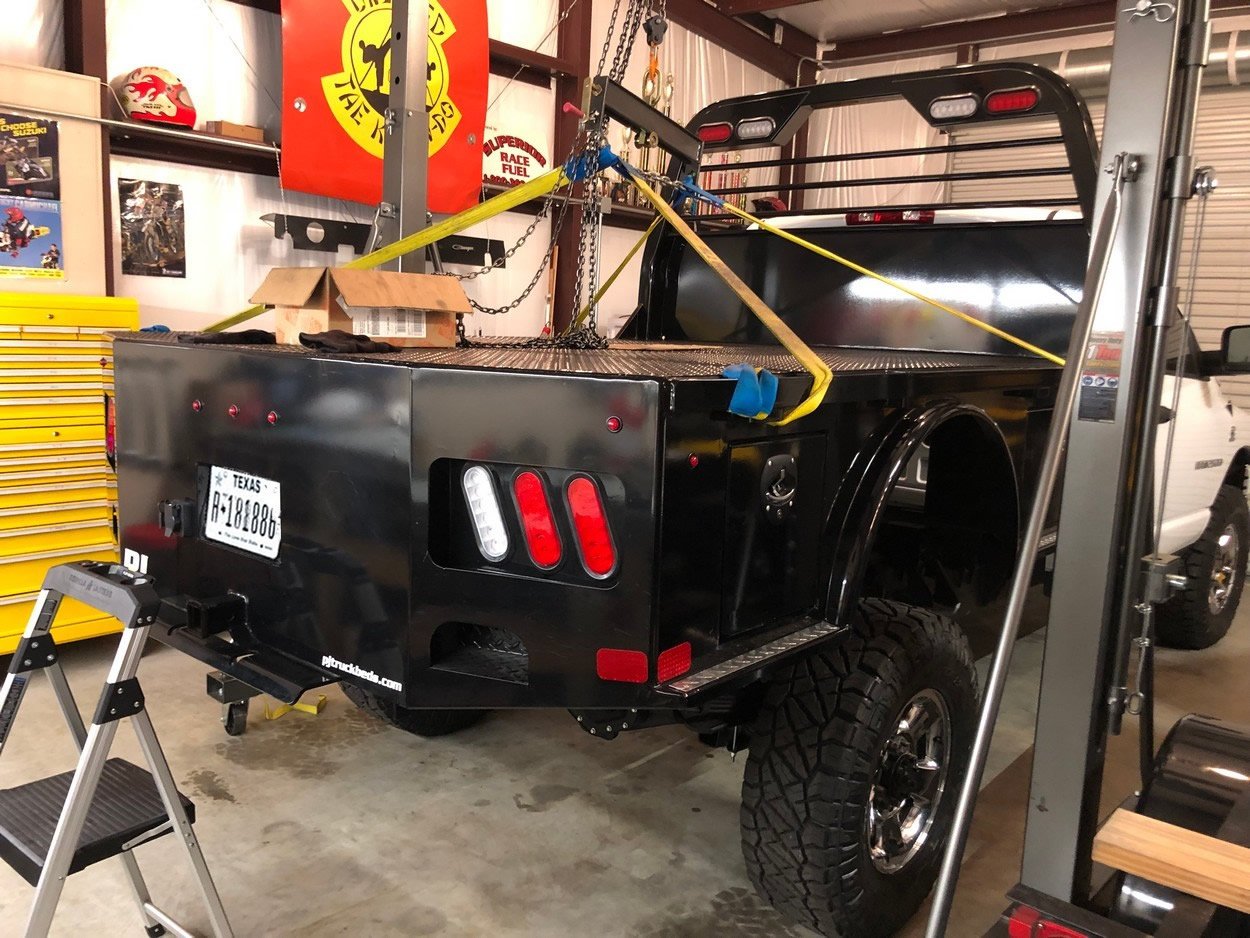
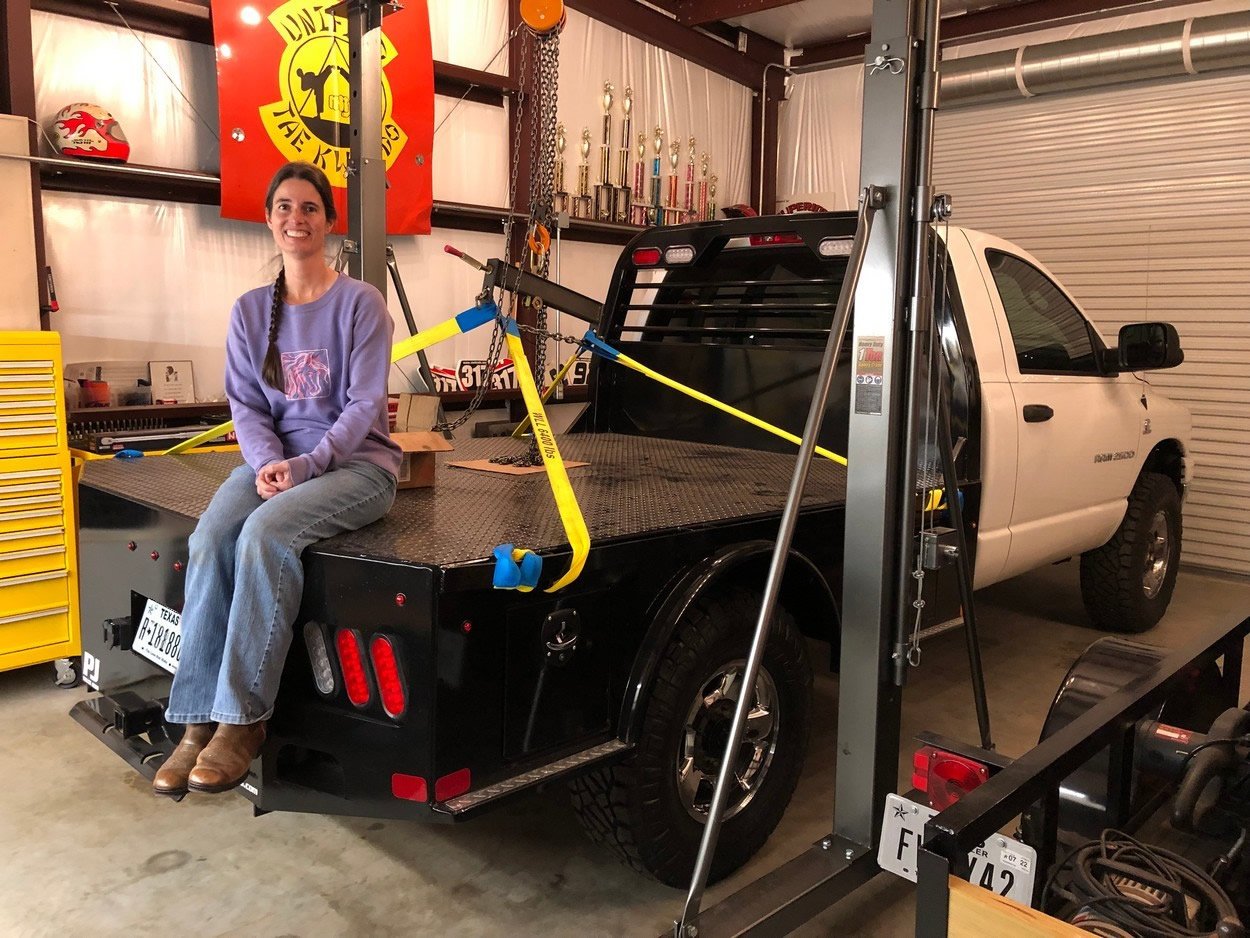
Pick up bed with gantry and set on frame.
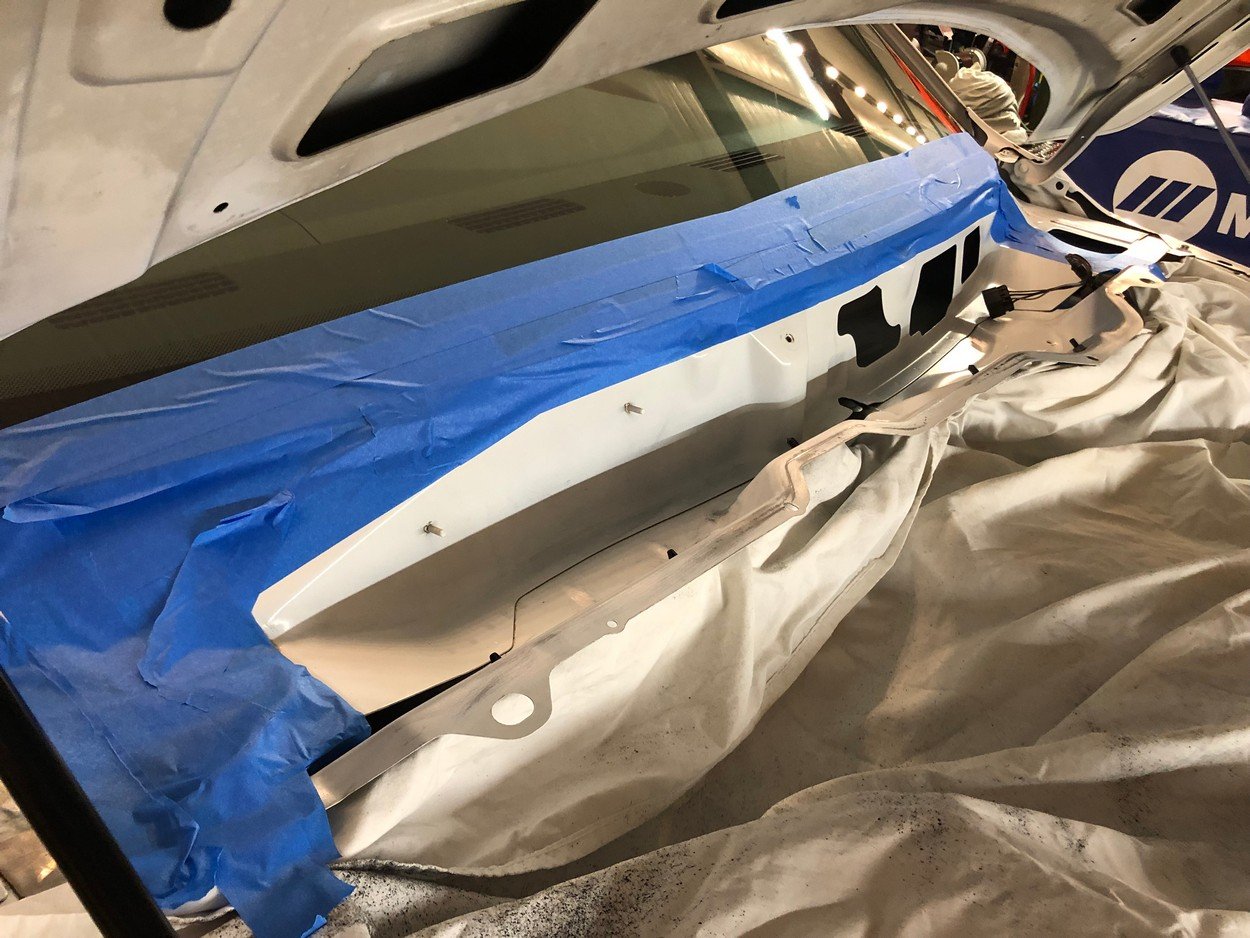
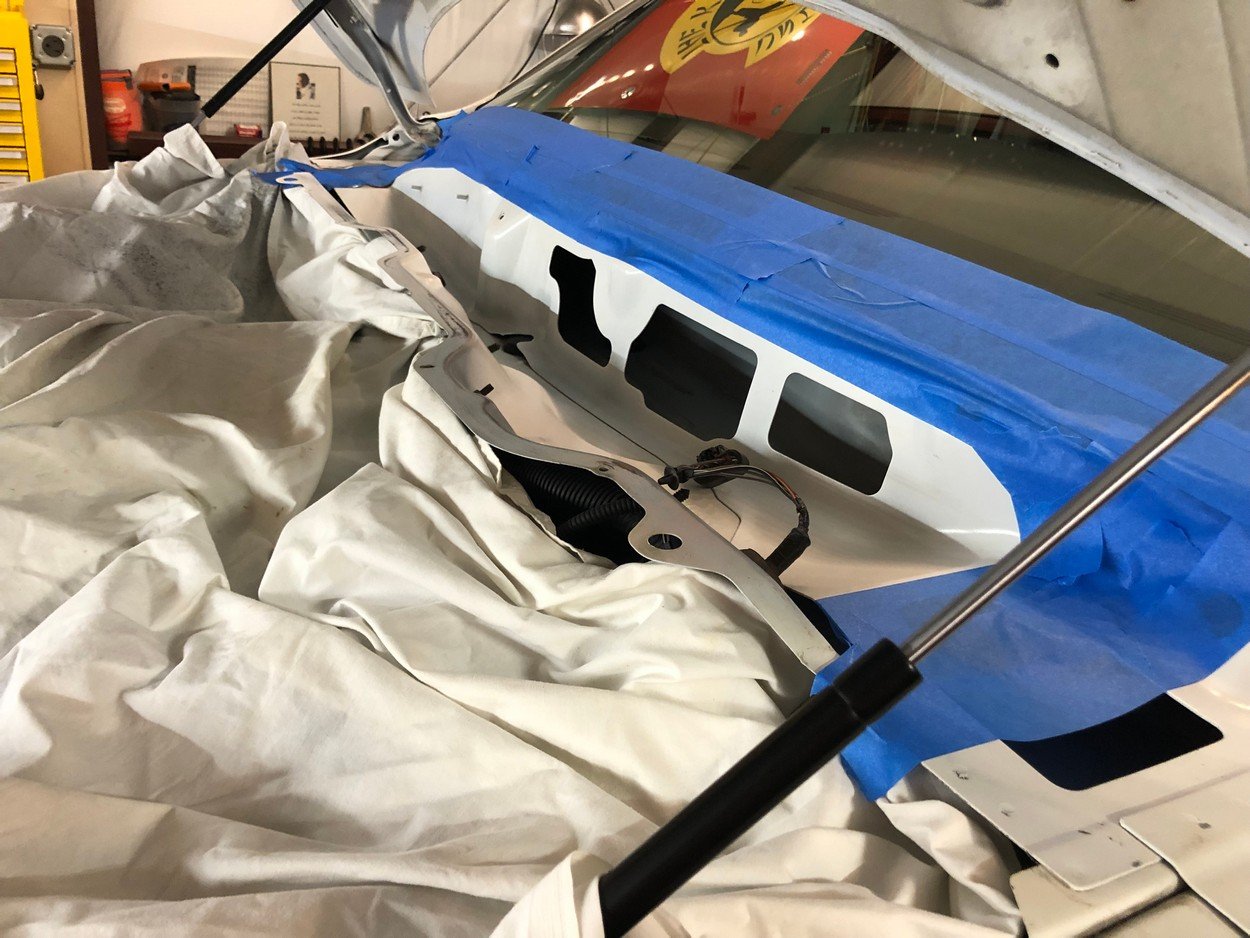
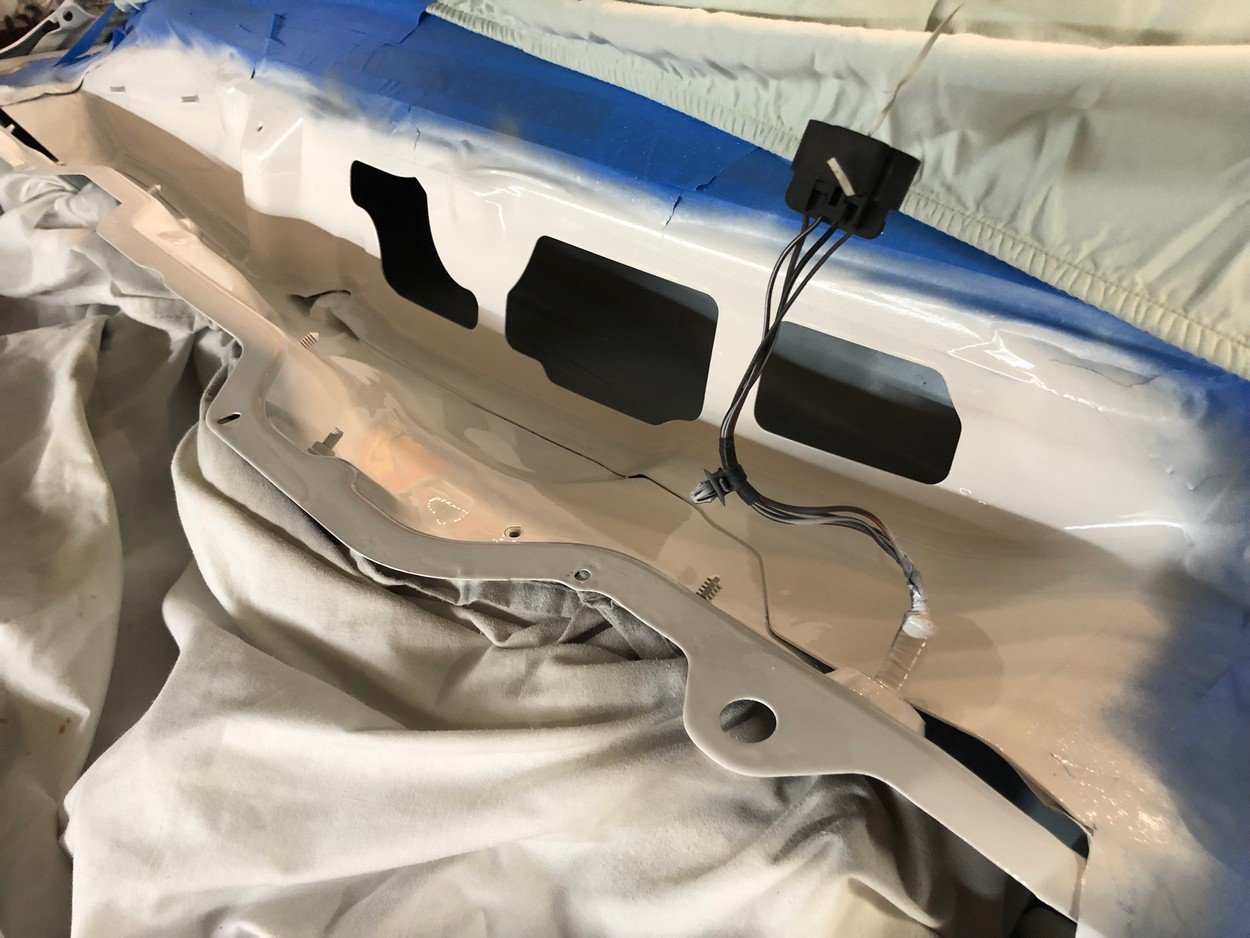
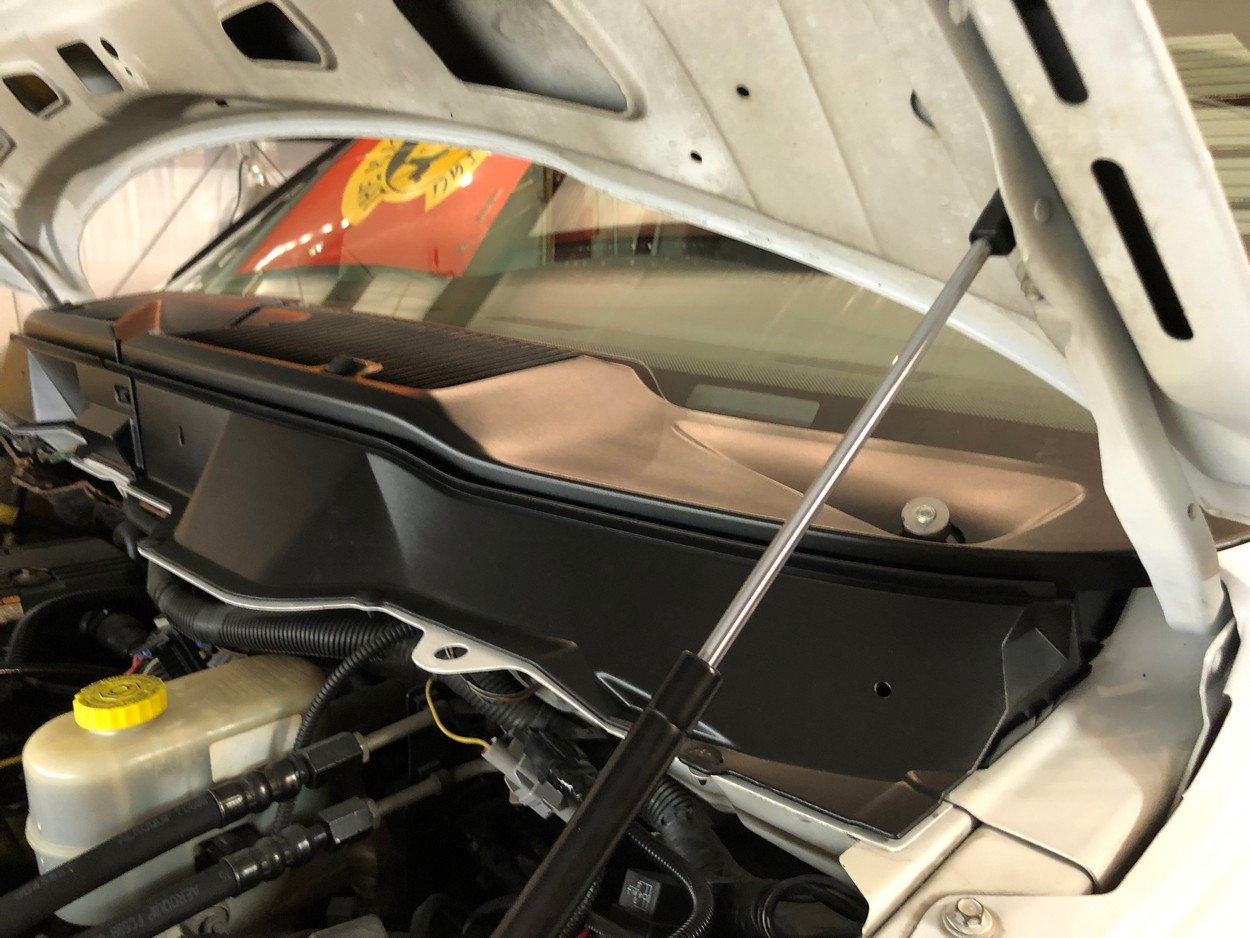
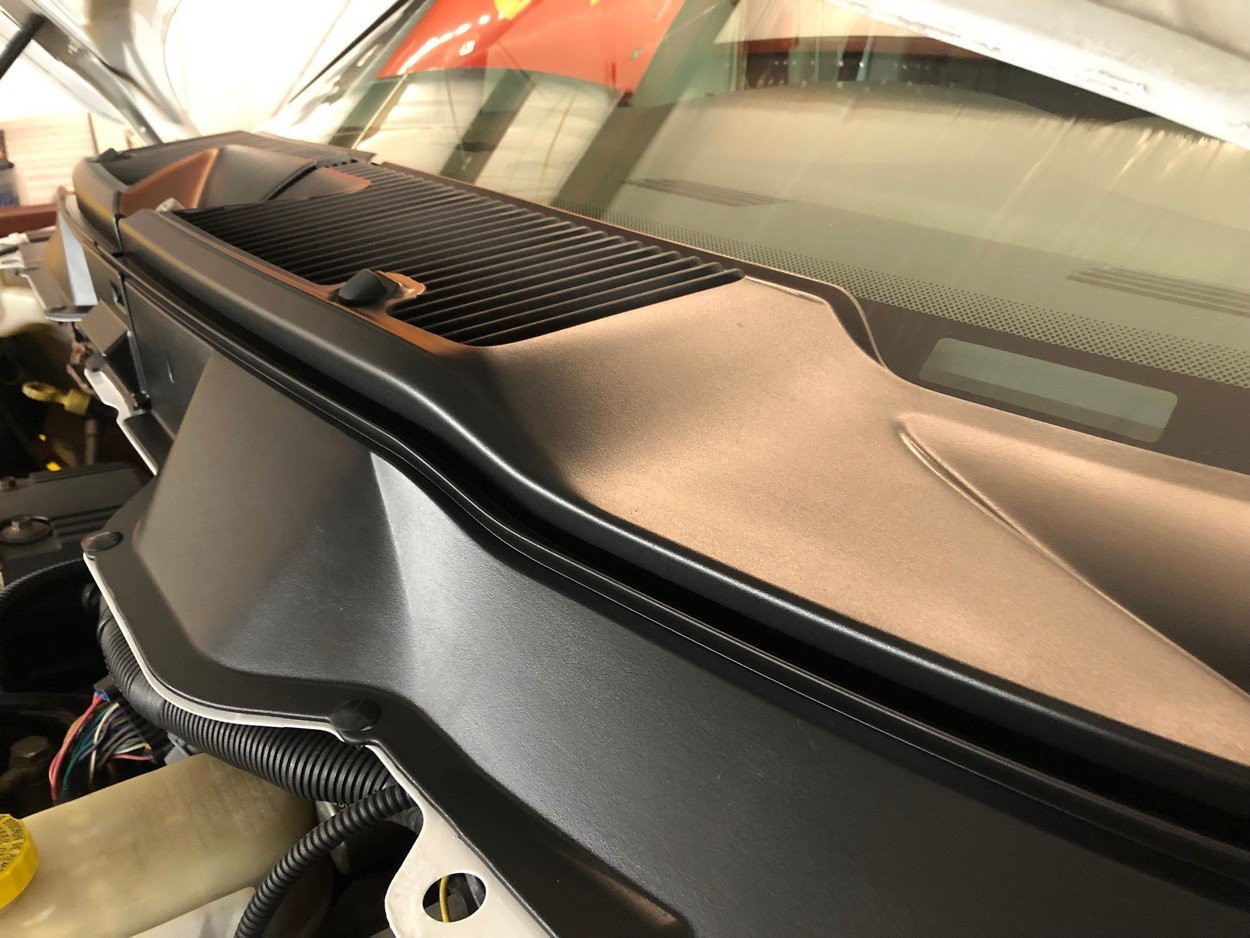
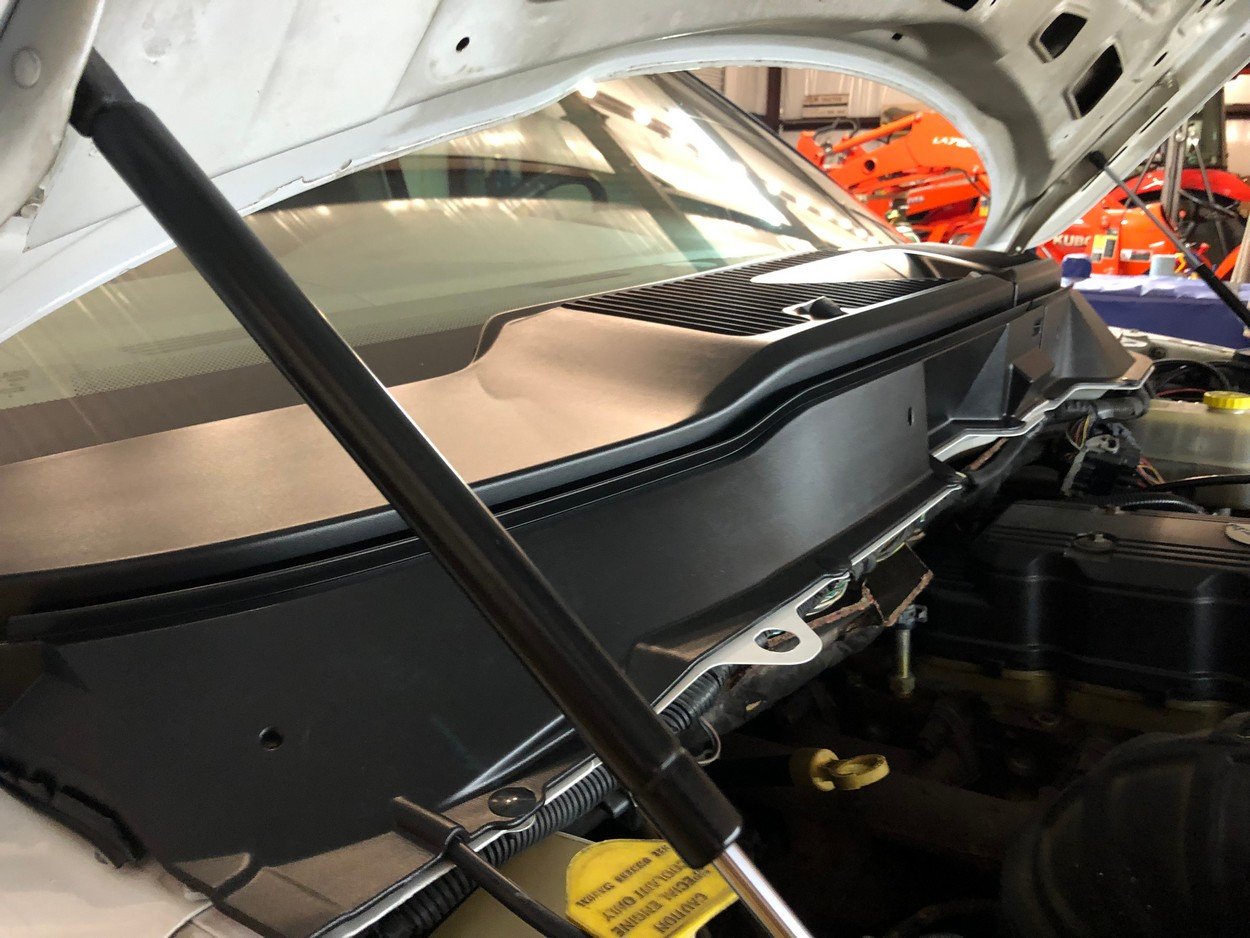
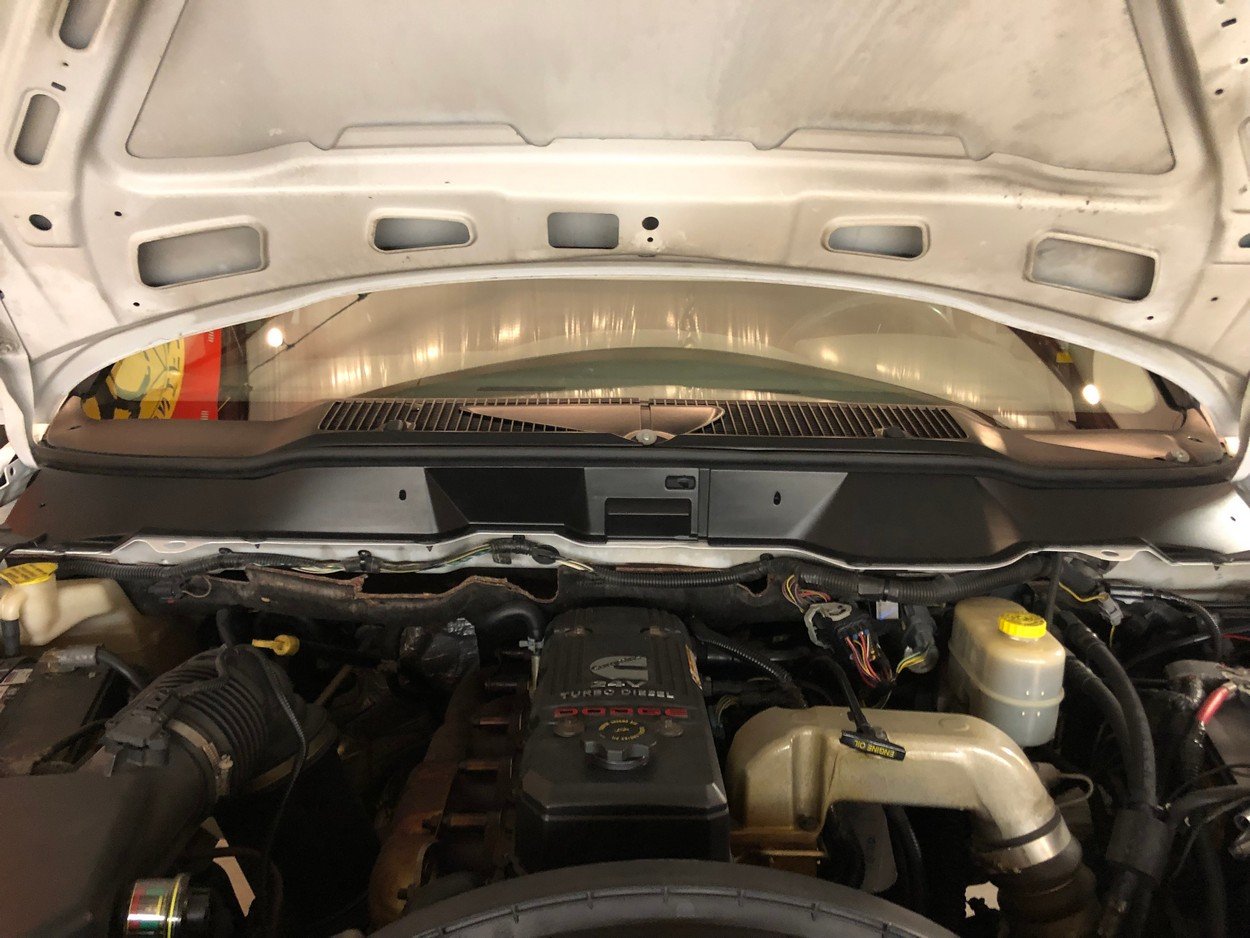
Clean and repaint/restore windshield cowl
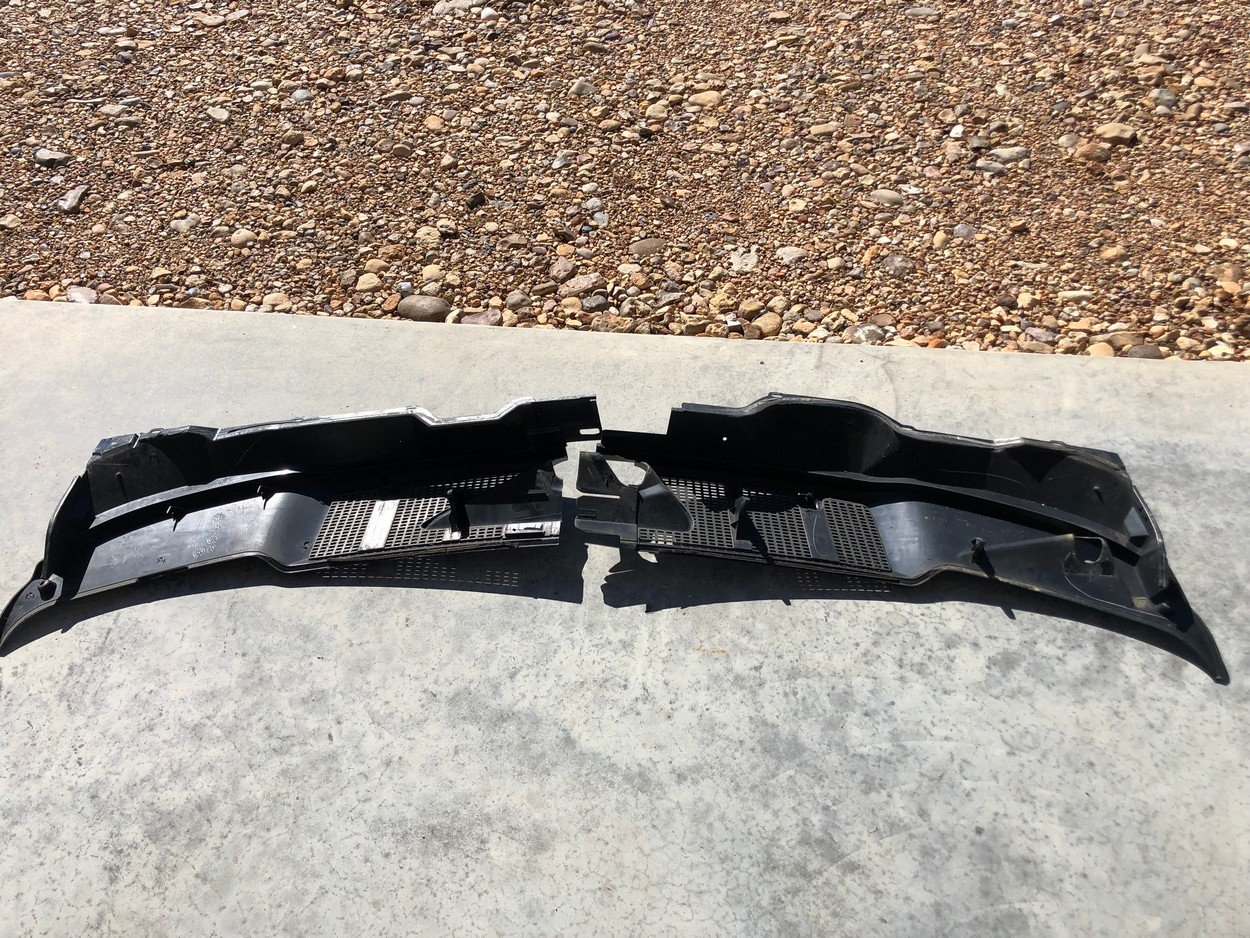
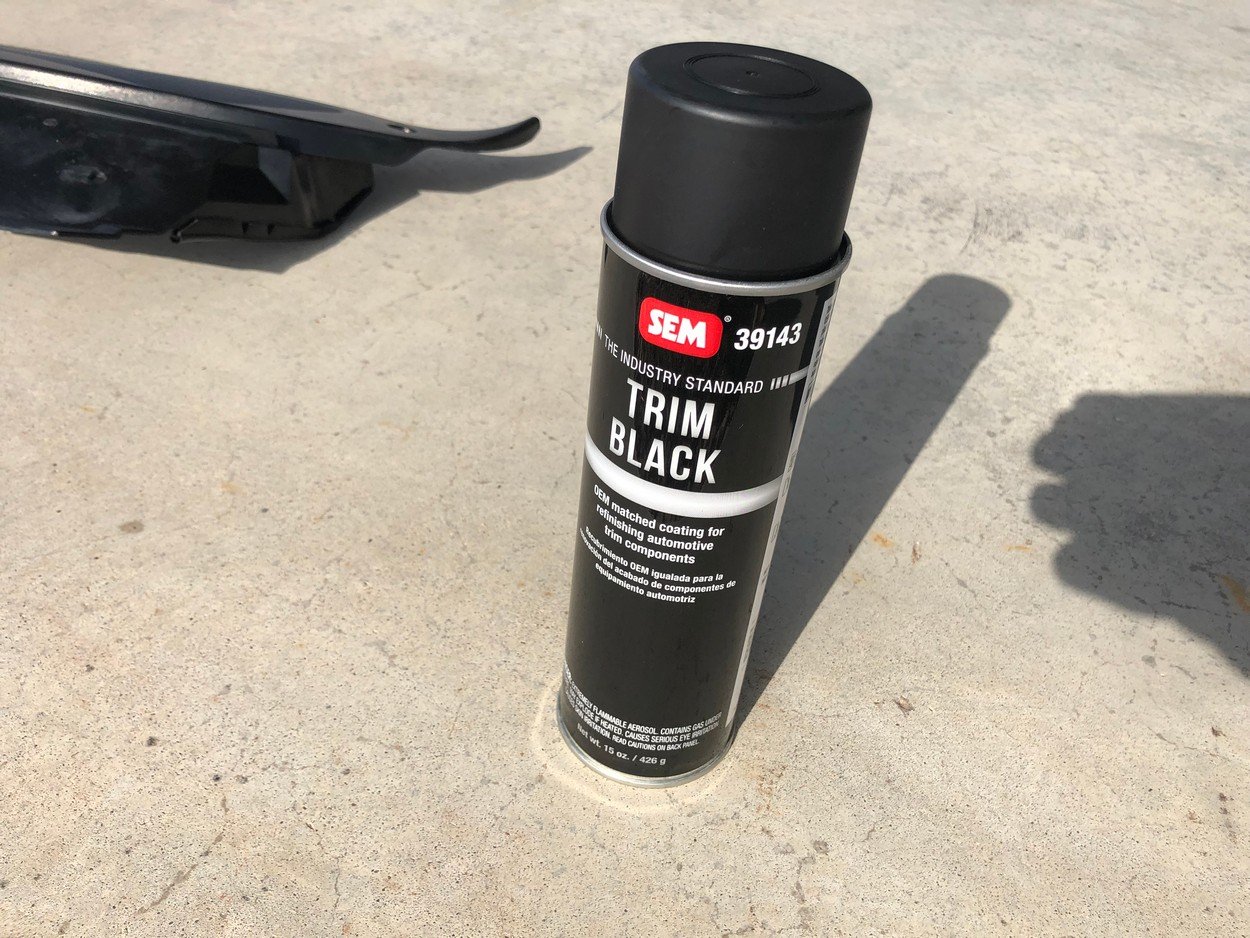
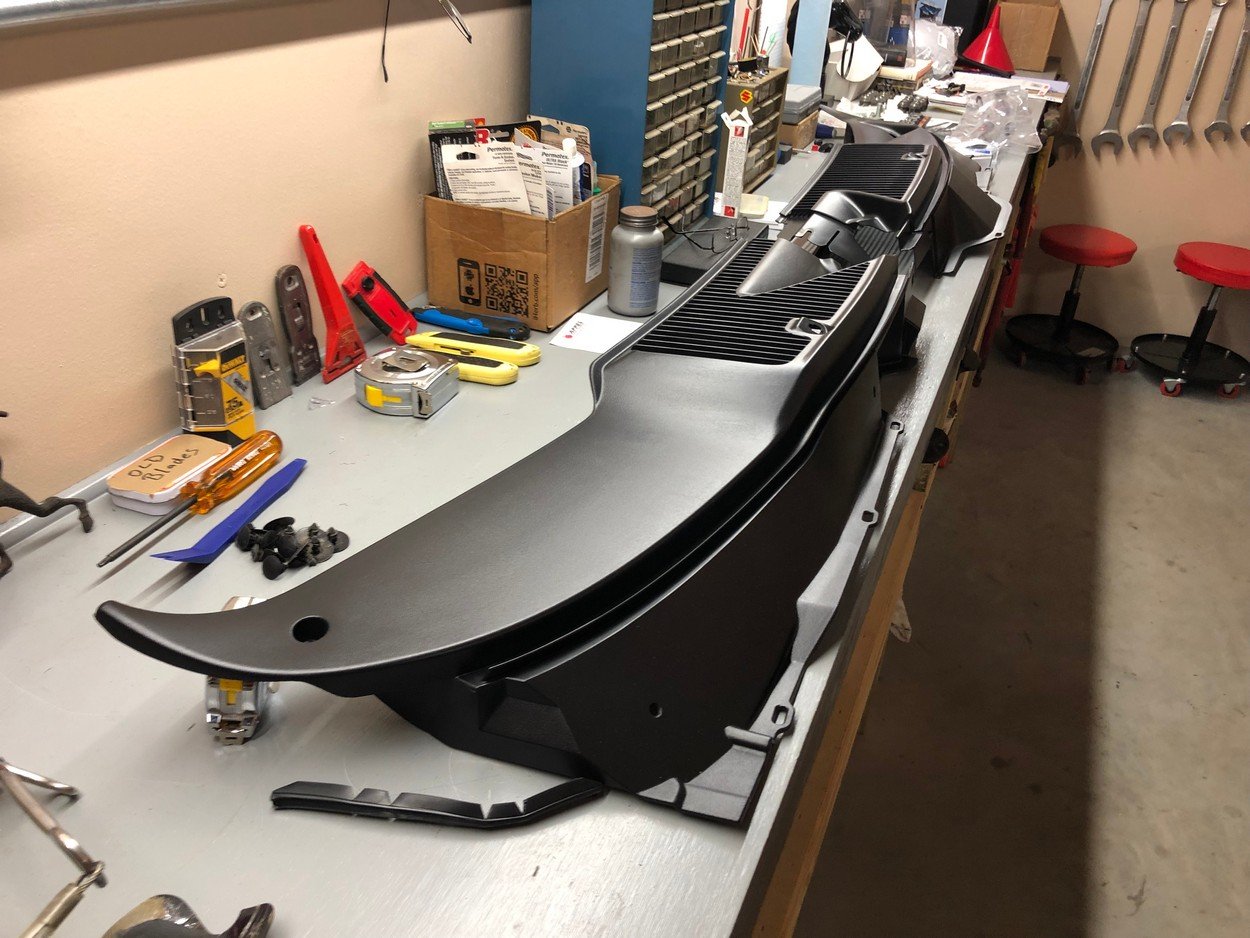
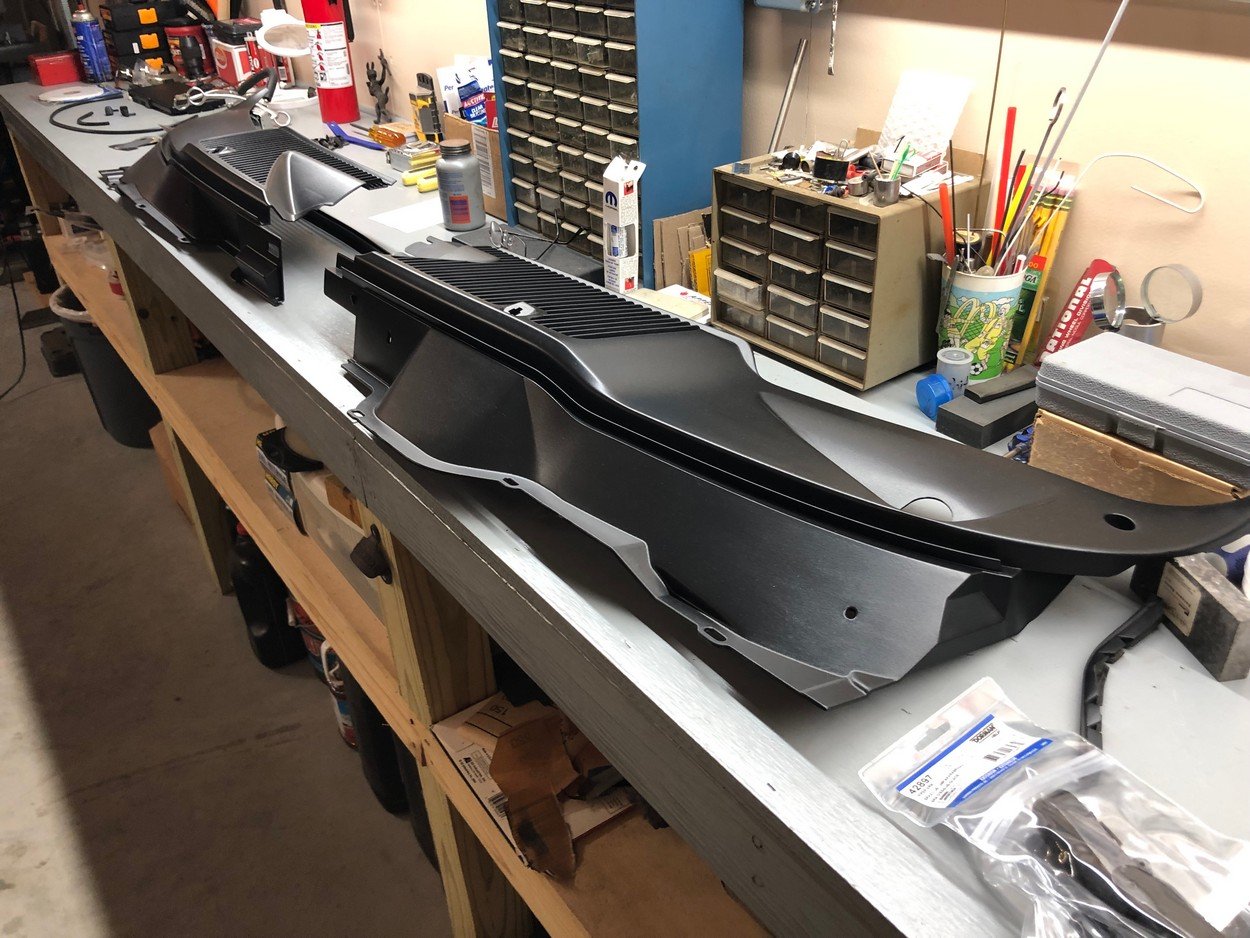
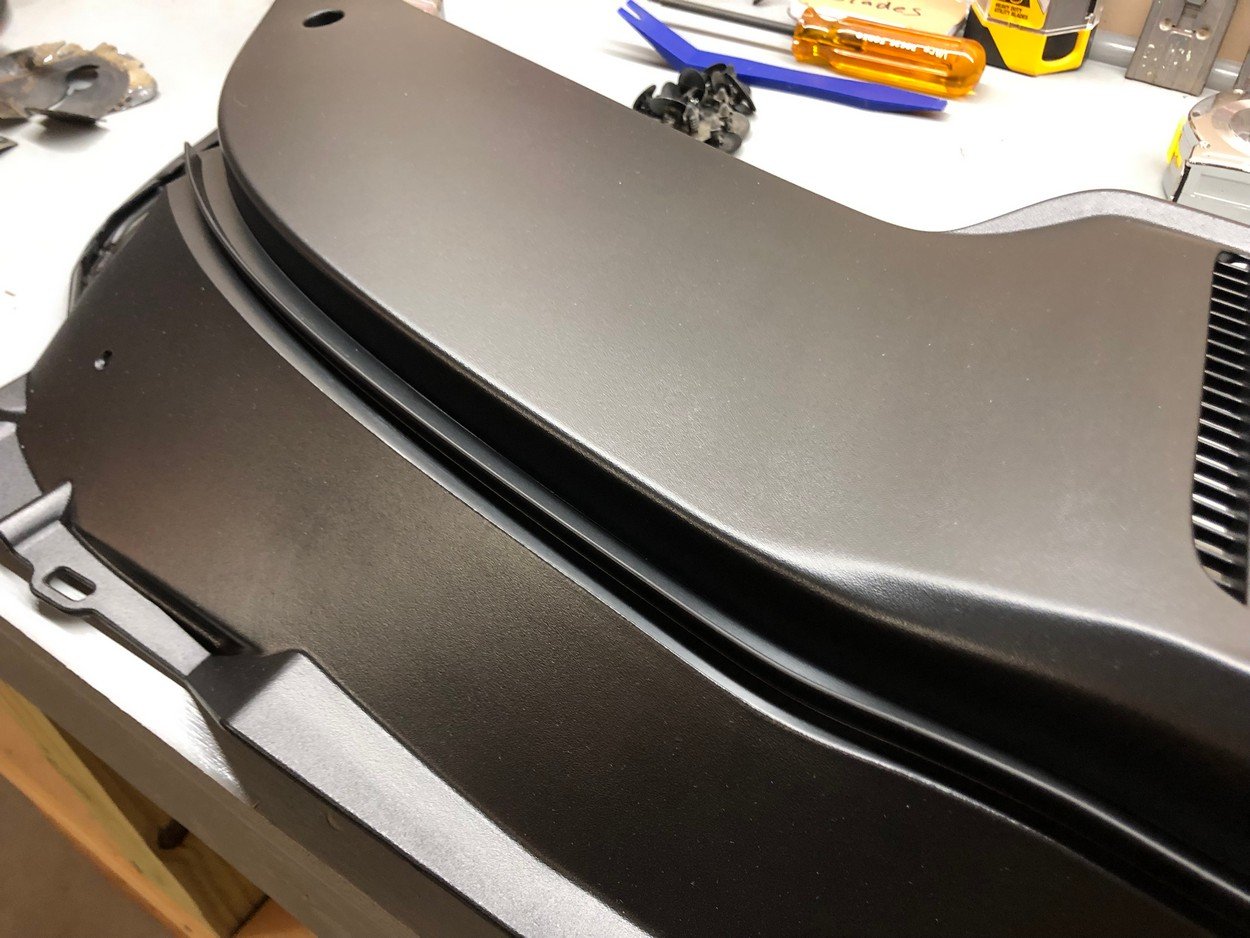
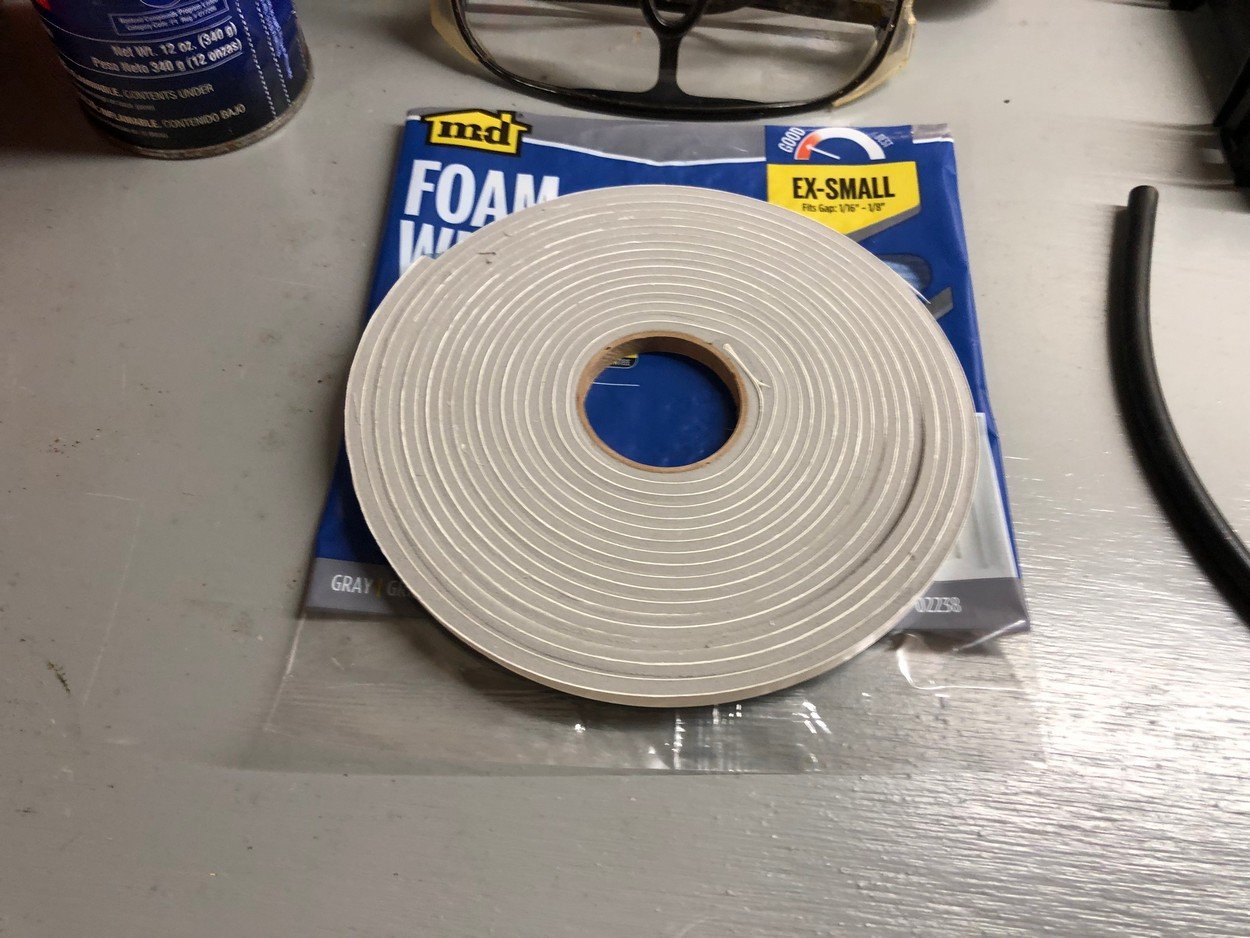
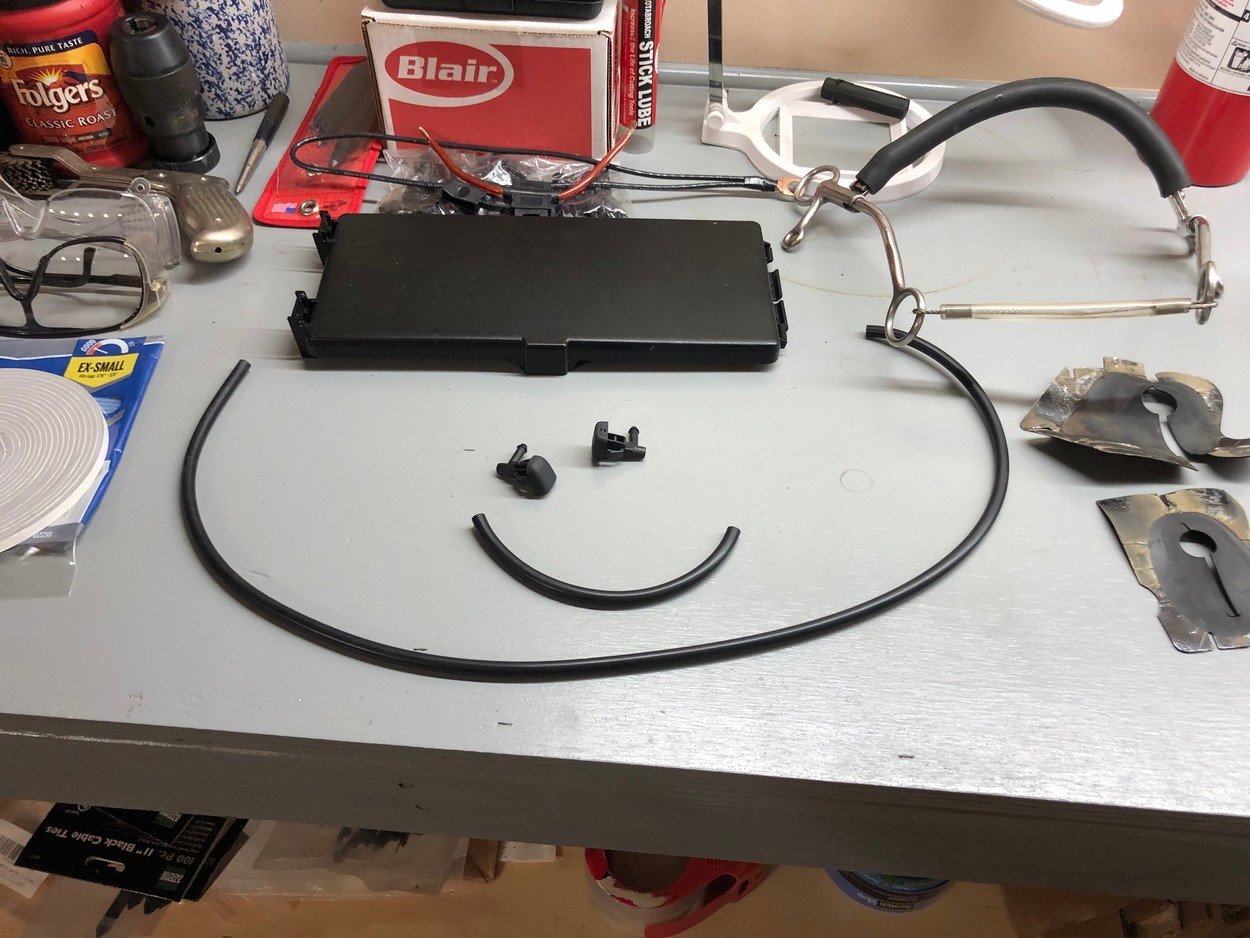
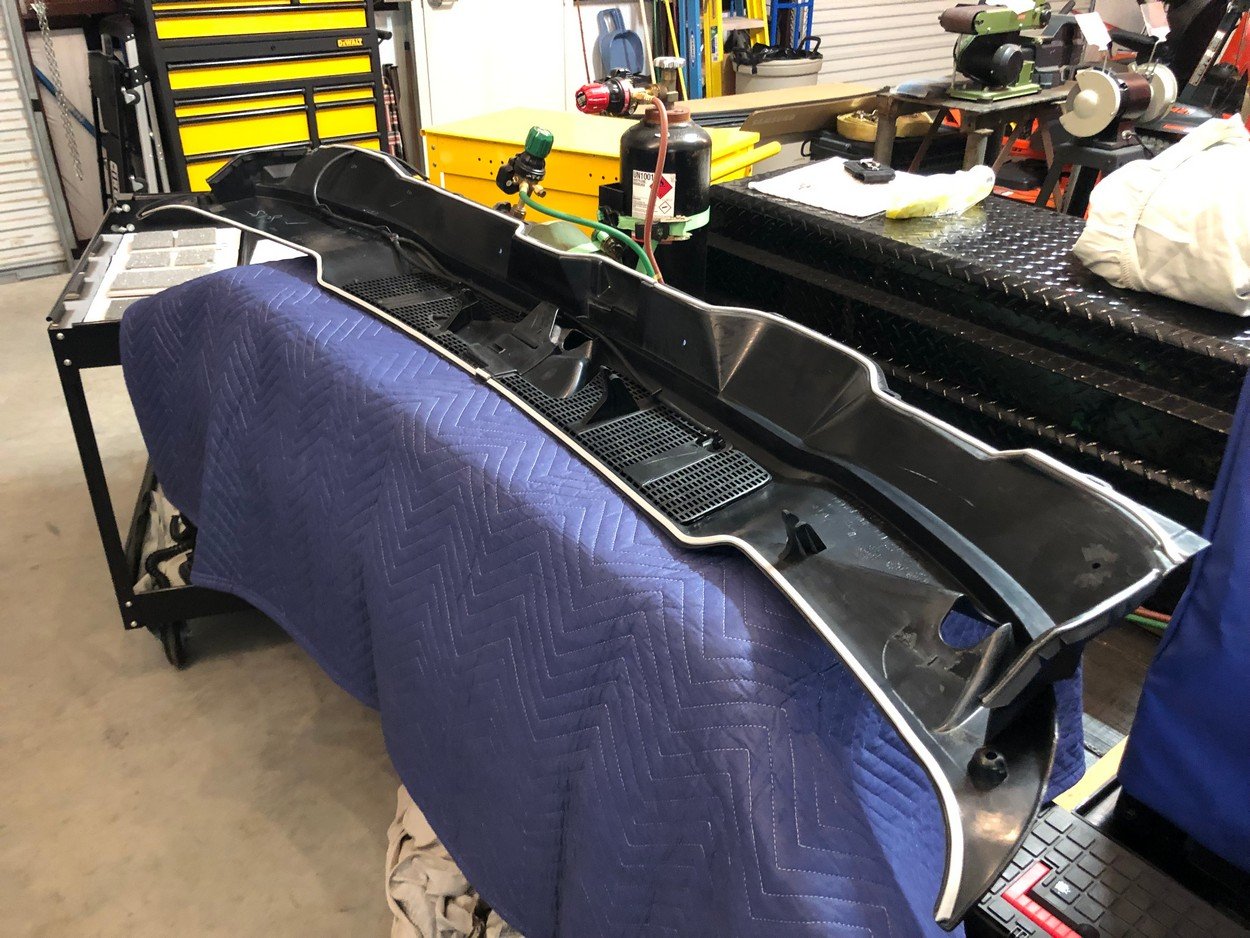
Before putting in new windshield and replacing restored cowl
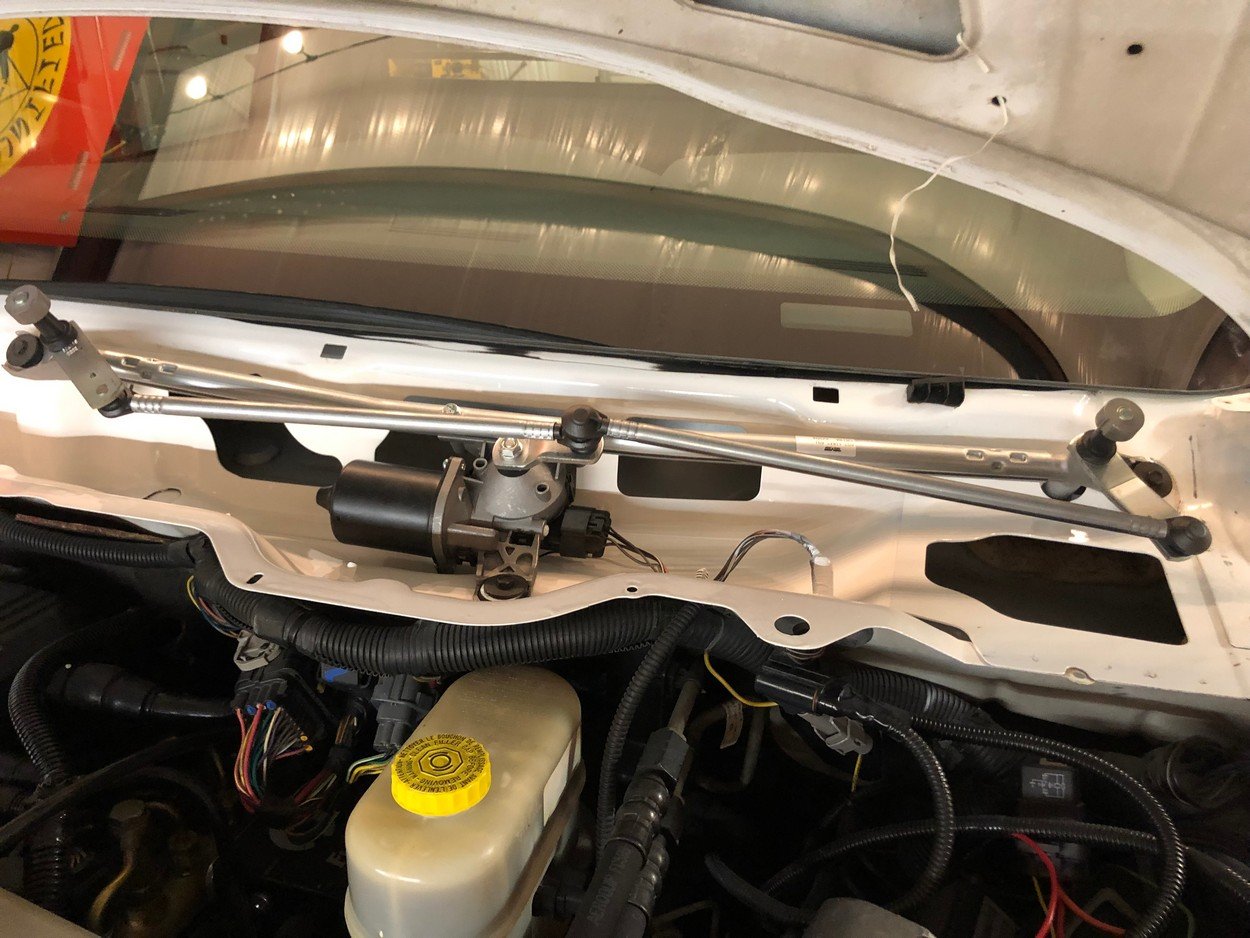
Clean up and paint cowl valley pan and put in new wipte motor assembly
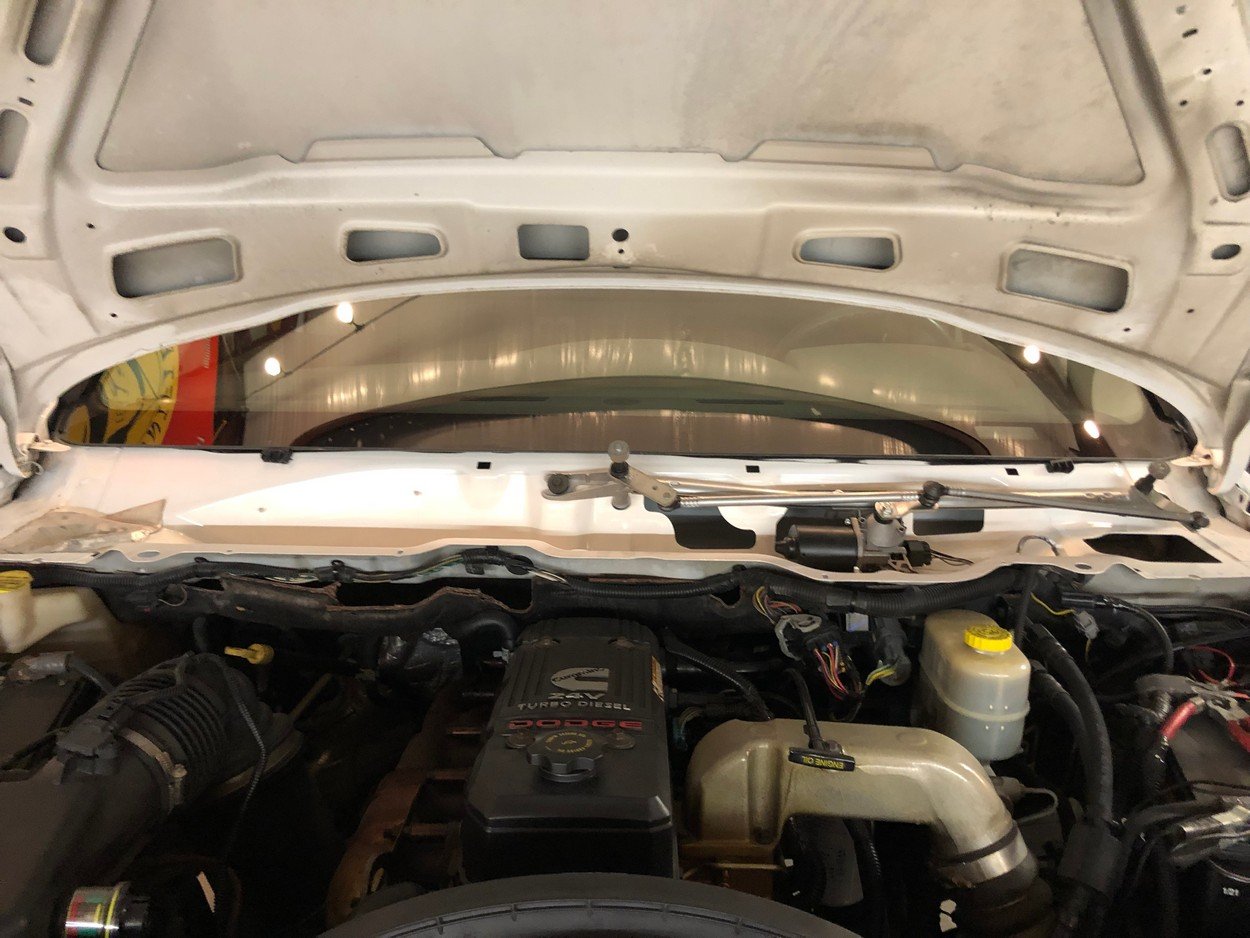
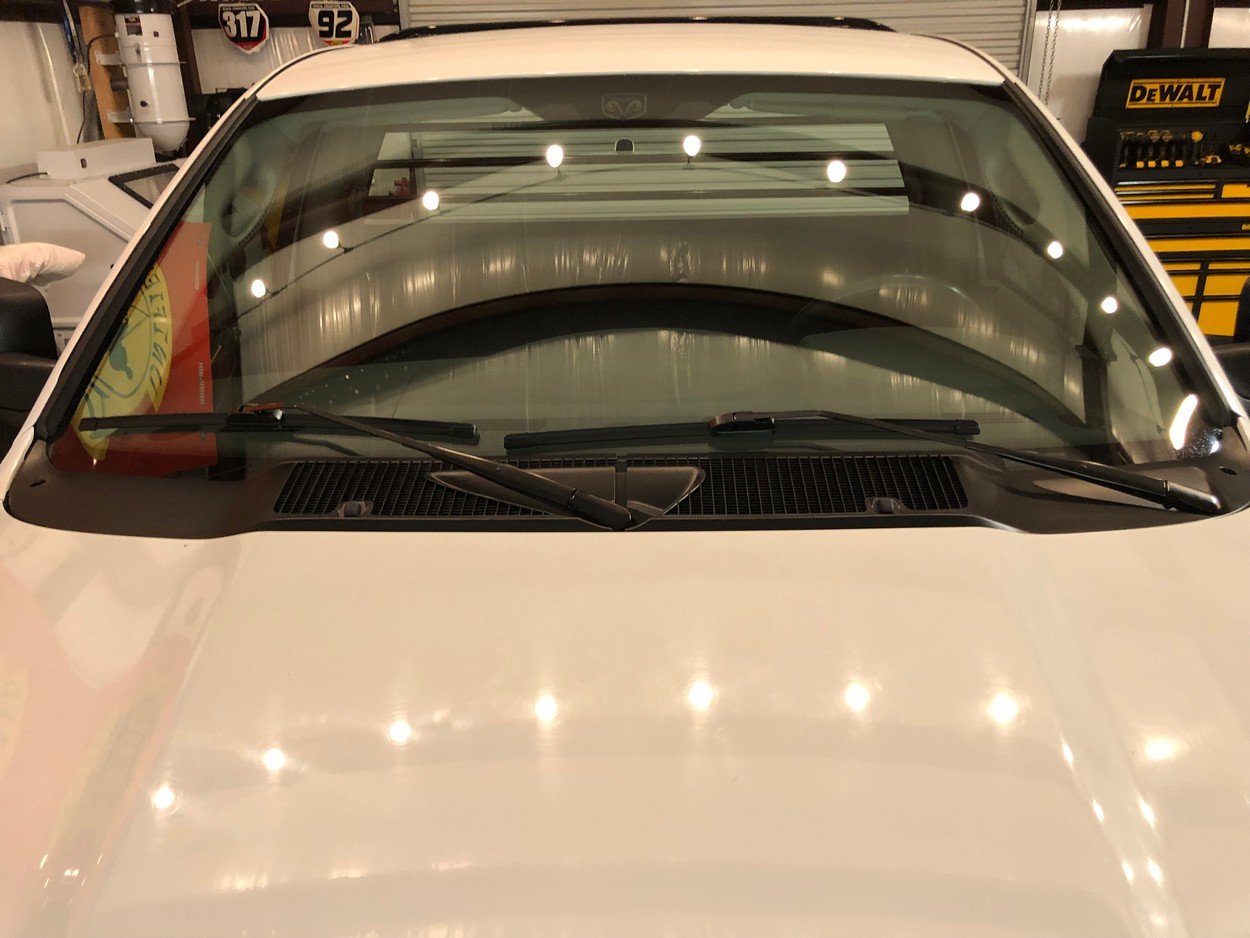
New Mopar windshield installed
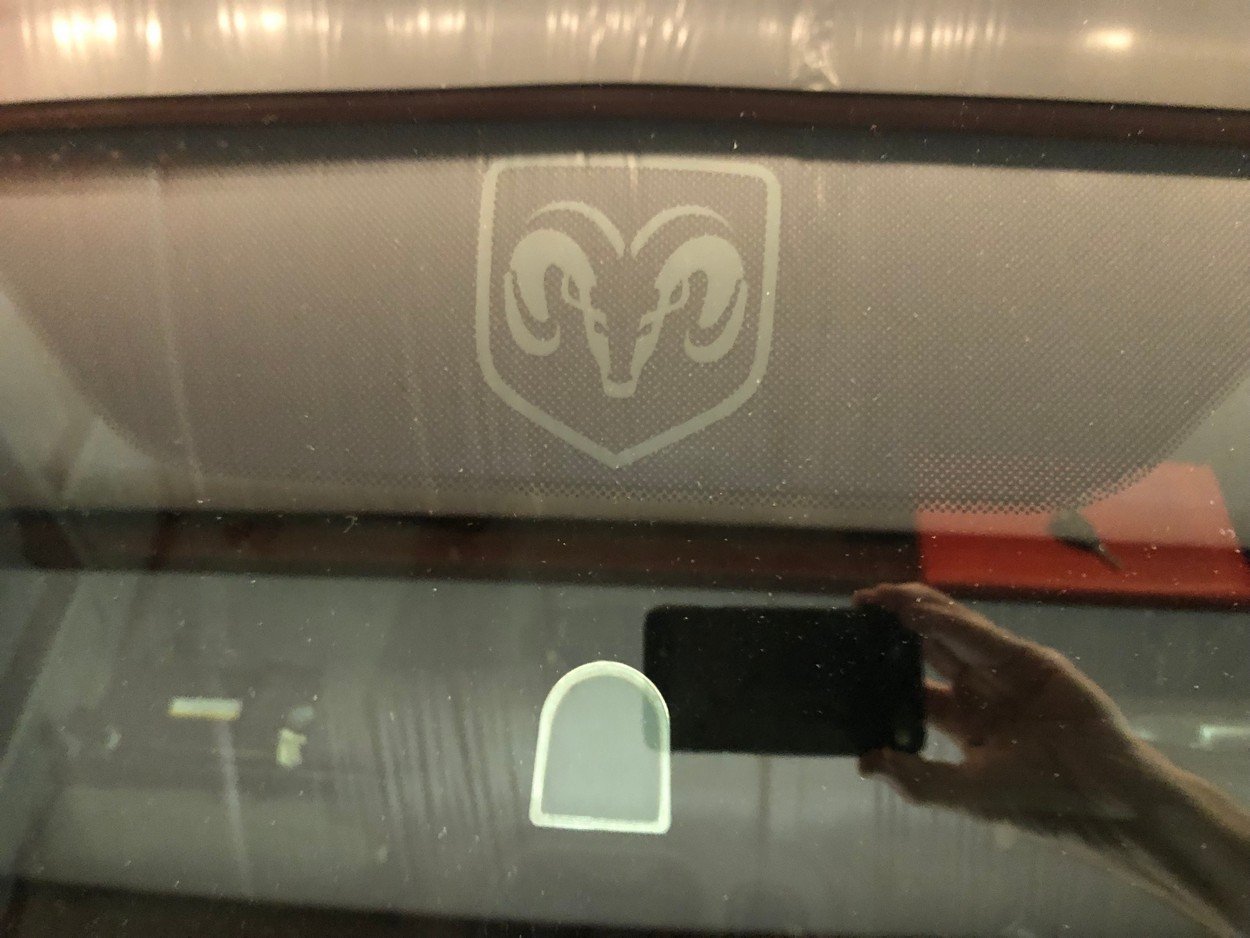
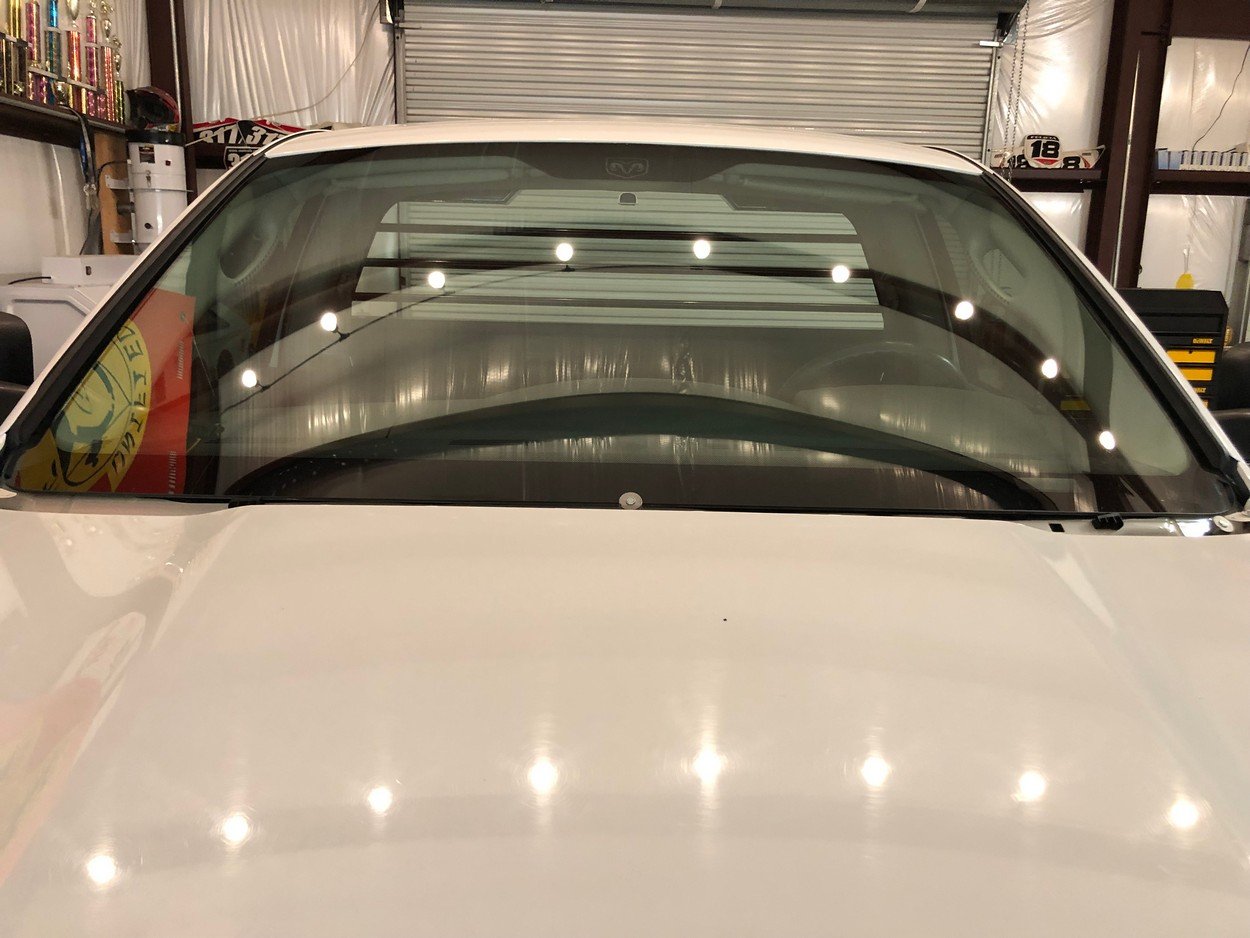
Cowl and new wiper arms & Bosch Icon blades installed
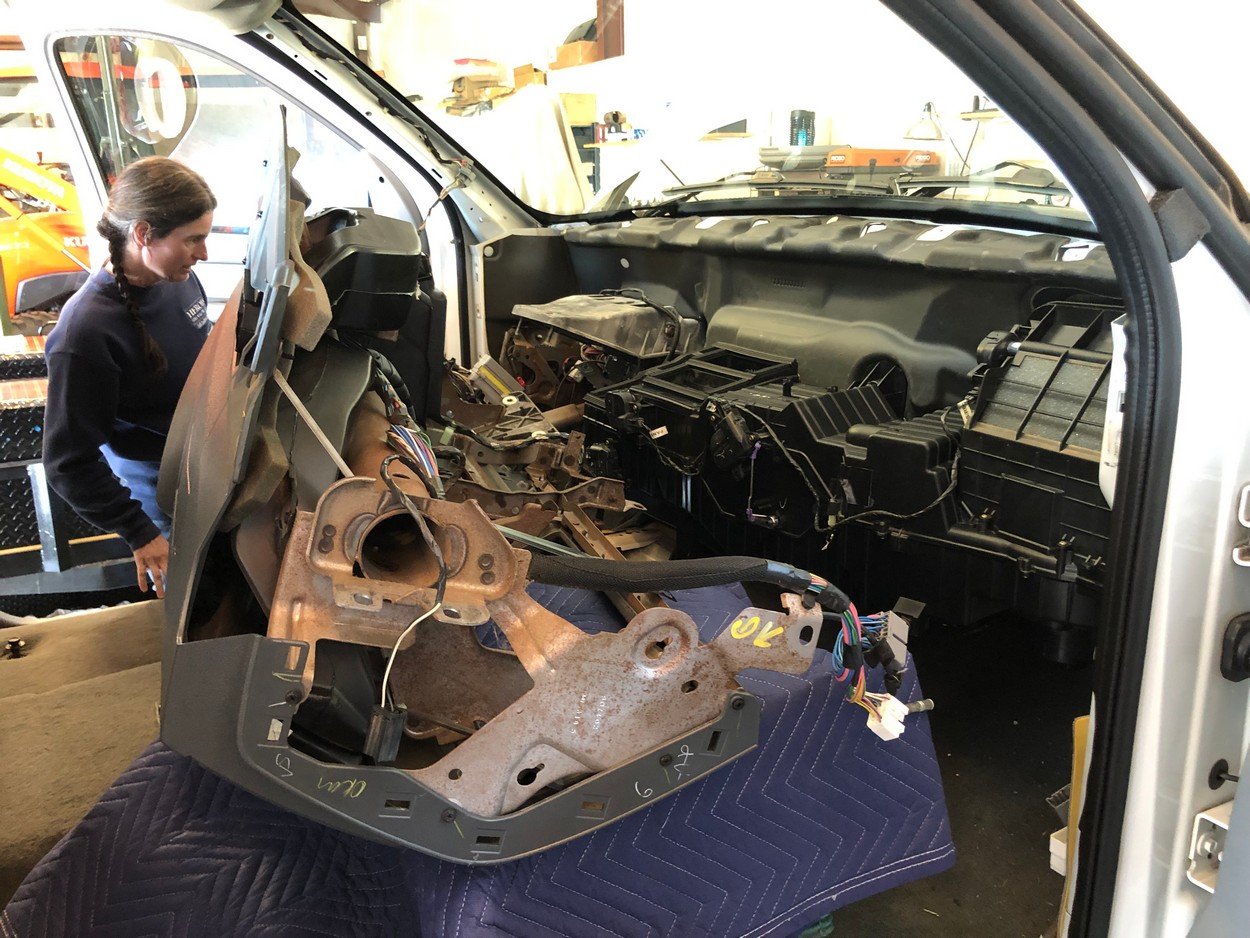
Pull dash to remove HVAC box
Put in new Evaporator Coil, Heater Core
And new Blend-Door kit
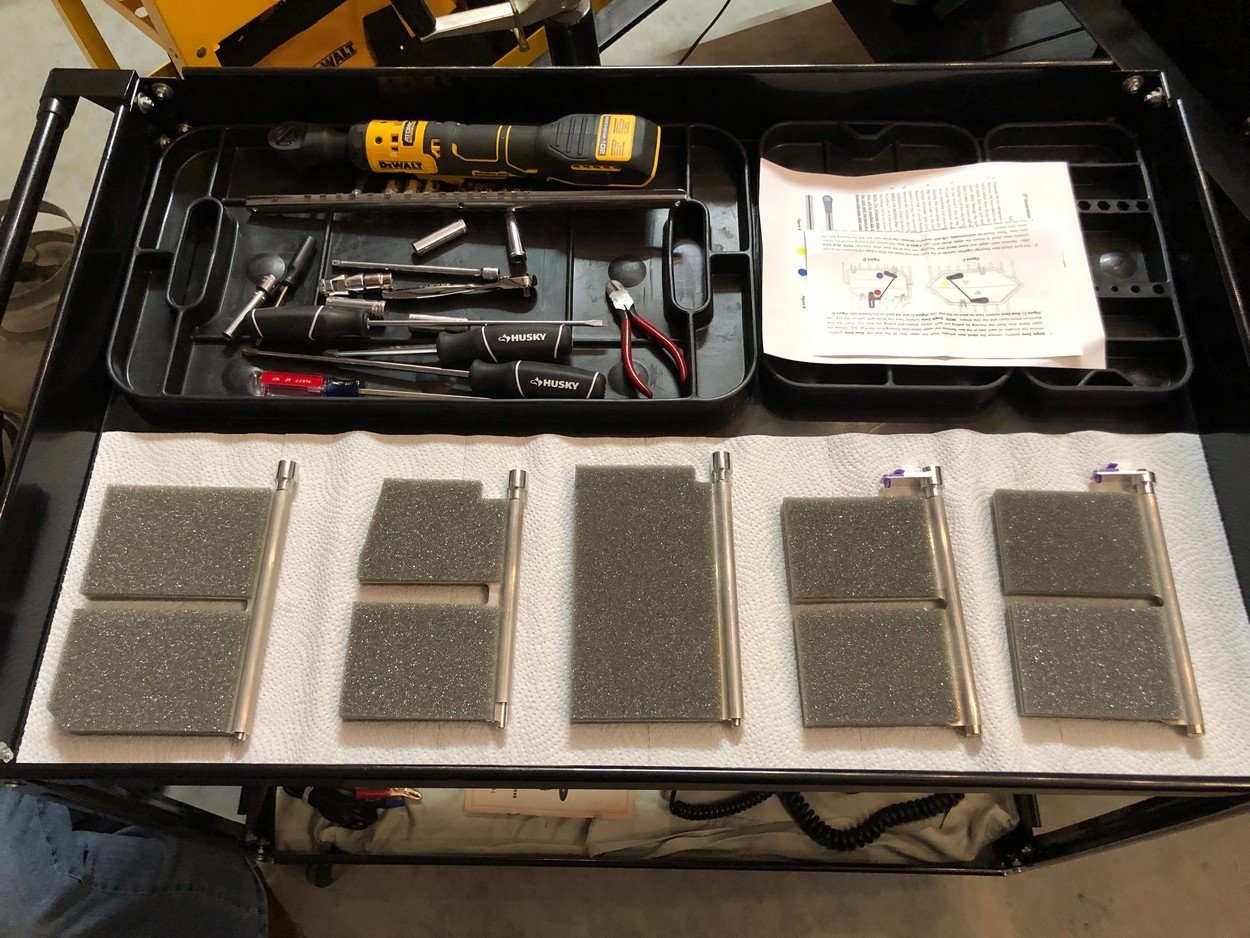
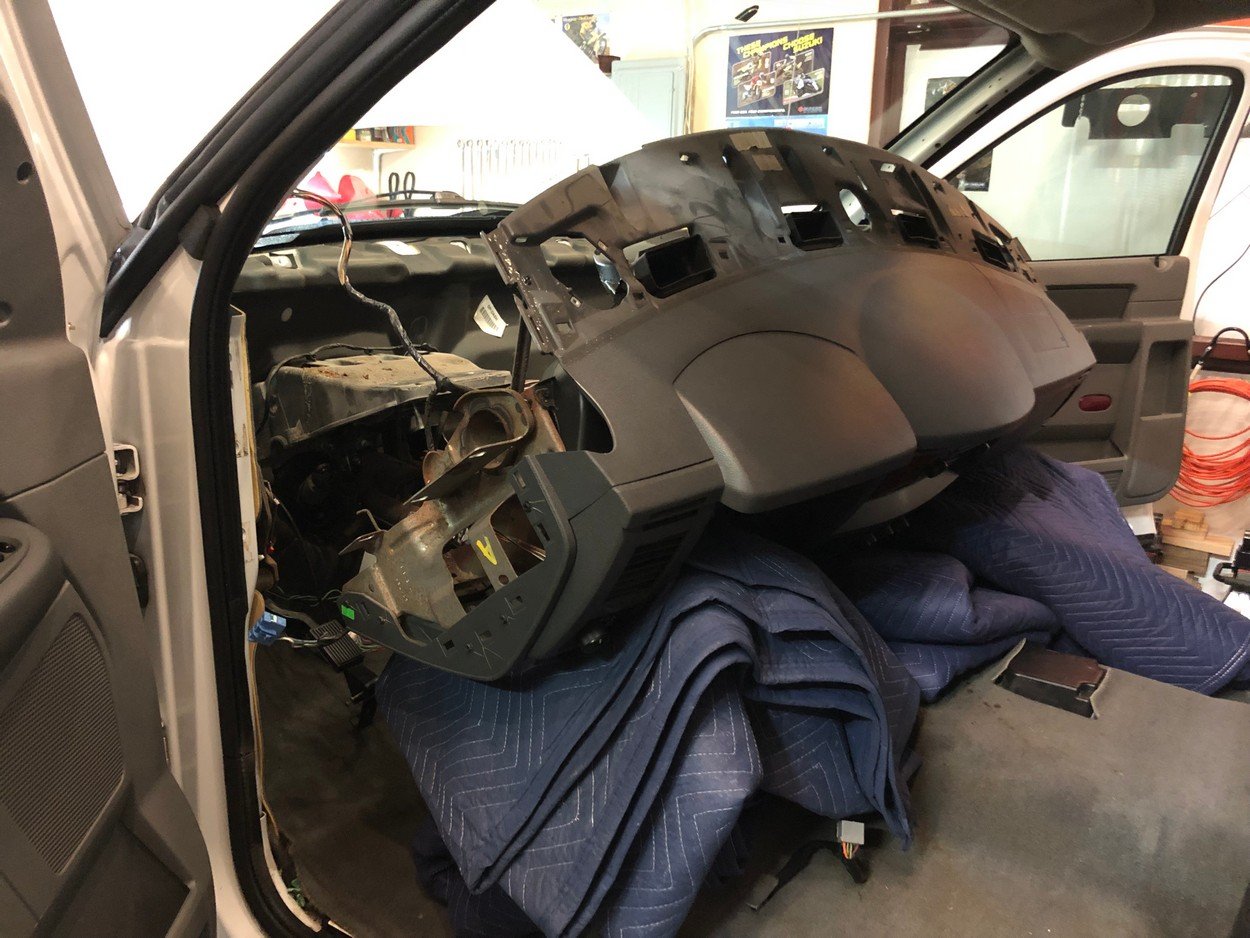
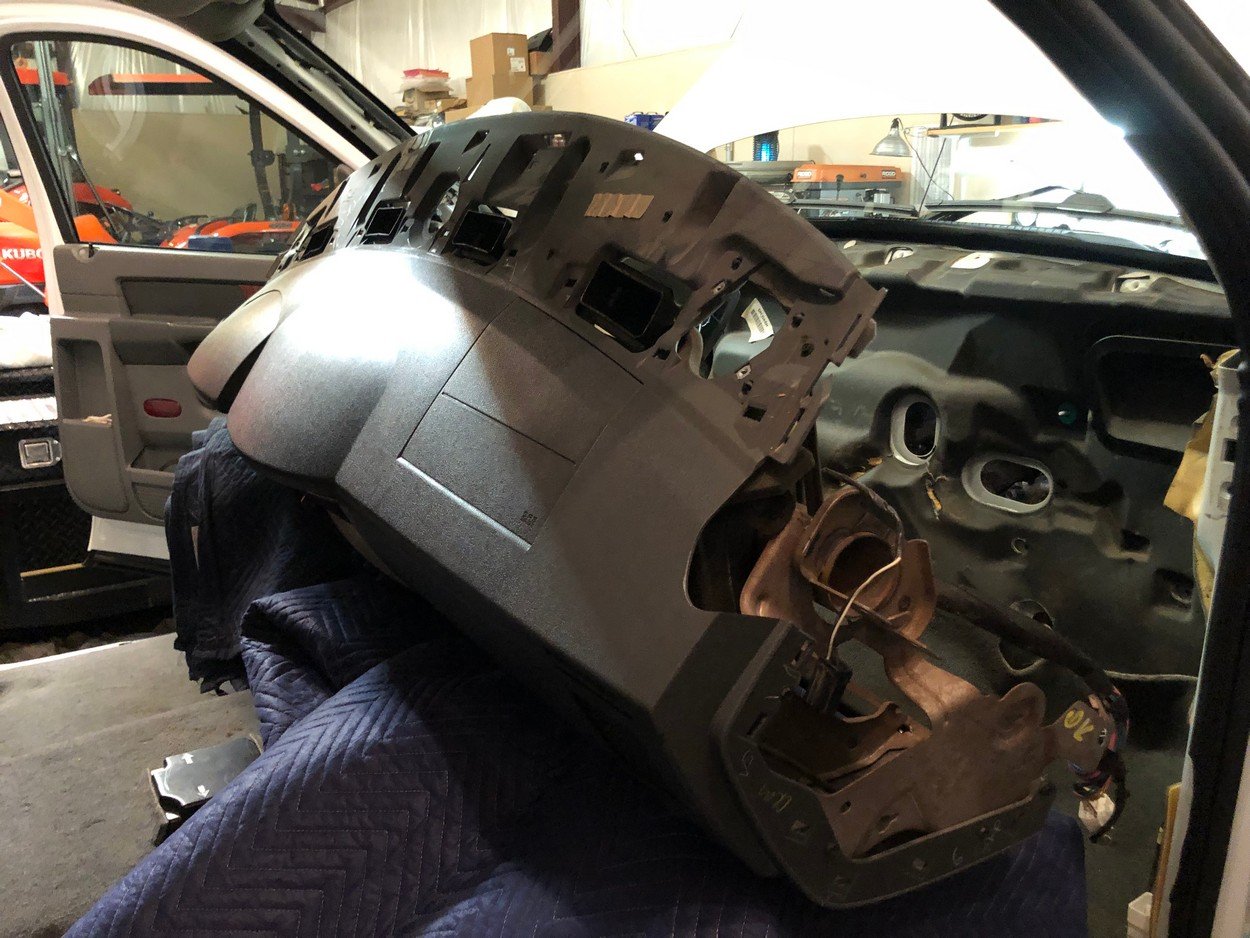
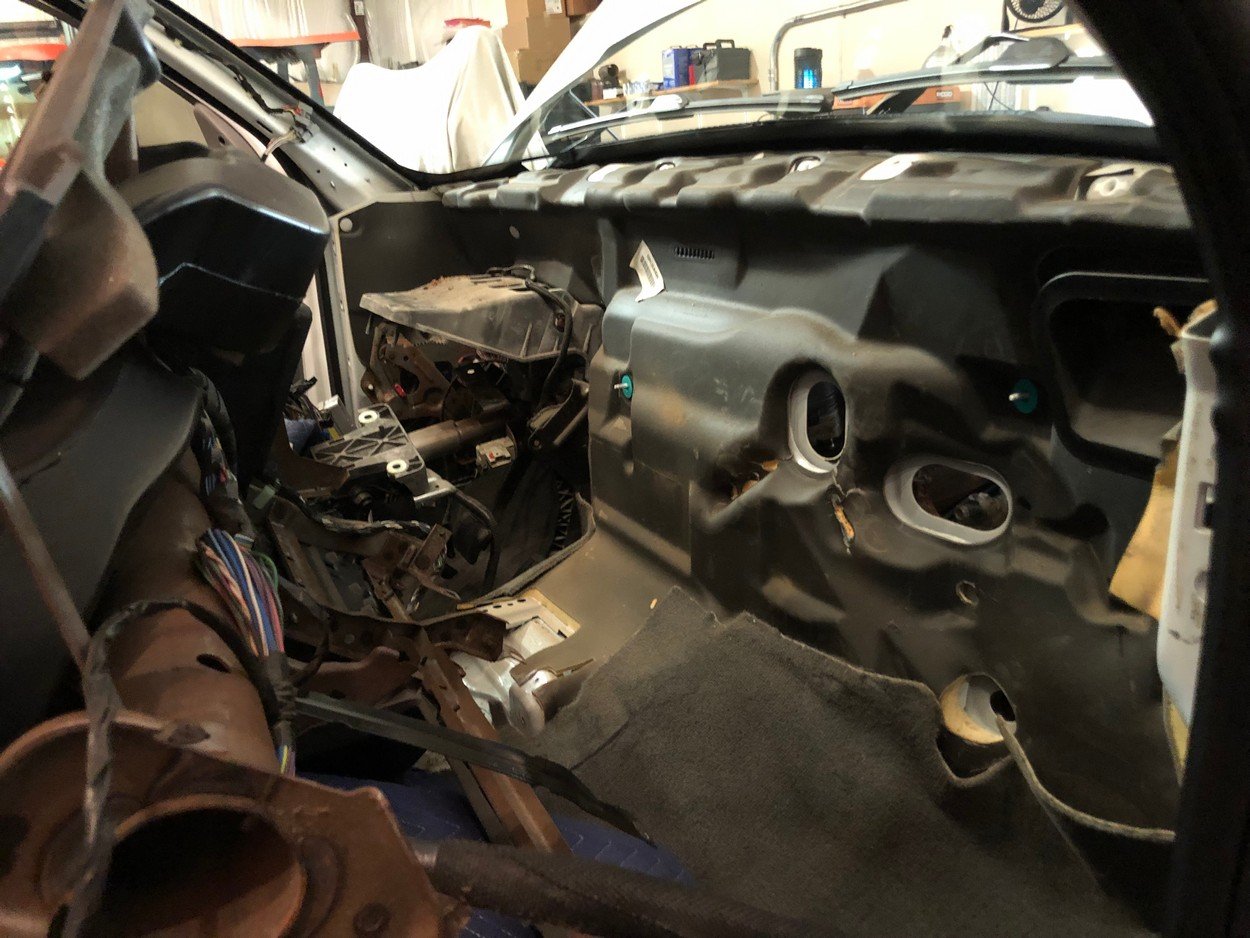
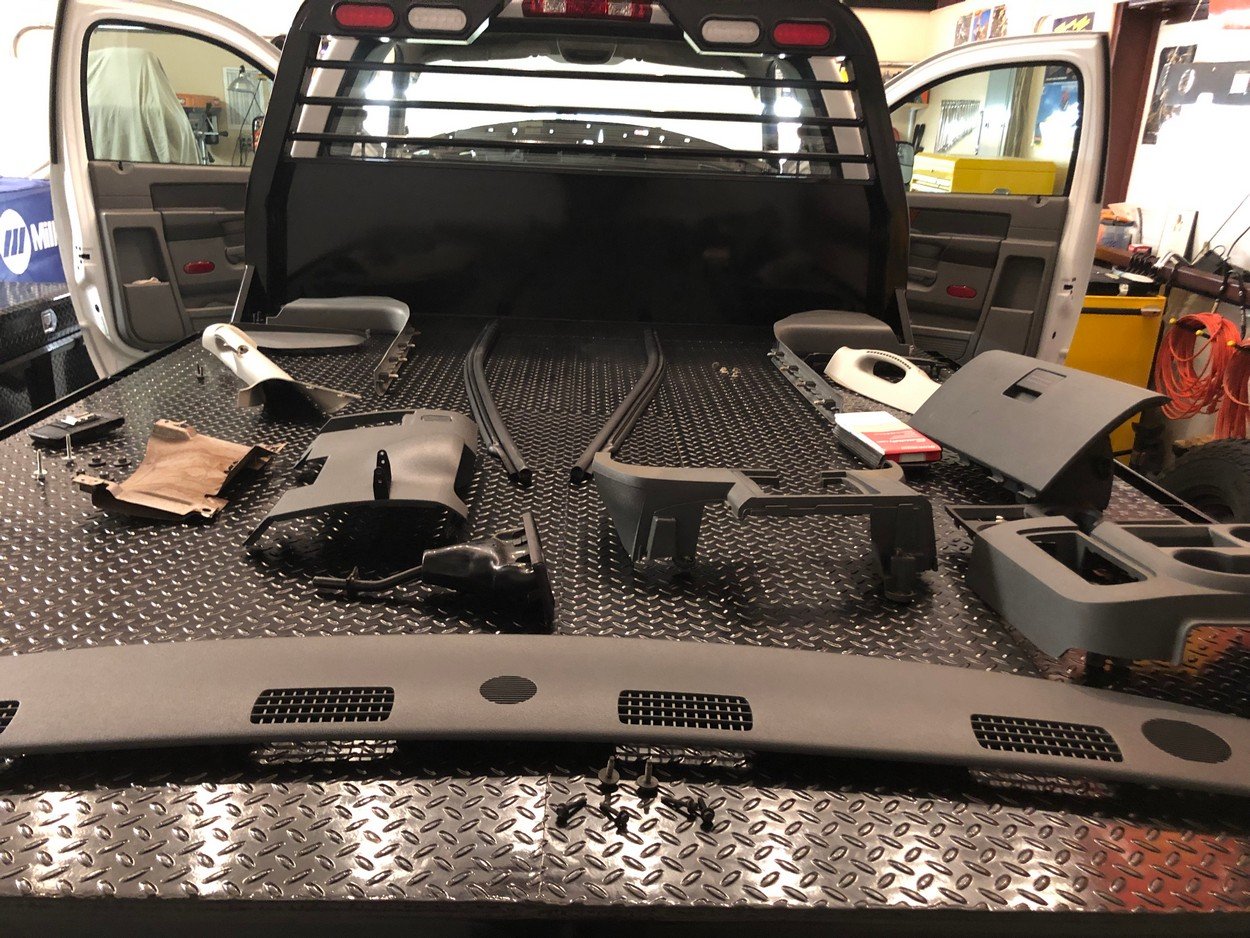
HVAC box pulled, time for complete rebuild
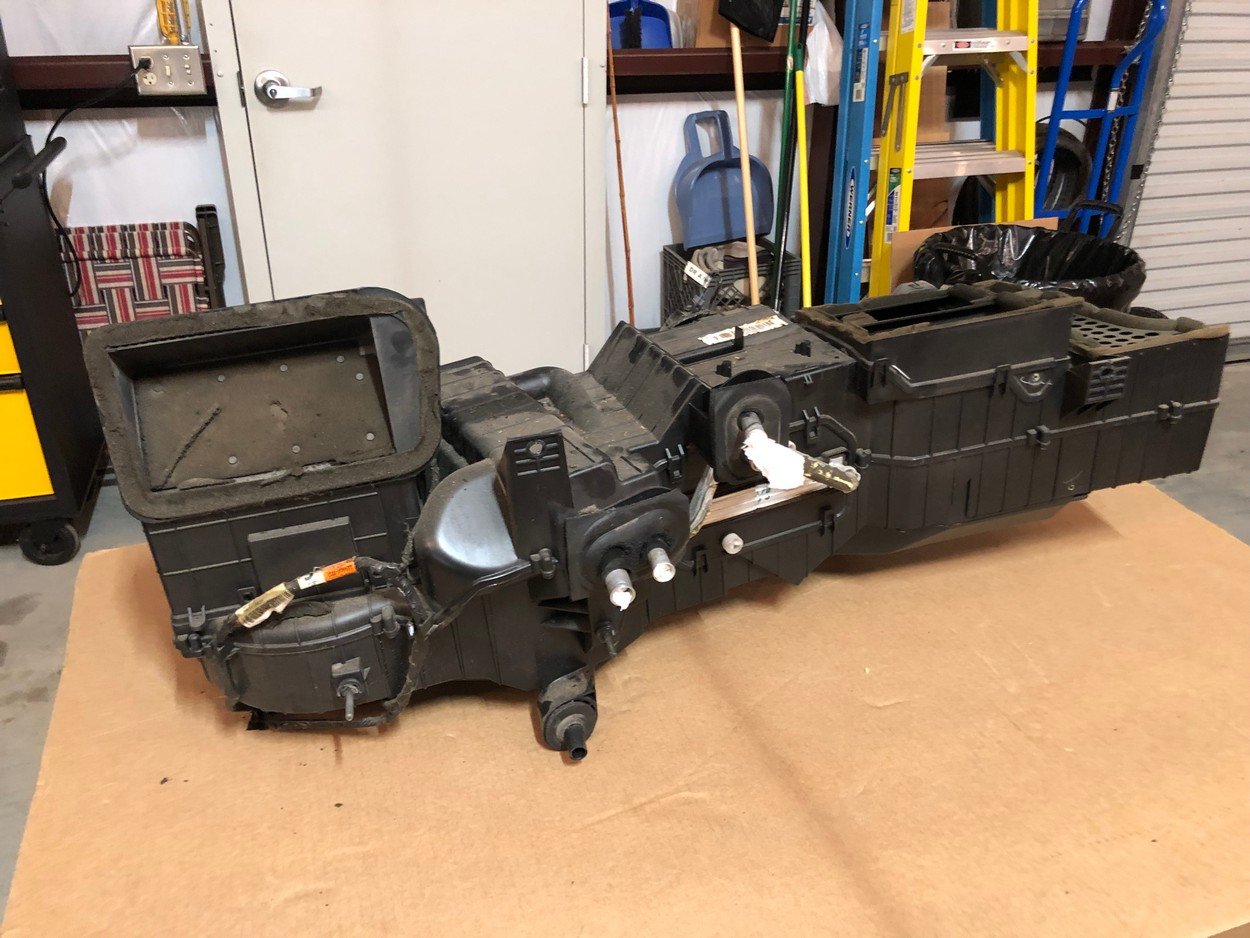
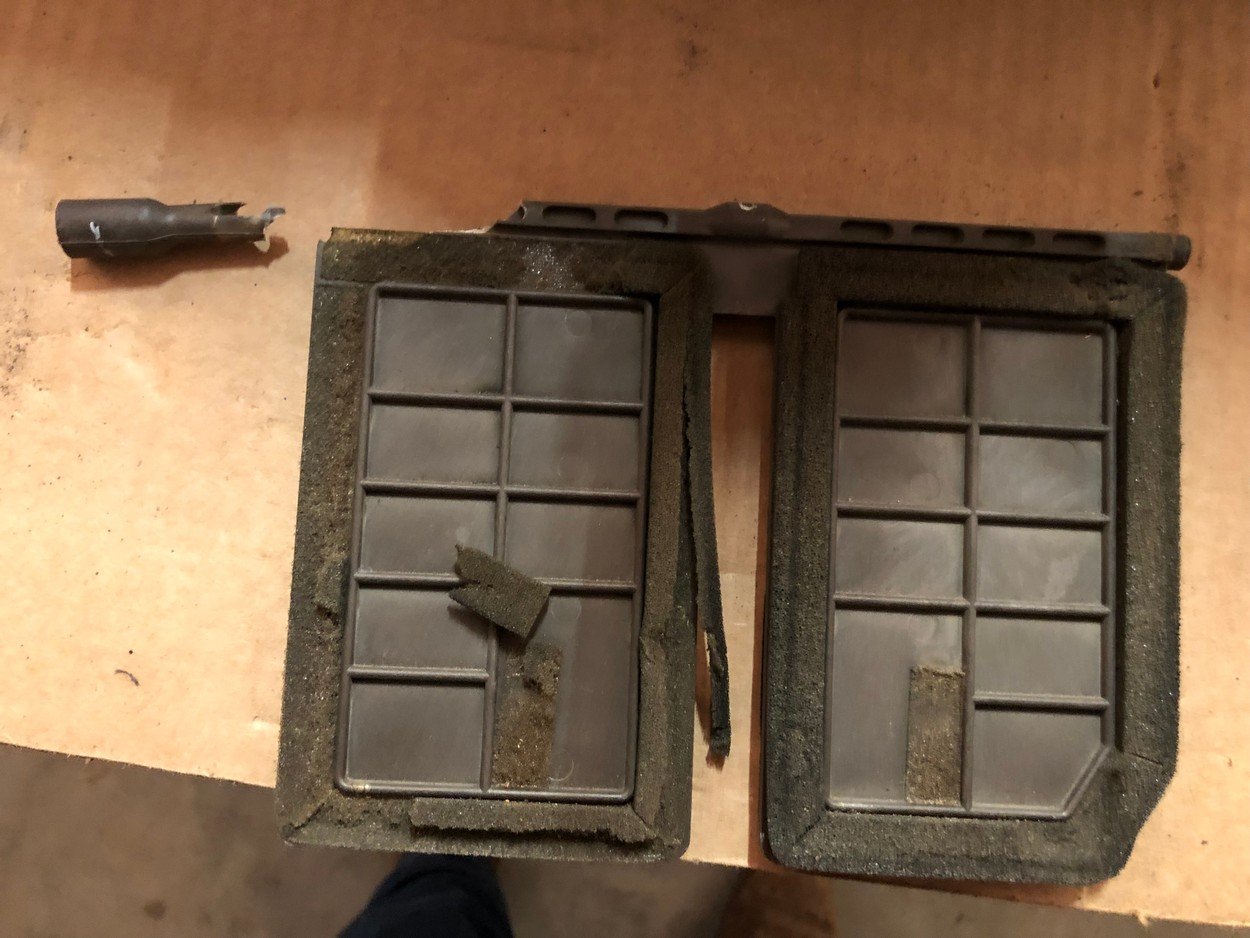
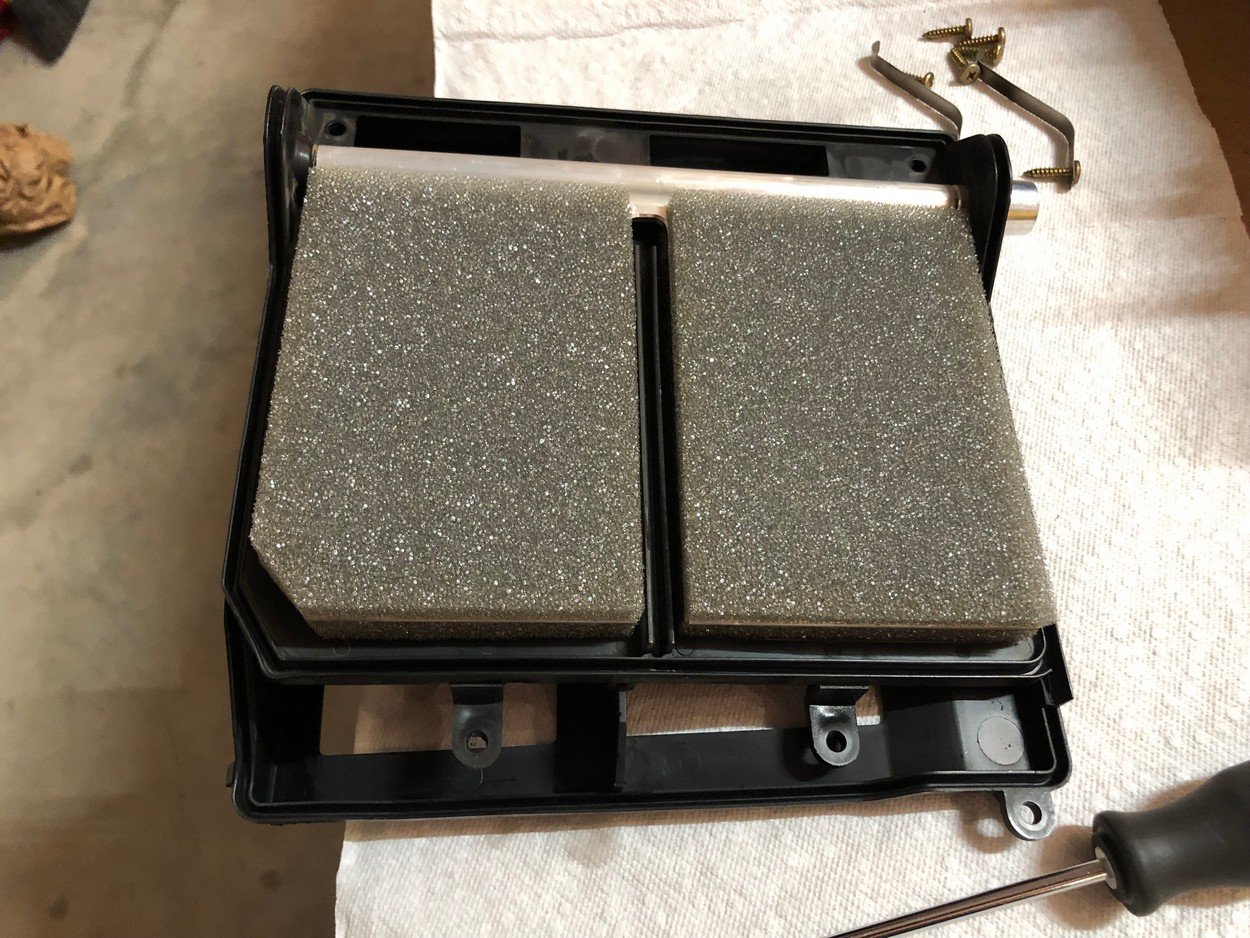
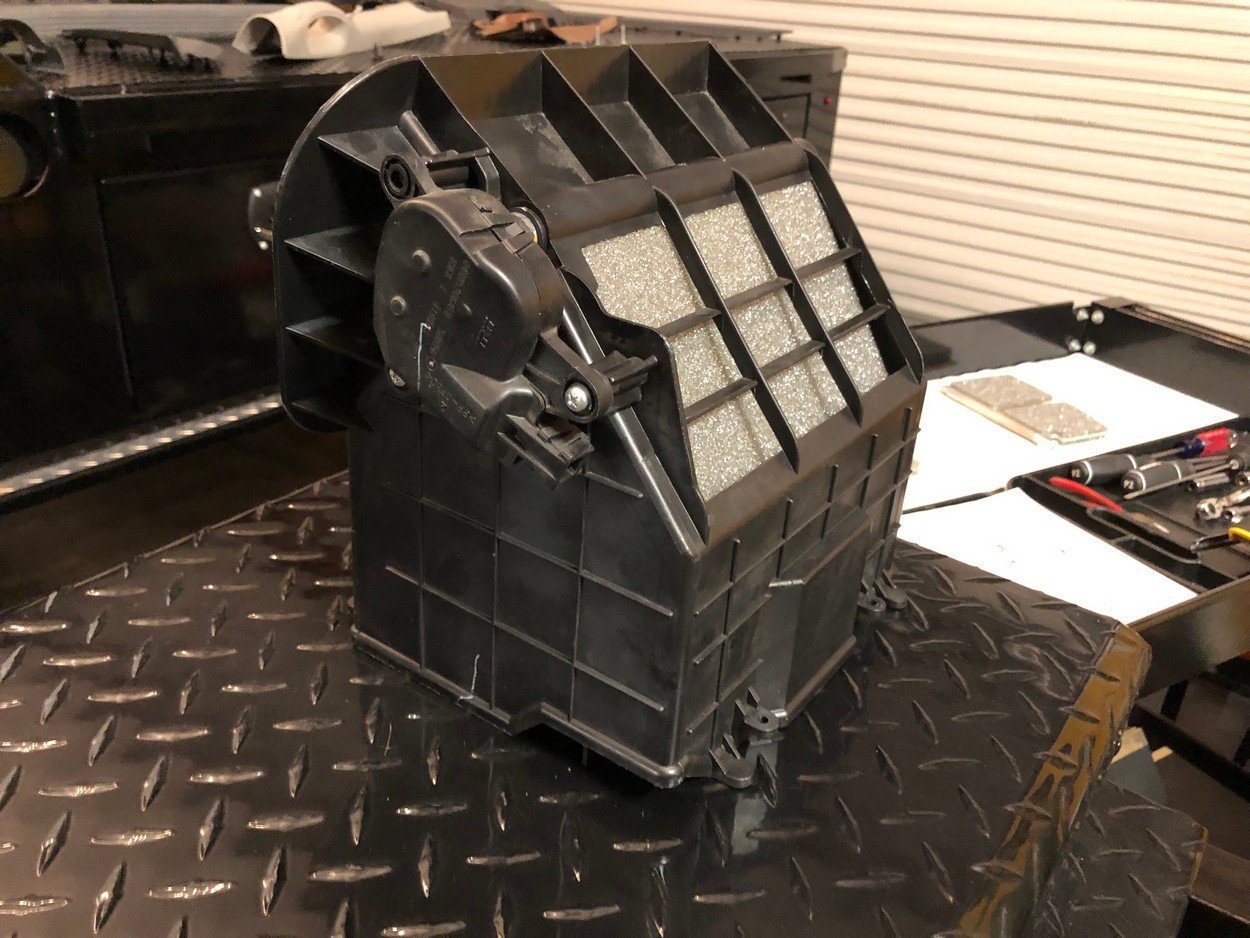
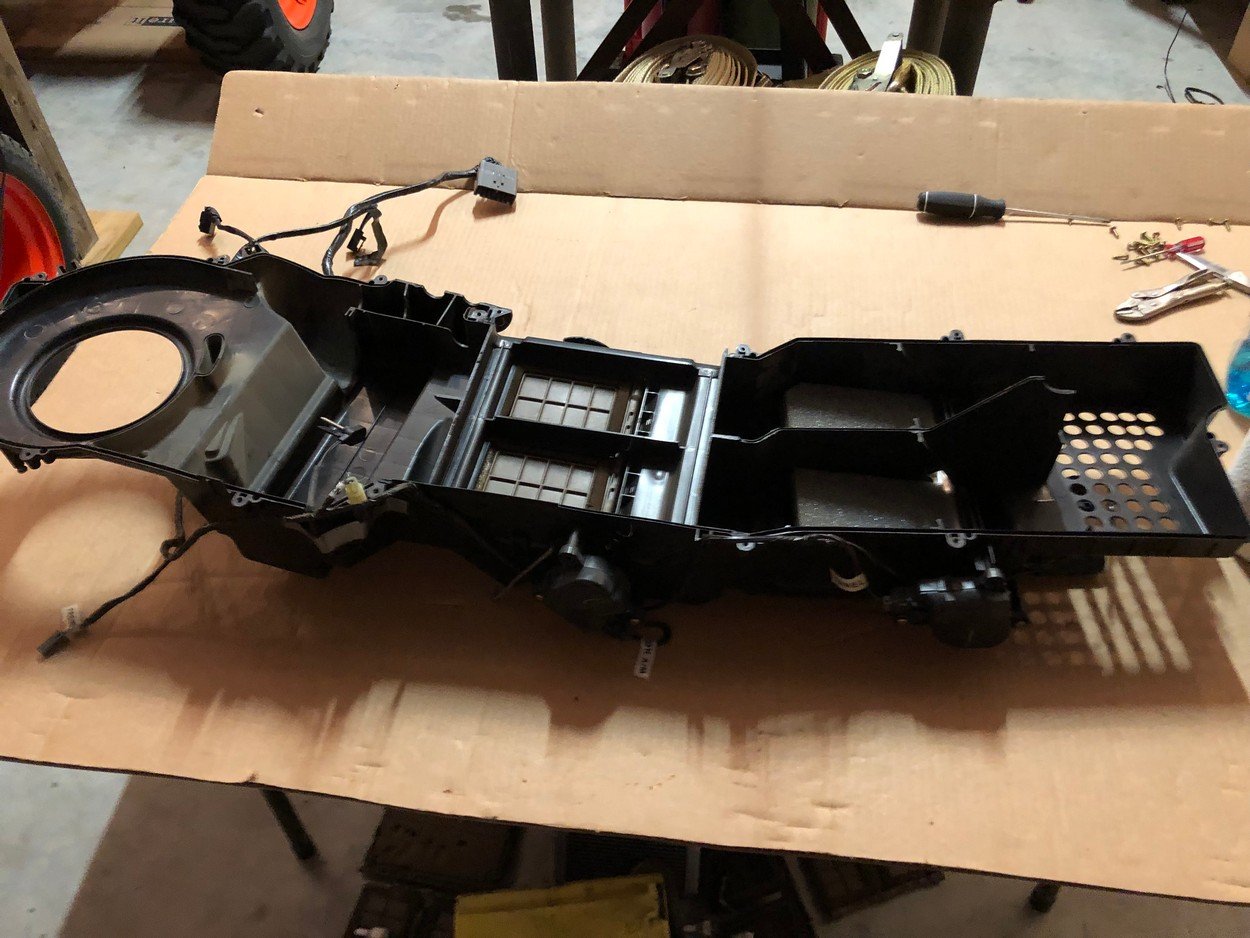
New blend doors installed
Time to put in new Heater core and Evaporator coil
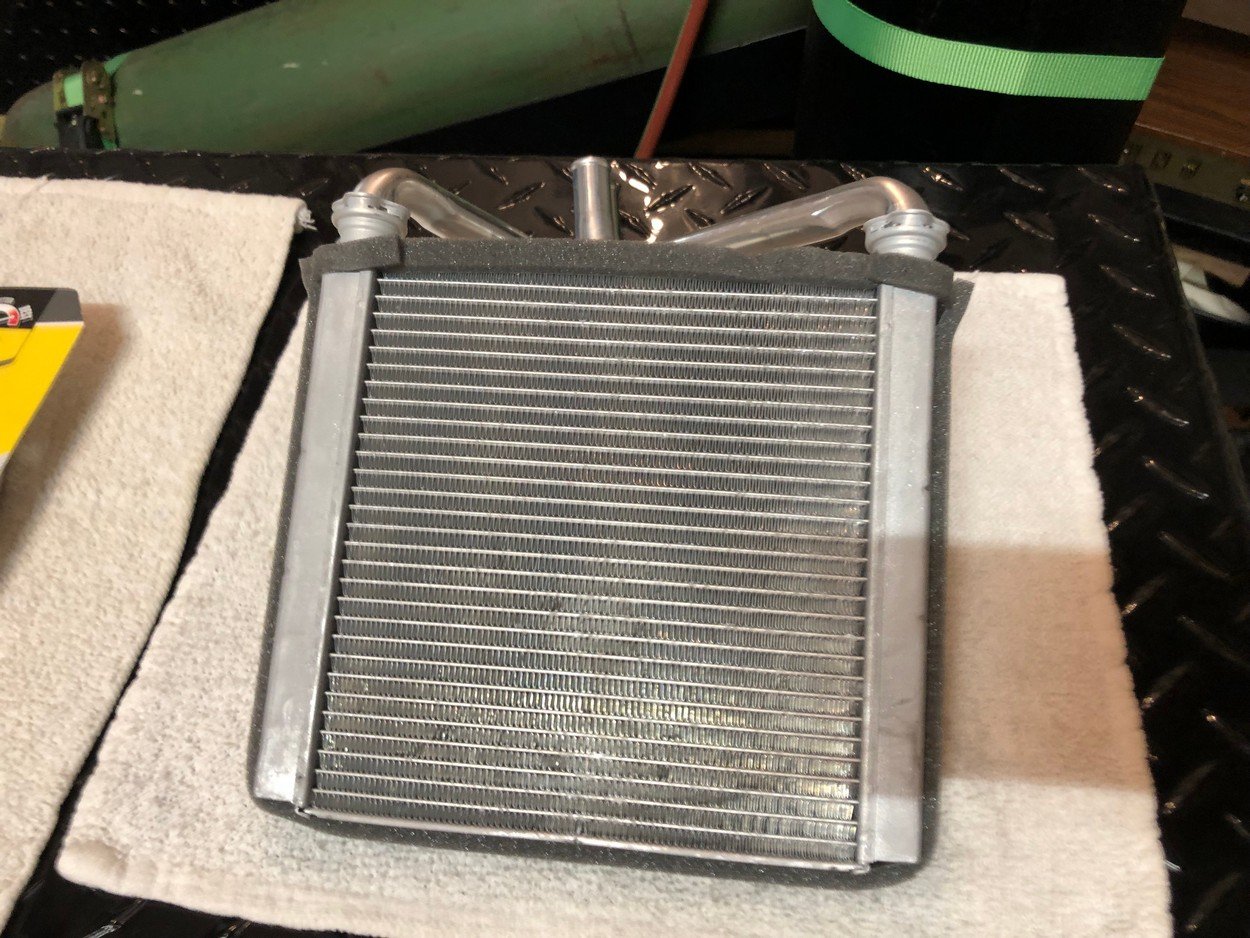
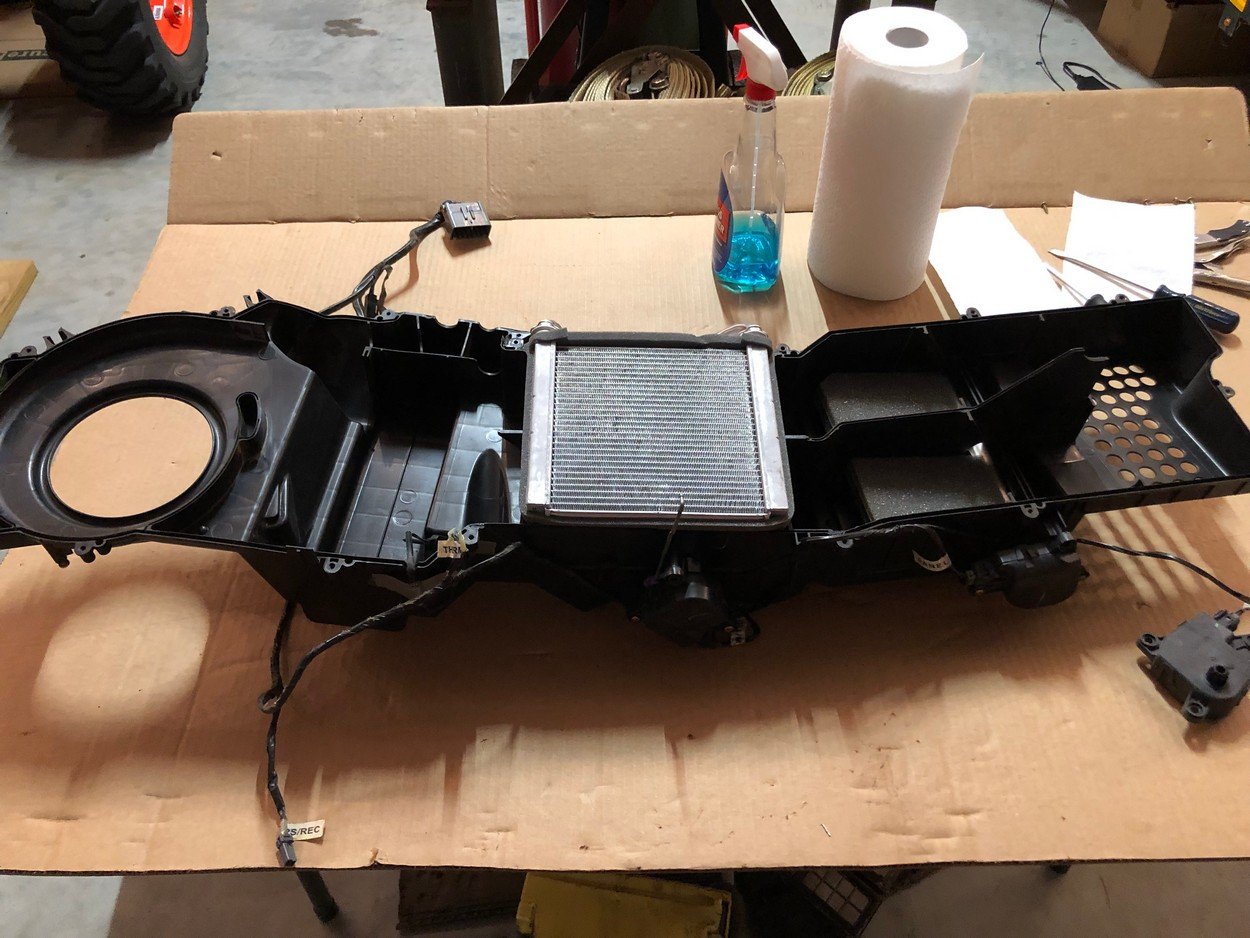
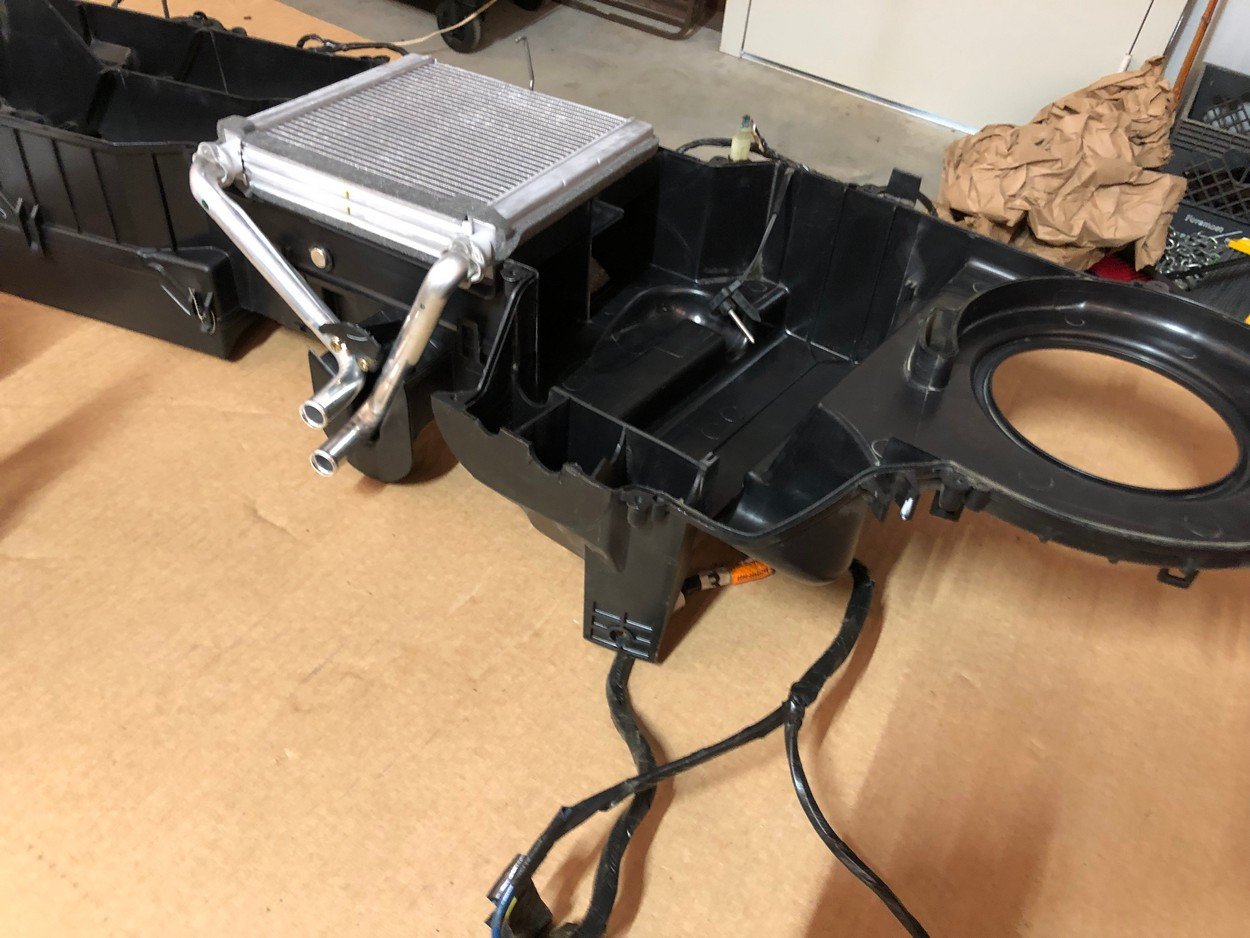
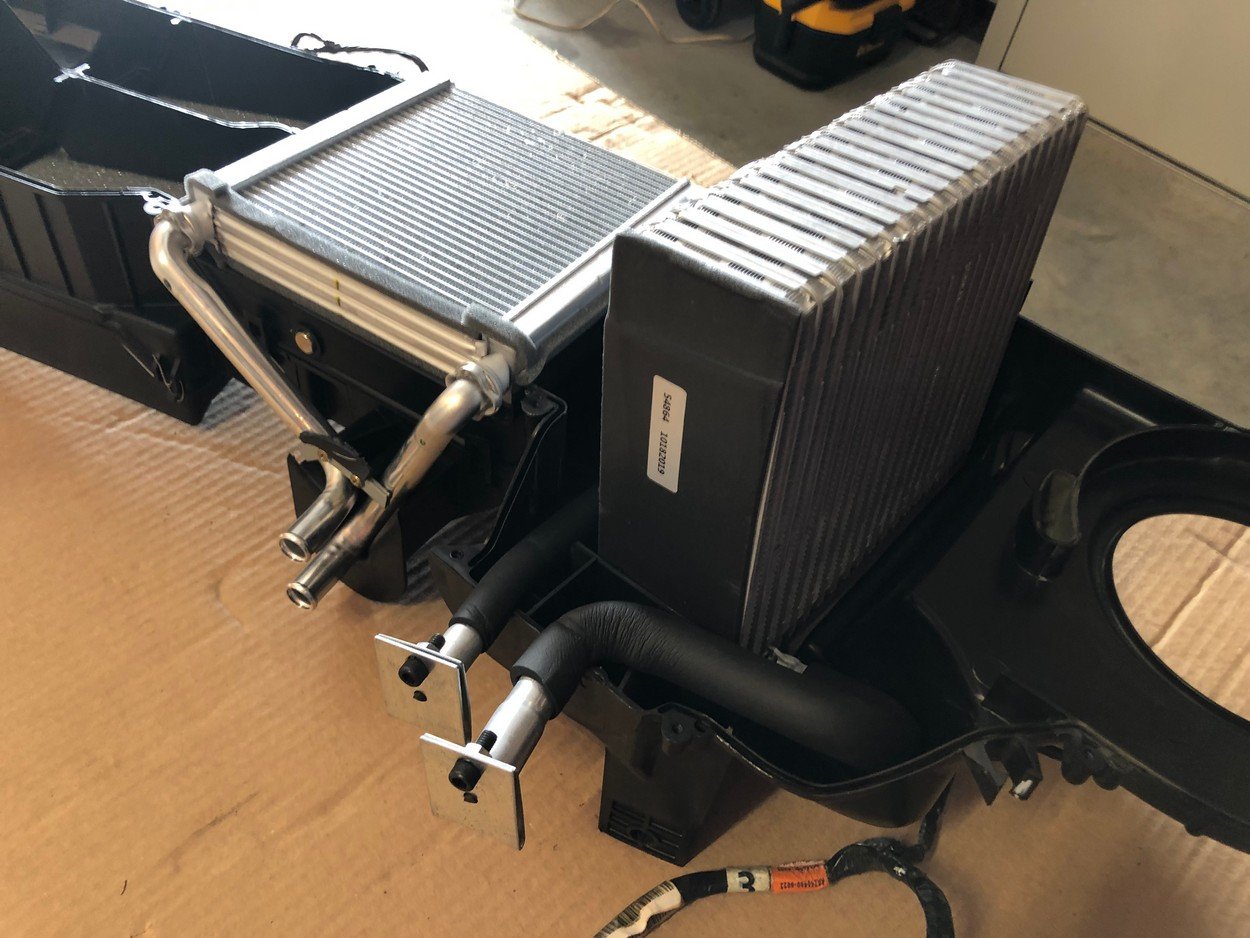
Ready to install back in truck !
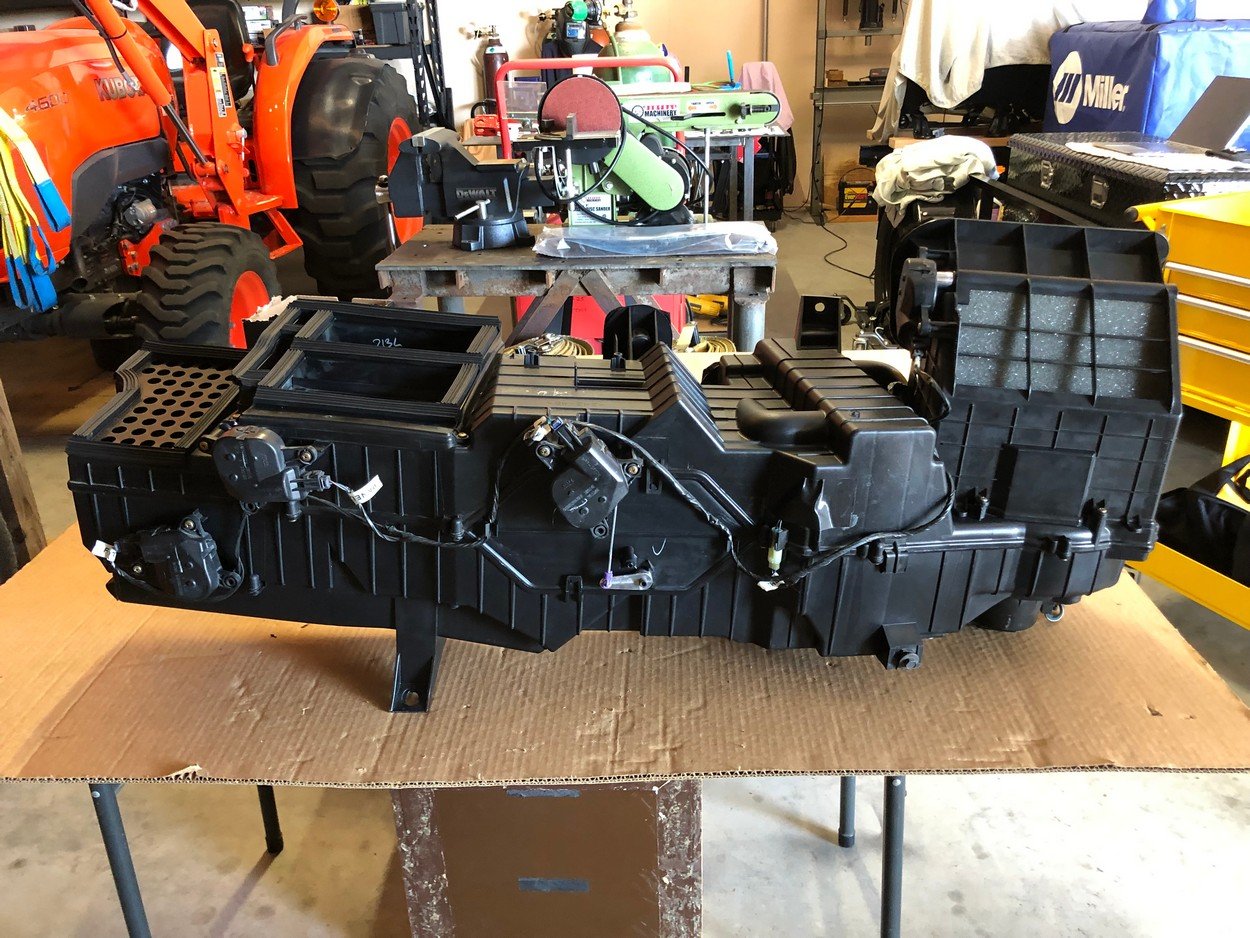
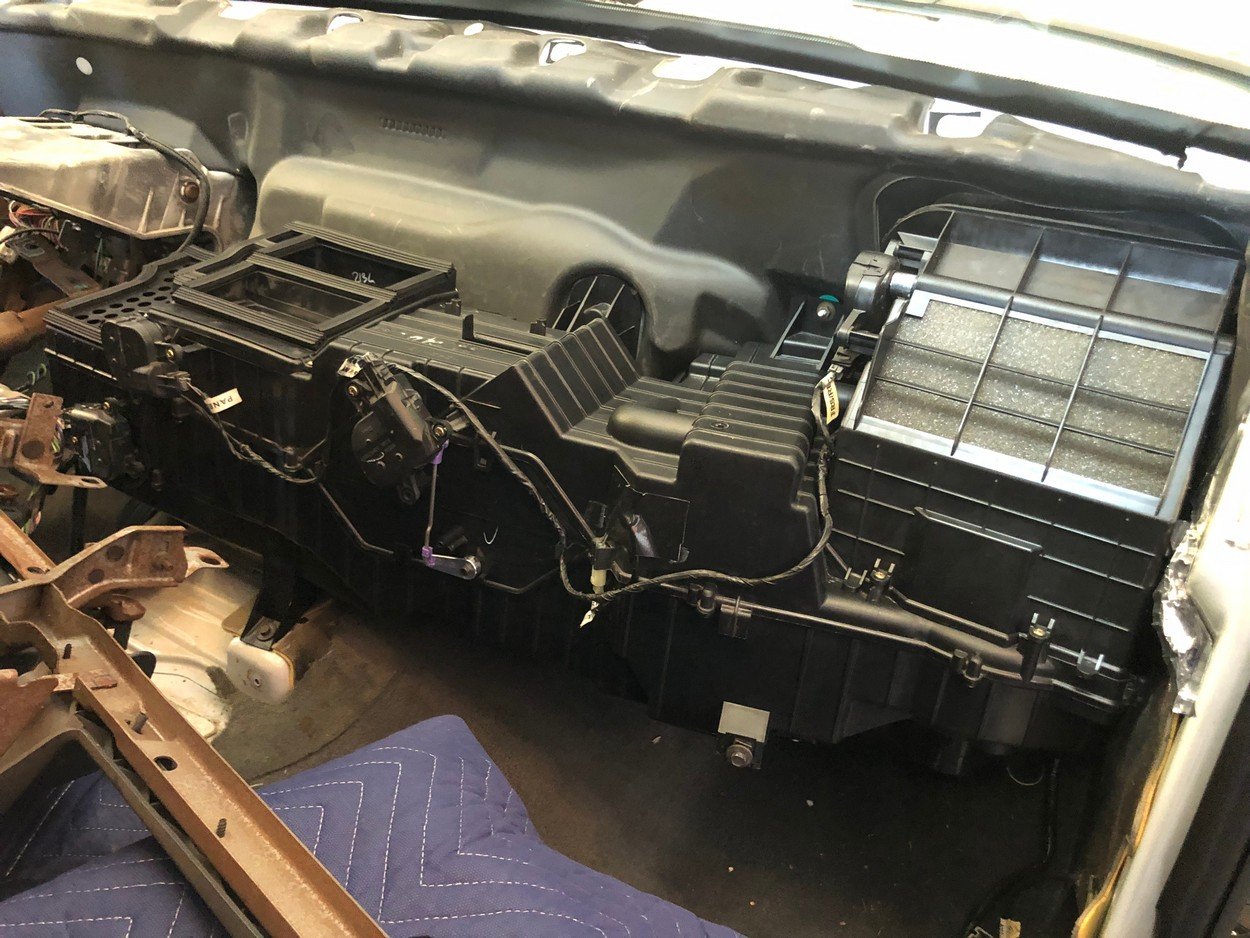
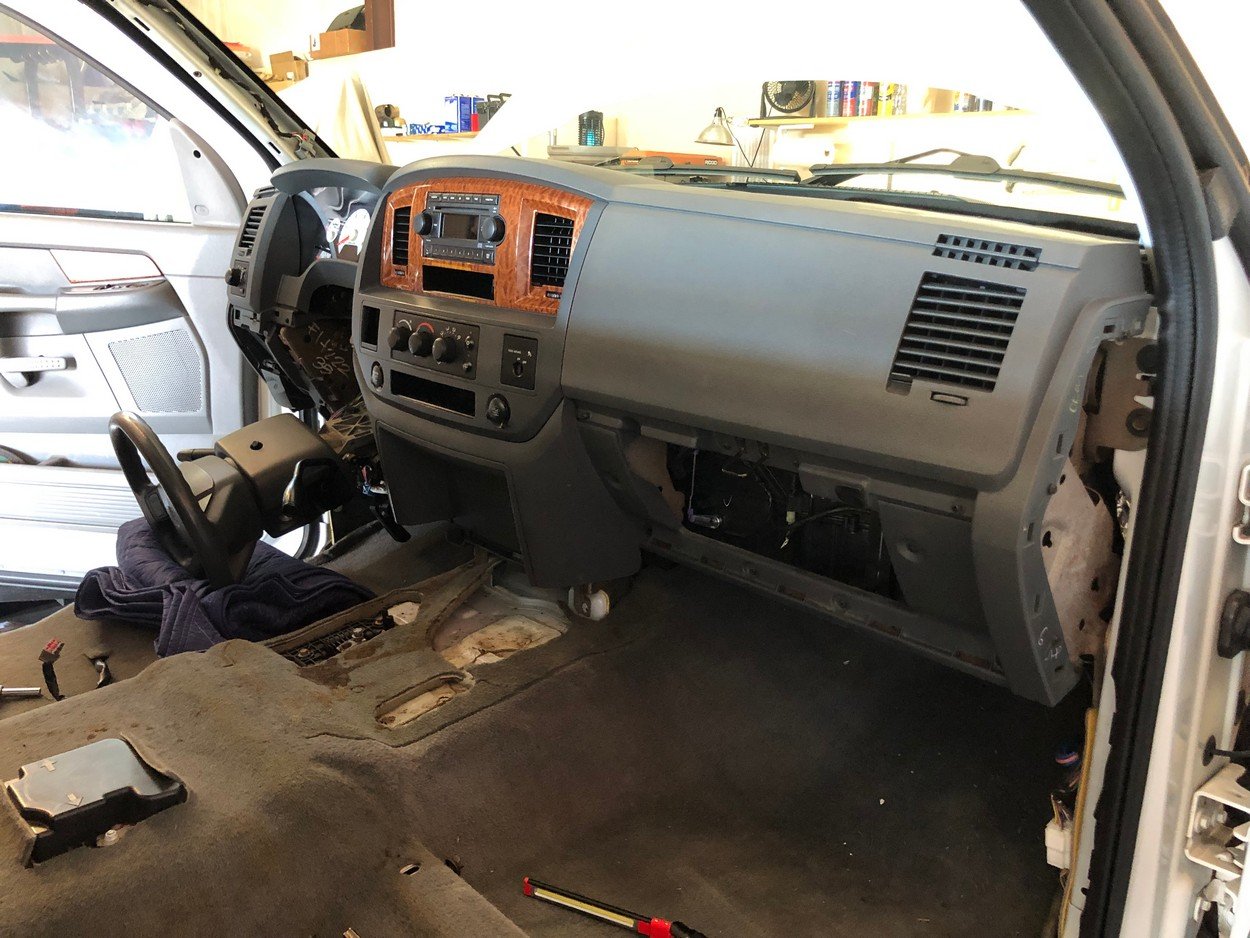
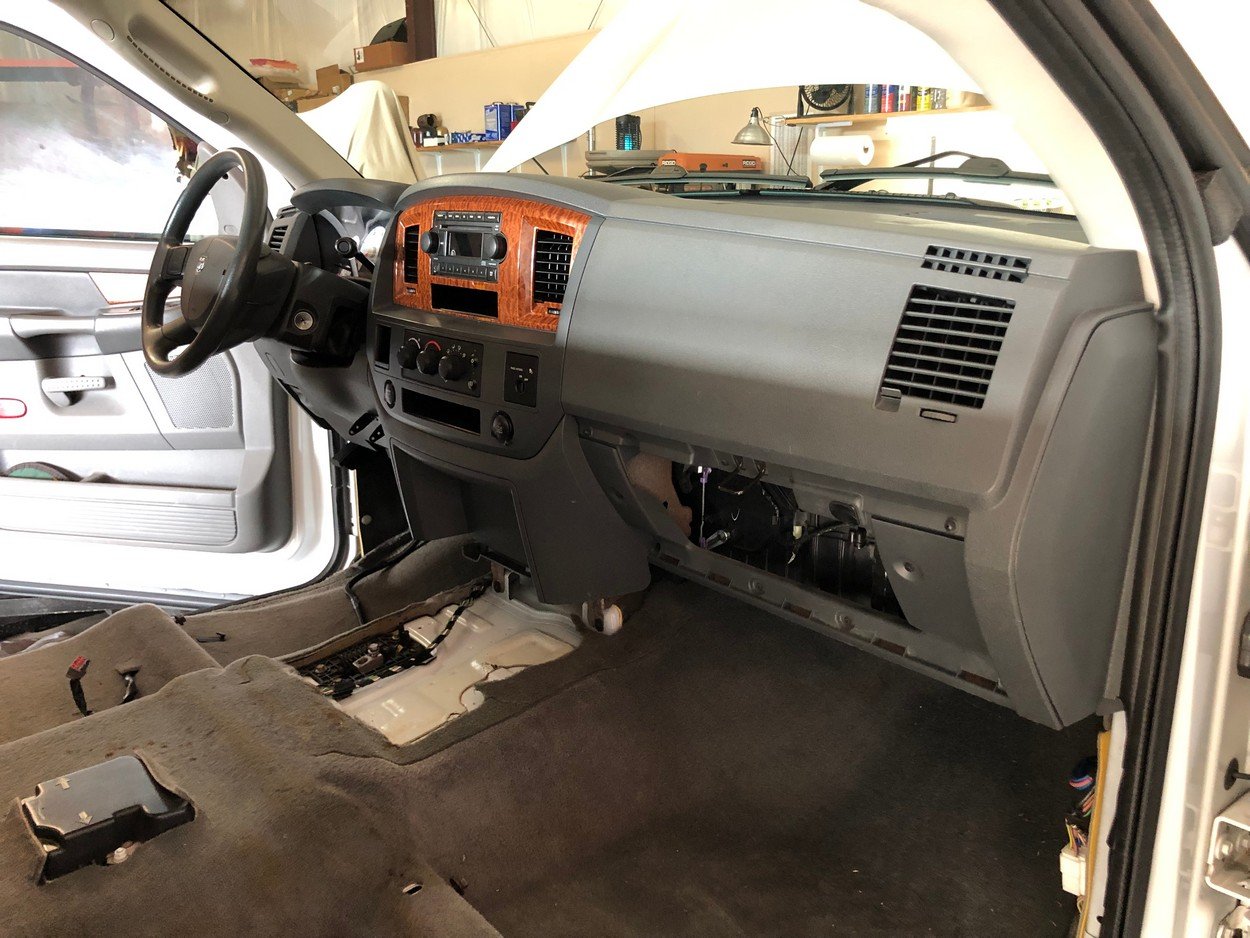
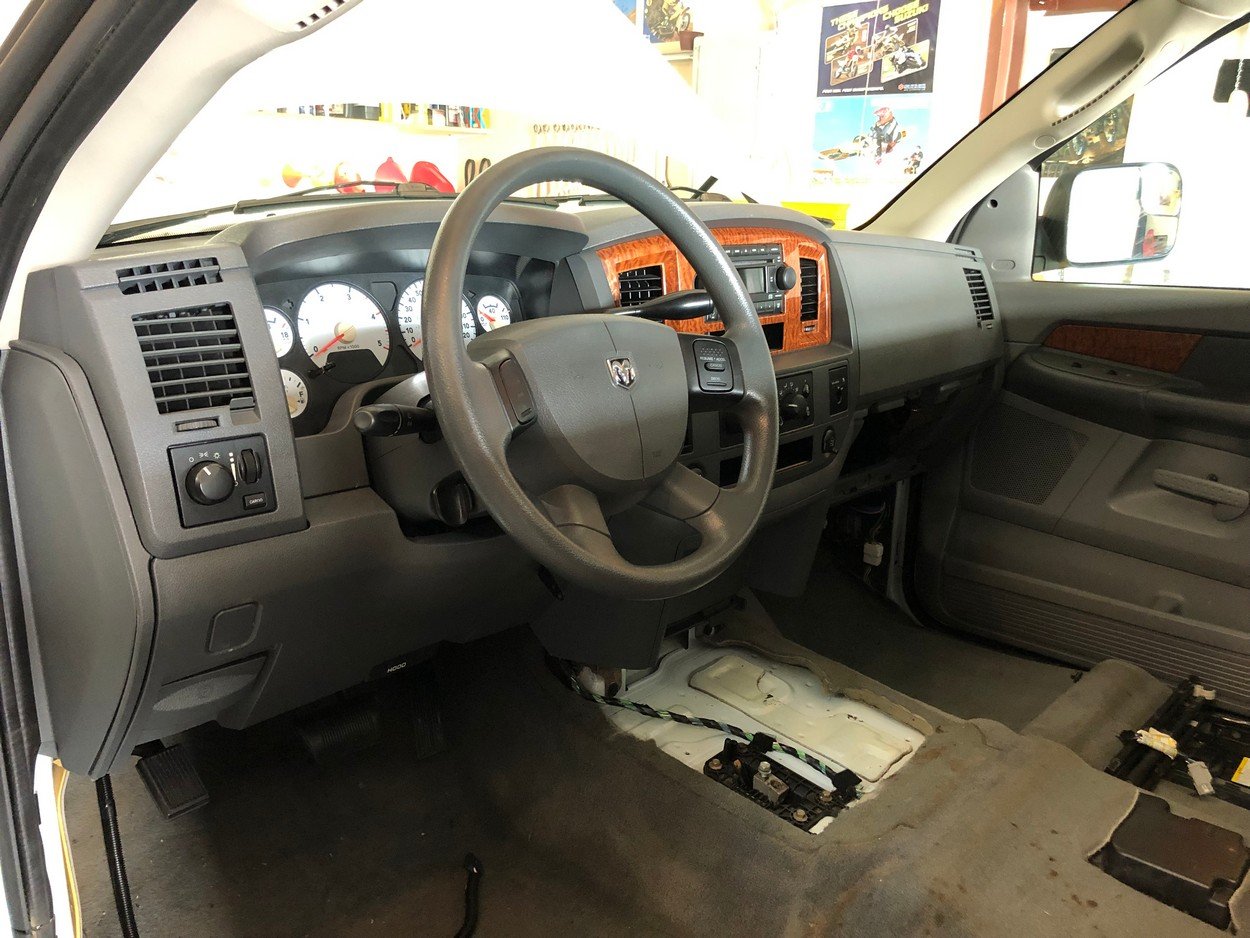
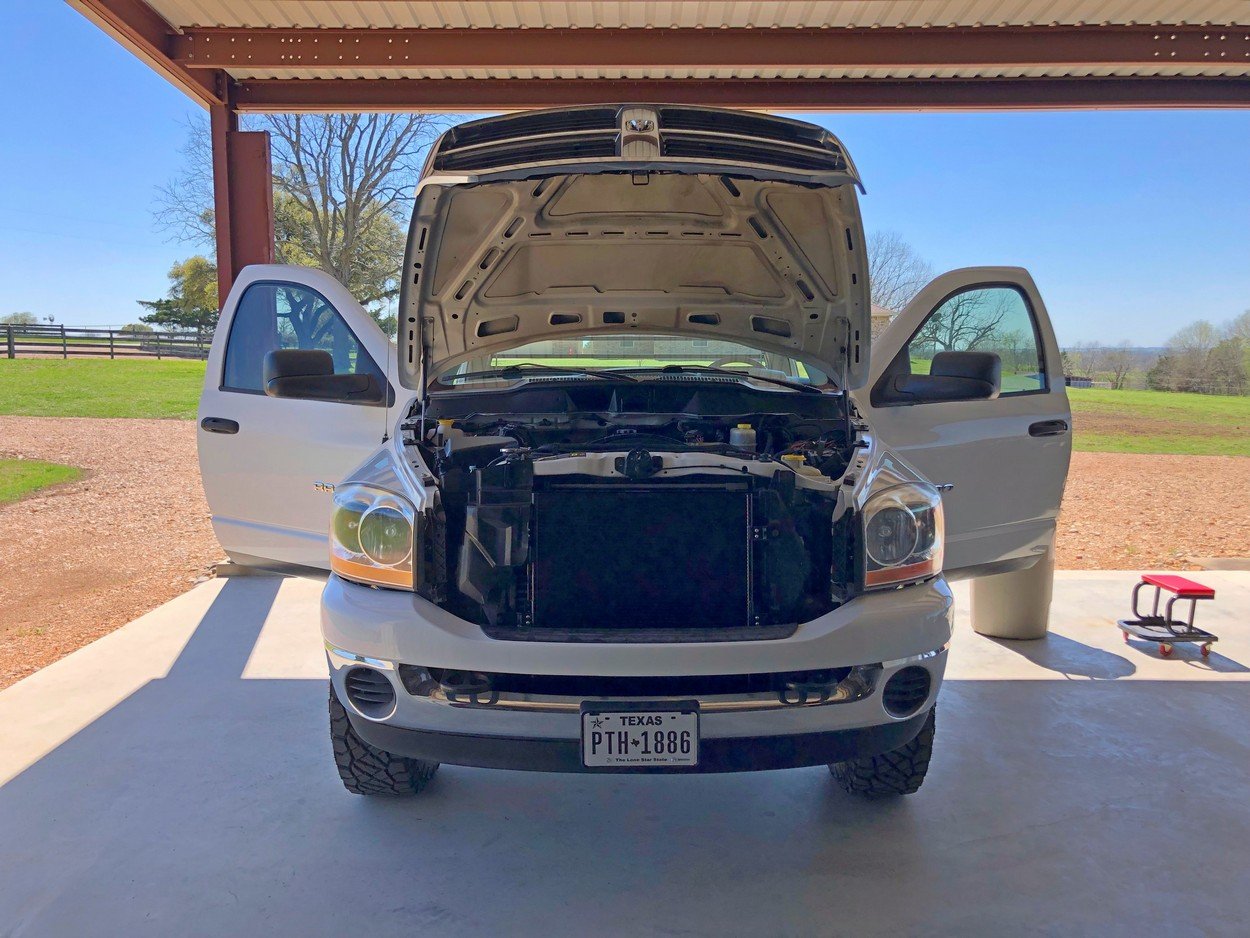
Replace all HVAC components from firewall forward
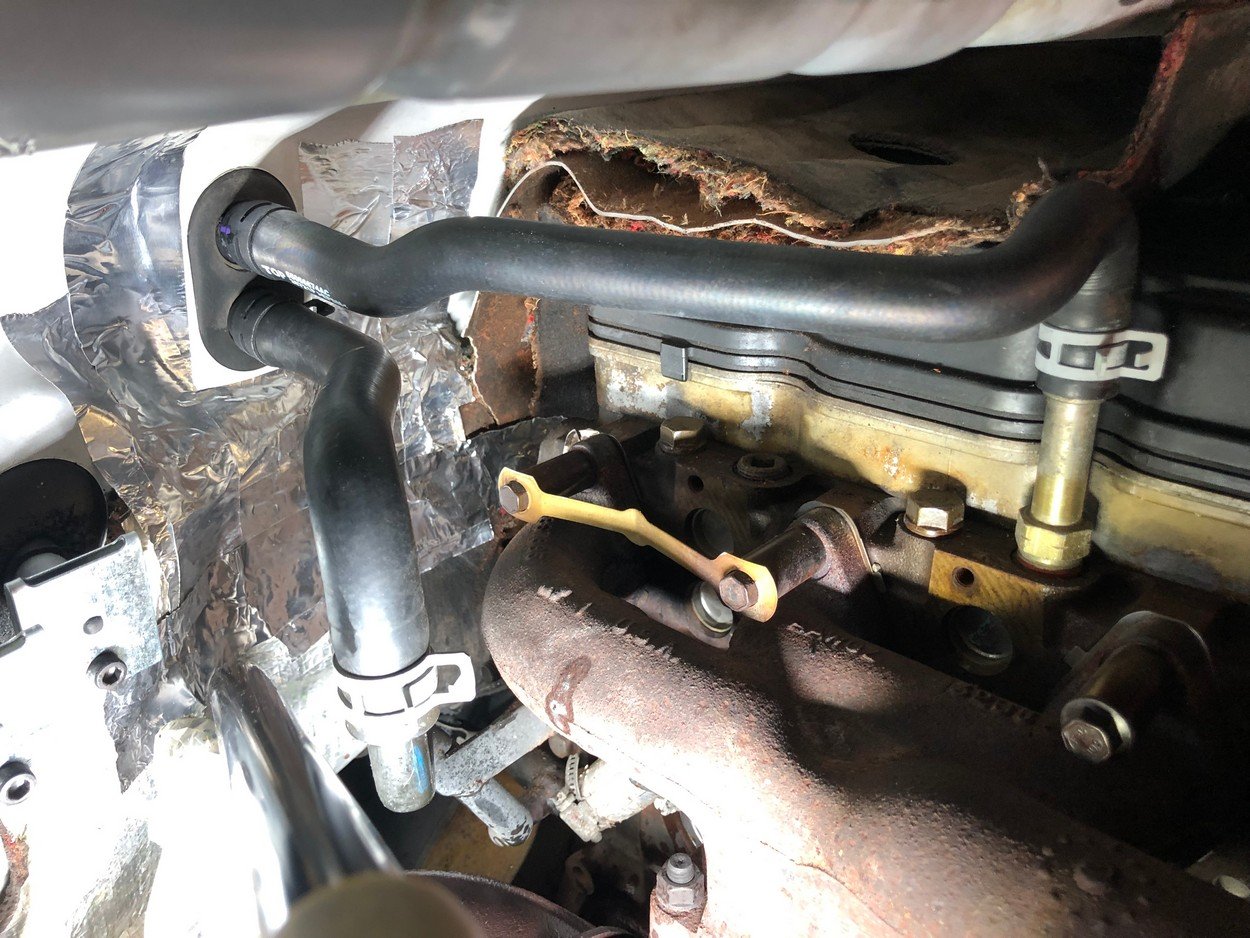
New hoses from new heater core to engine and back
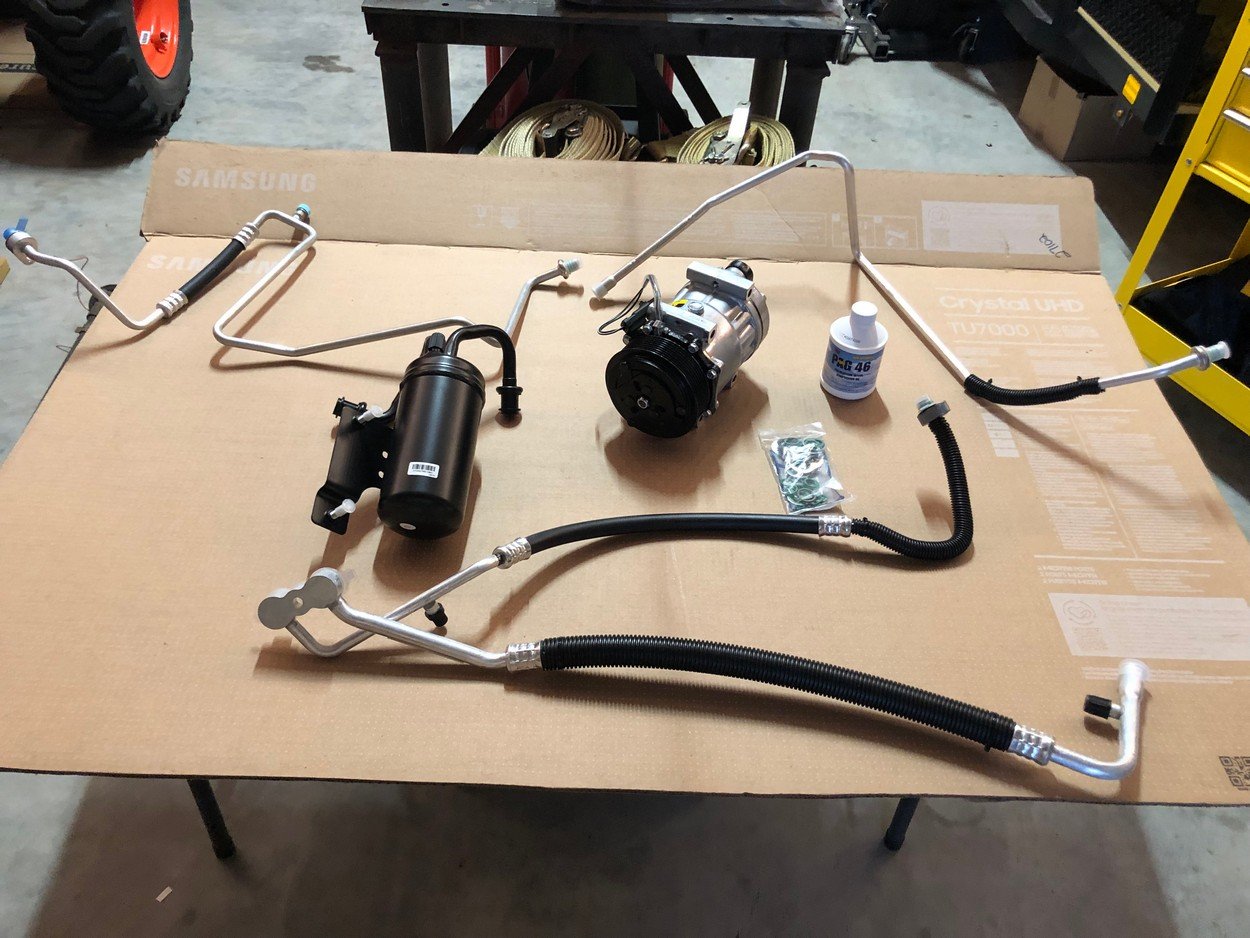
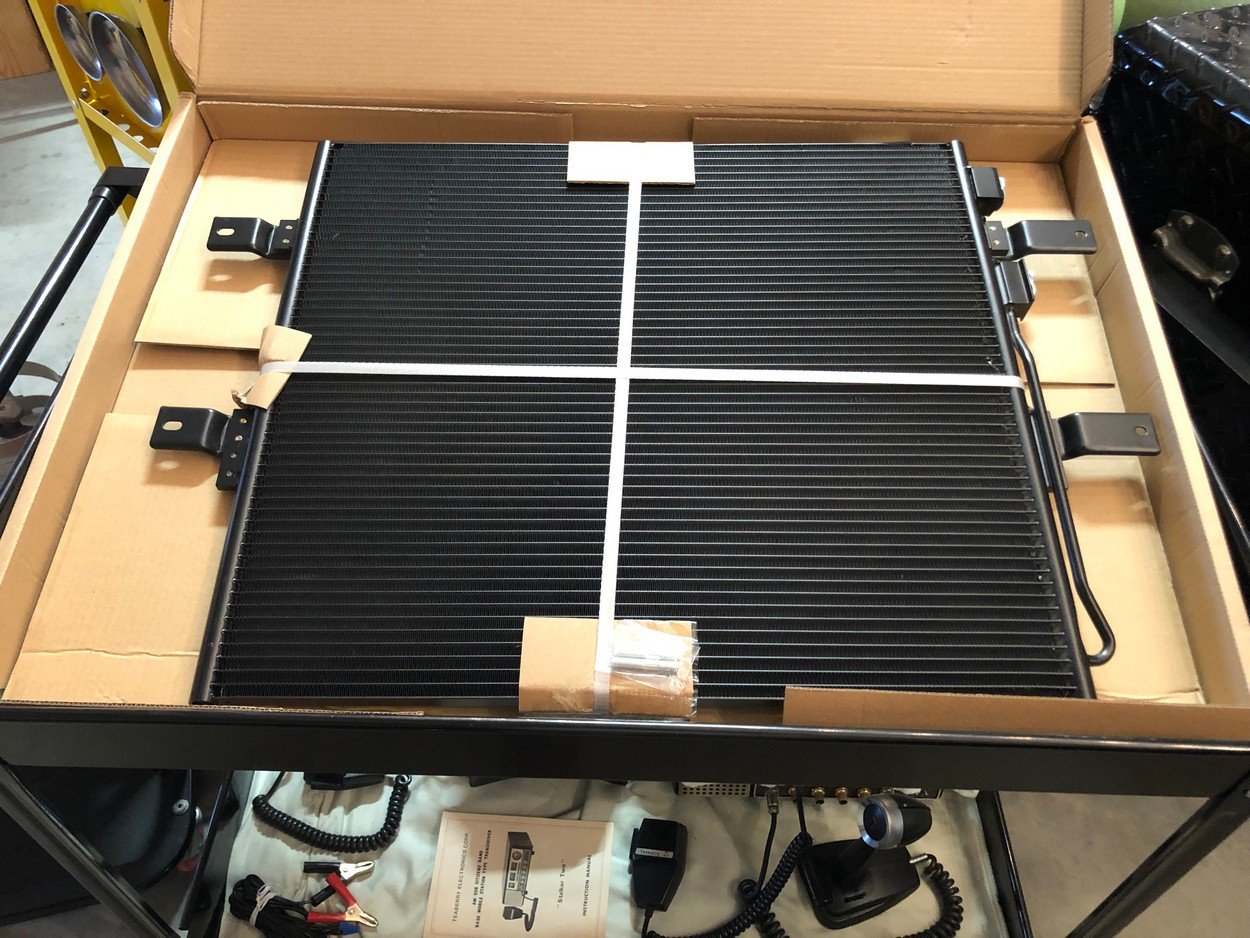
New compressor, condensor, accumulator and all new lines.
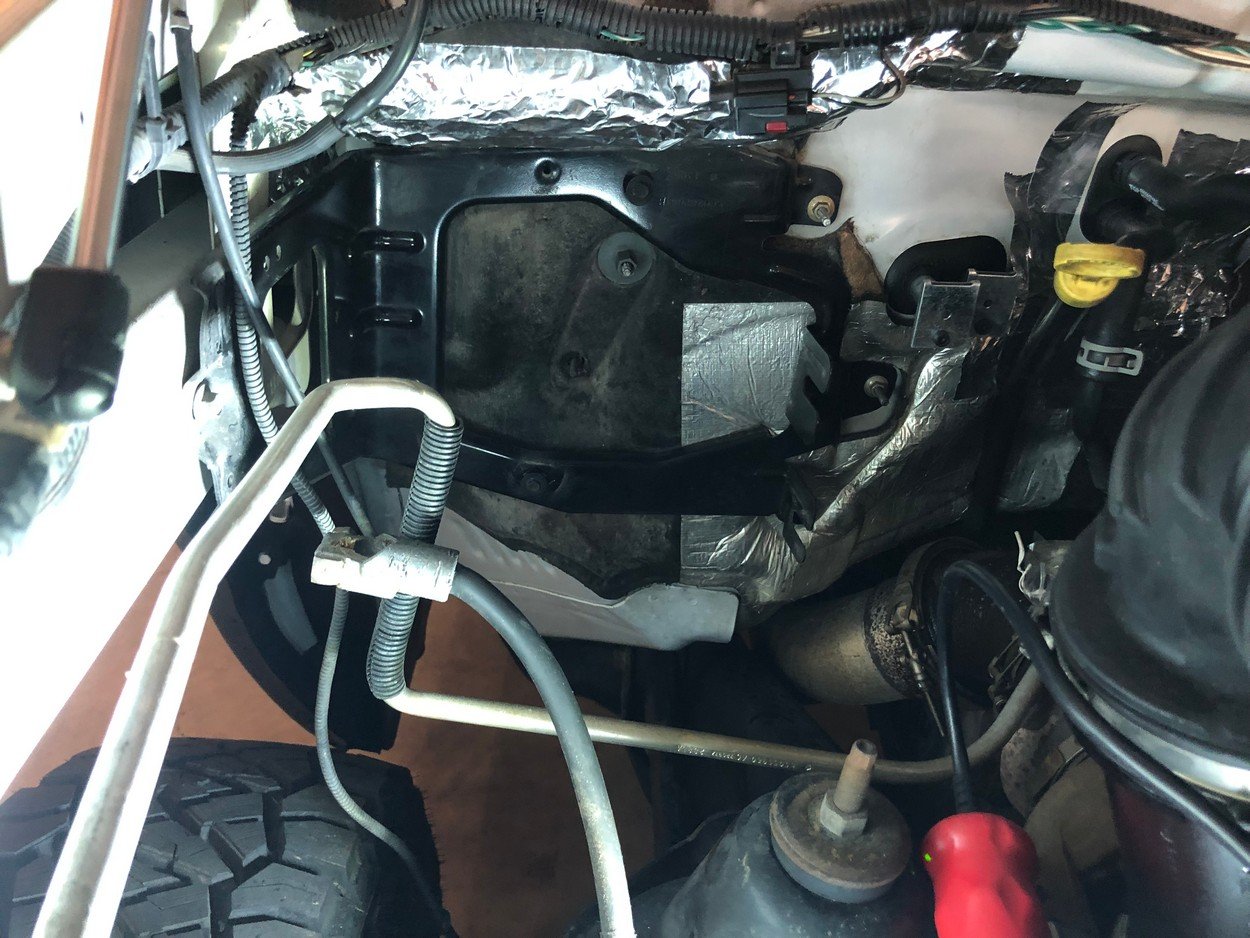
Mount accumulator and start routing new lines
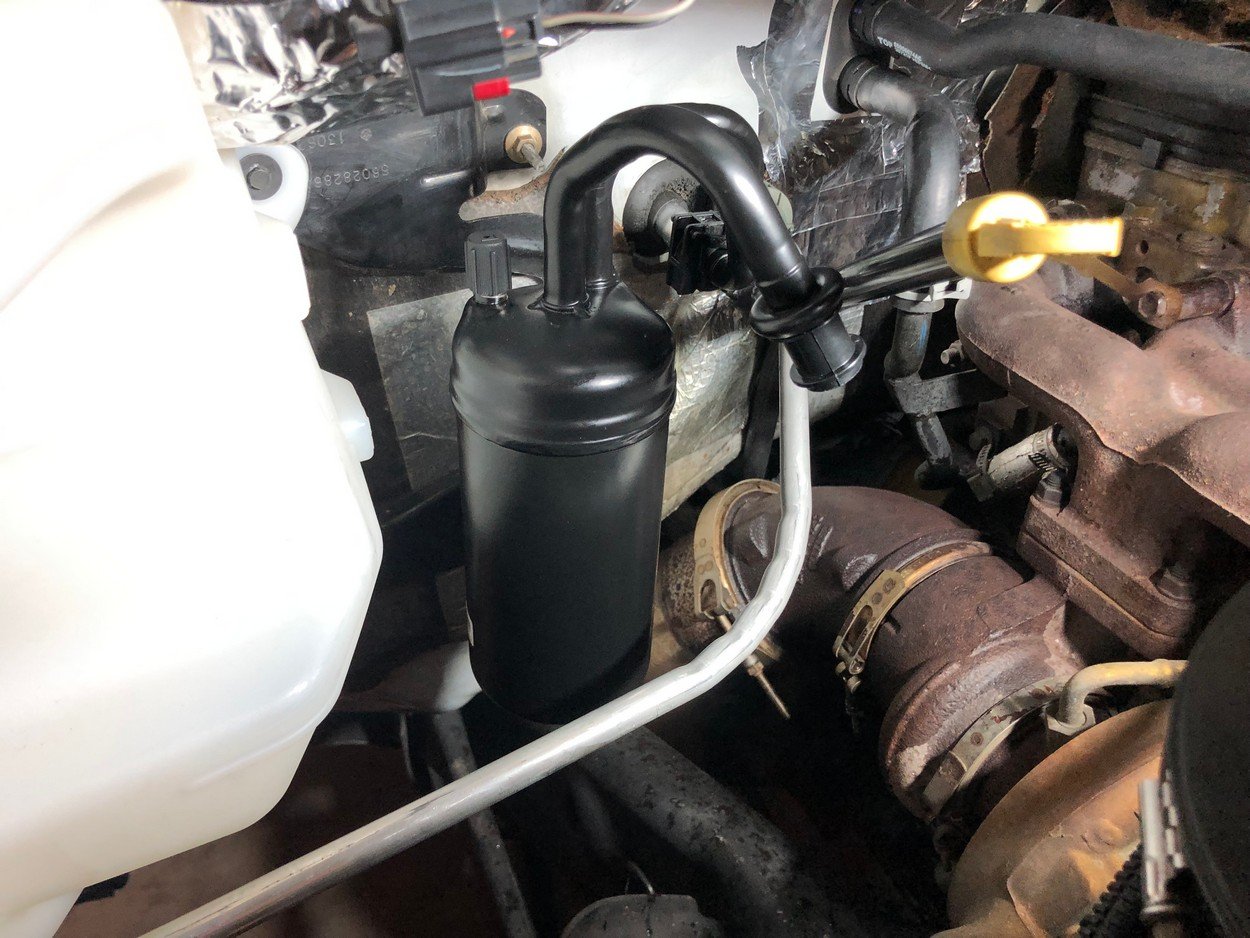
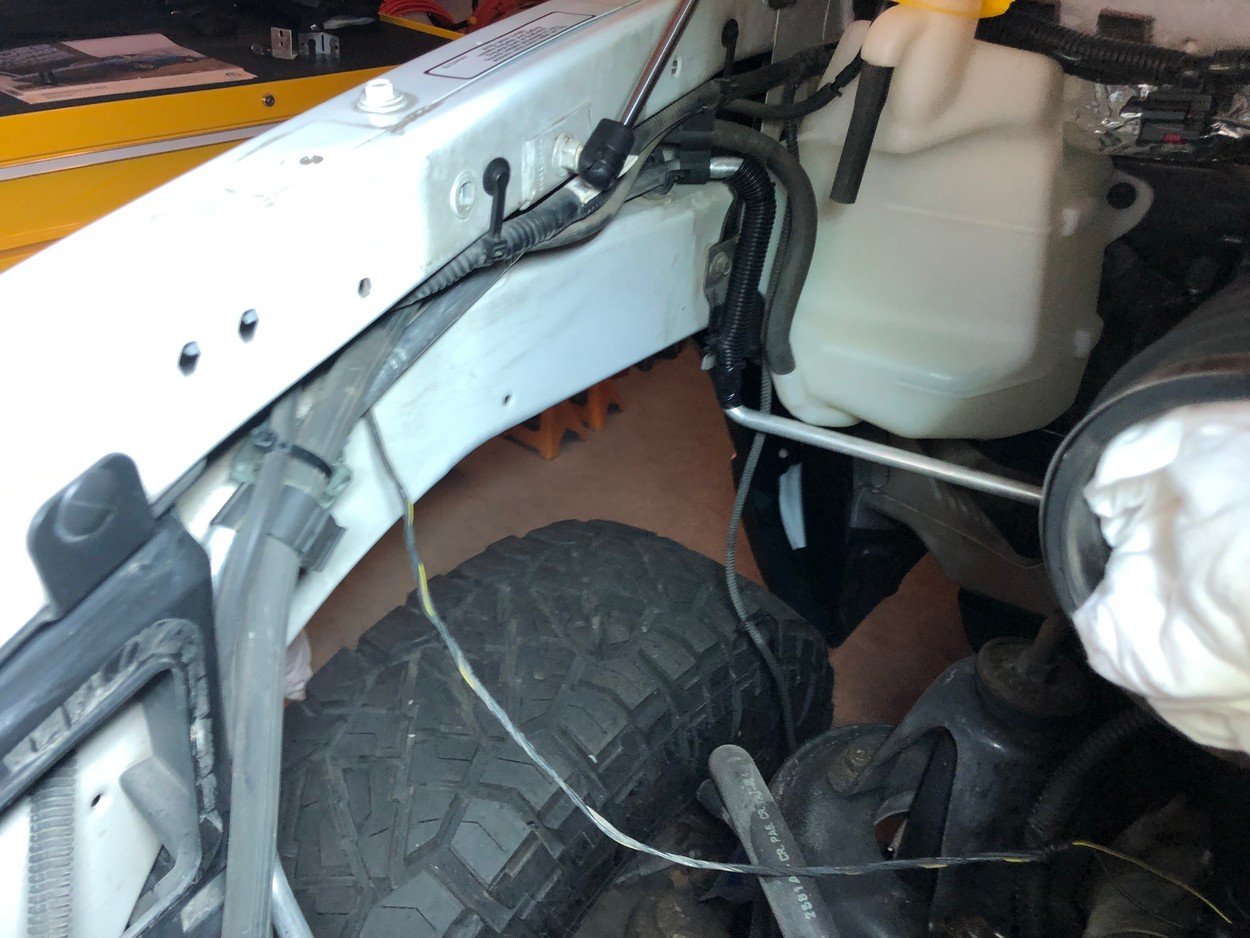
Dont forget compressor oil
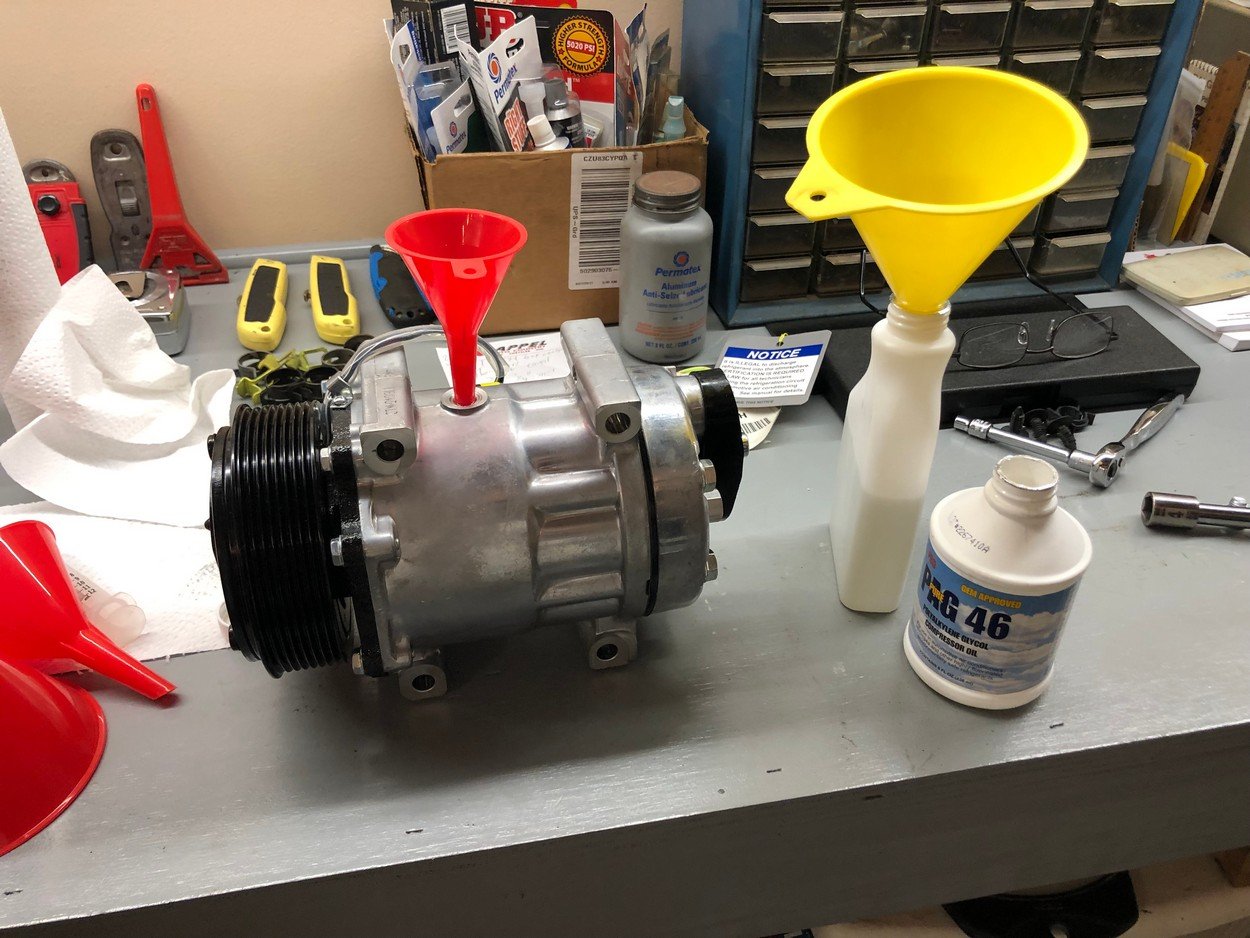
Put in new compressor and pull a vaccuum
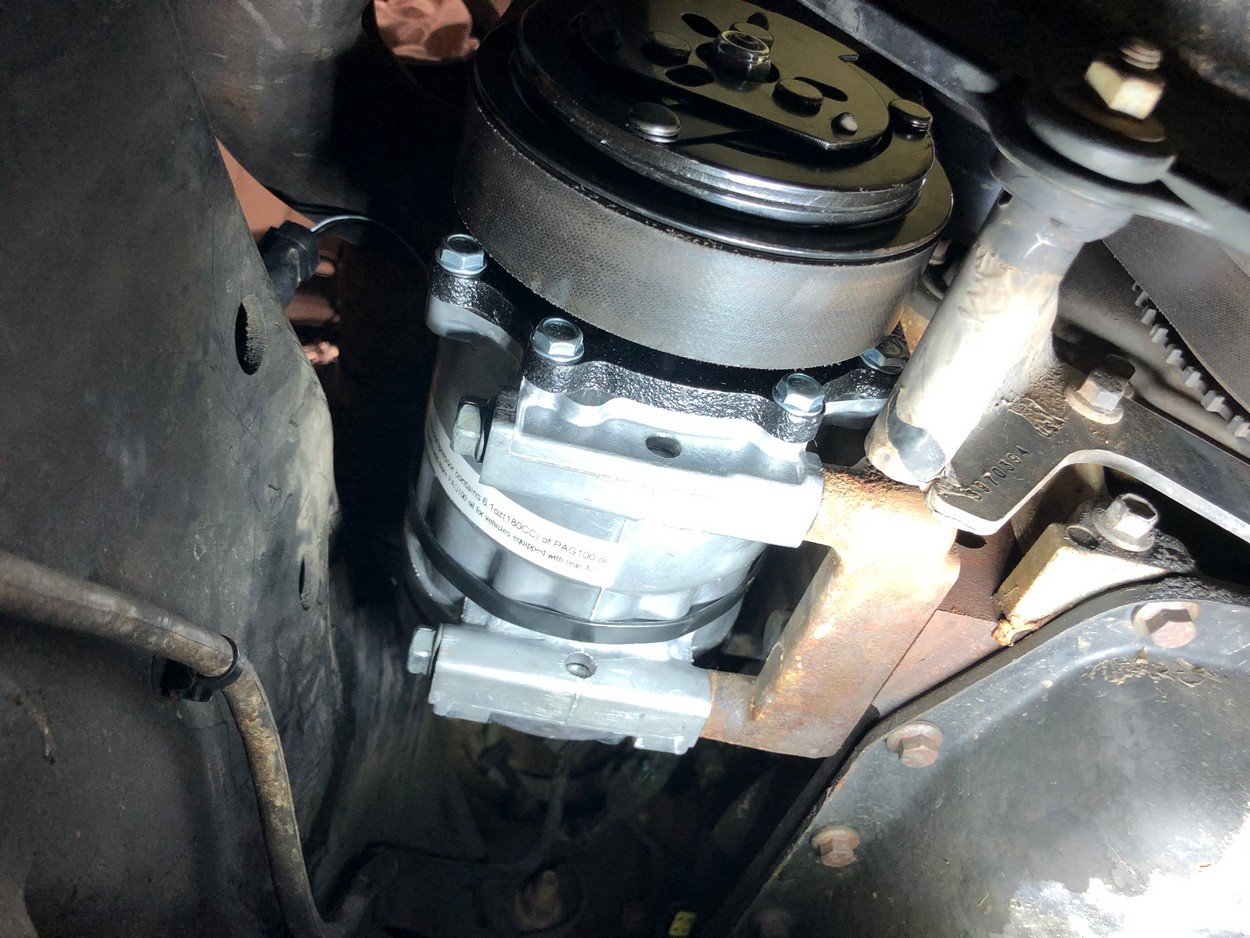
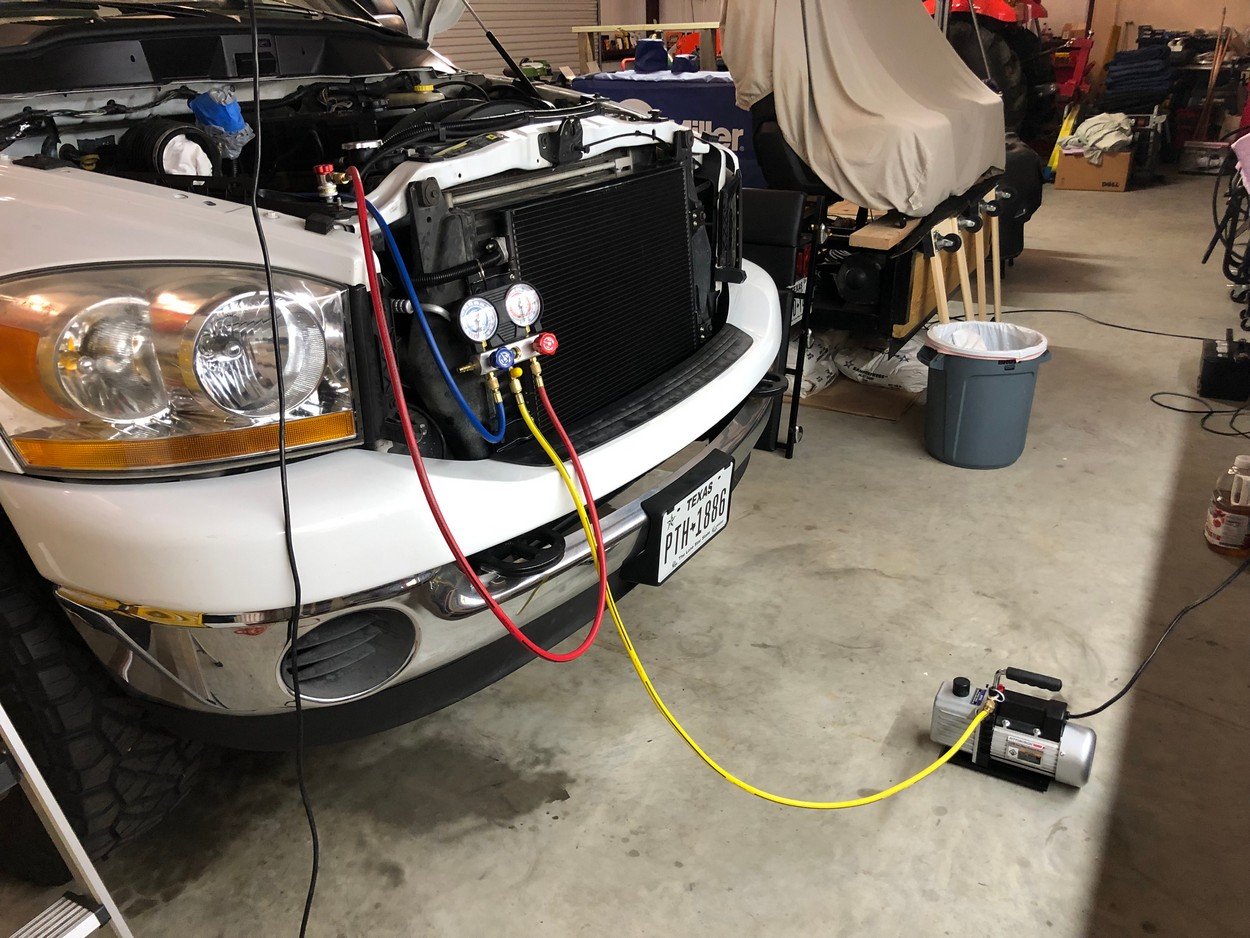
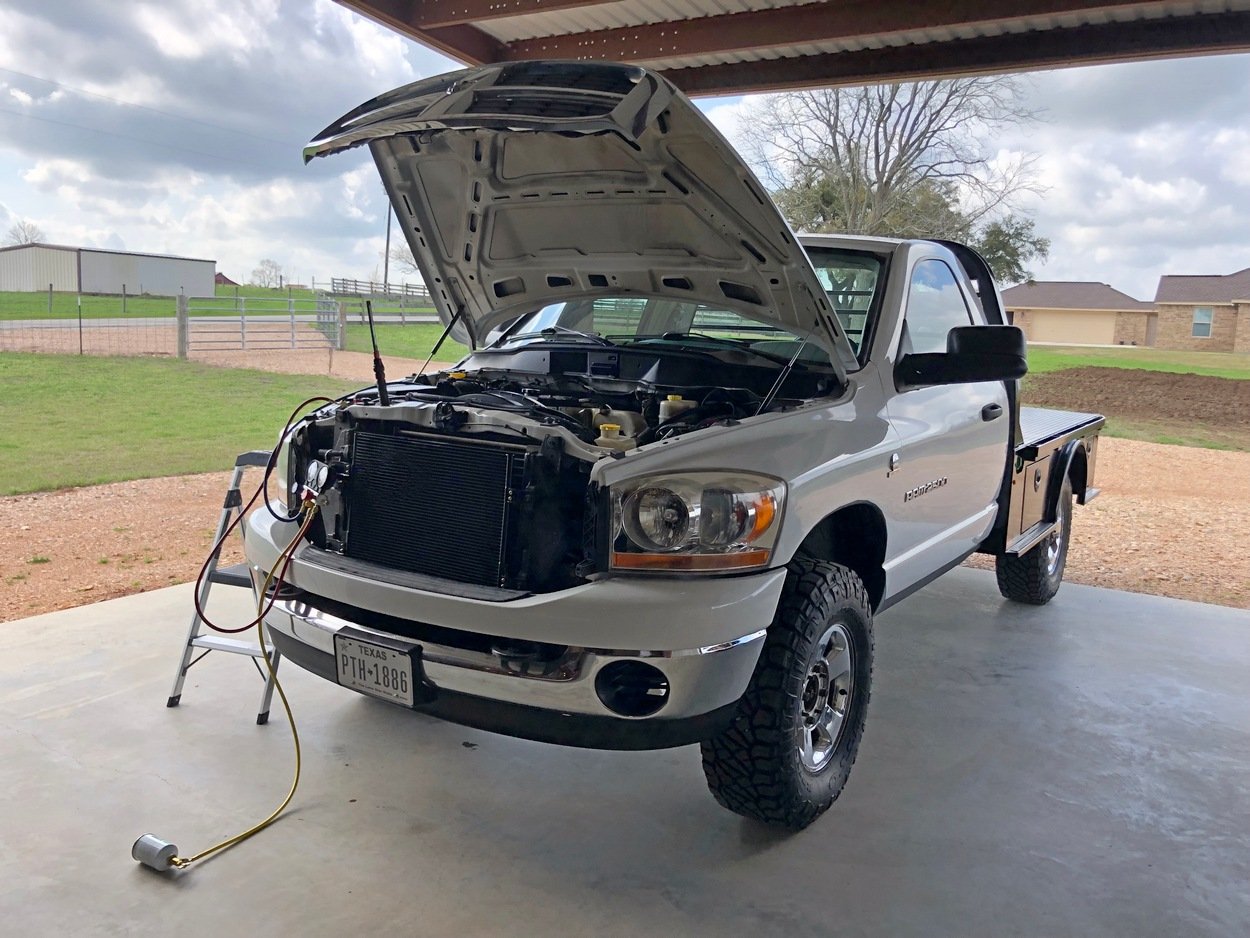
Back truck outside and start adding Freon 134a
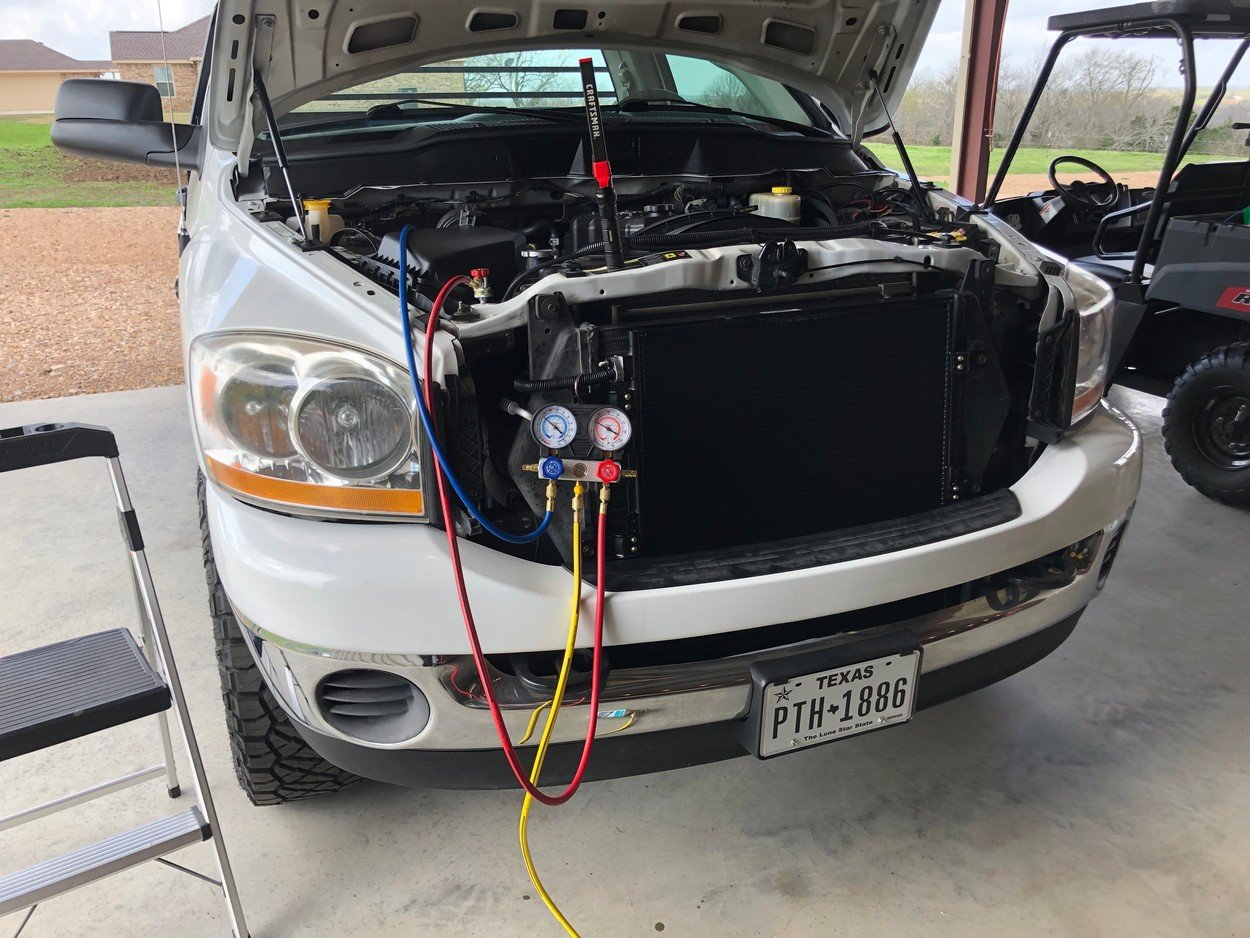
Add refrigerant until suction/accumulator sweating and gauges read correctly
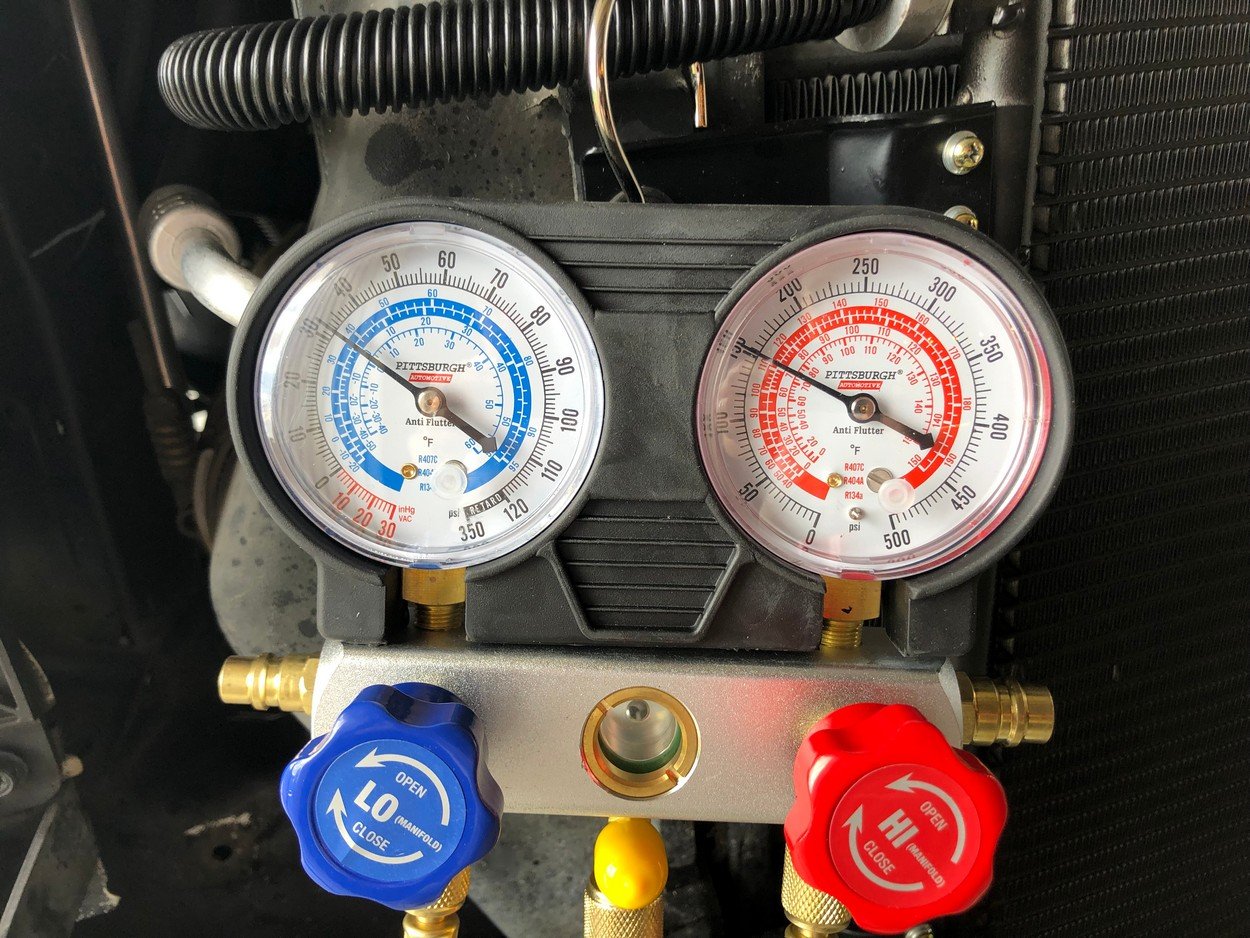
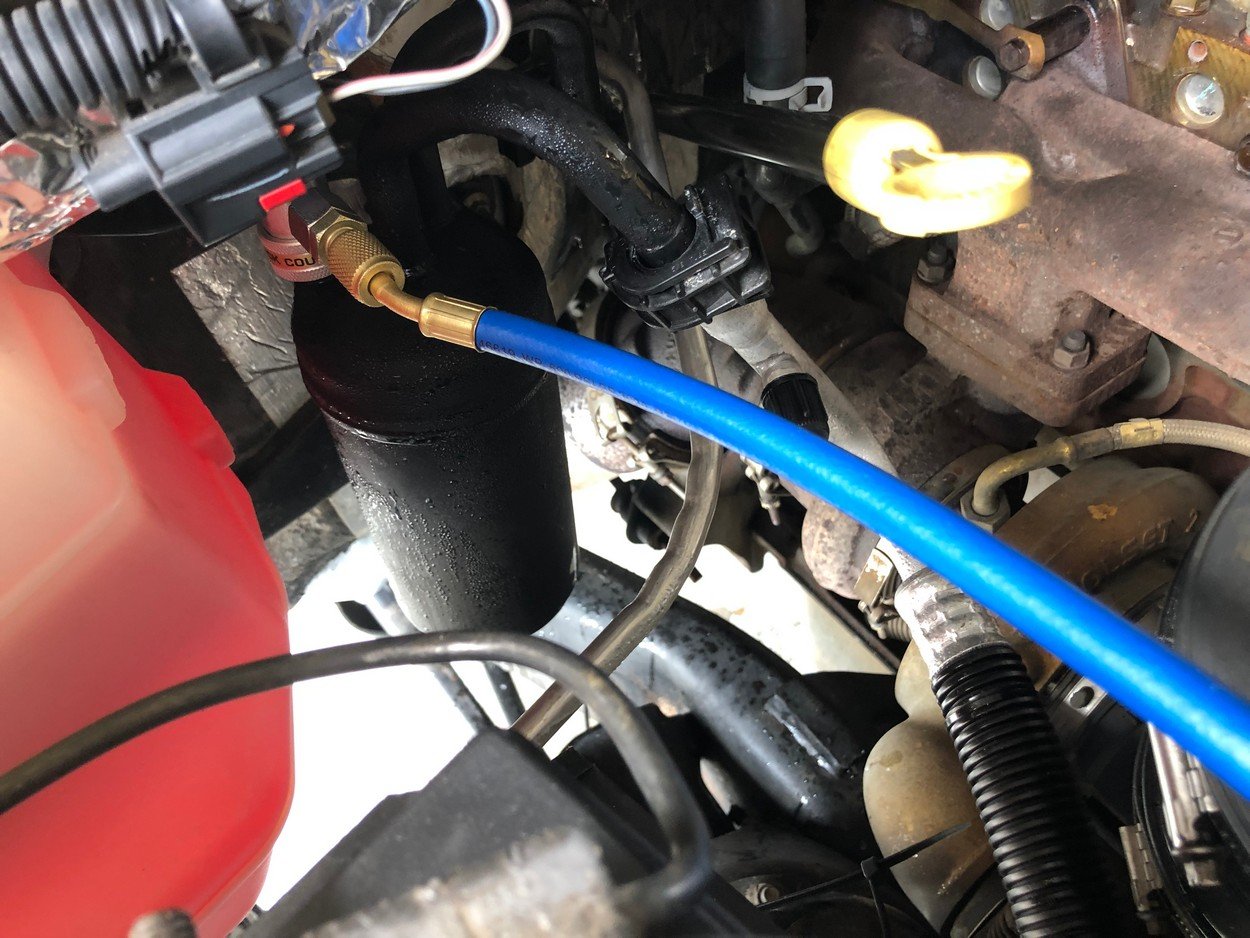
All done, blowing ice cold air in cab, all blend doors working great.
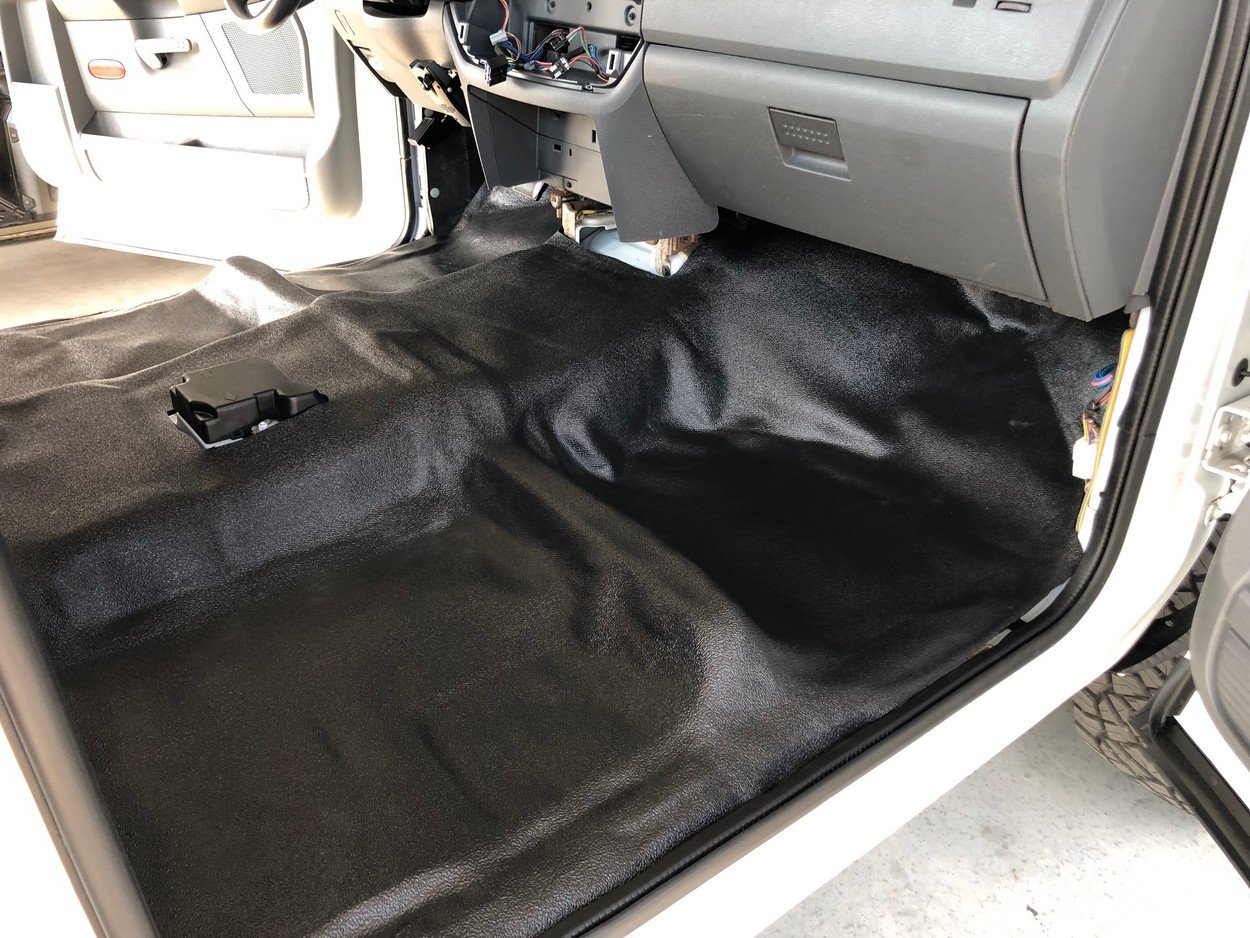
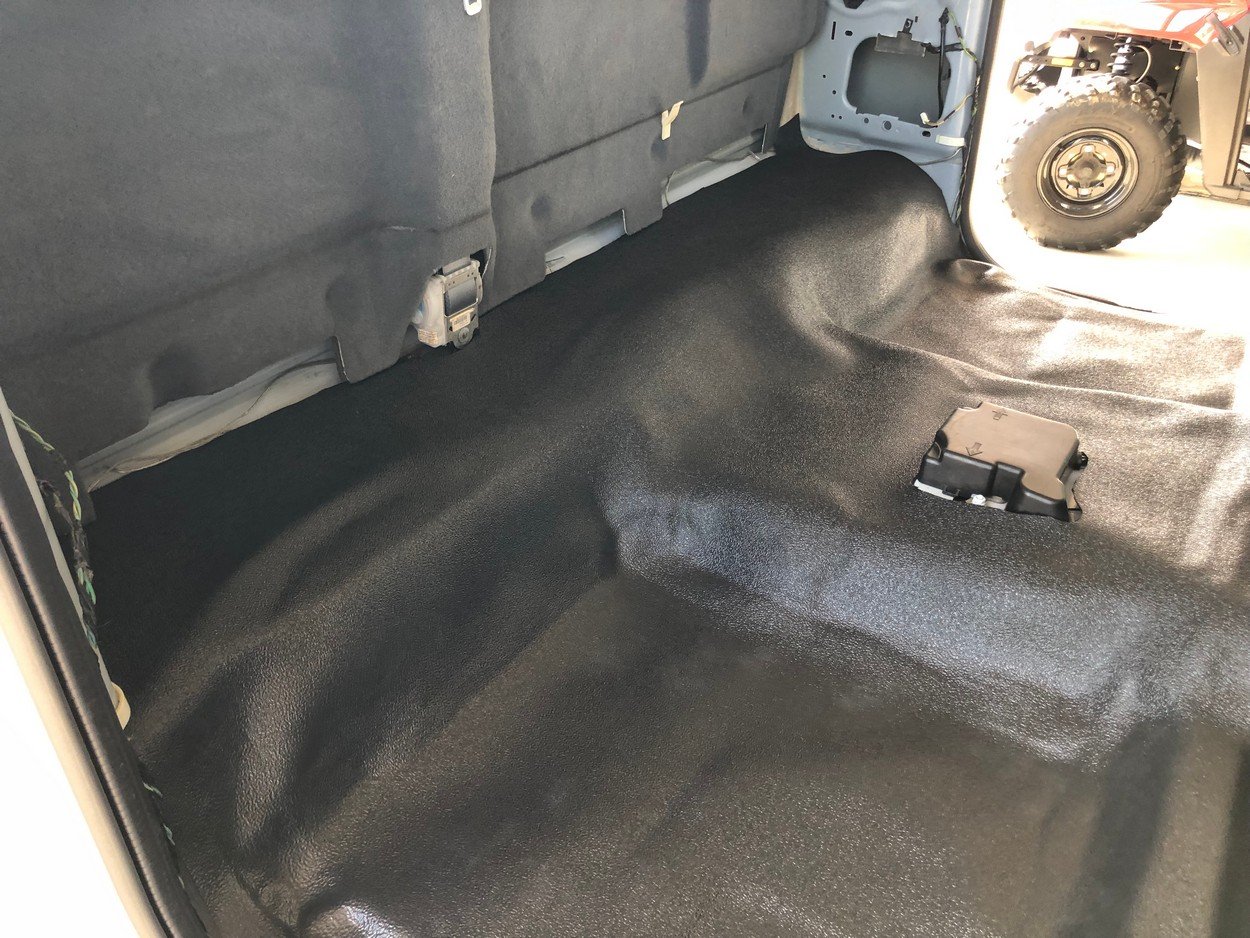
Install new vinyl floor in cab
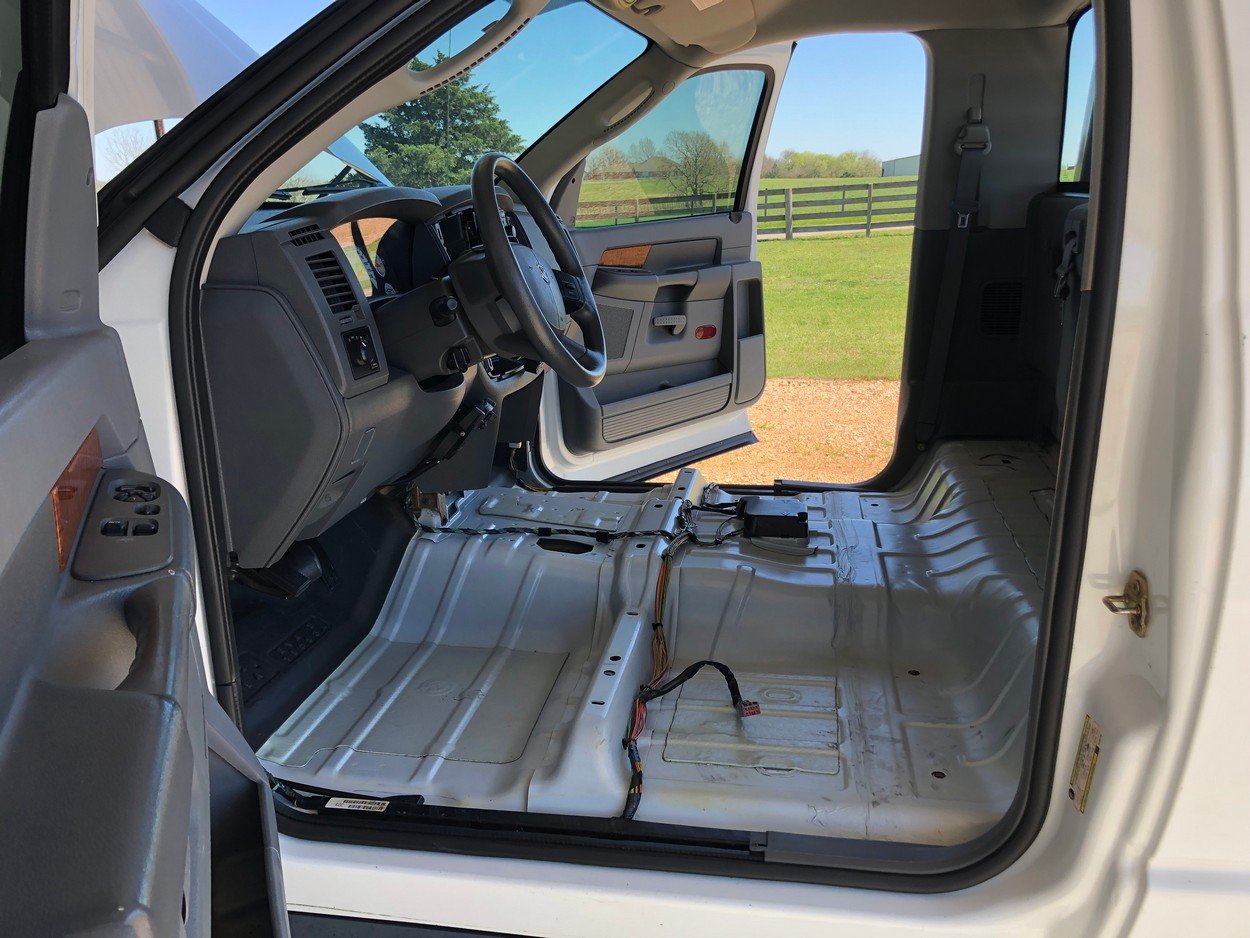
Remove old carpet, put in heat/sound barrier
With old carpet out, clean floor pan completely
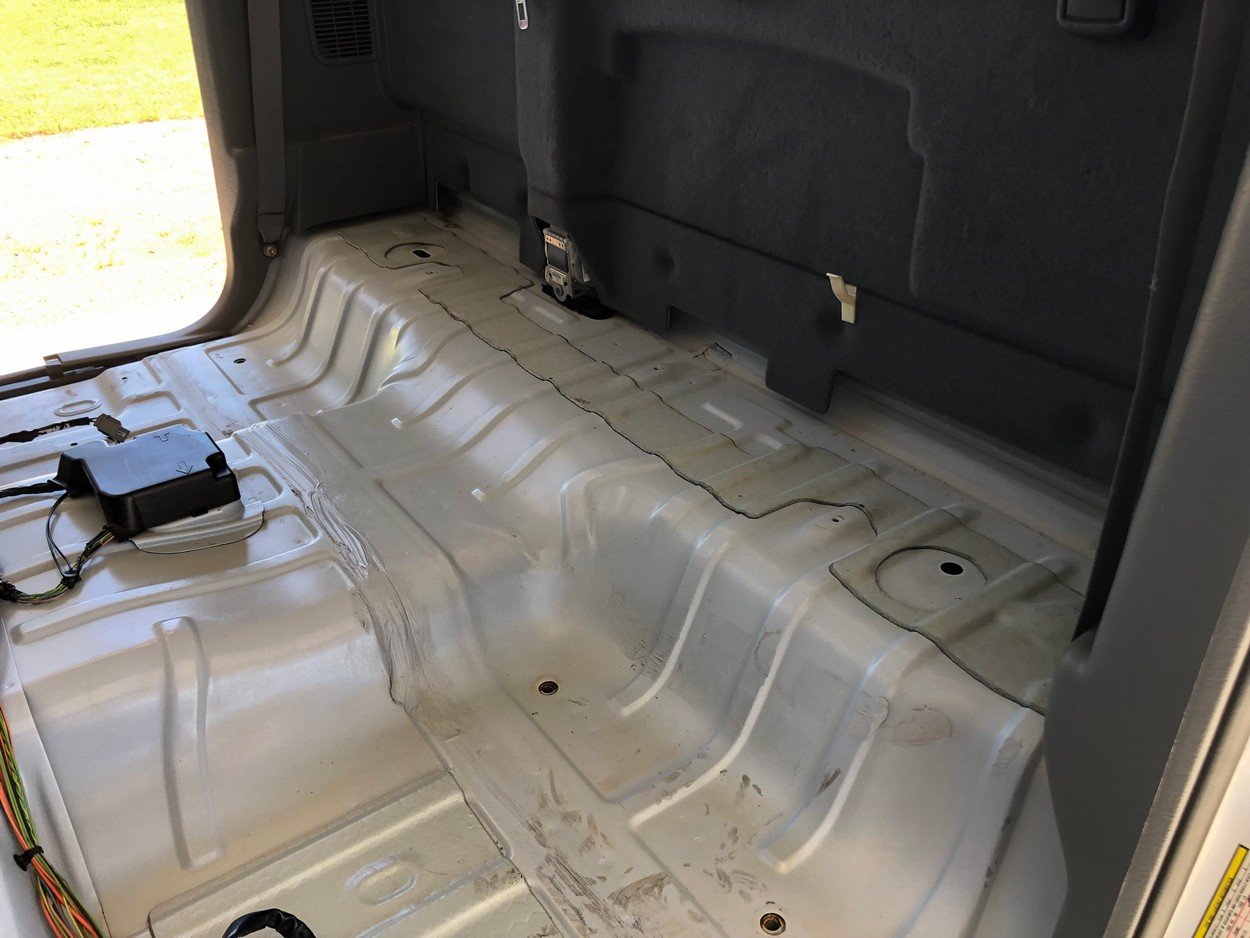
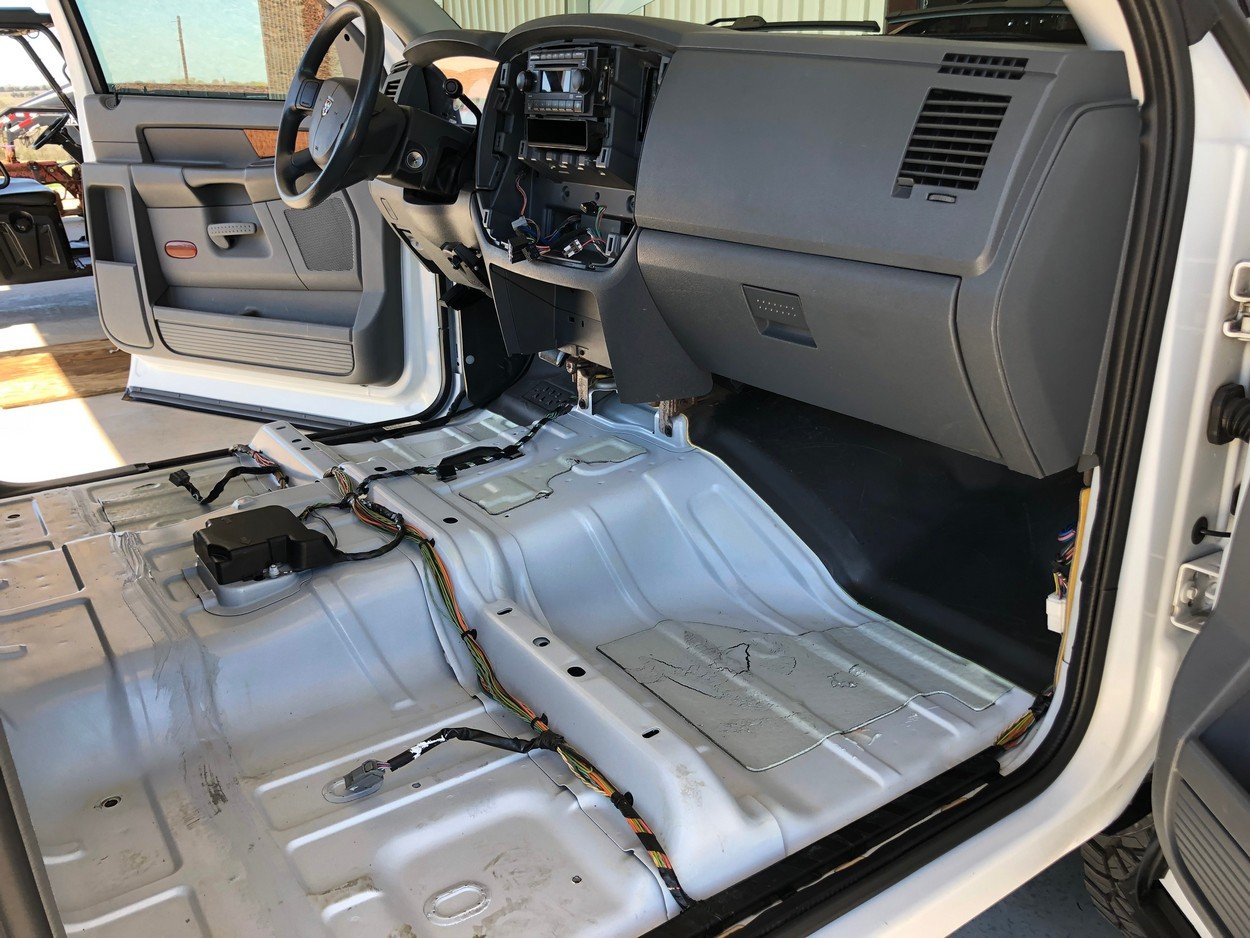
Begin installing LMC heat/sound barrier mat
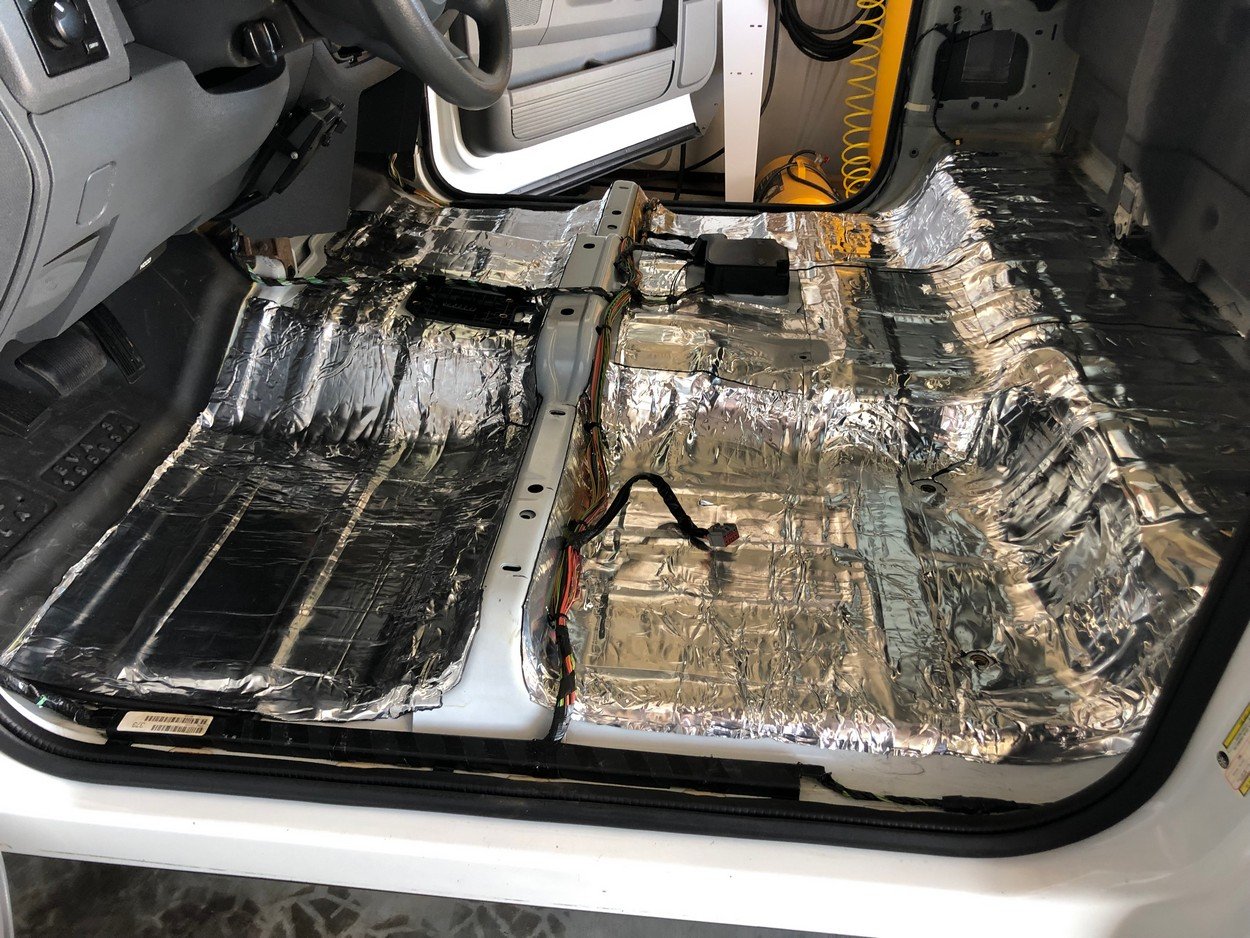
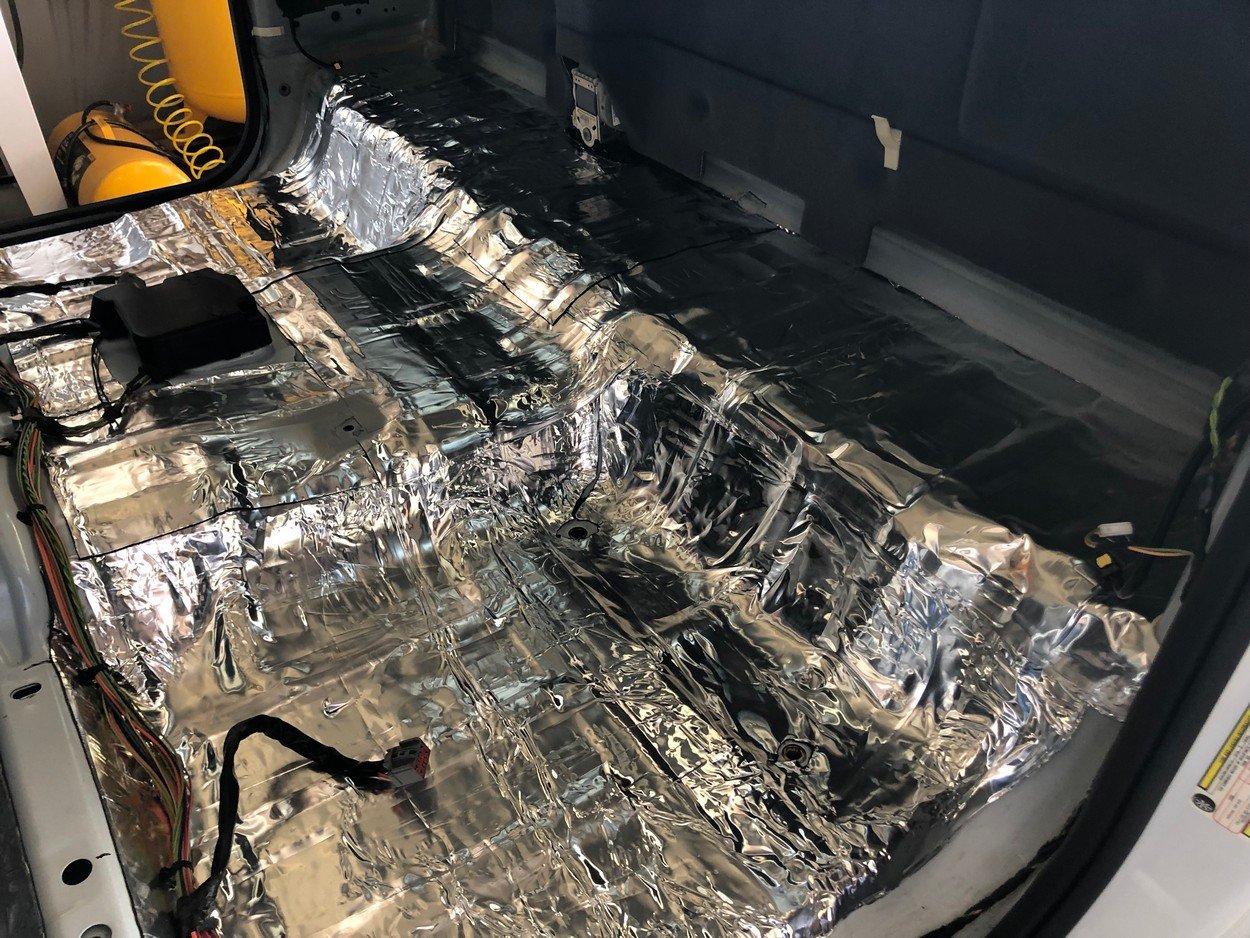
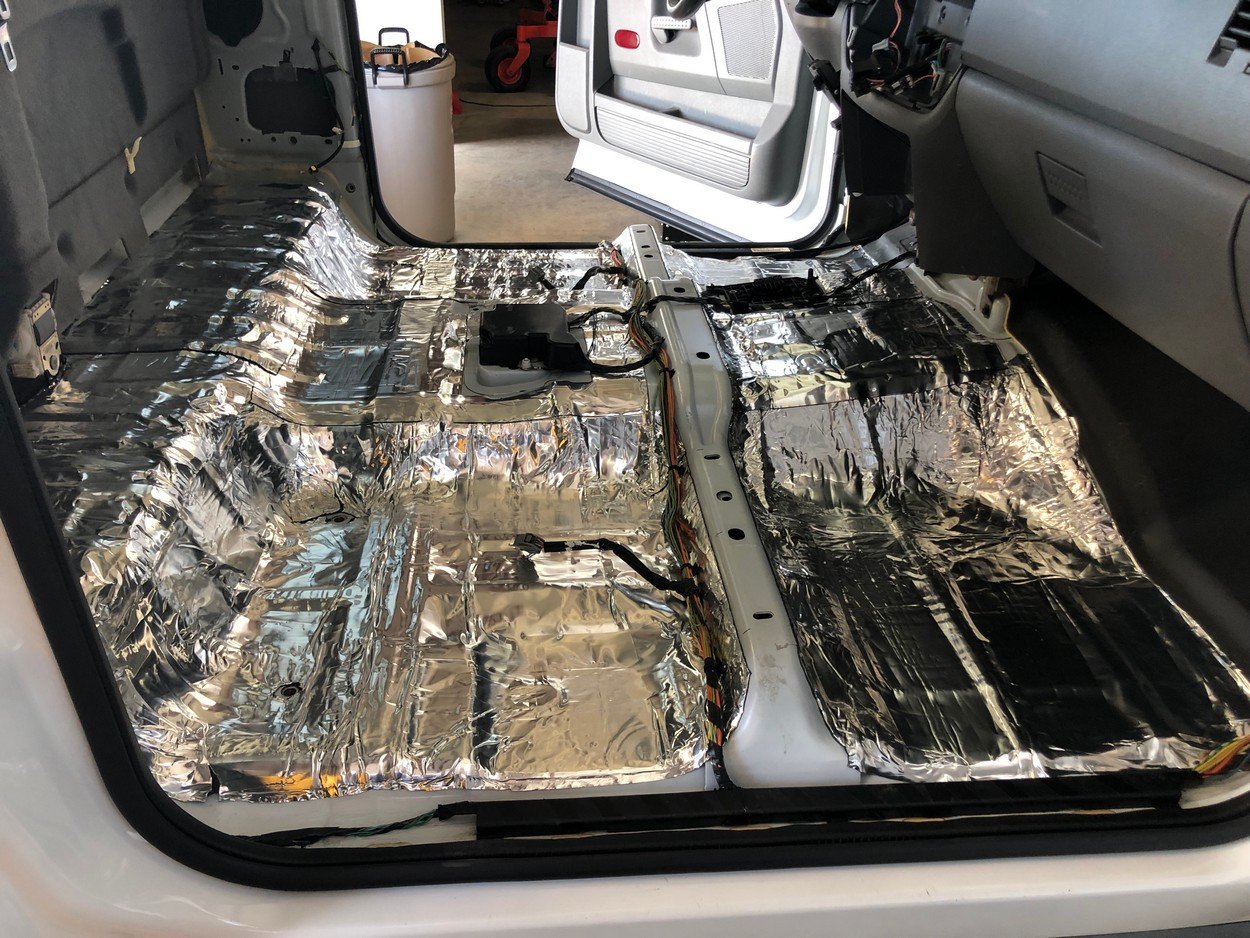
Next install jute padding with 3M spray adhesive
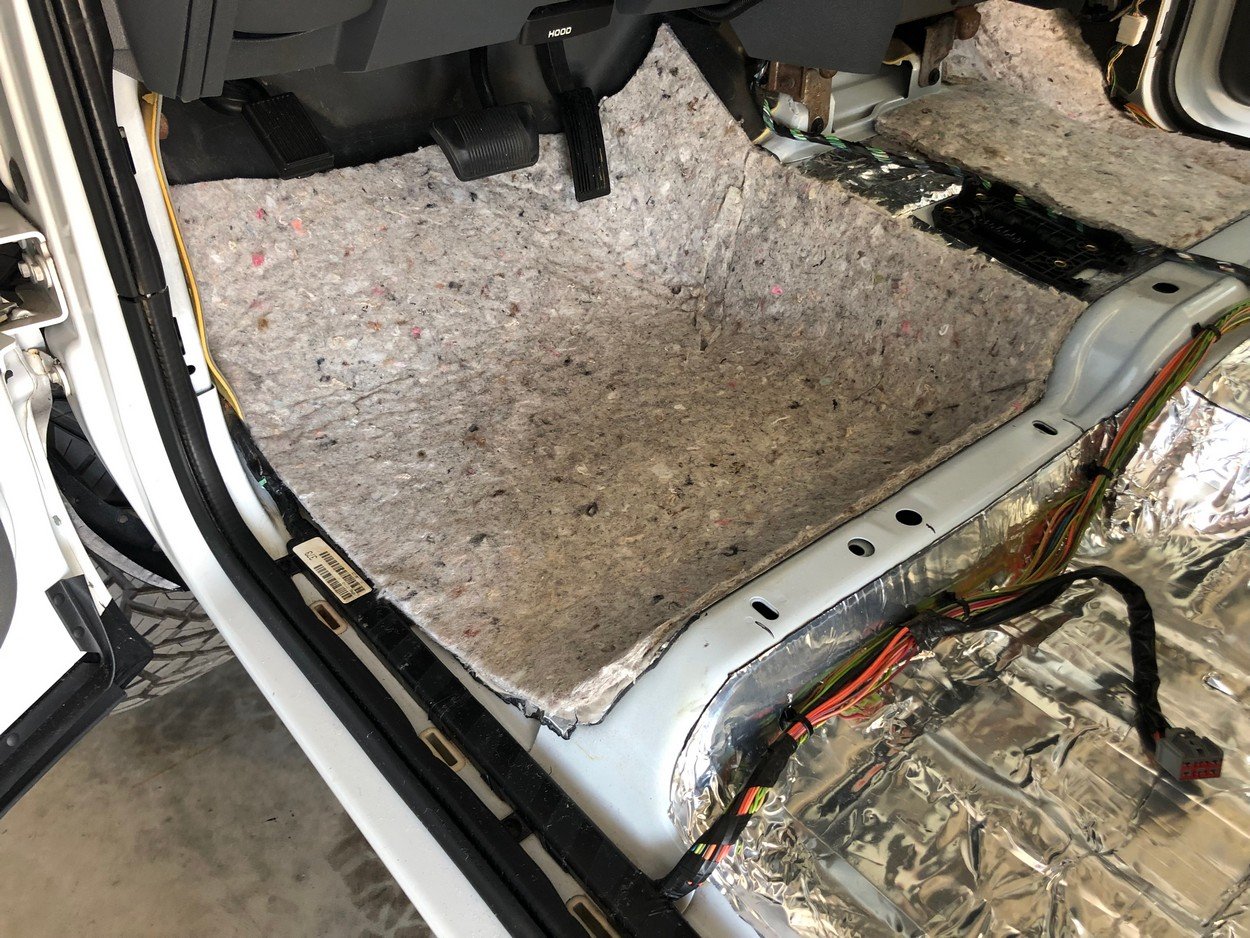
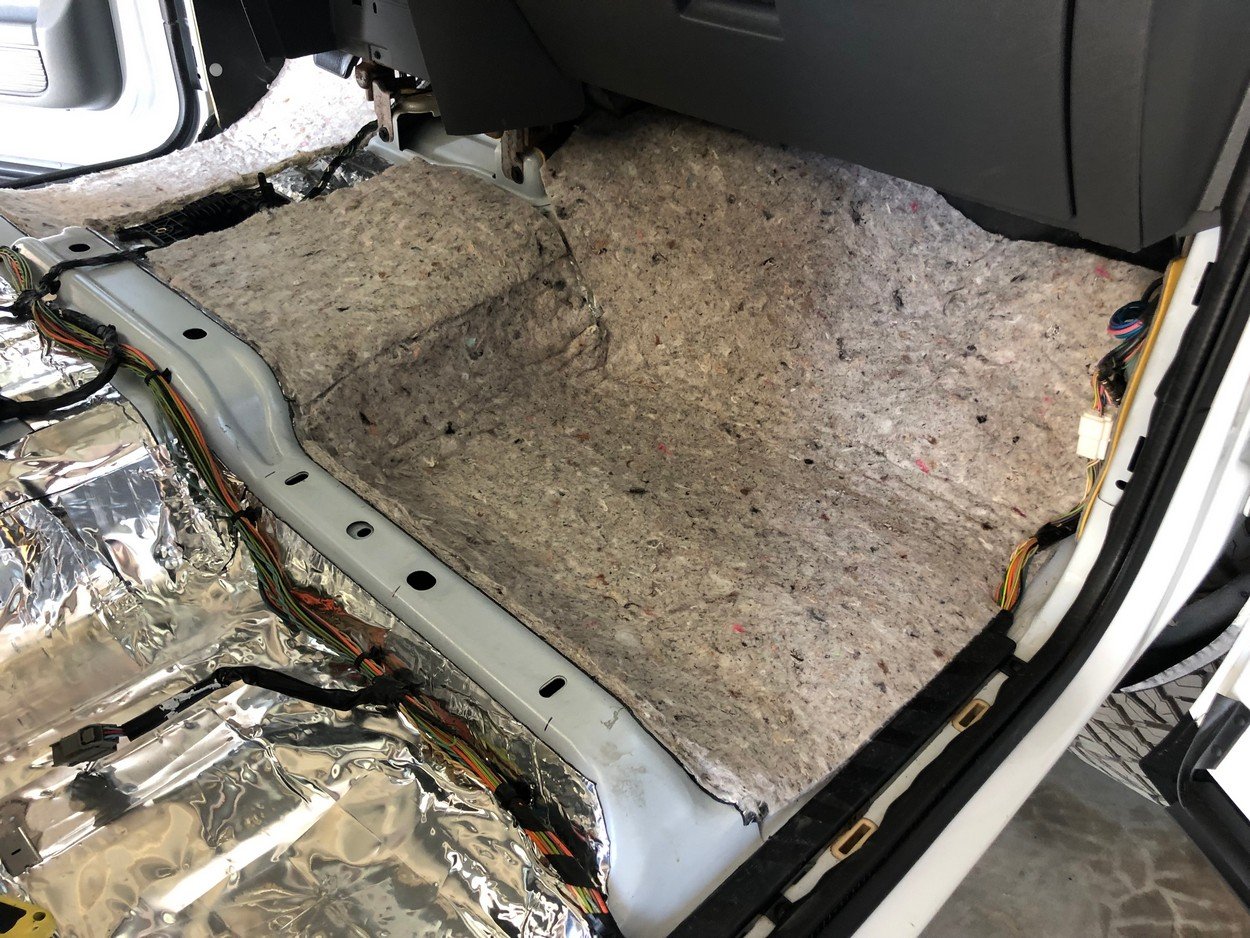
Ready to put in vinyl flooring
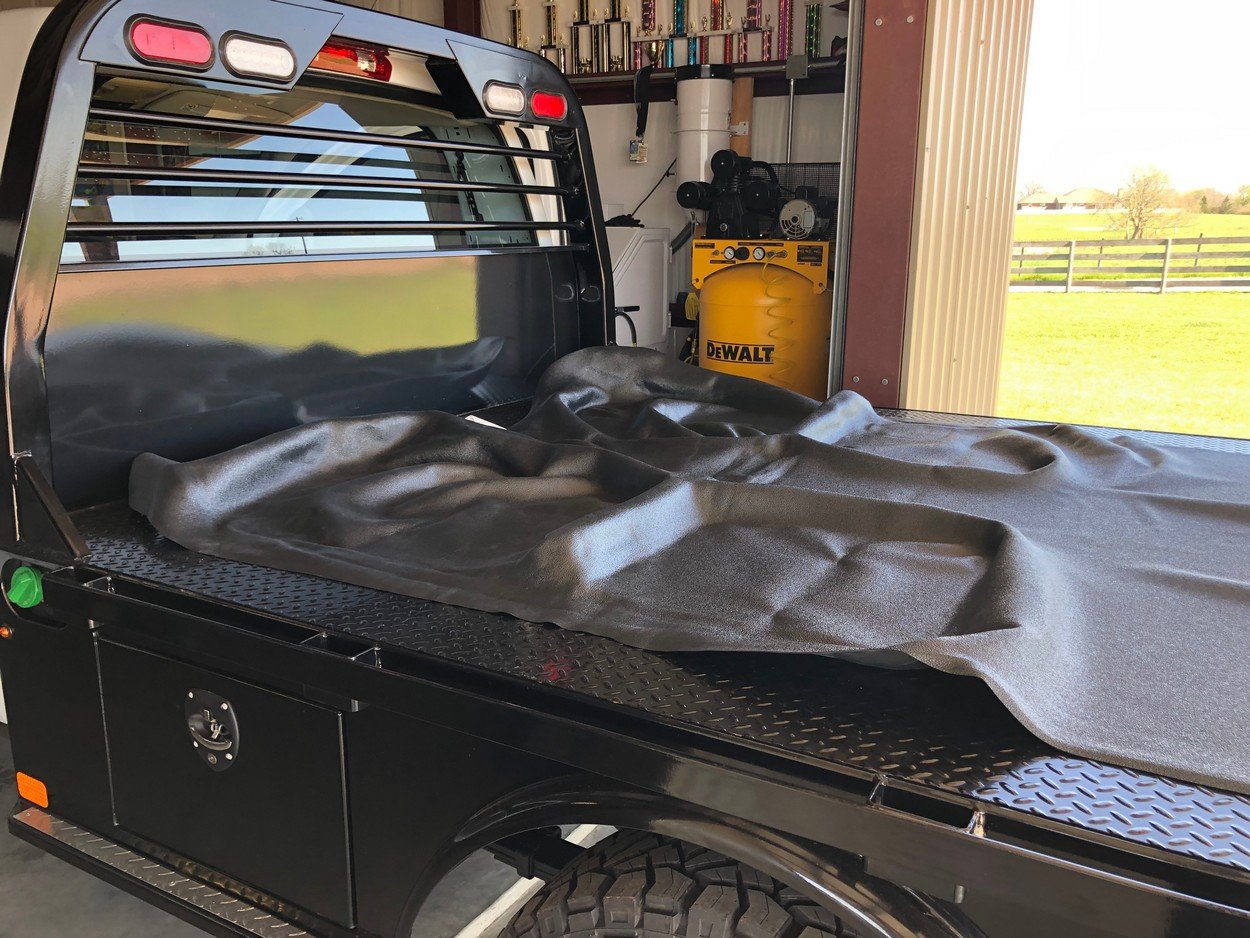
Floor all cut in place
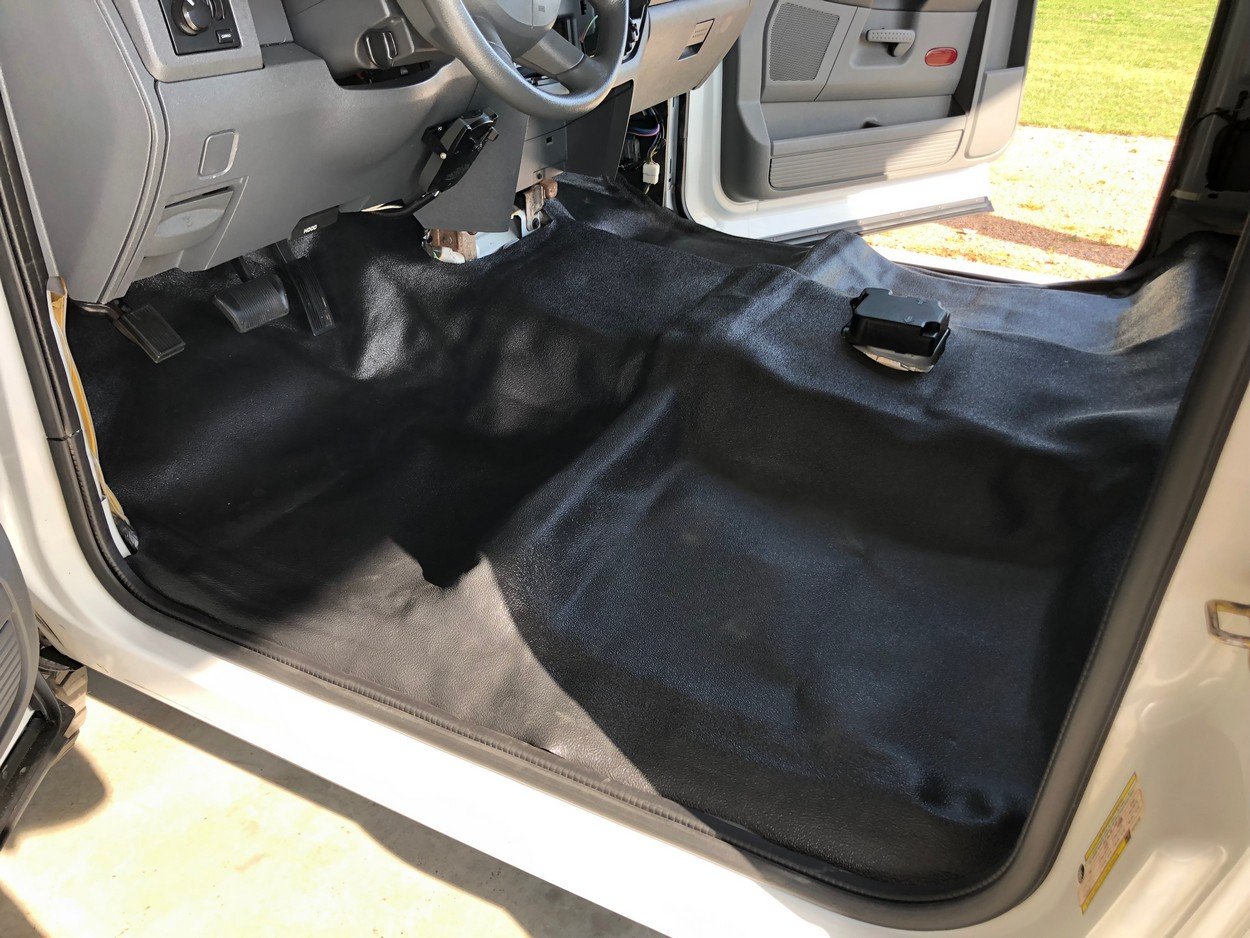
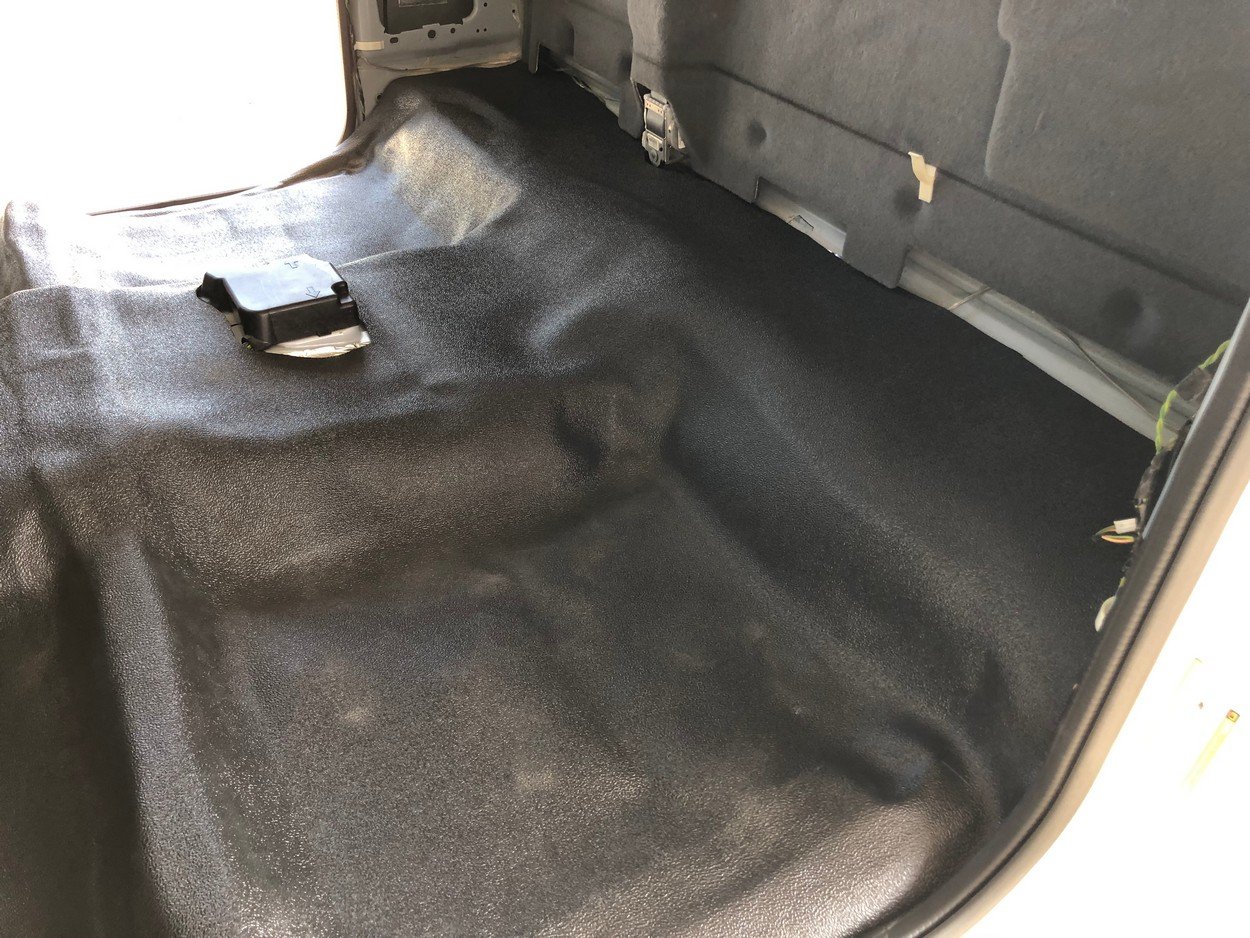
Floor will flatten/smooth out once it gets hot inside
Install new late-model RAM seats and console
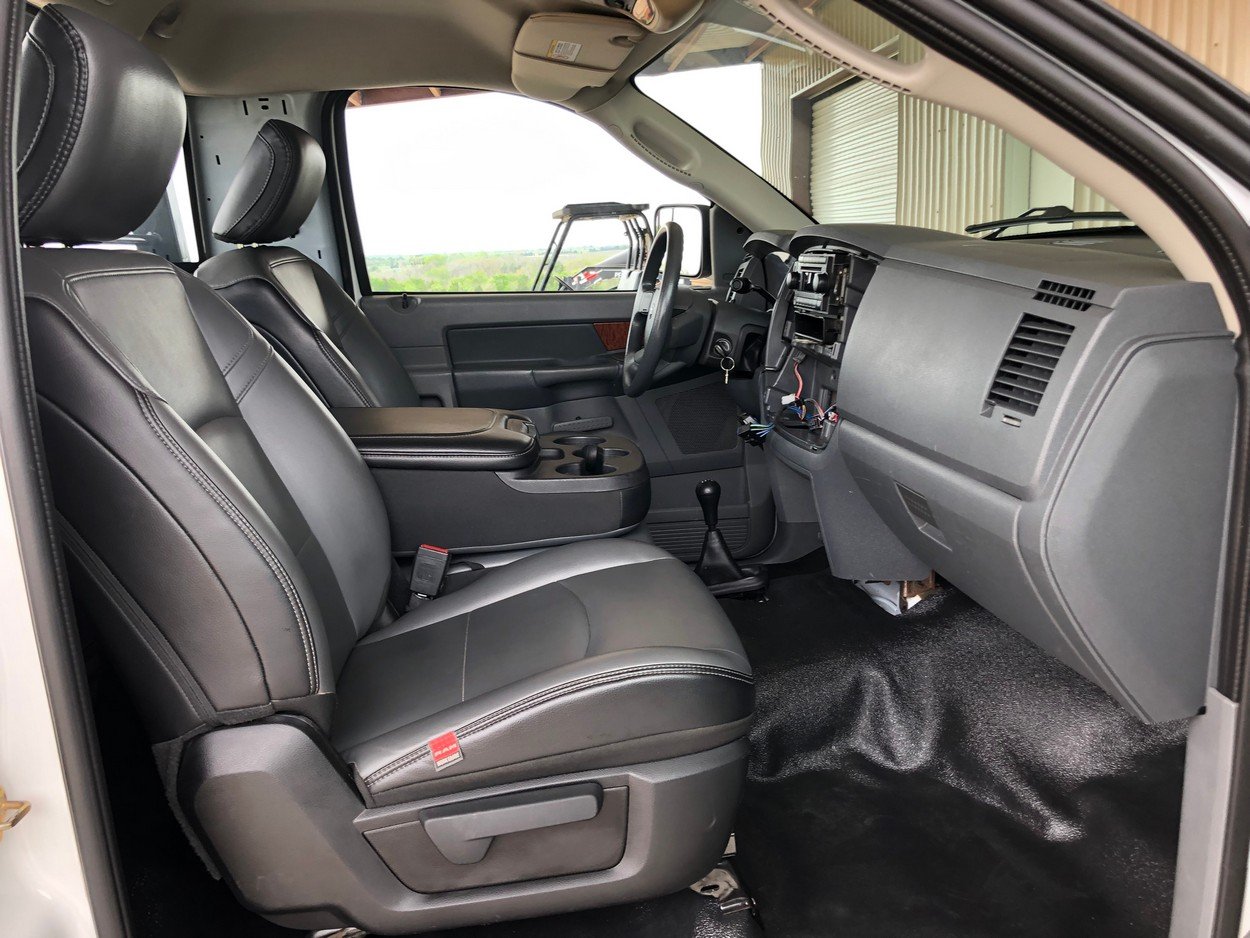
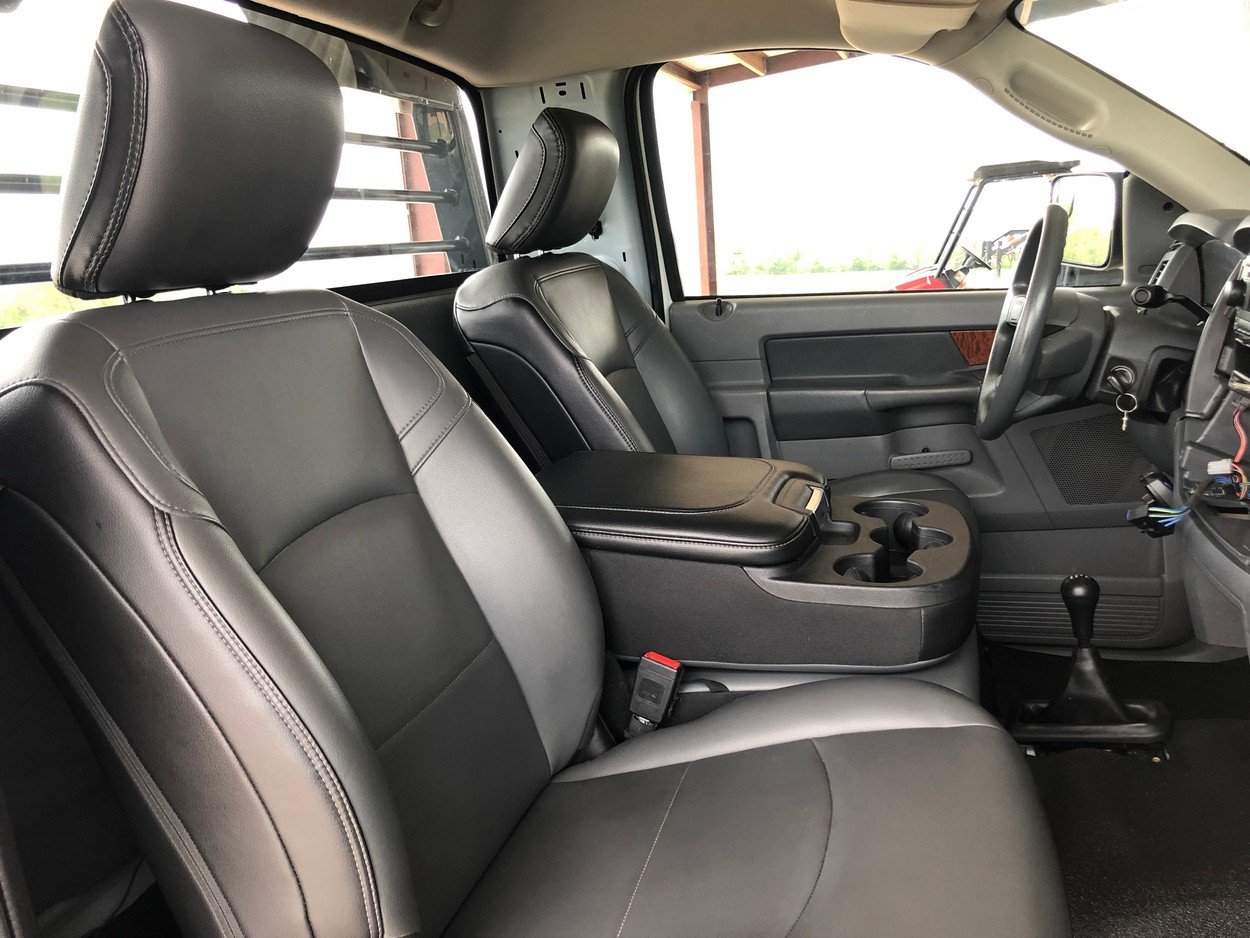
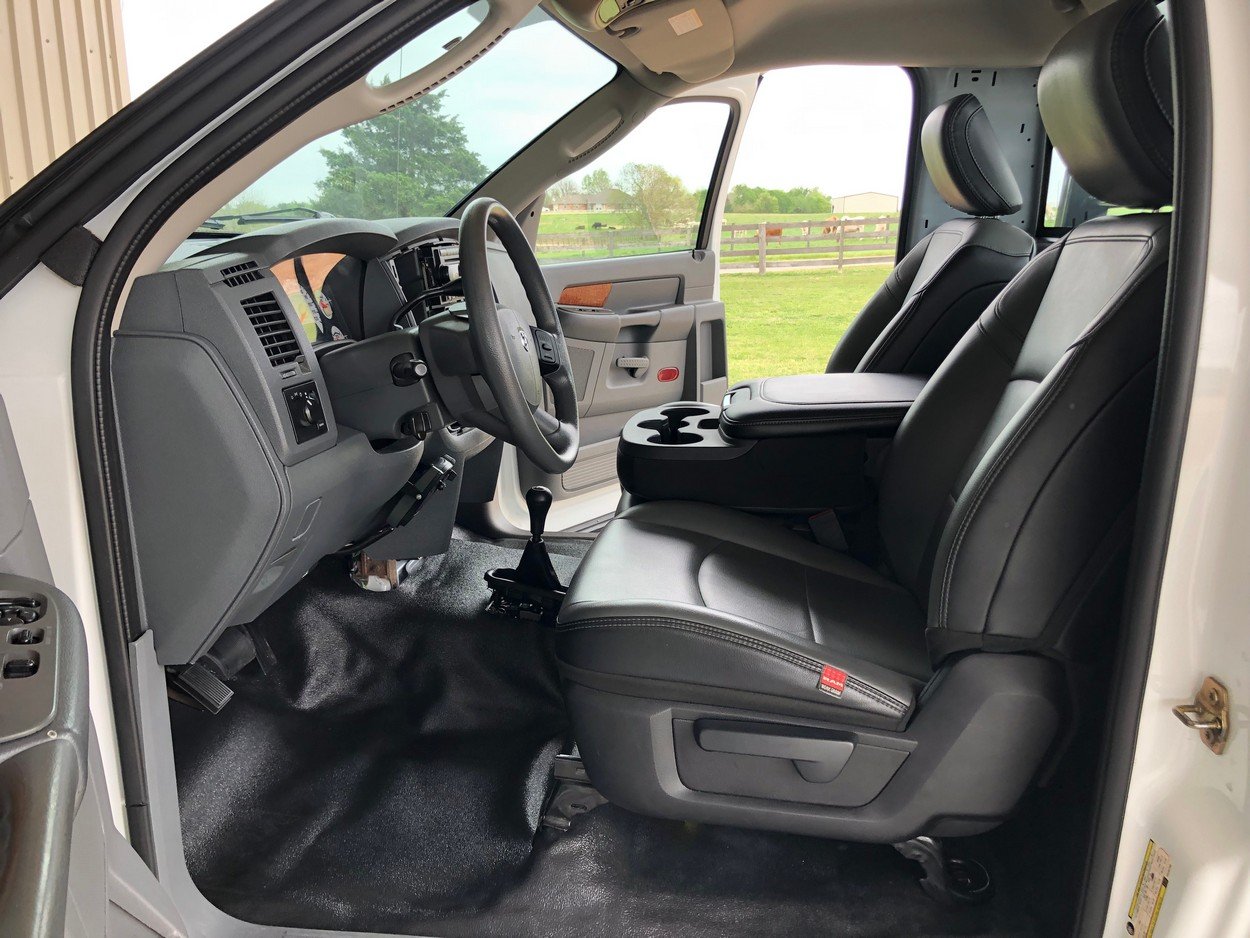
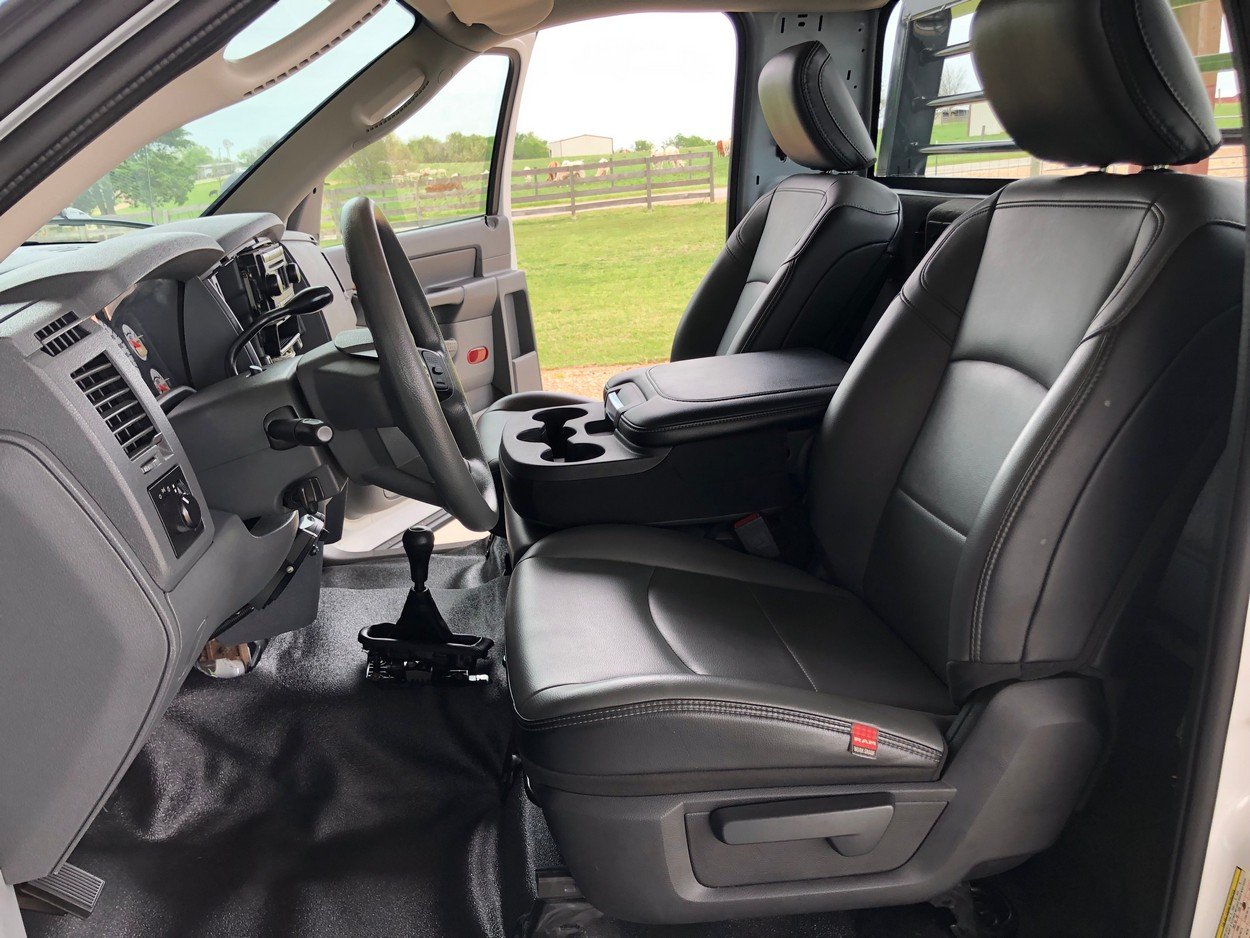
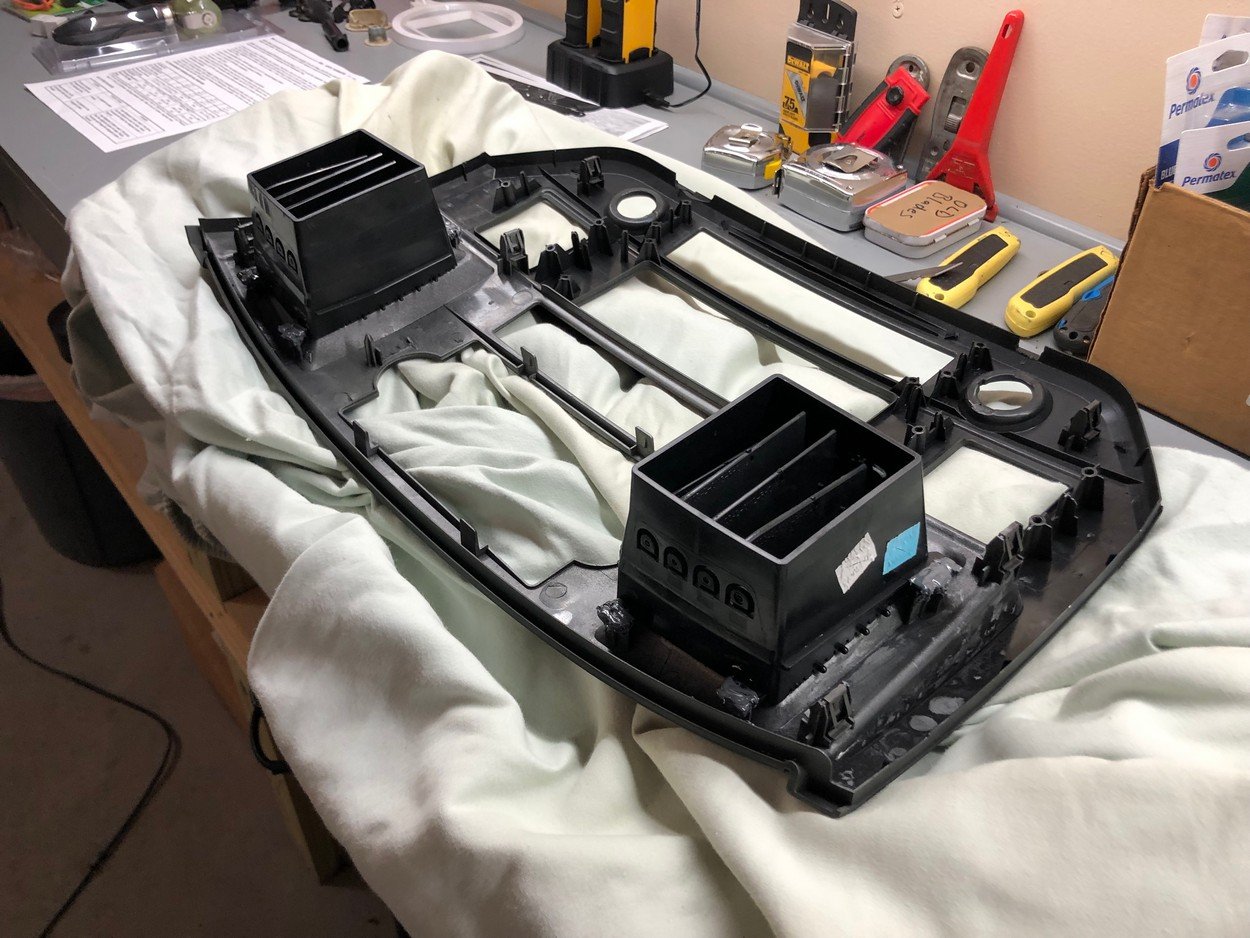
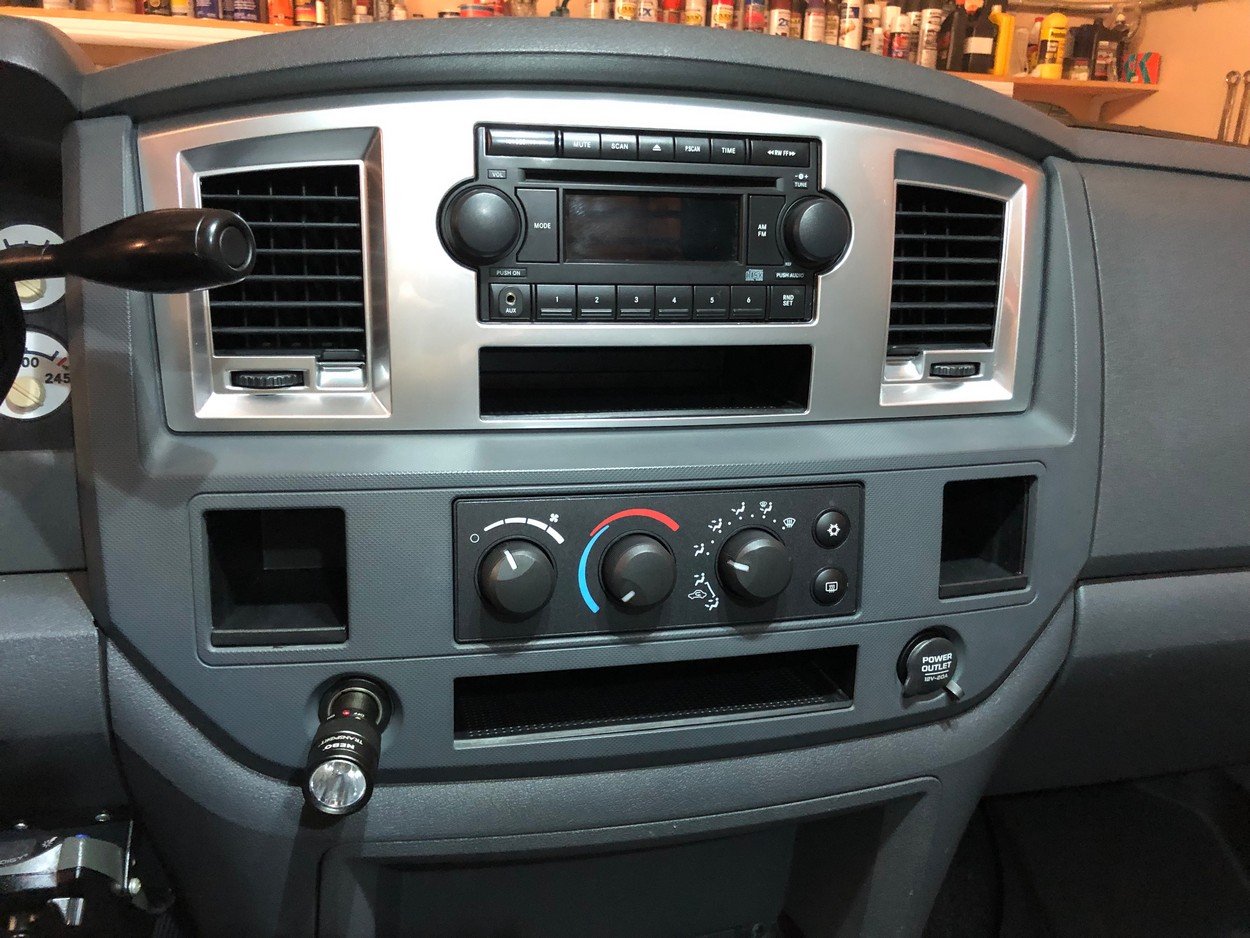
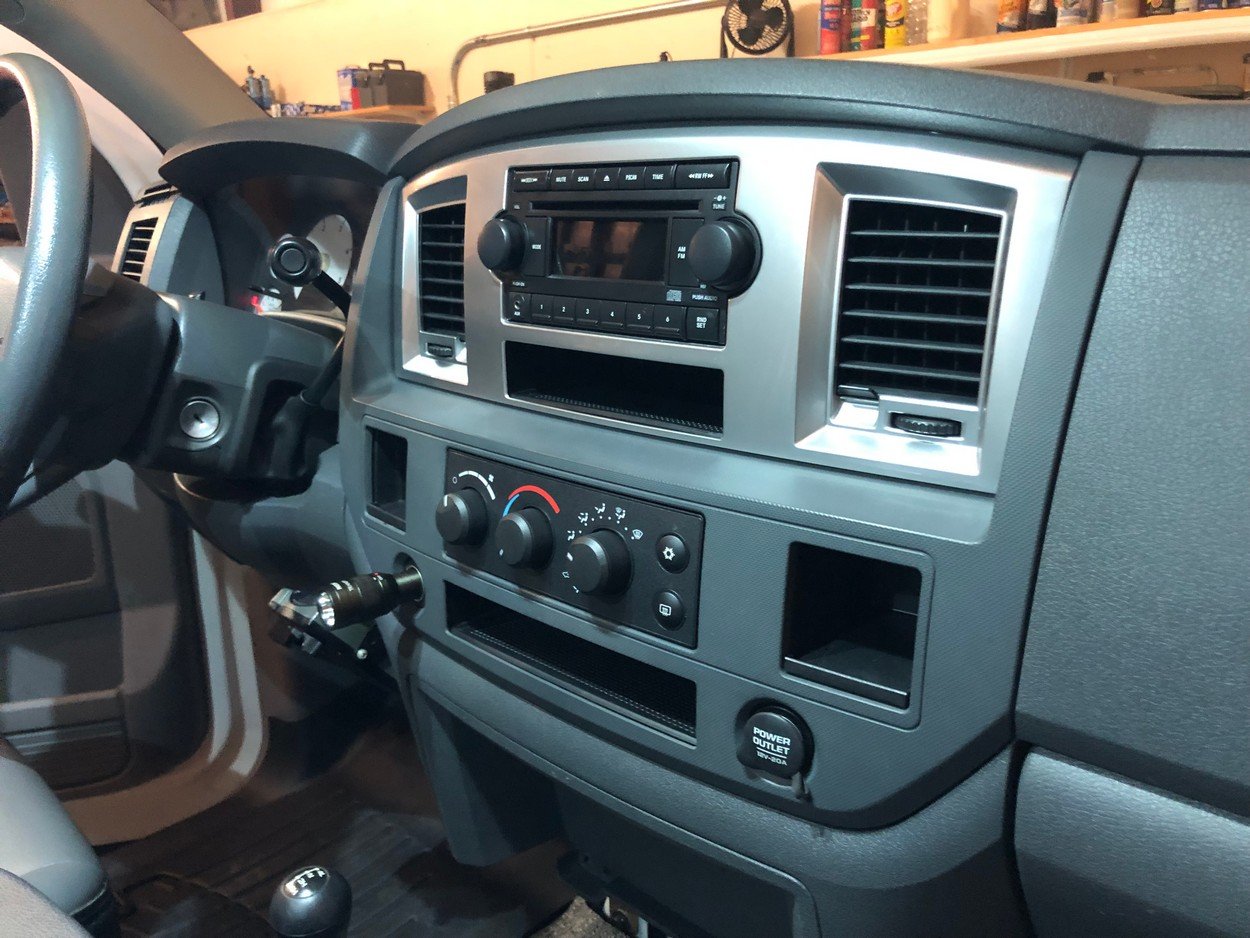
Changing interior trim to '07 silver
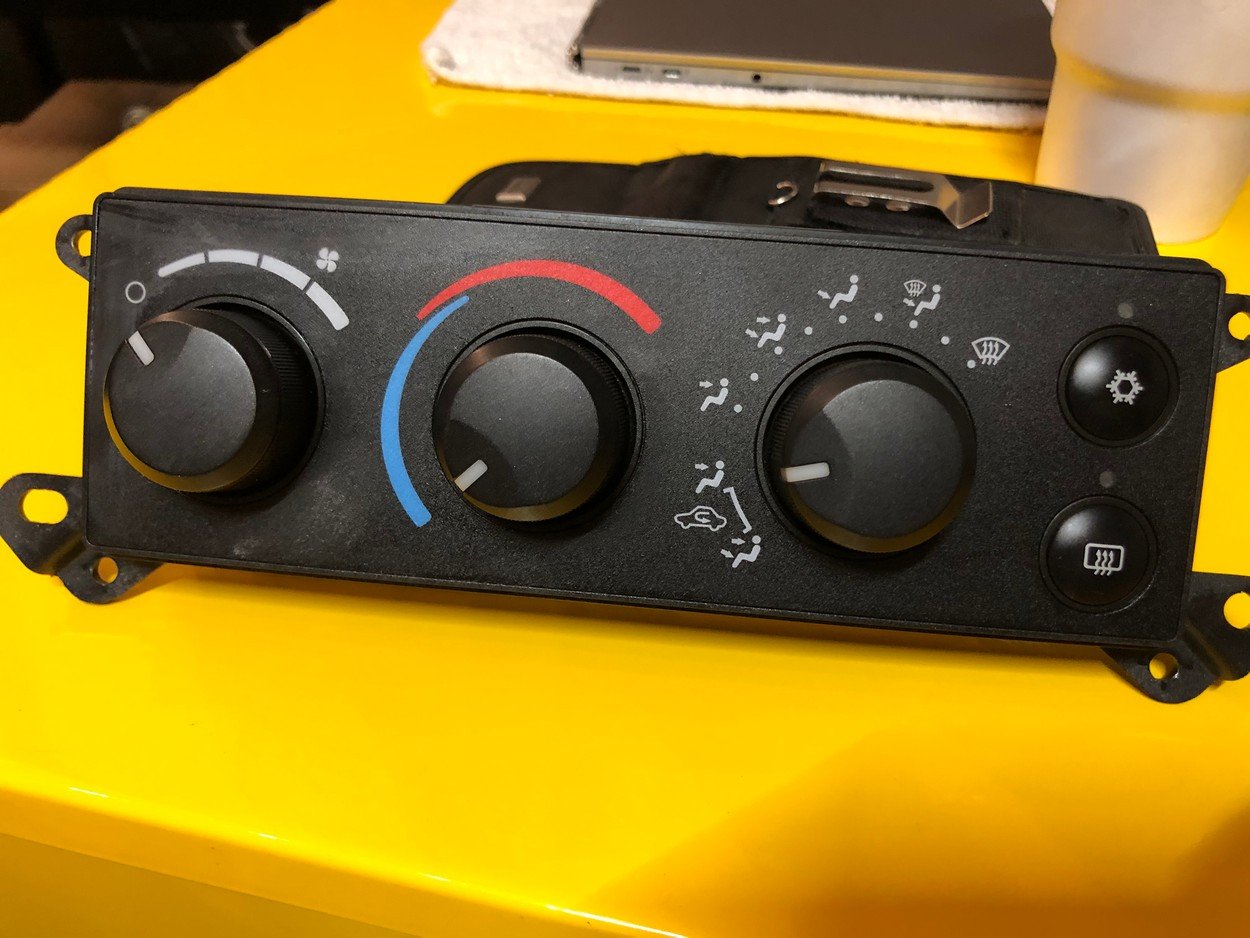
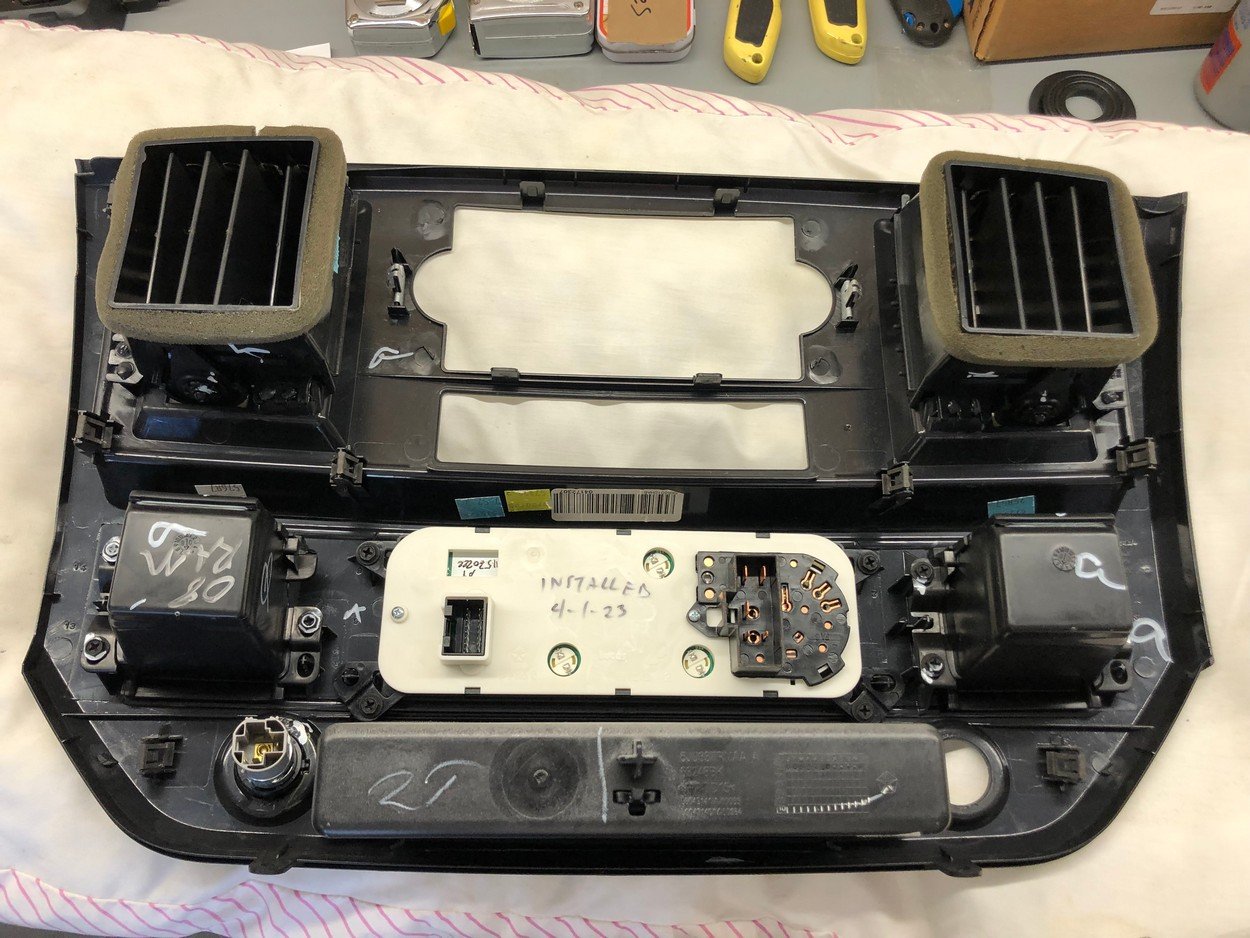
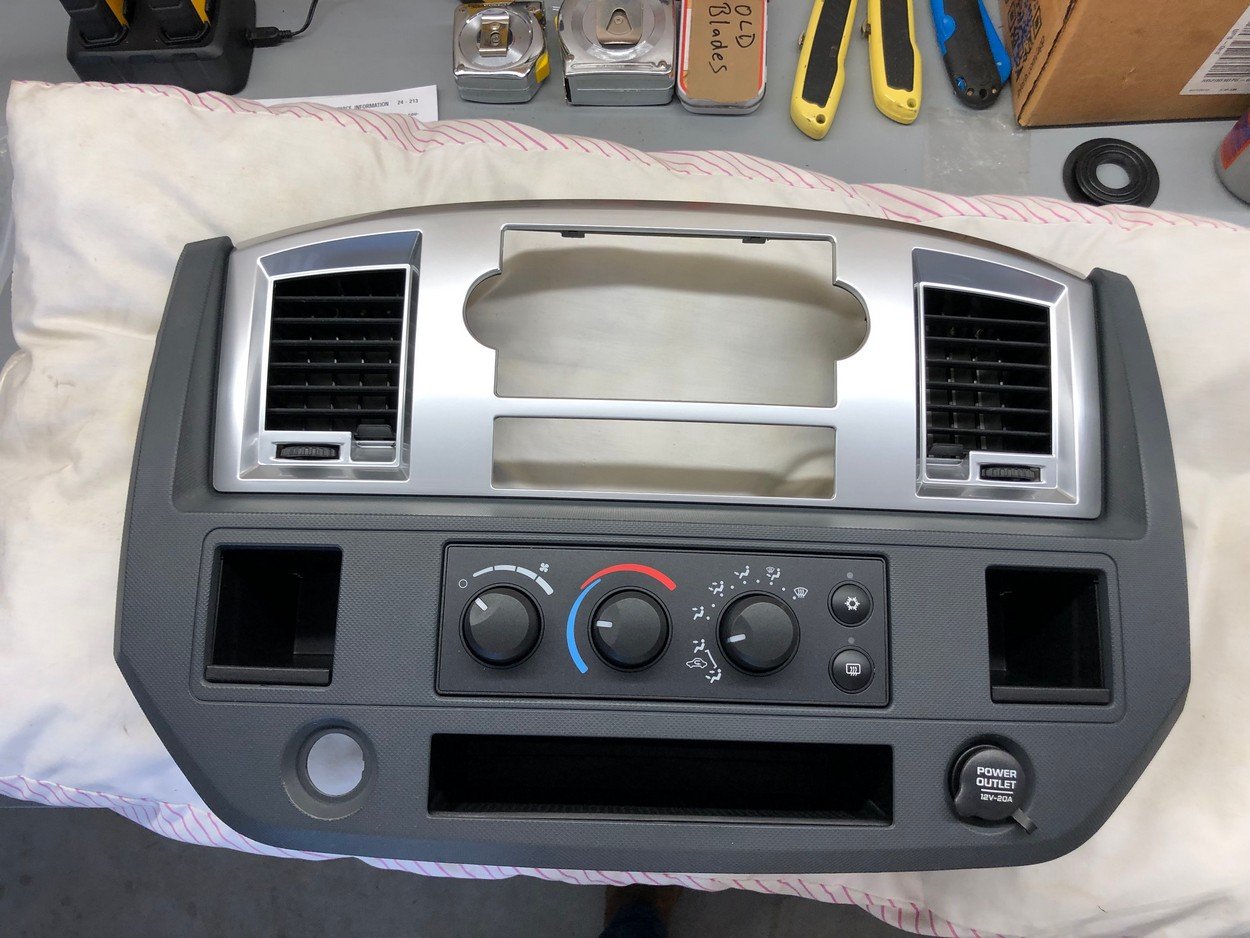
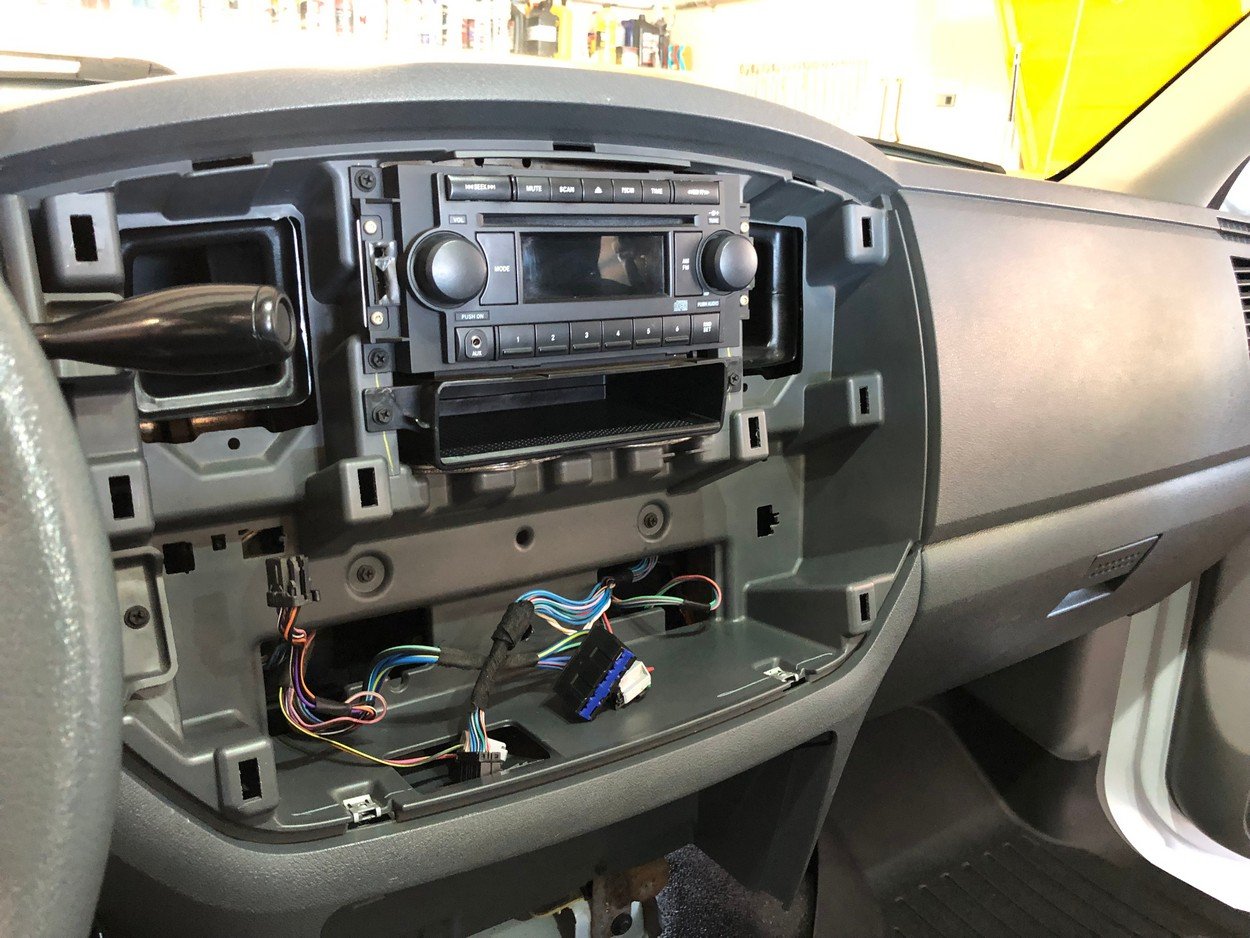
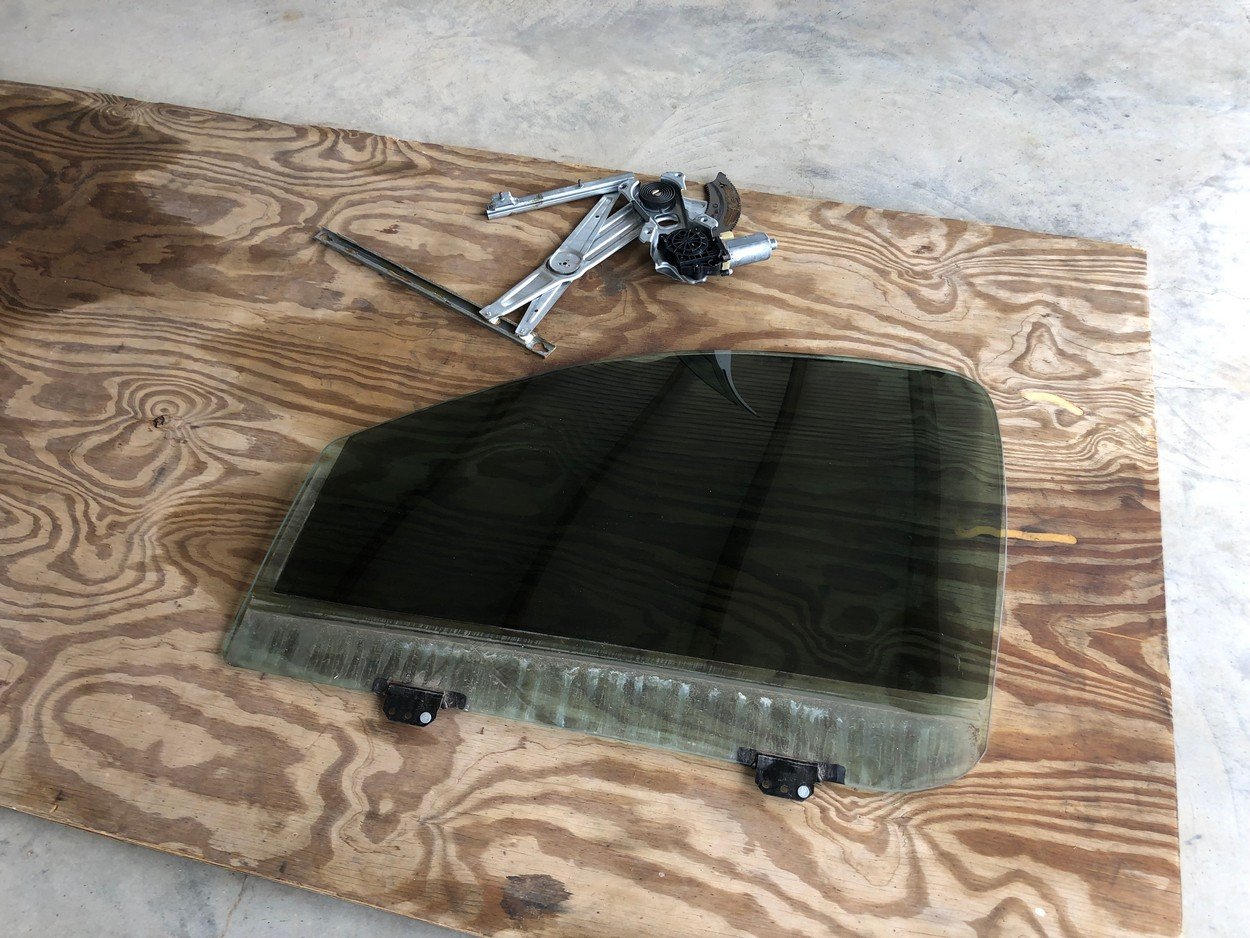
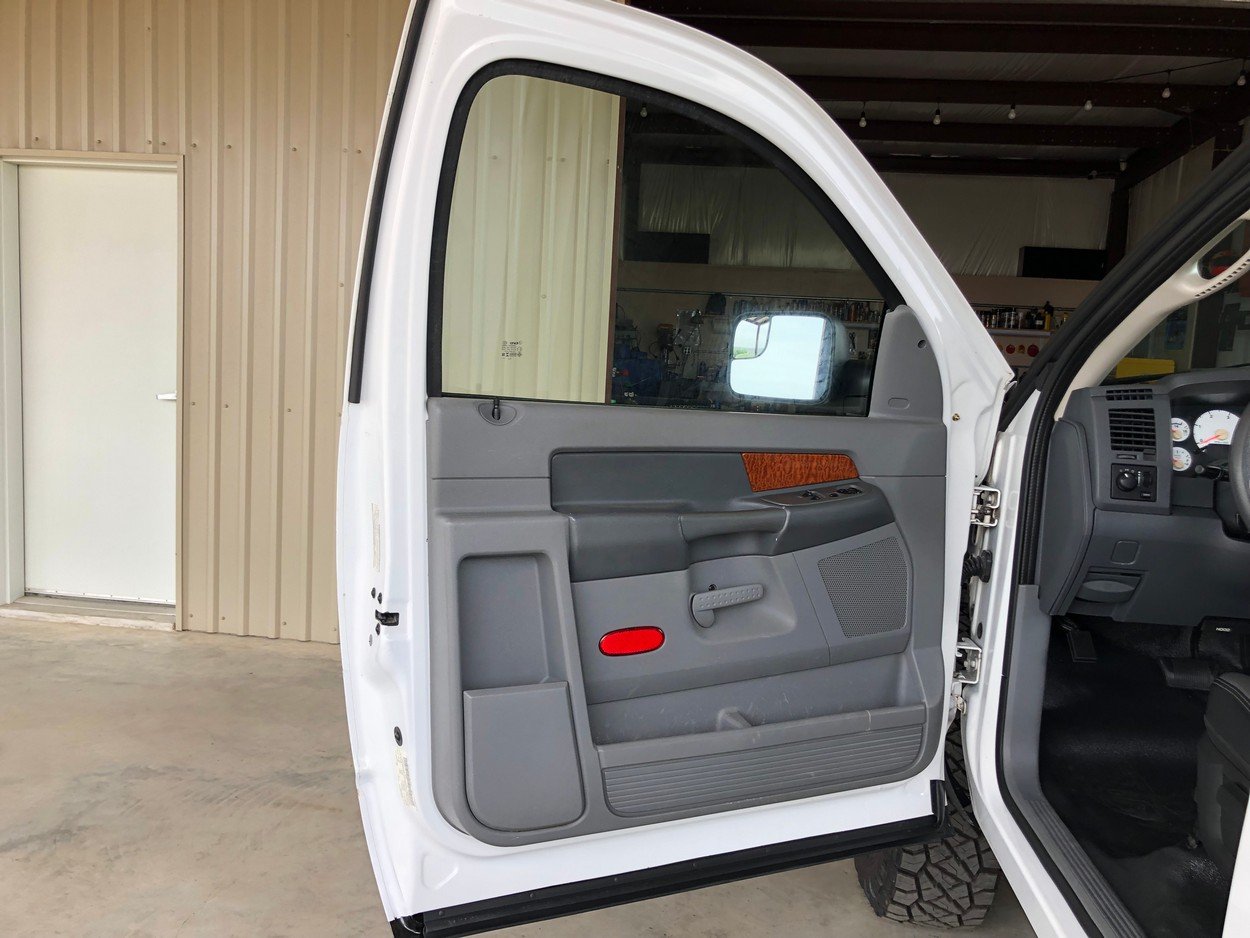
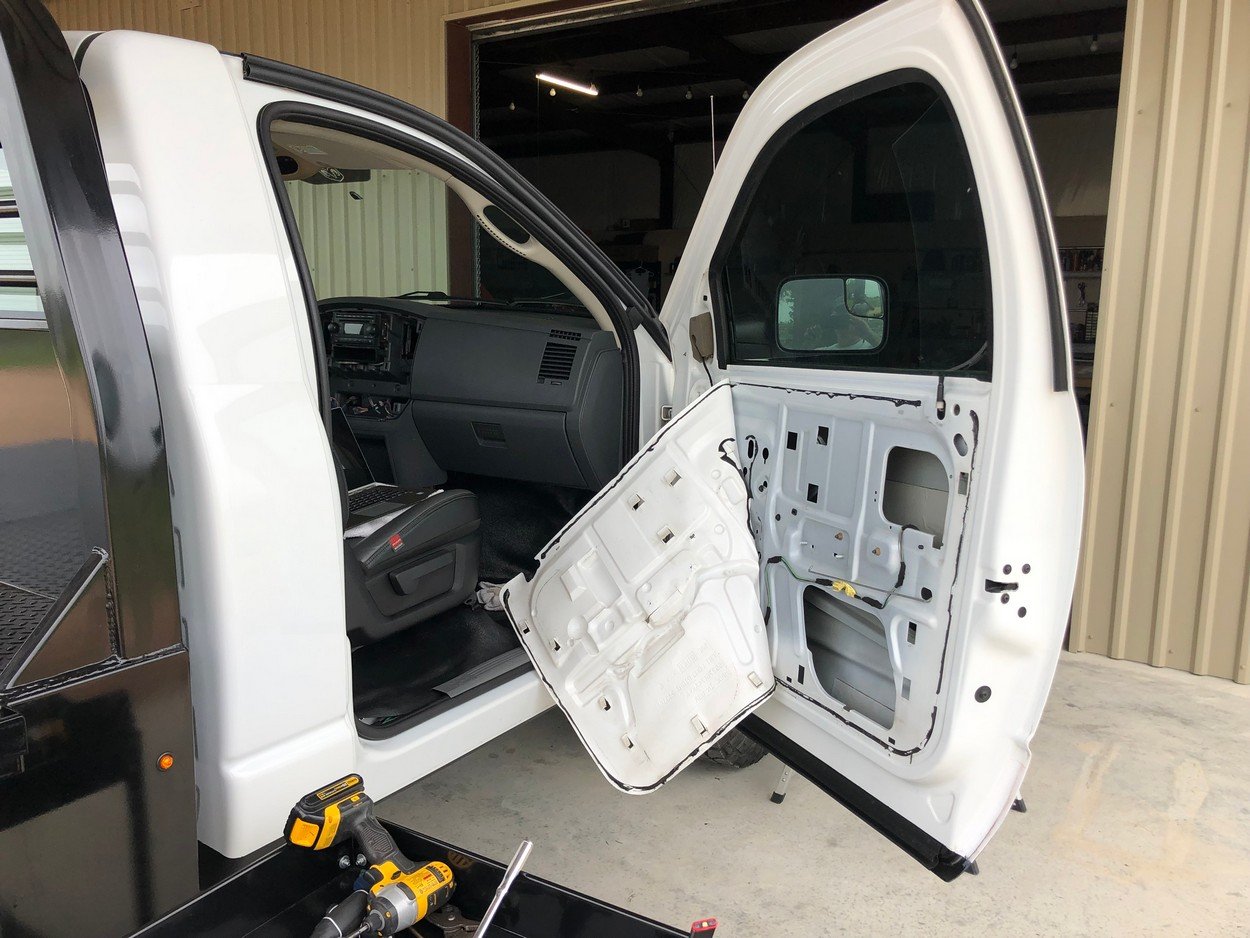
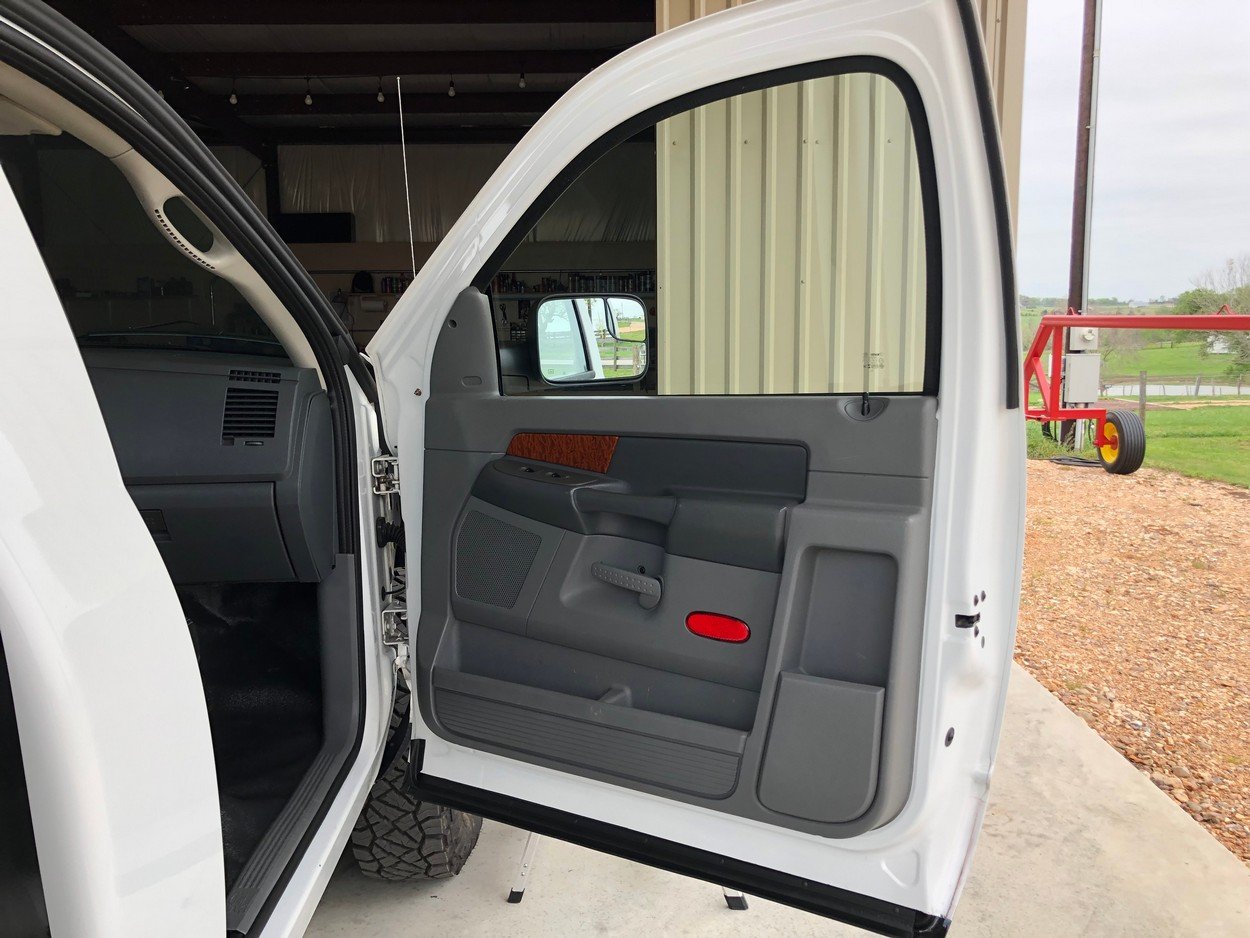
New window regulators and glass
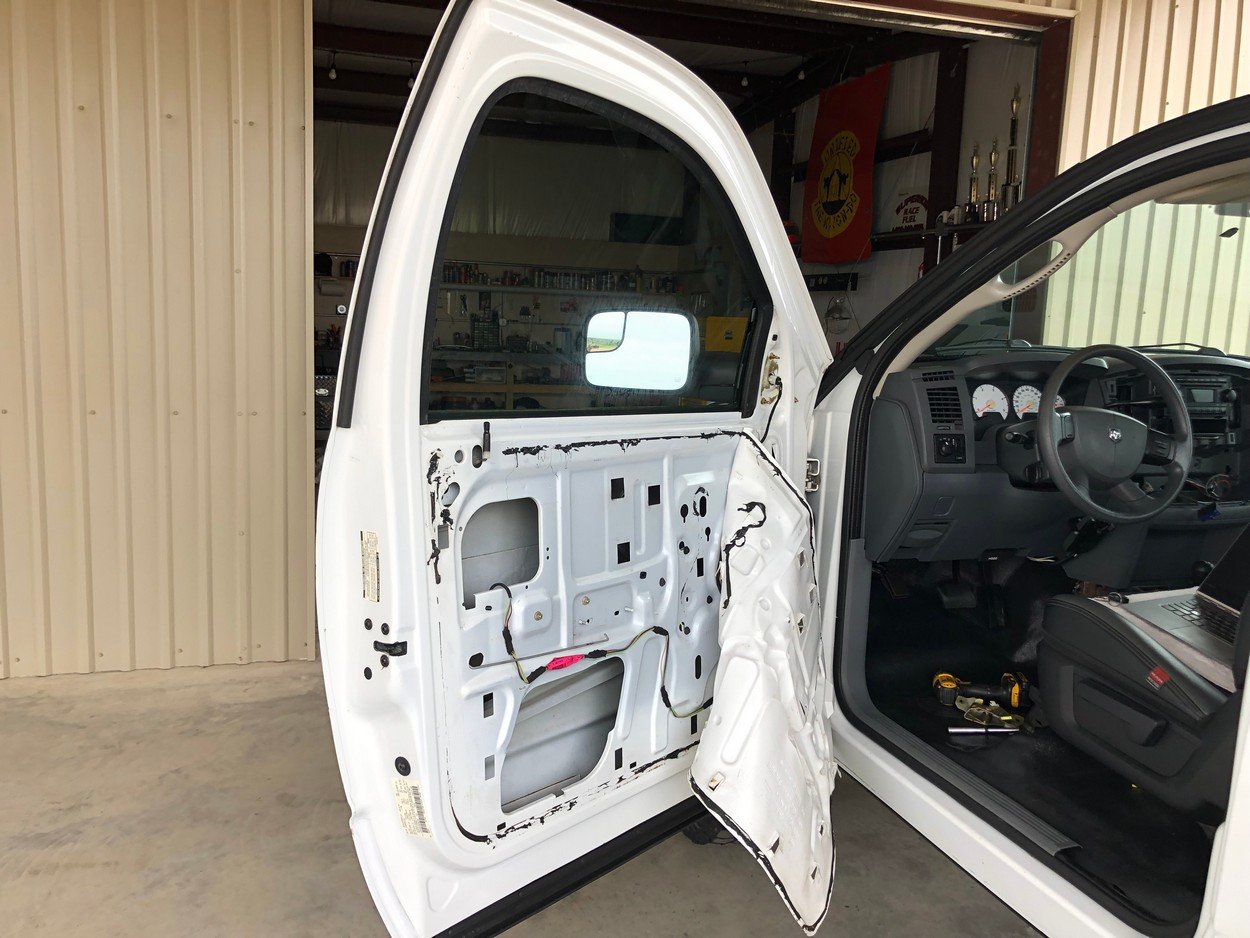
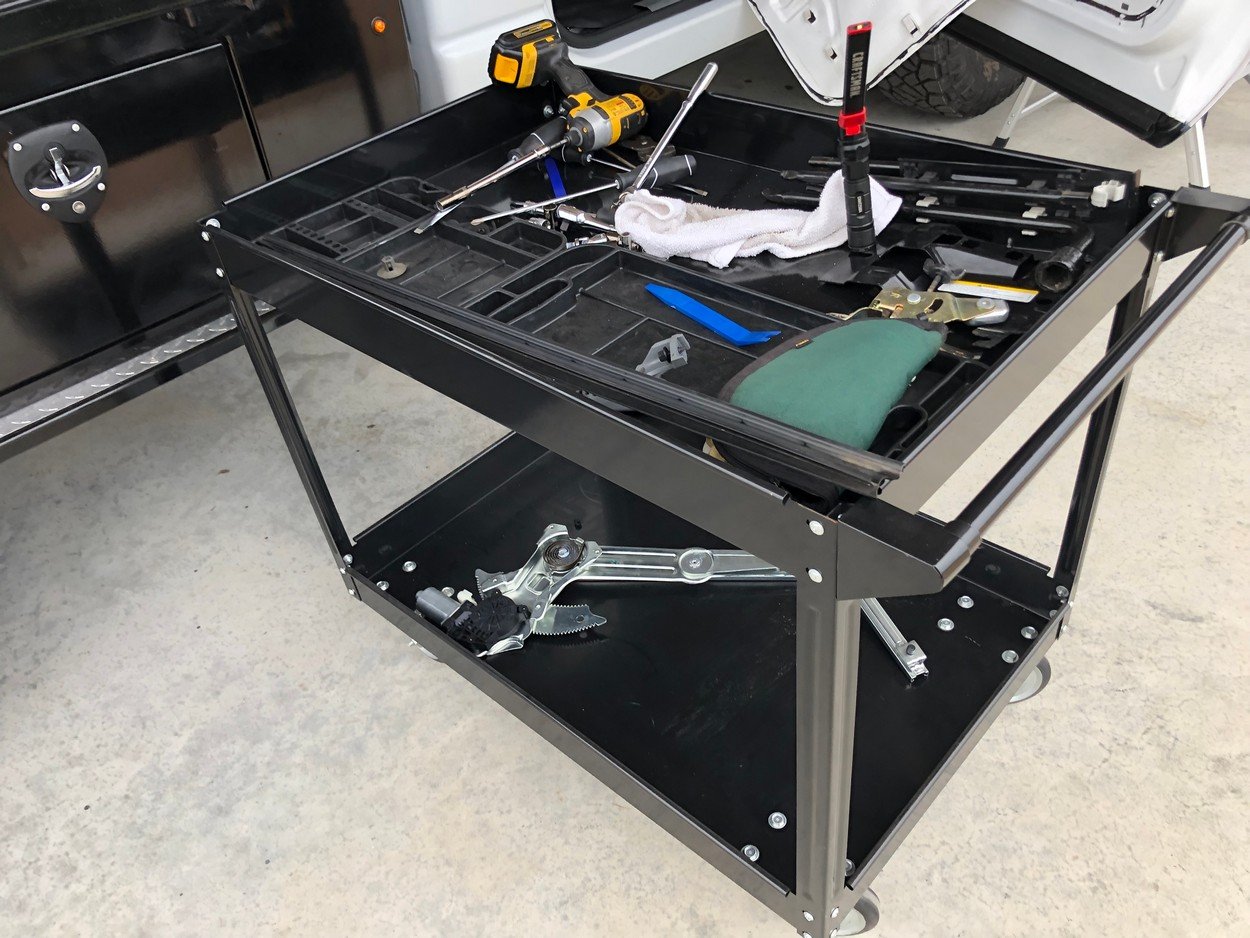
Old regulator and scratched up/nasty tint glass
New glass and regulator installed, just need to clean up
New headlight lenses and bulbs
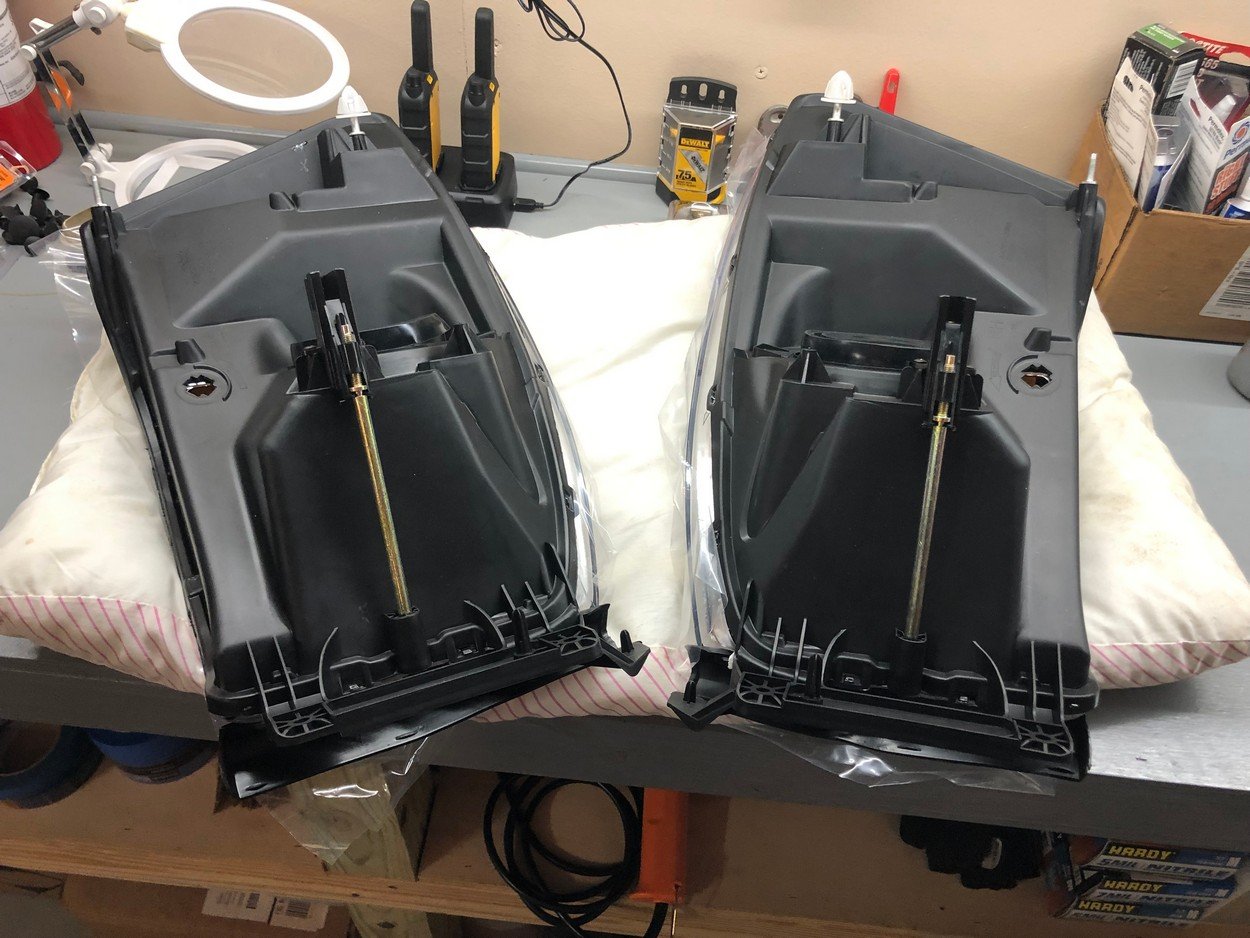
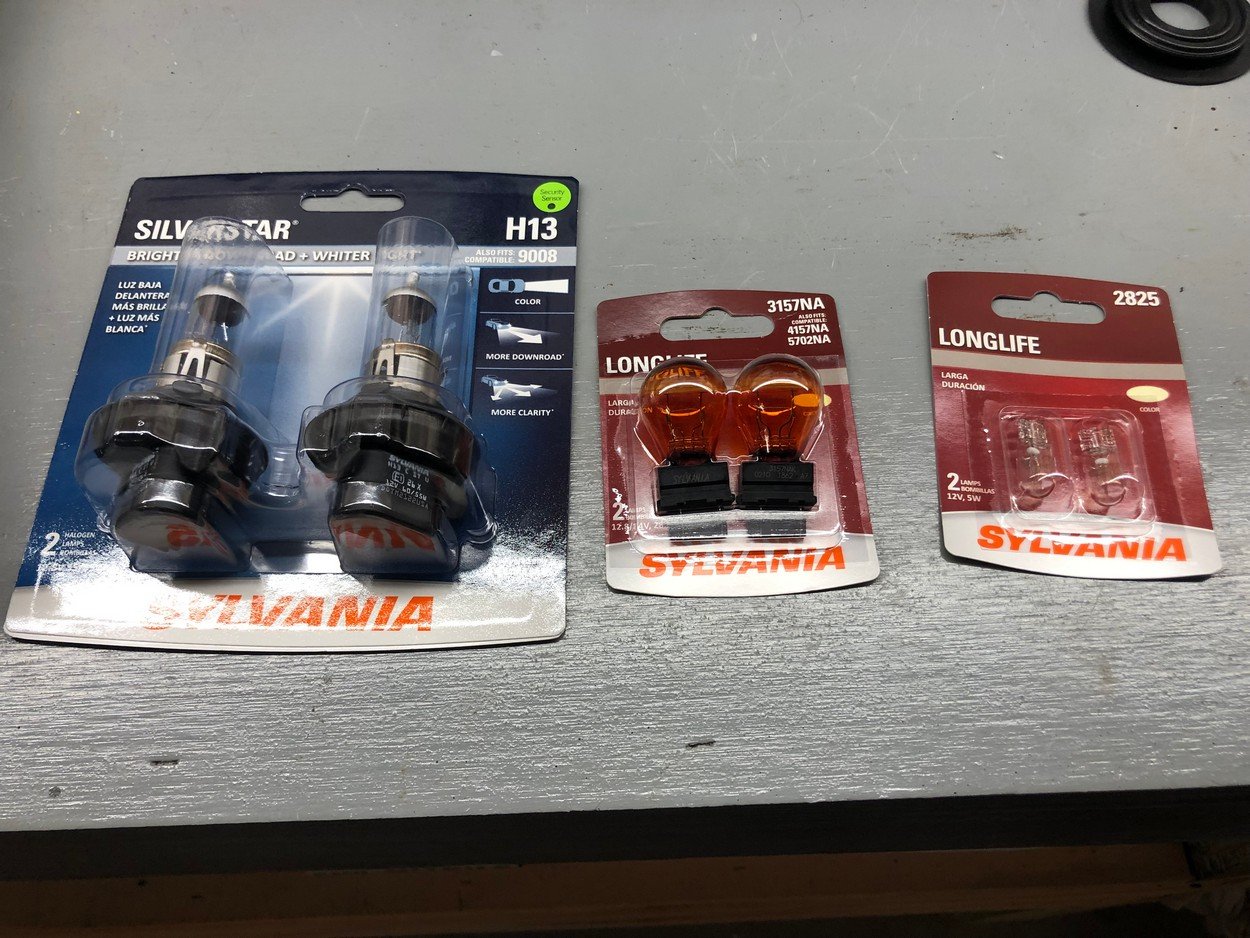
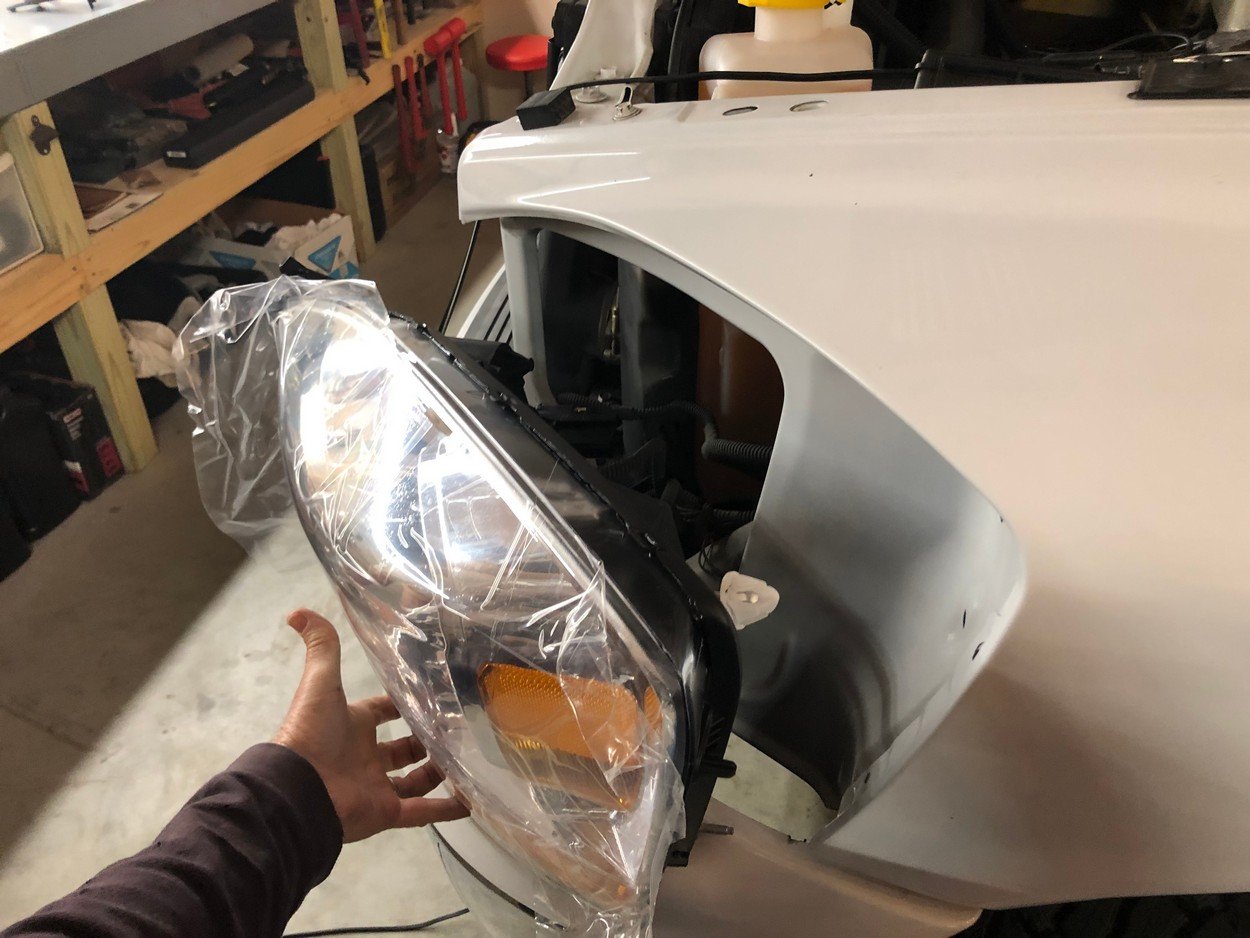
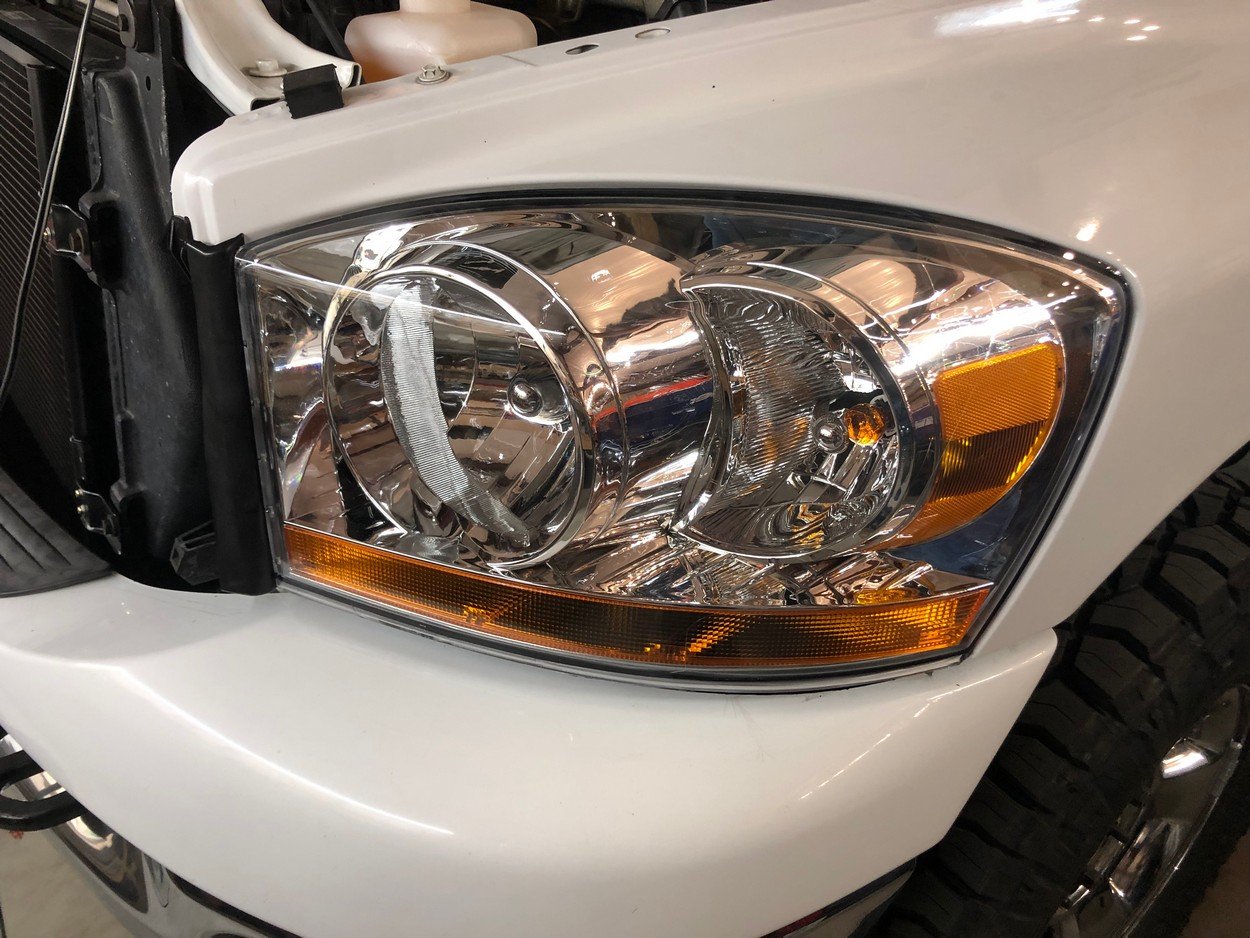
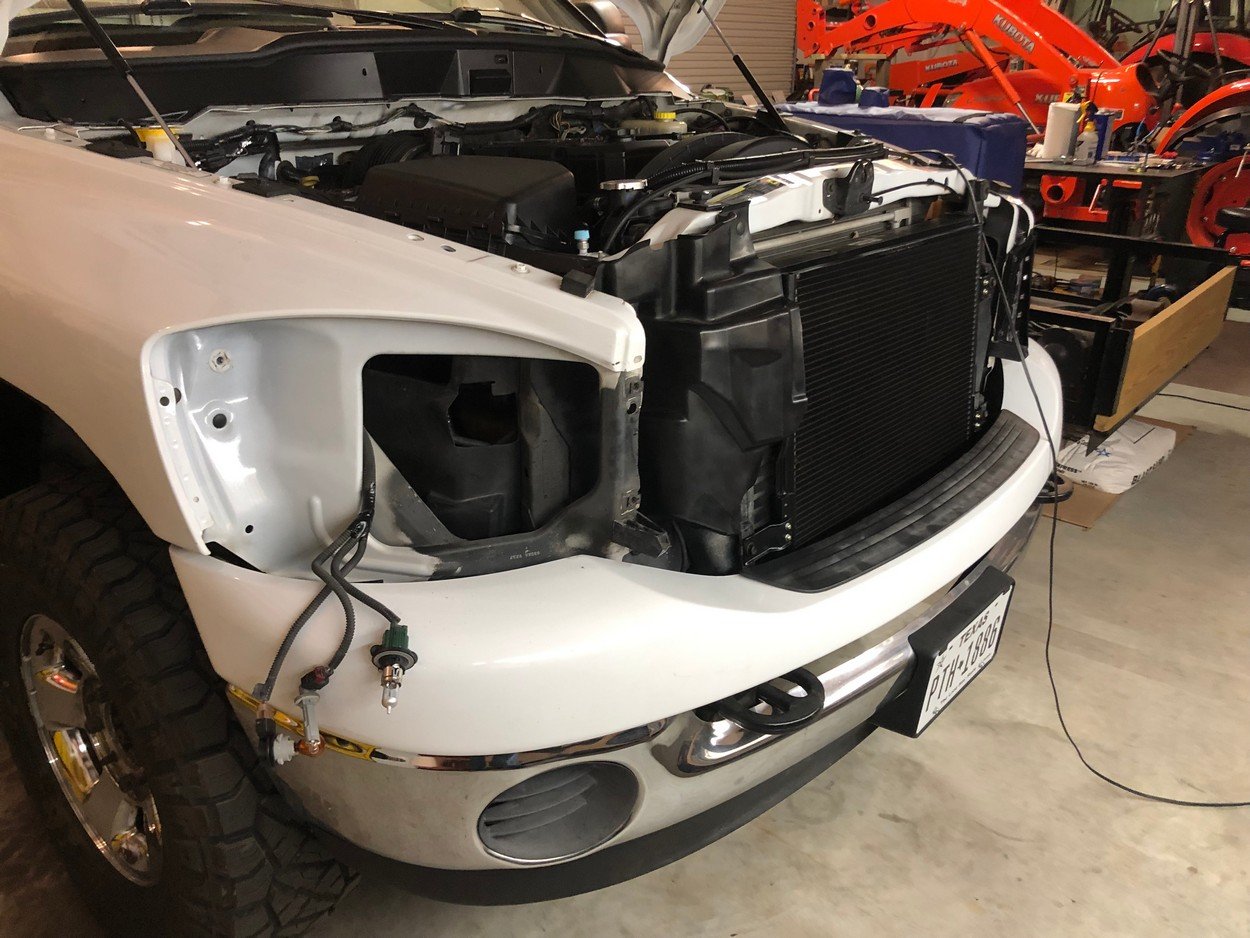
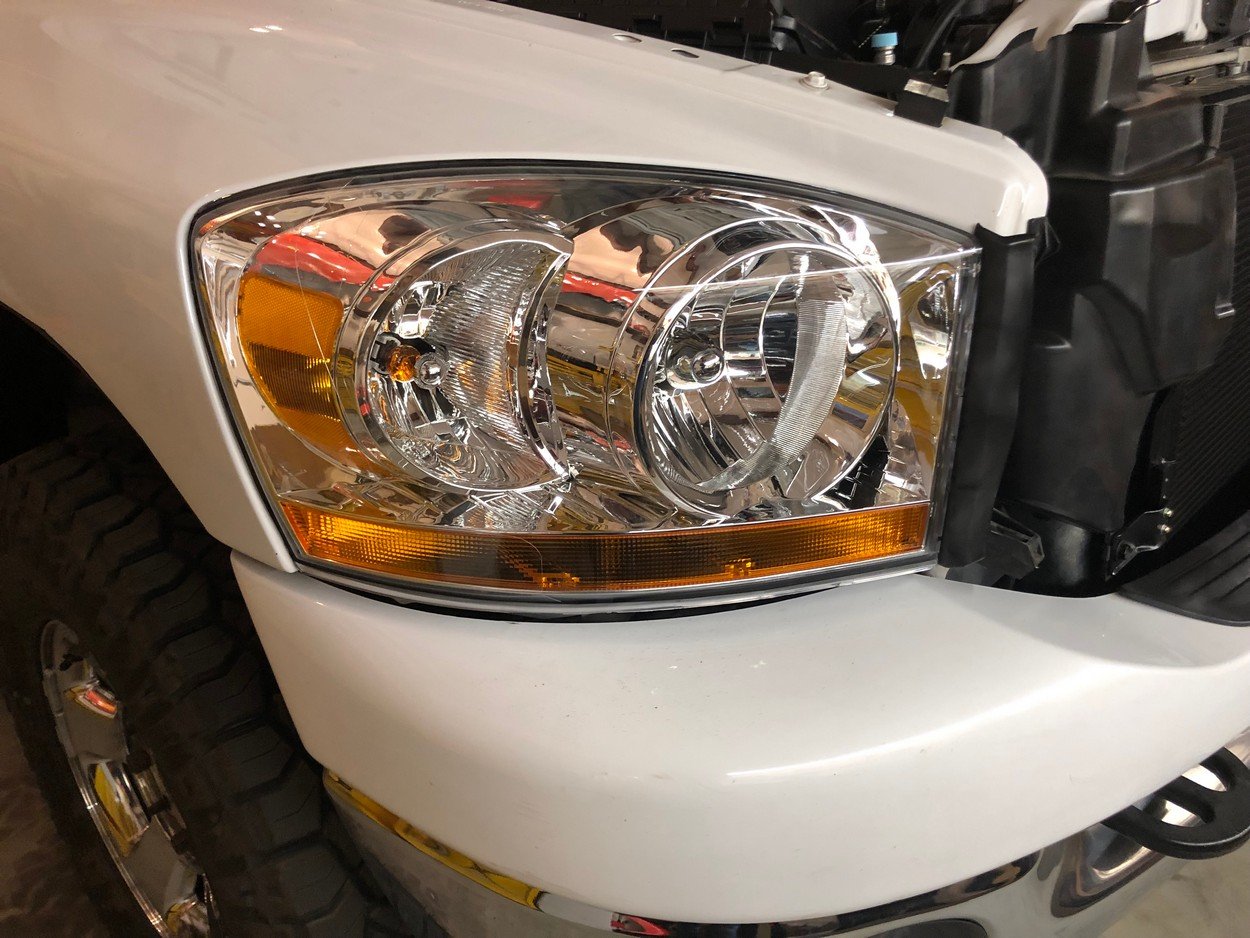
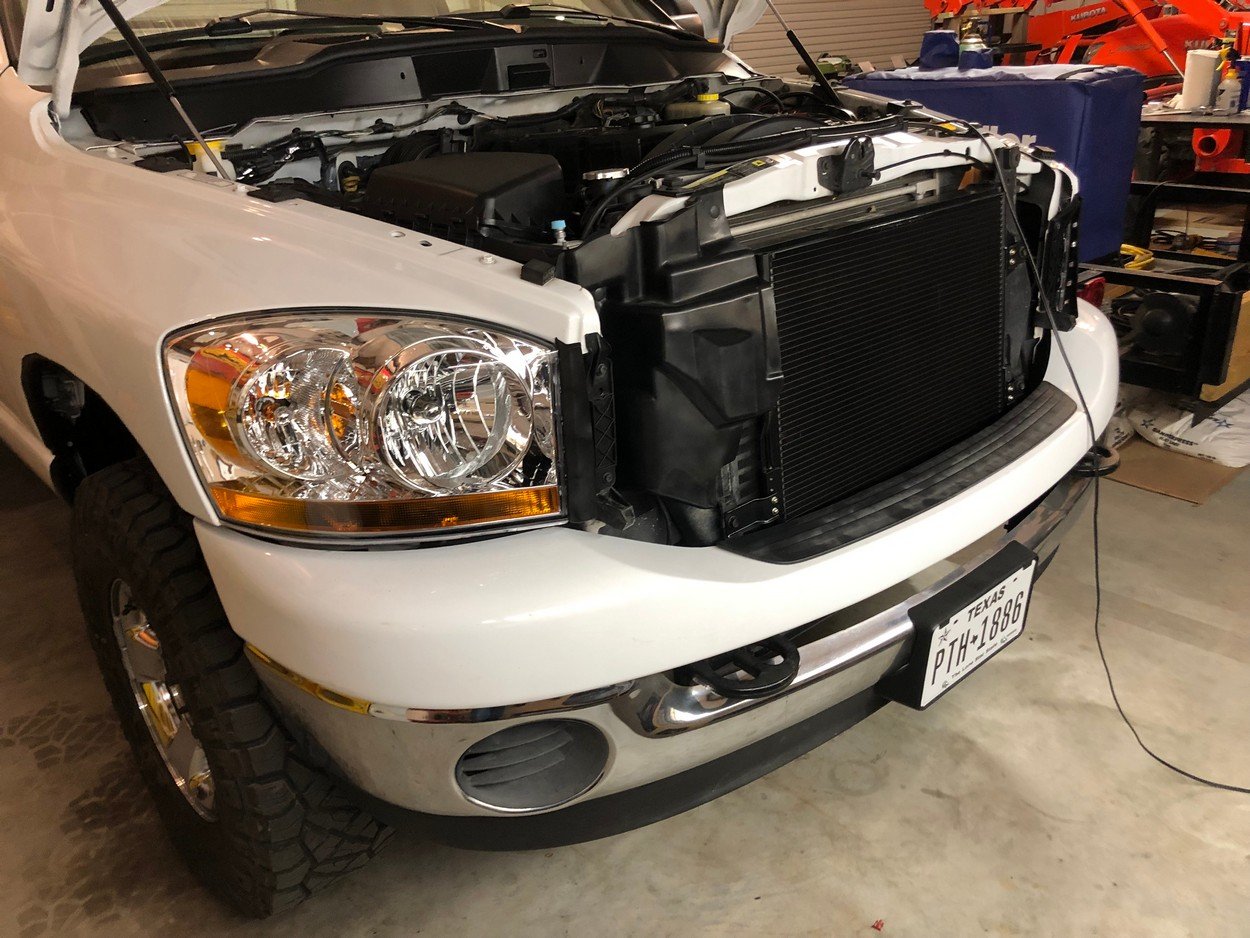
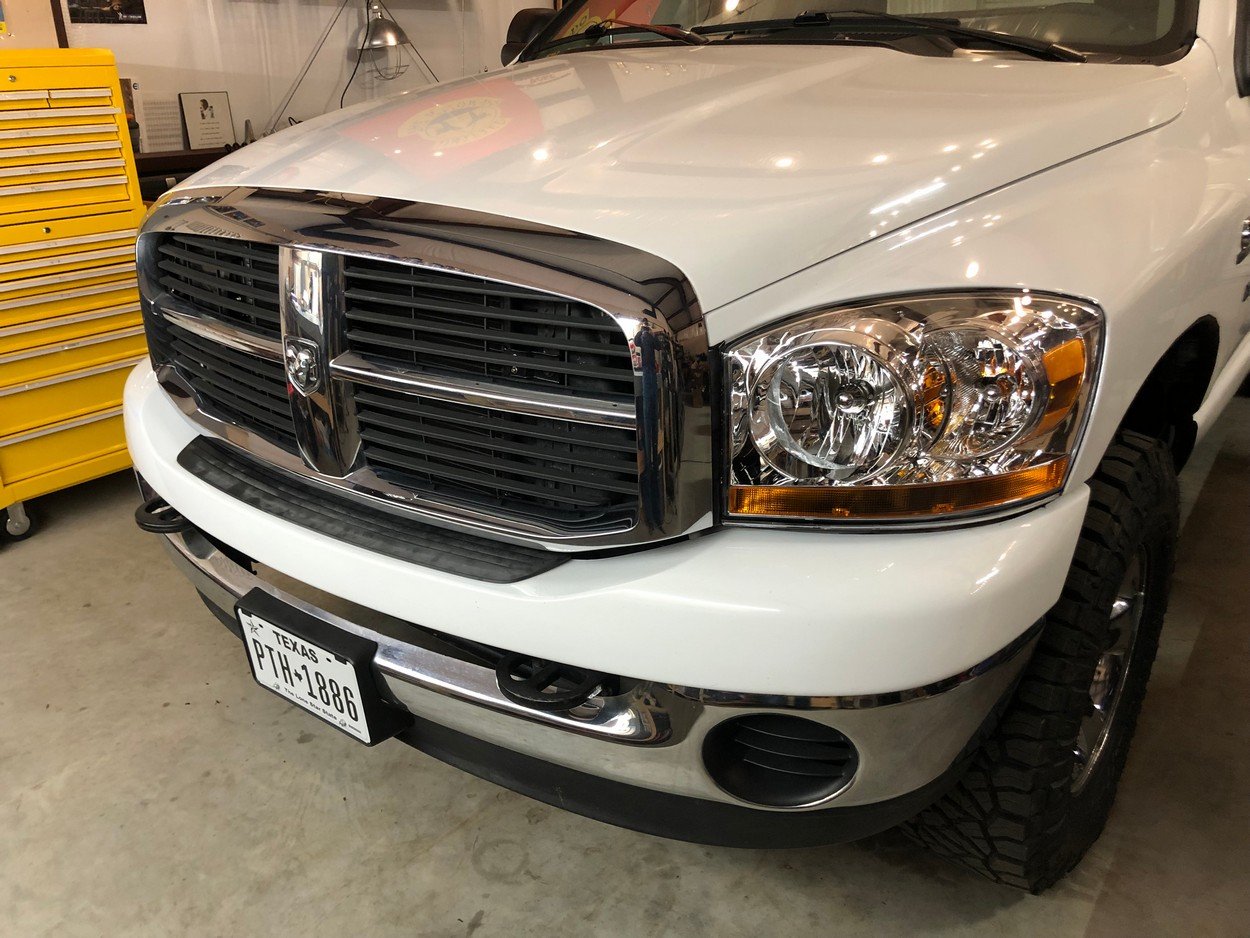
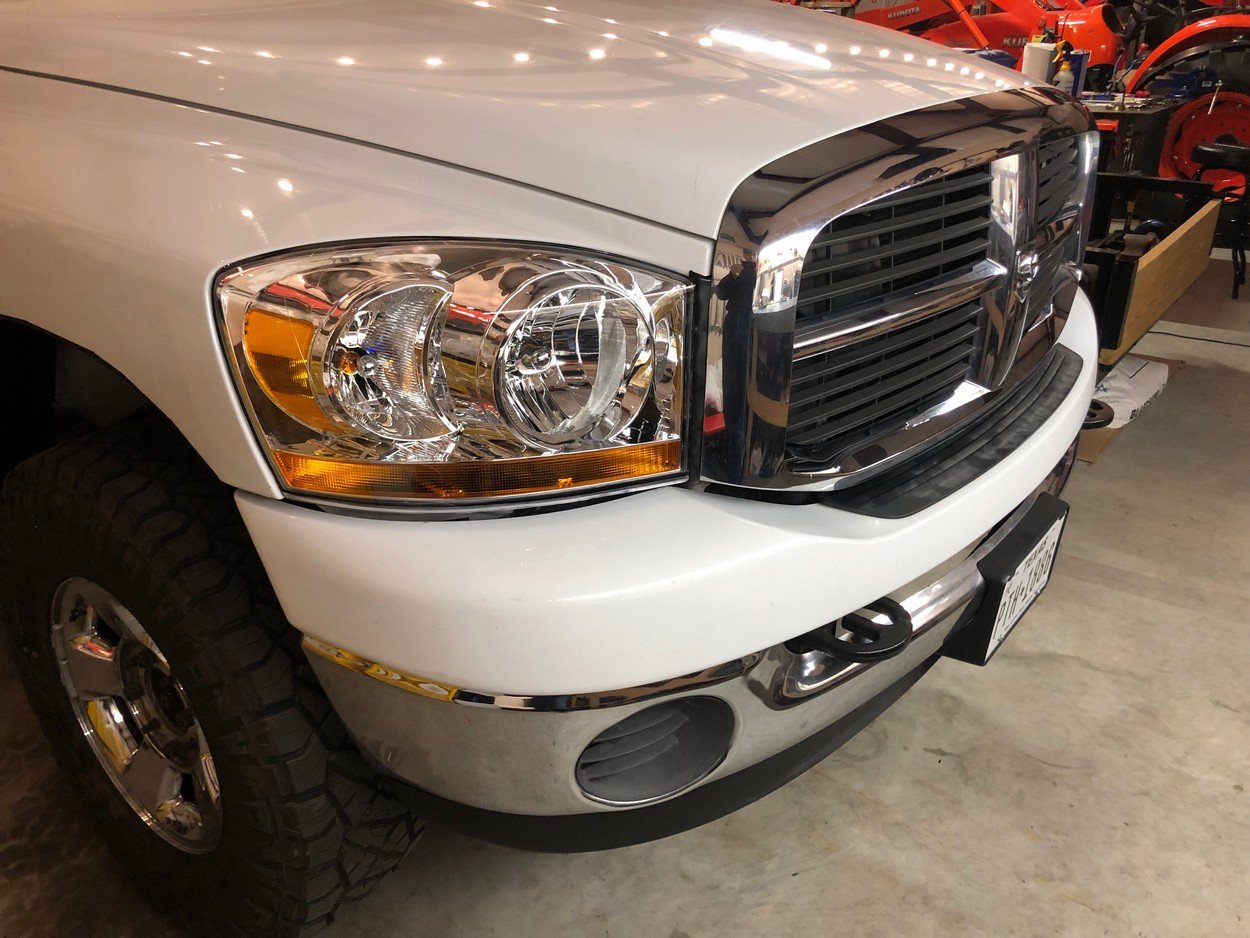
New Headlights installed
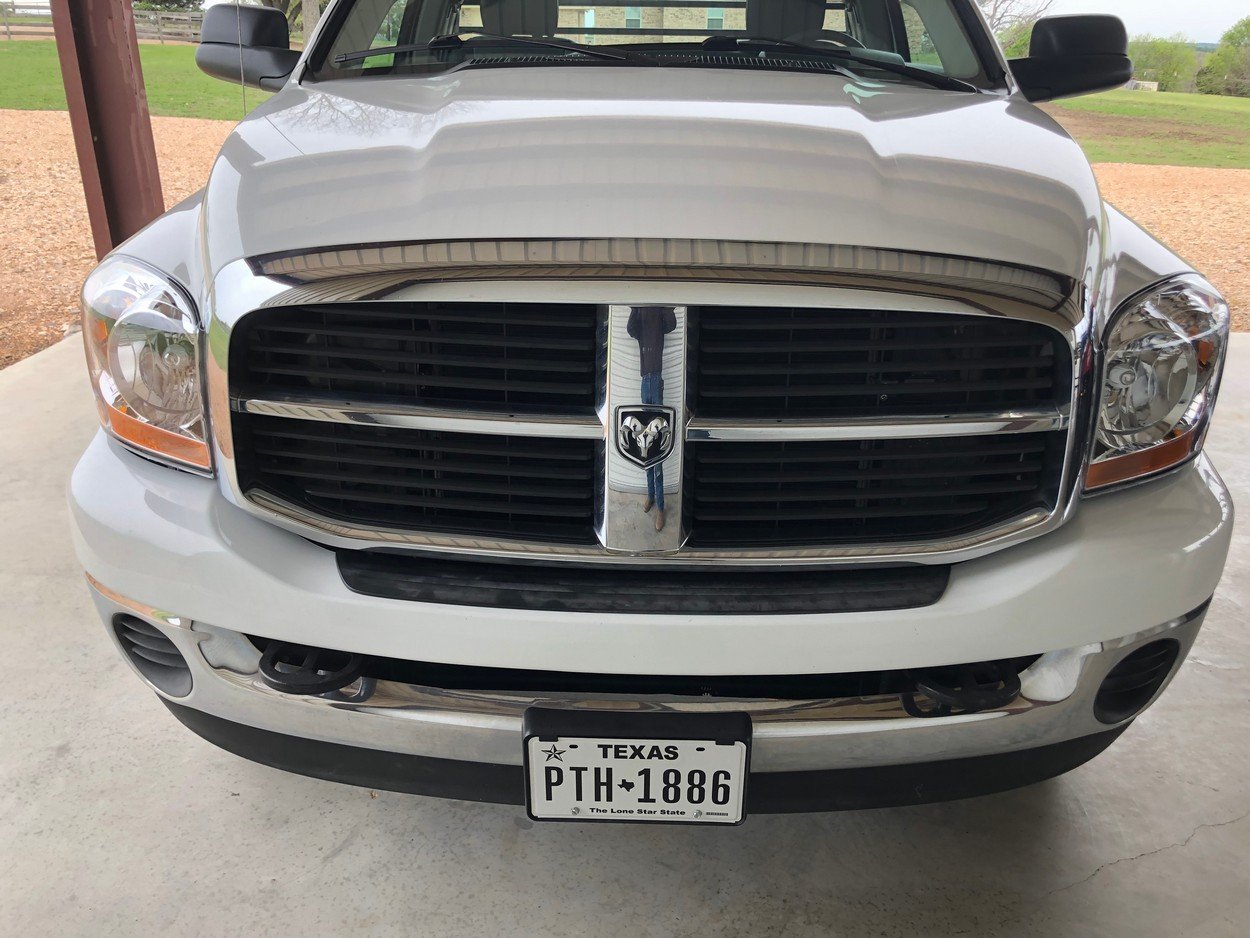
Next project, completely rebuild front axle !
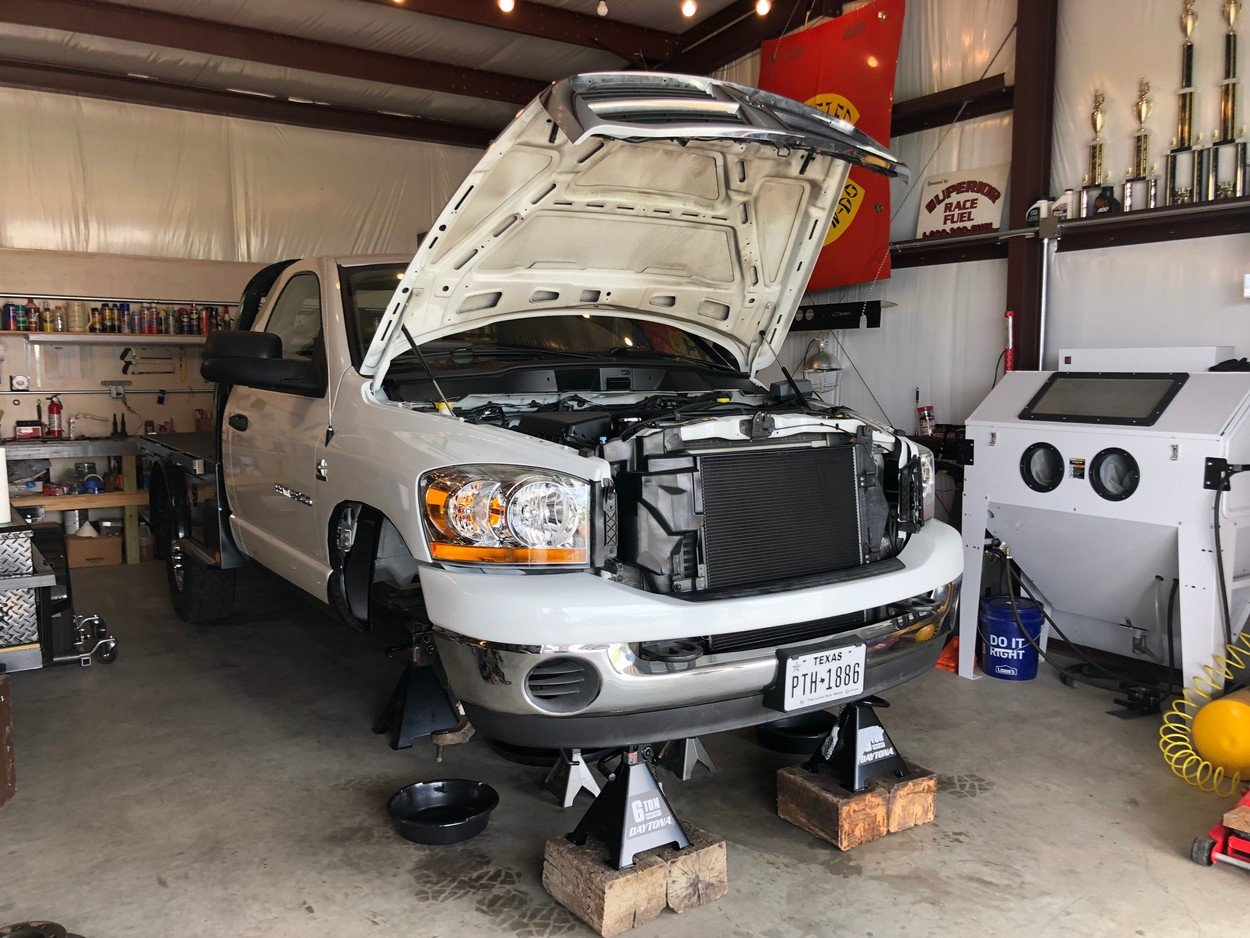
Lots of old stuff to pull off
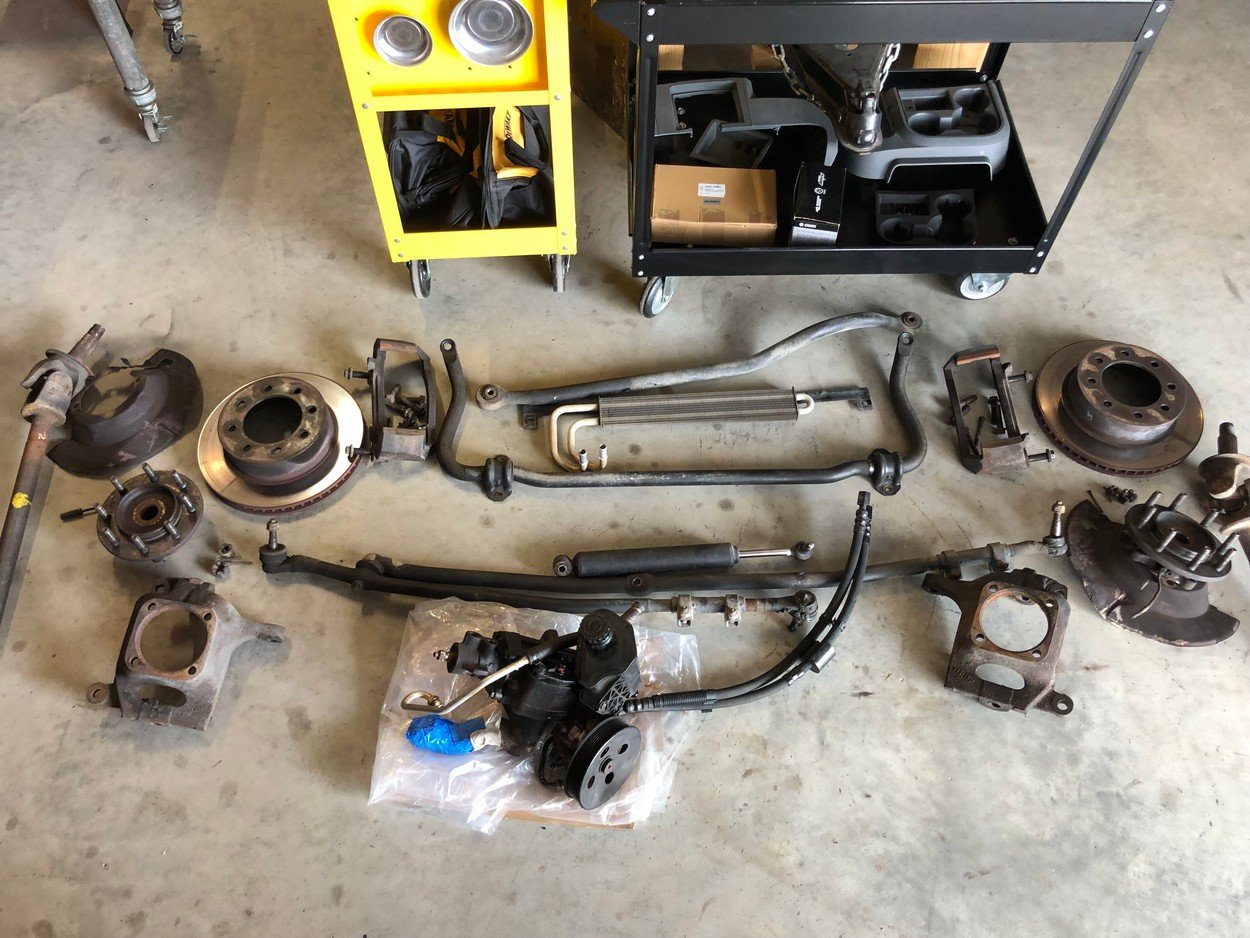
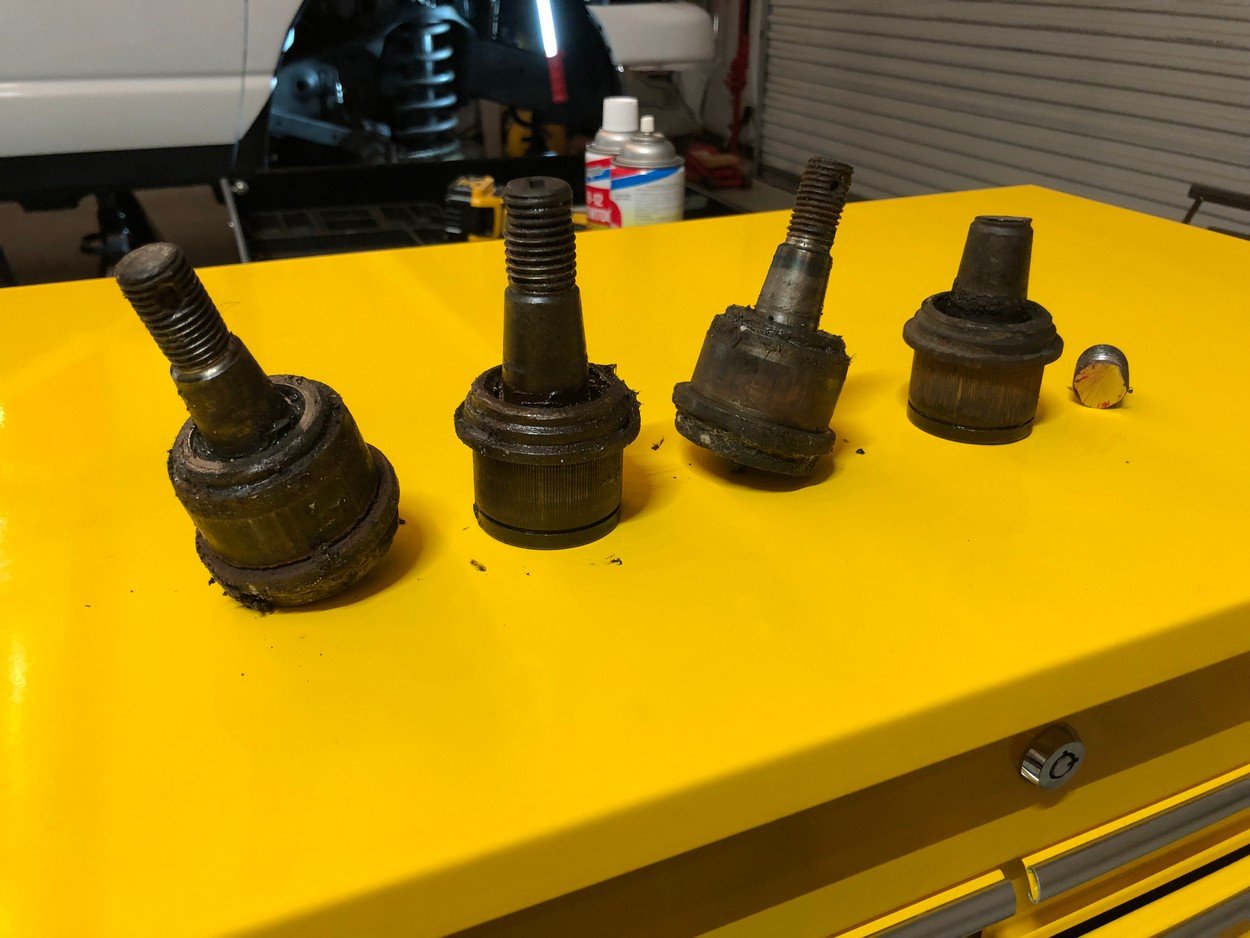
Now for the ball joint misery.......
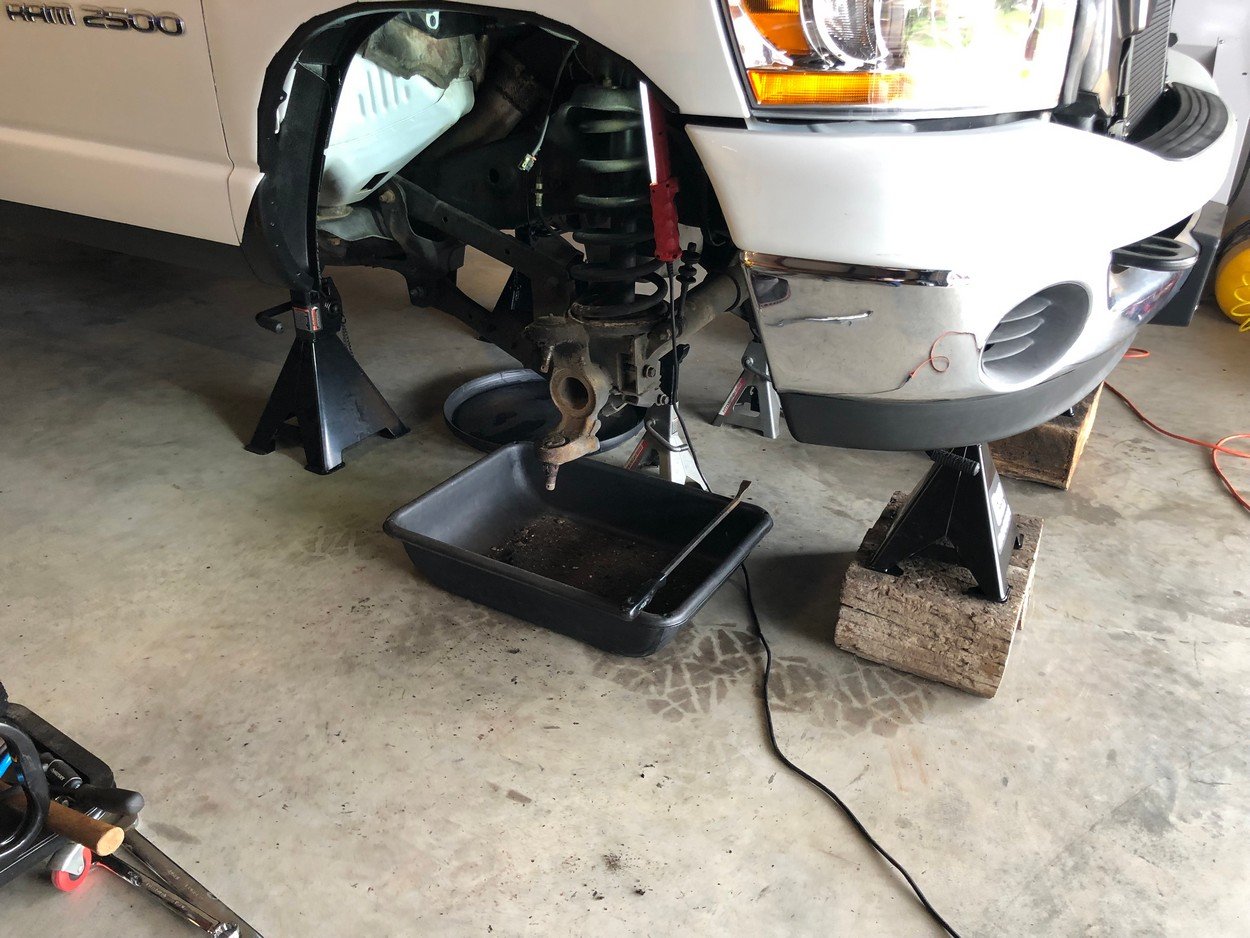
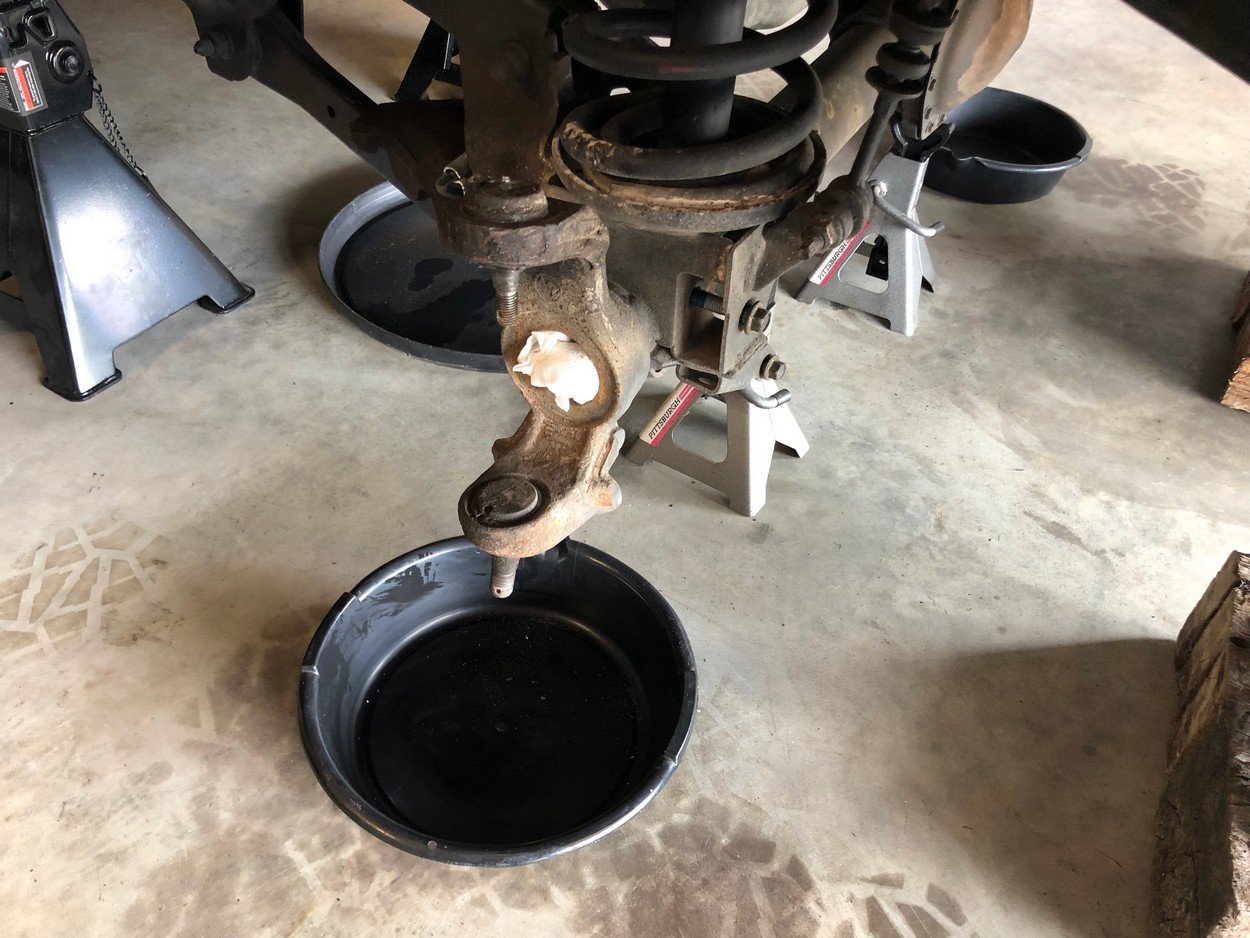
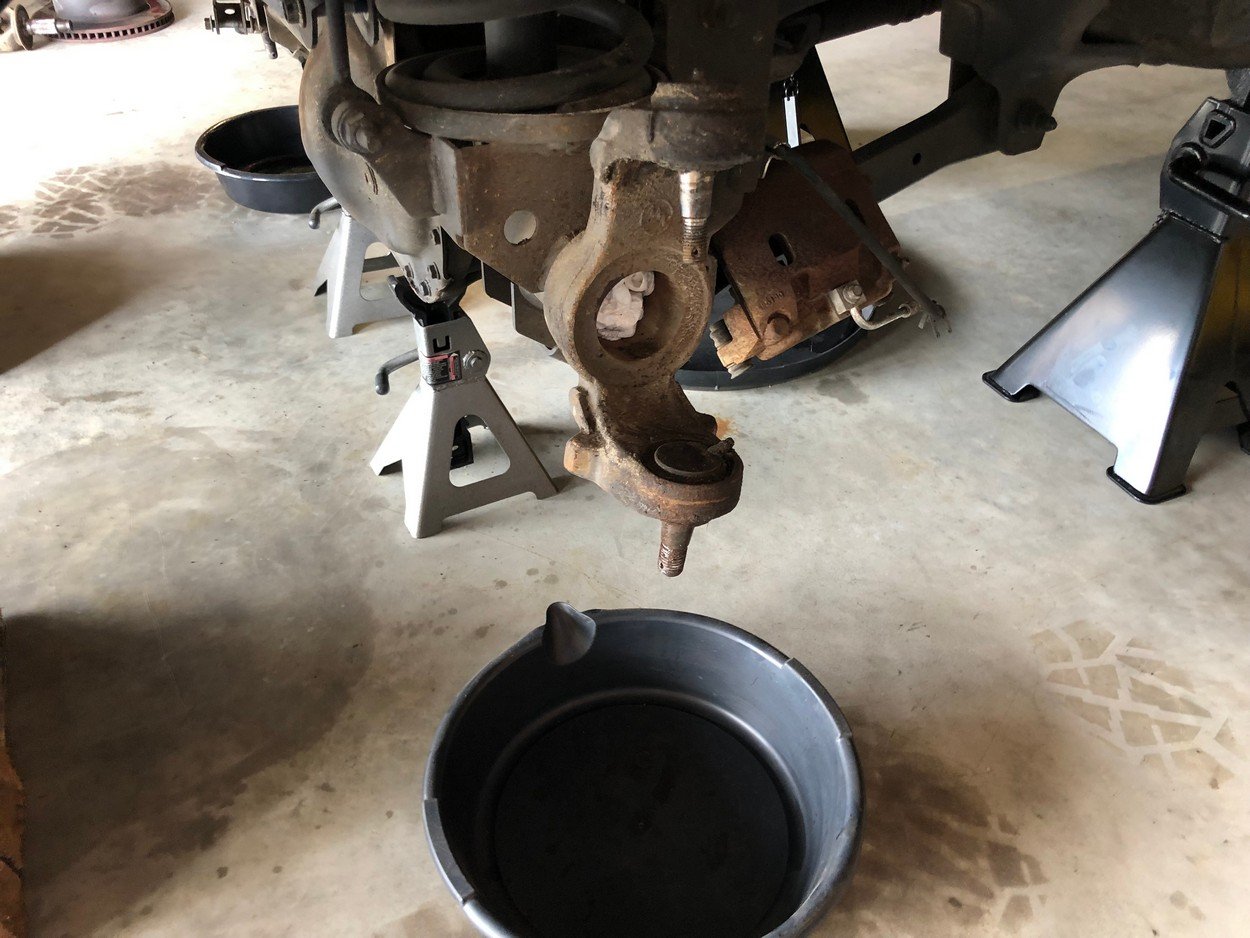
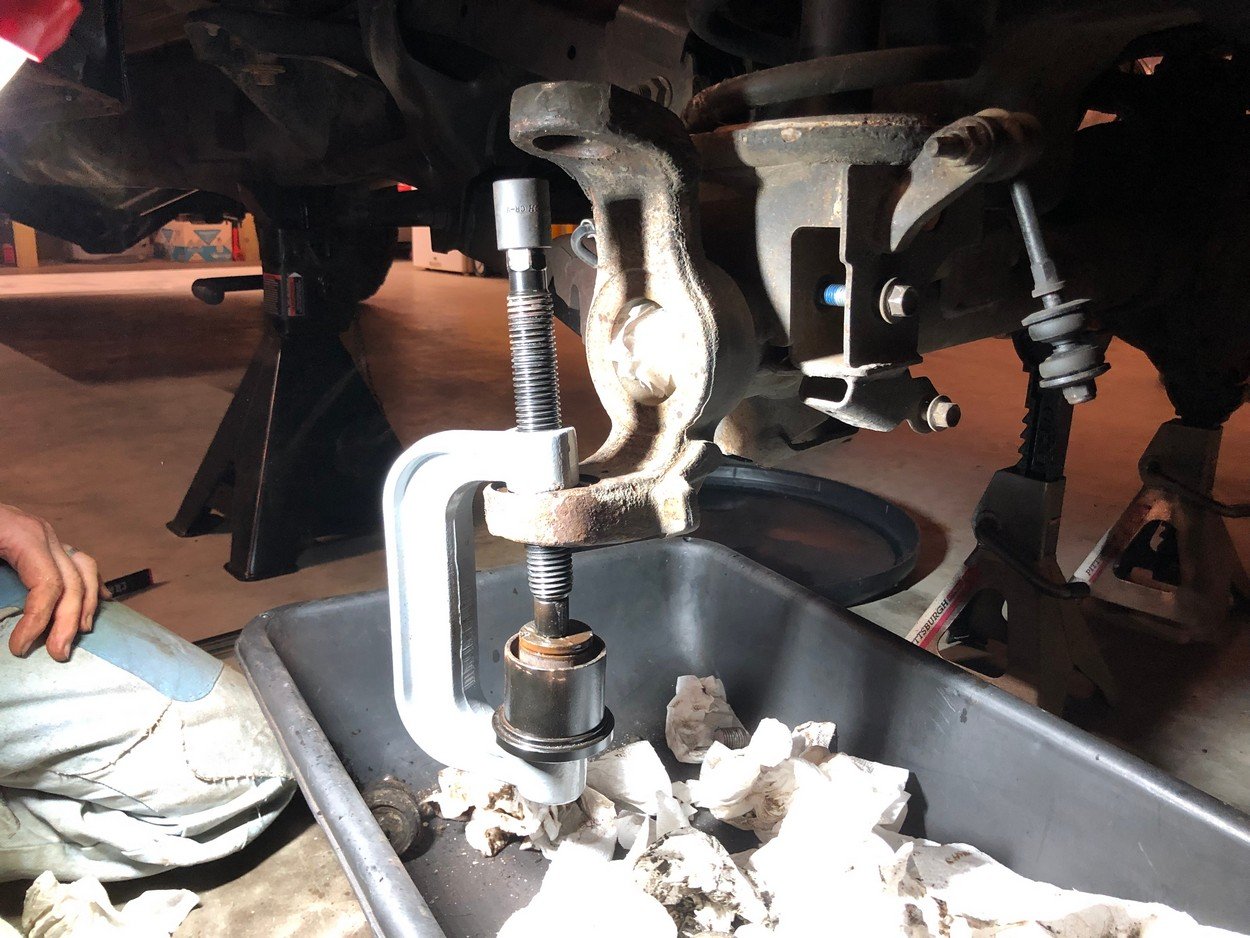
Lots of sweat and hammering, but they came out
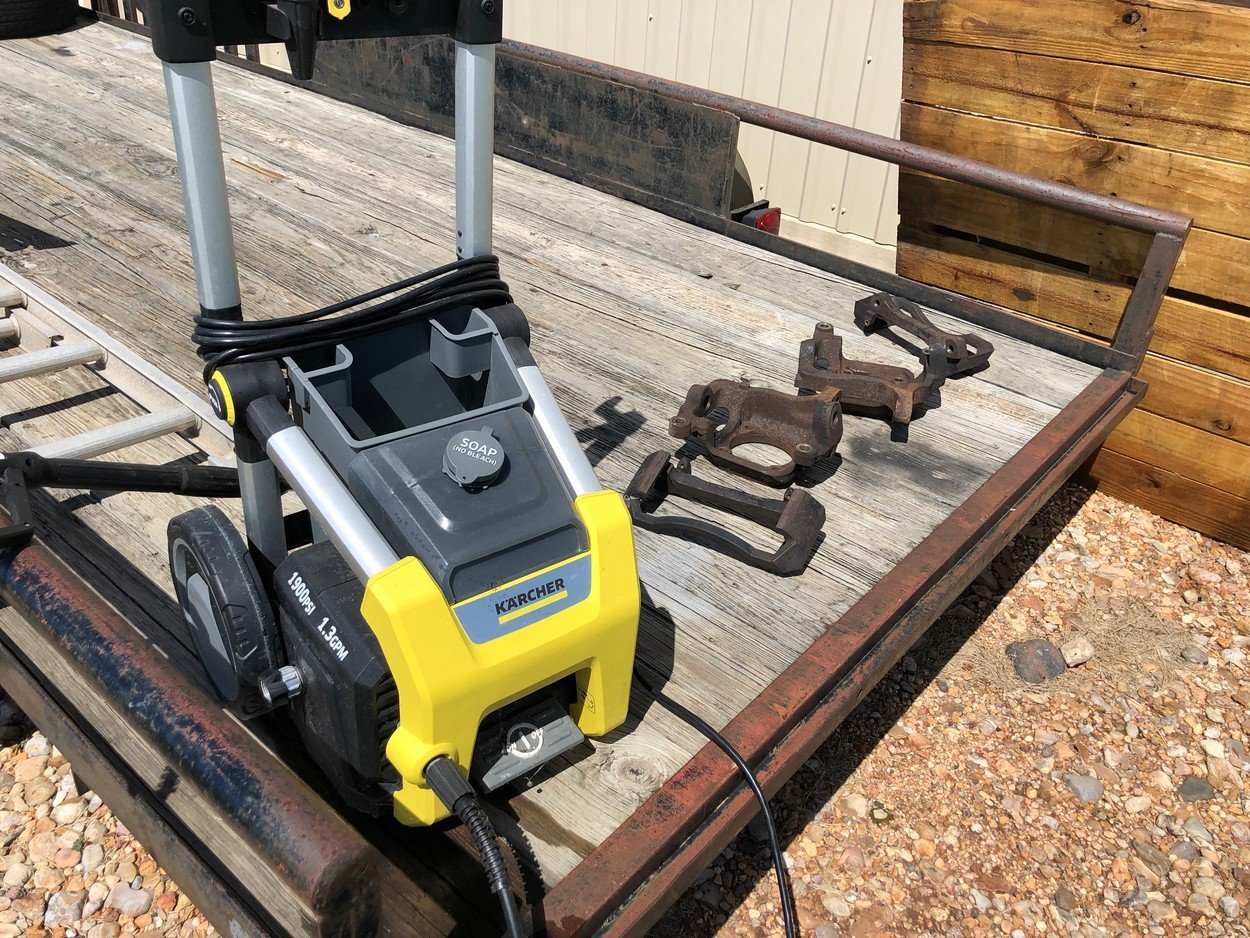
Next power wash 17+ years of funk off hard parts
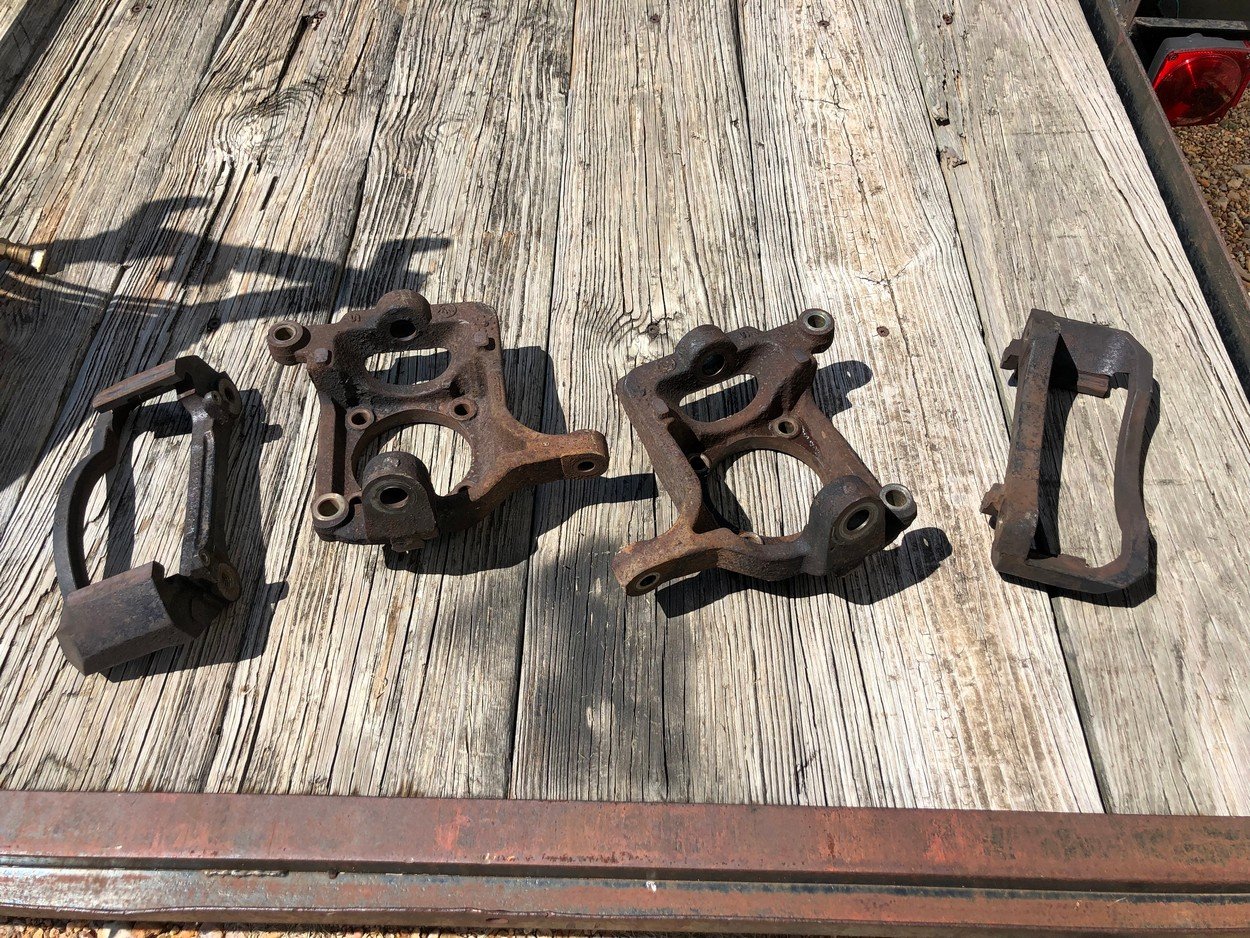
Grease off ready to bead blast for paint
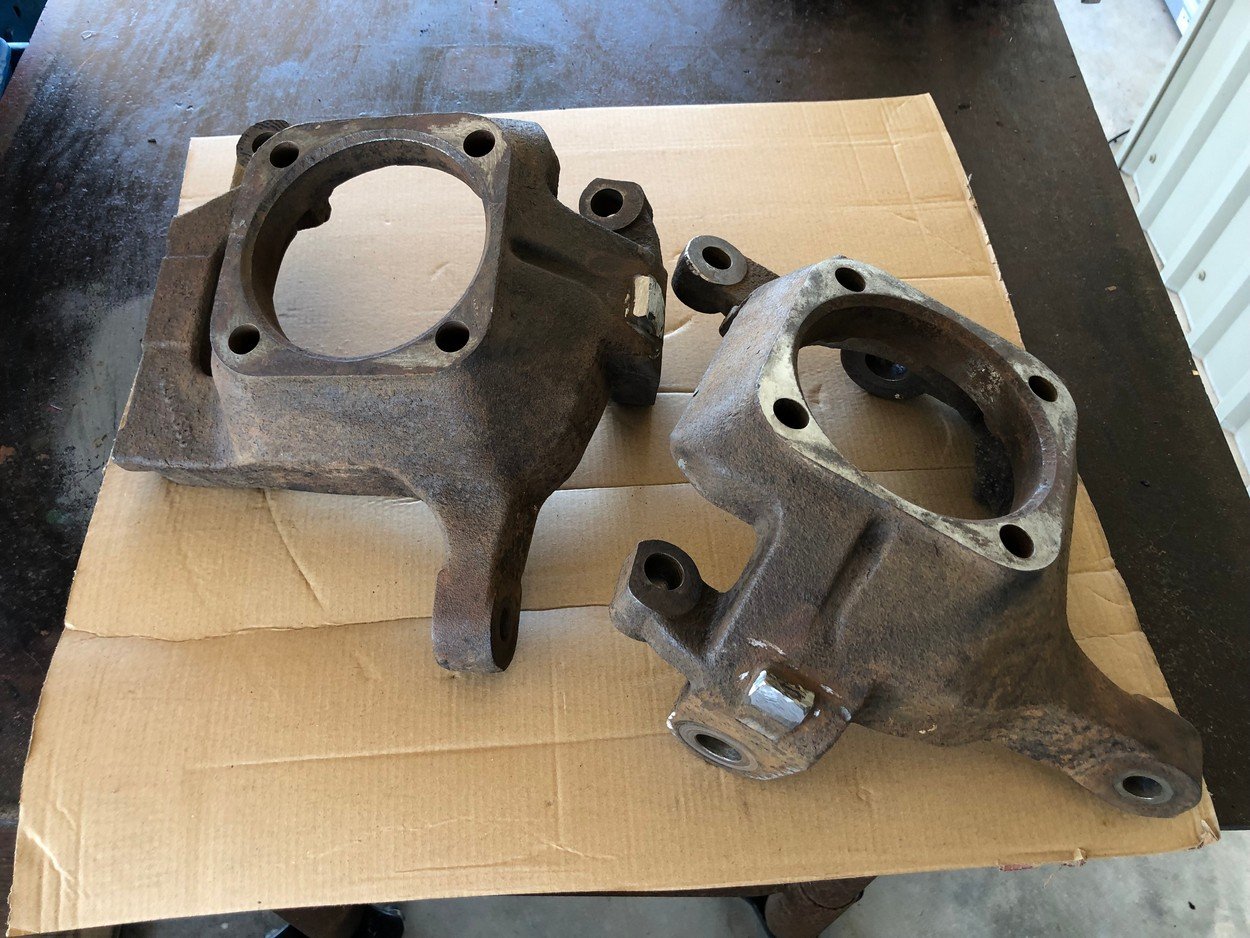
Blasted and masked ready for primer and paint
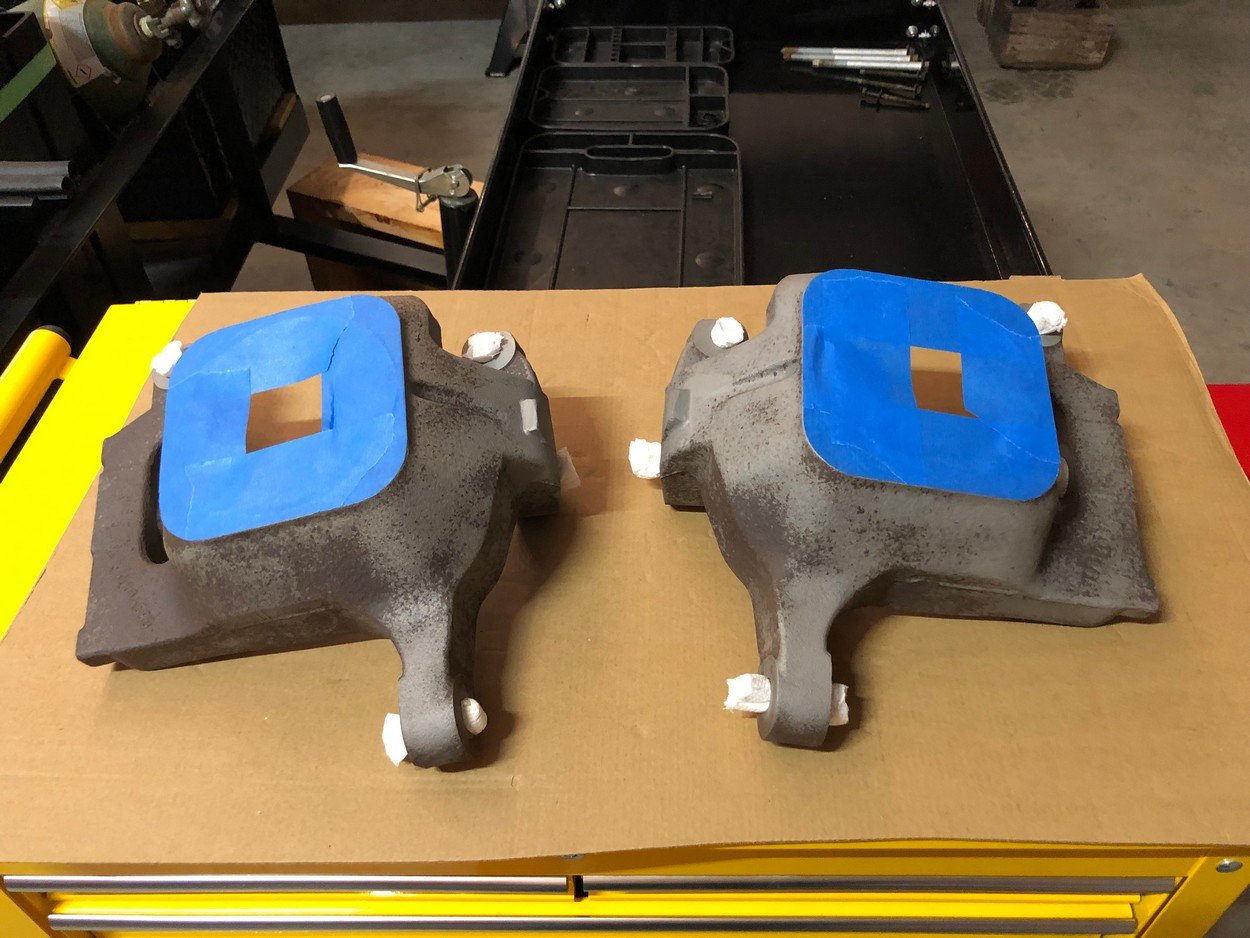
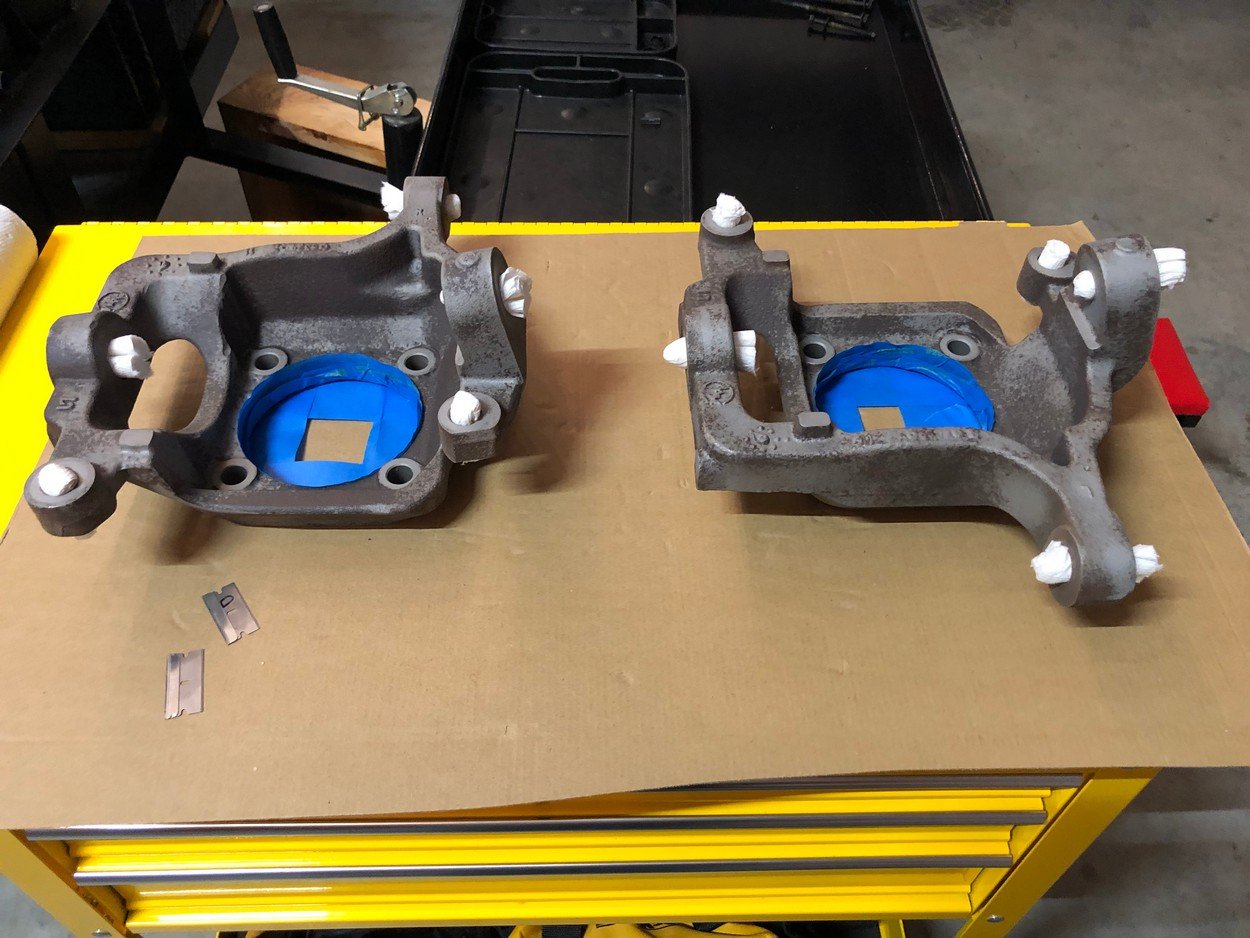
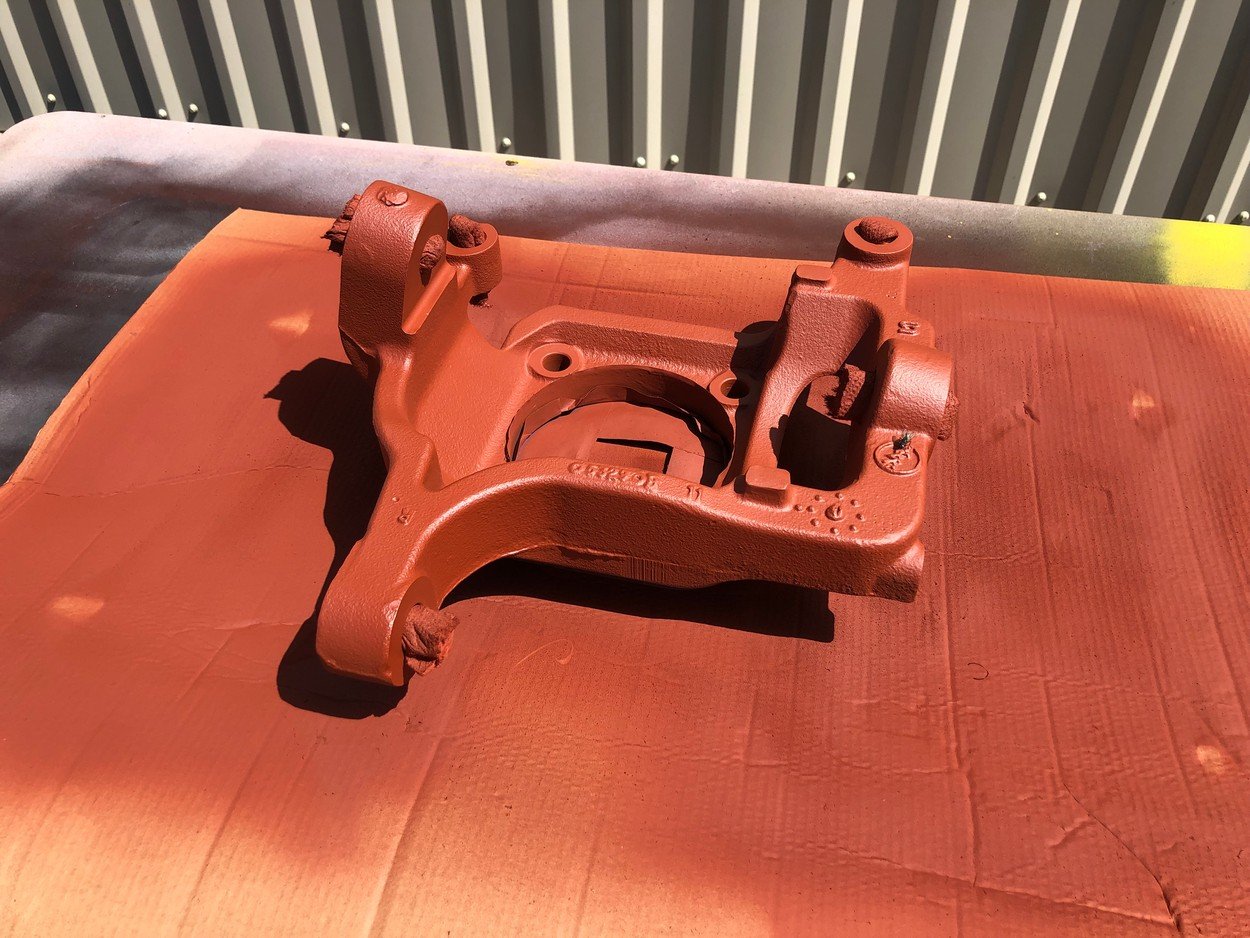
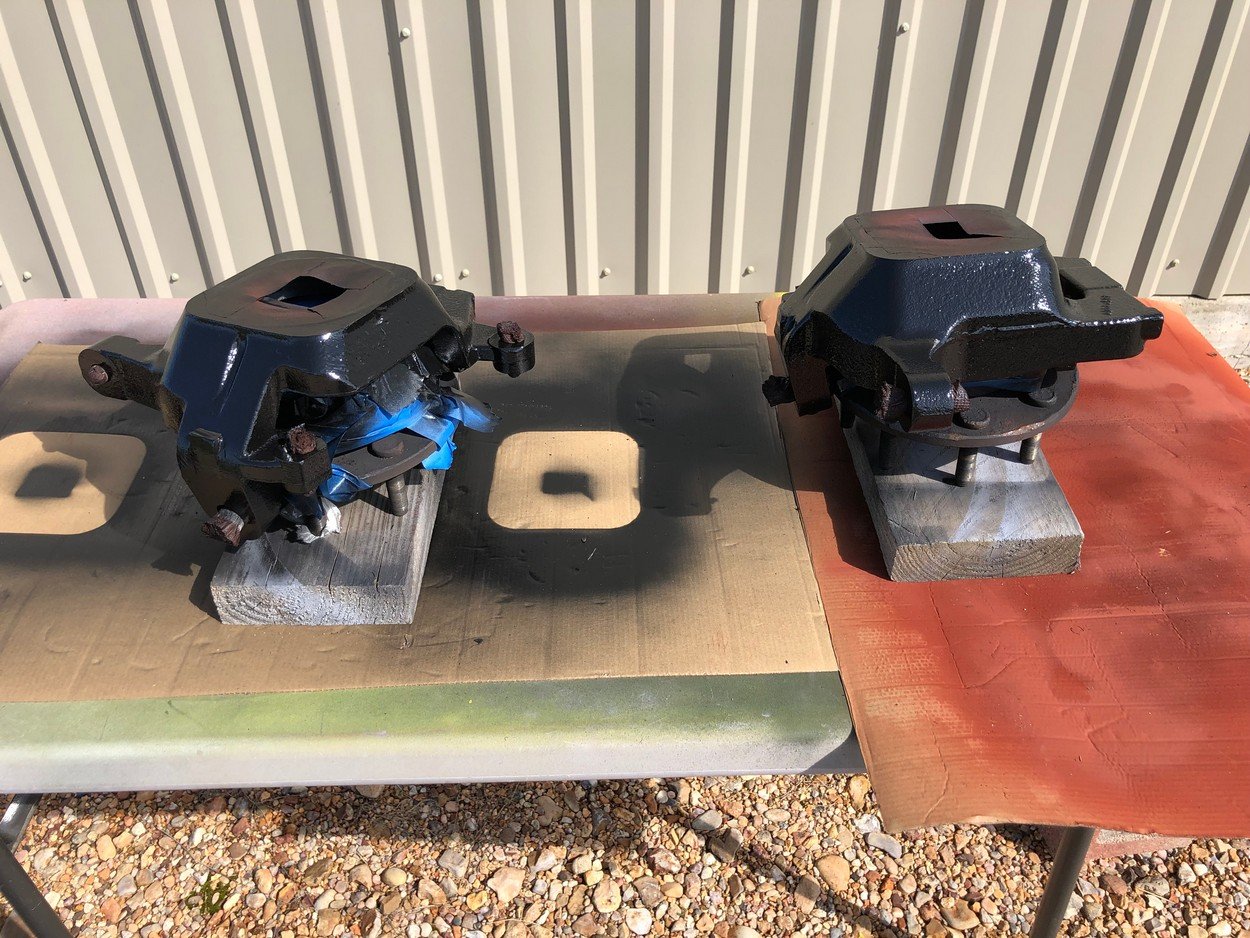
All done
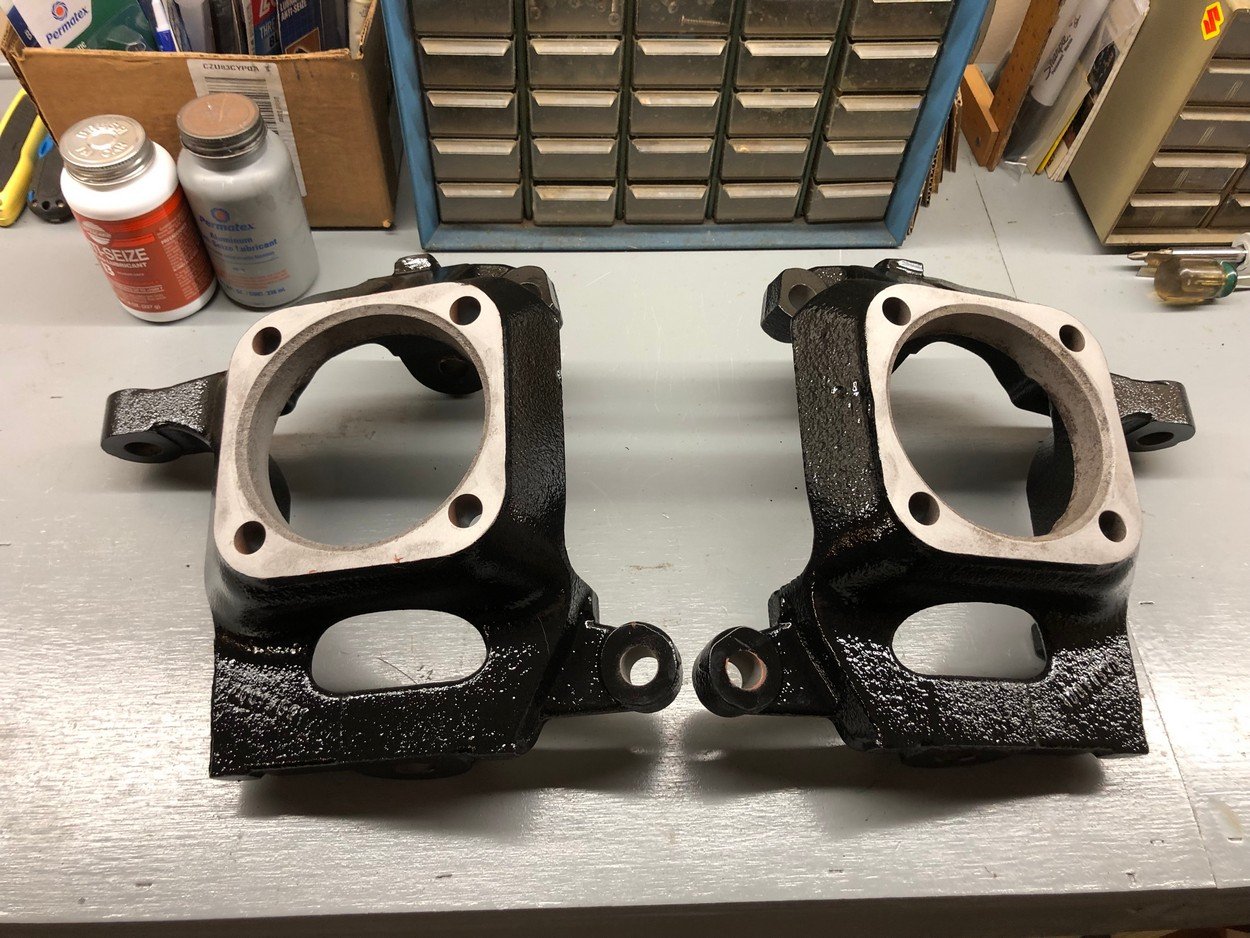
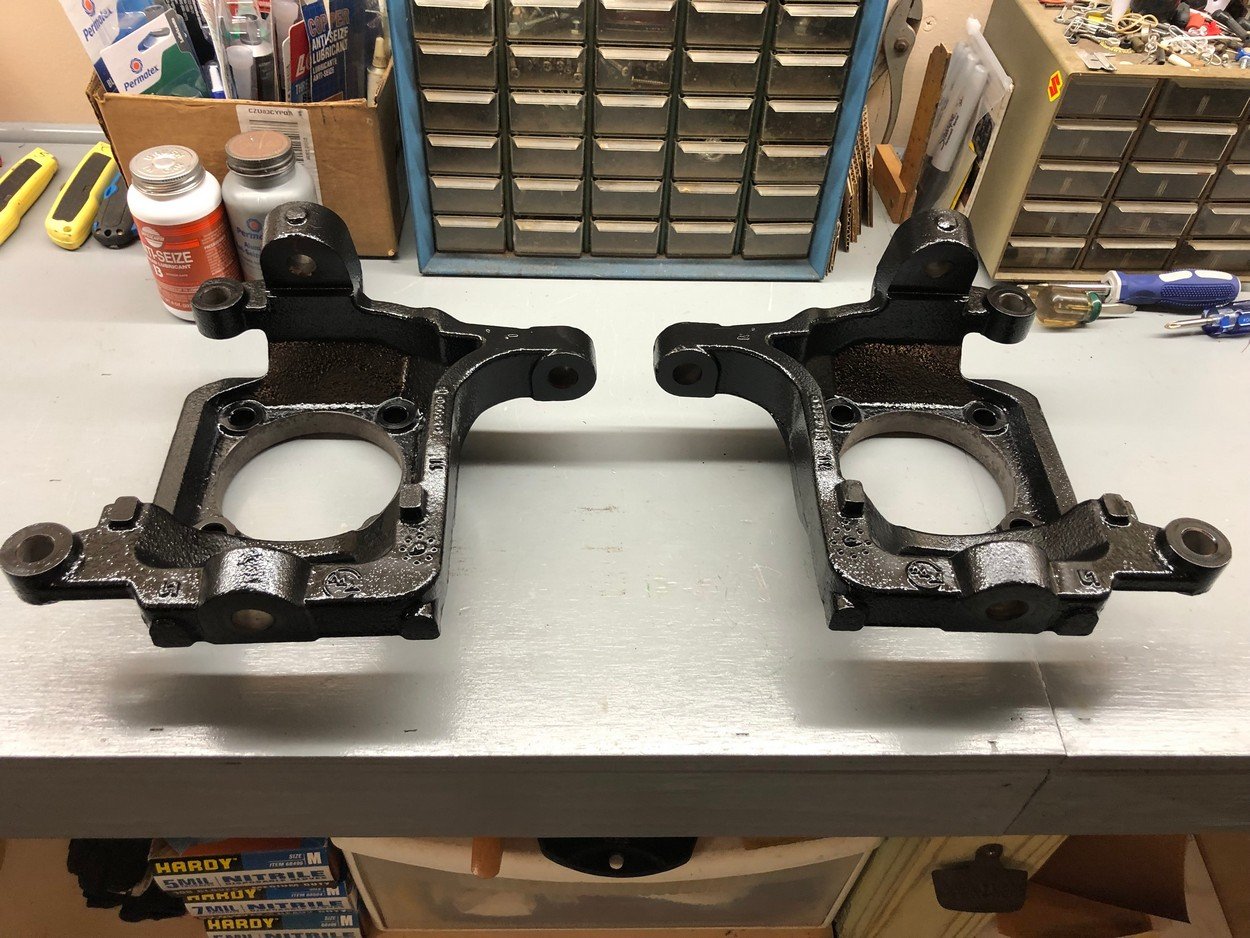
New EMF ball joints
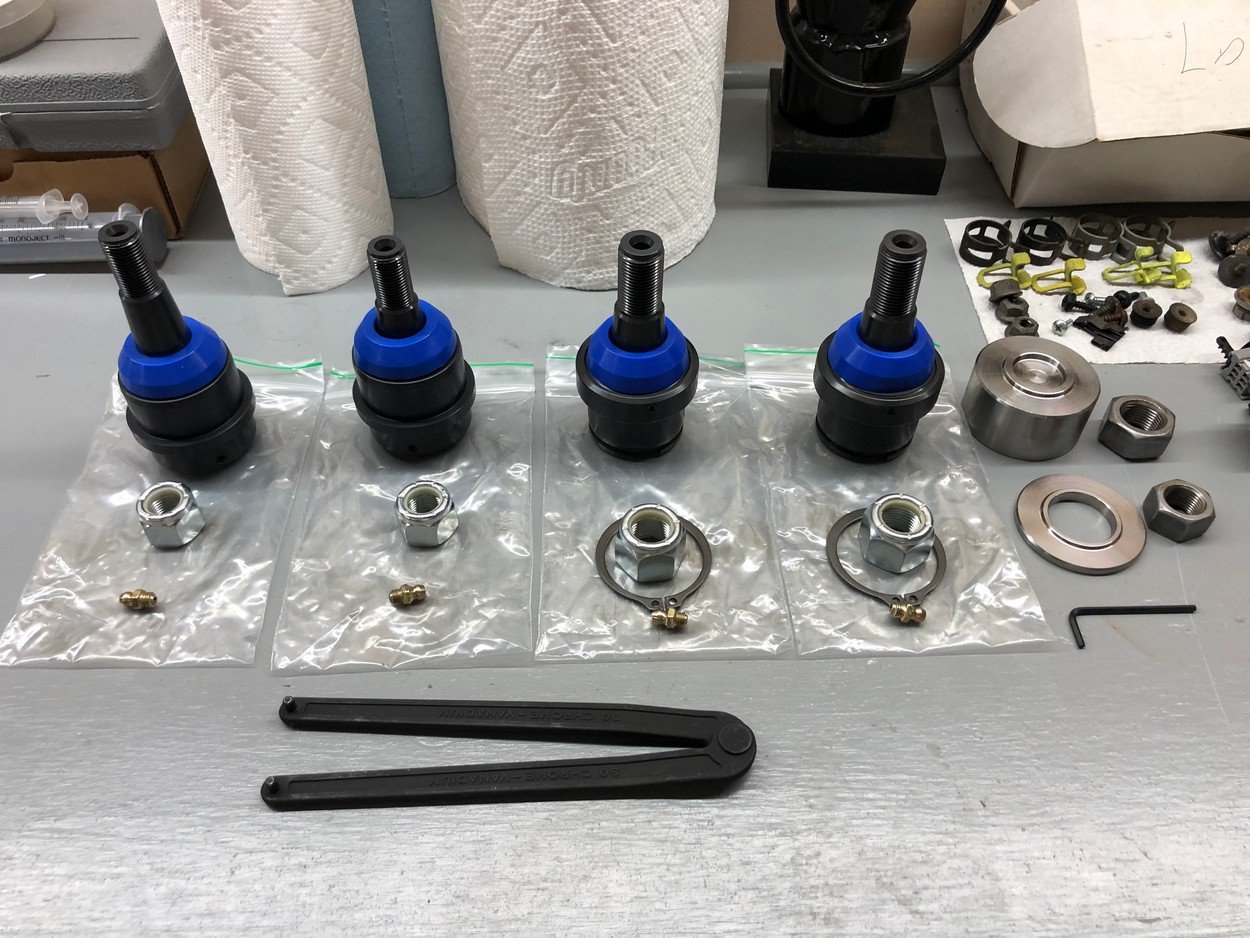
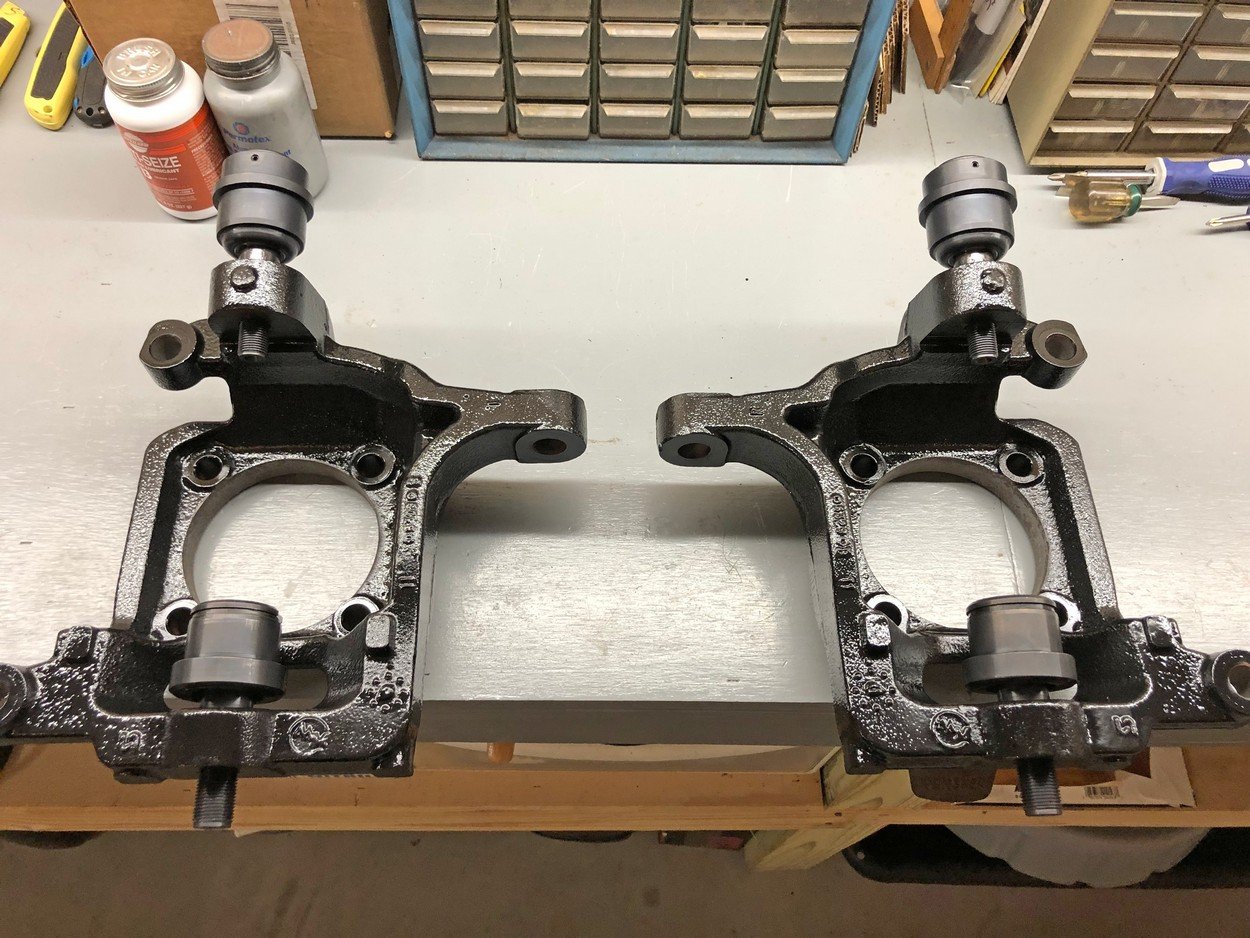
New ball joints seat at same depths
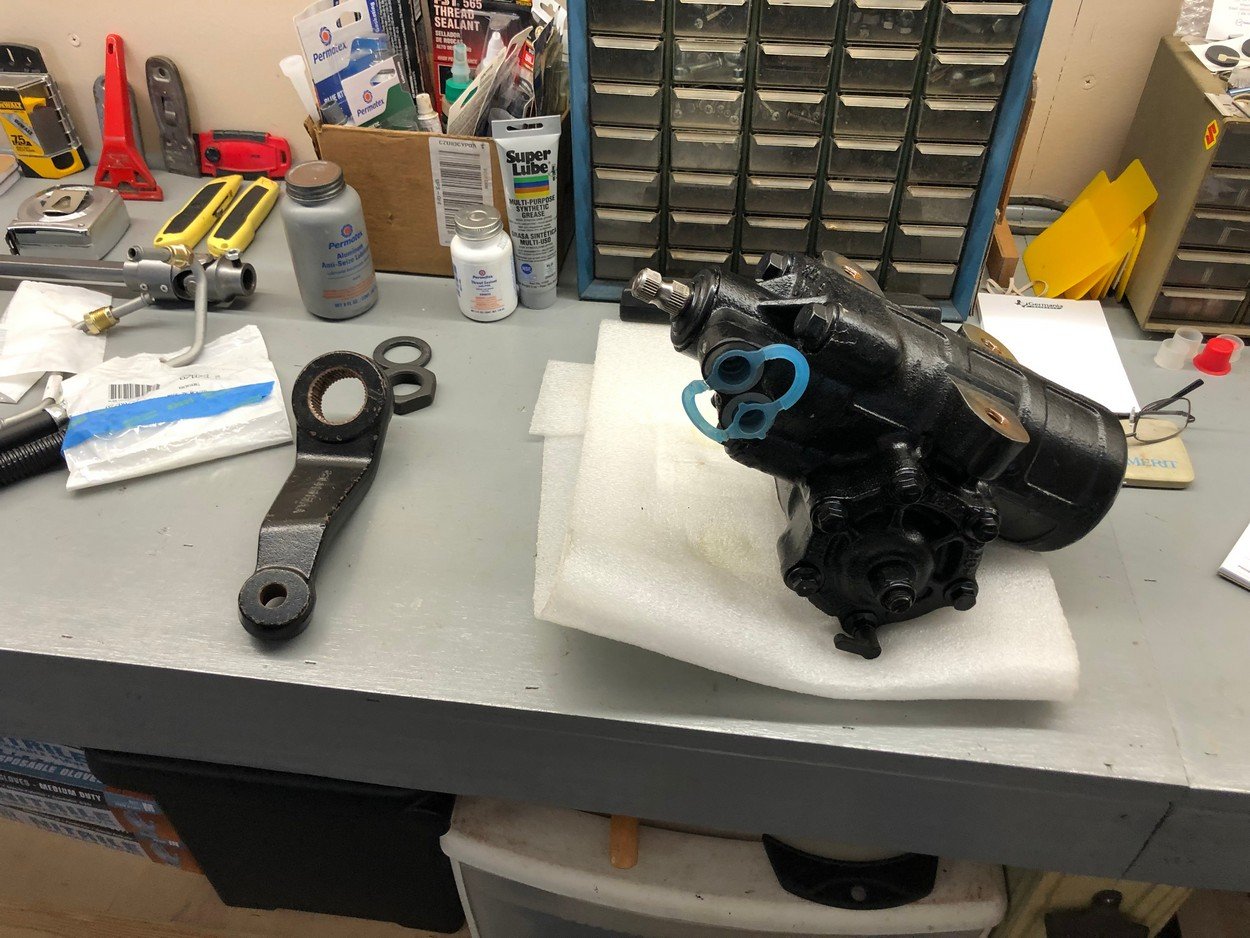
New Mopar upgrade steering box
Also new Mopar 'T' style steering linkage
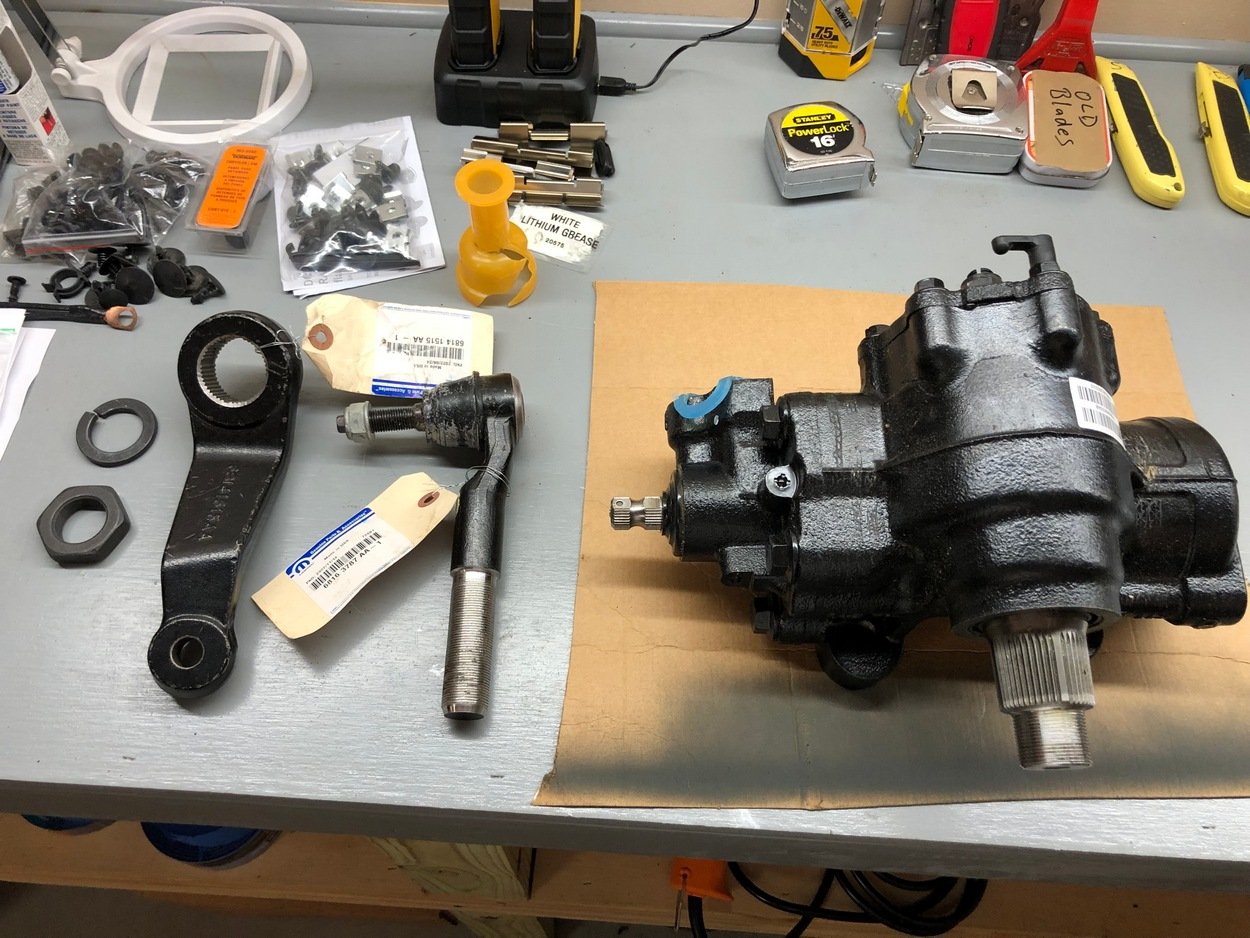
Rehab front axles
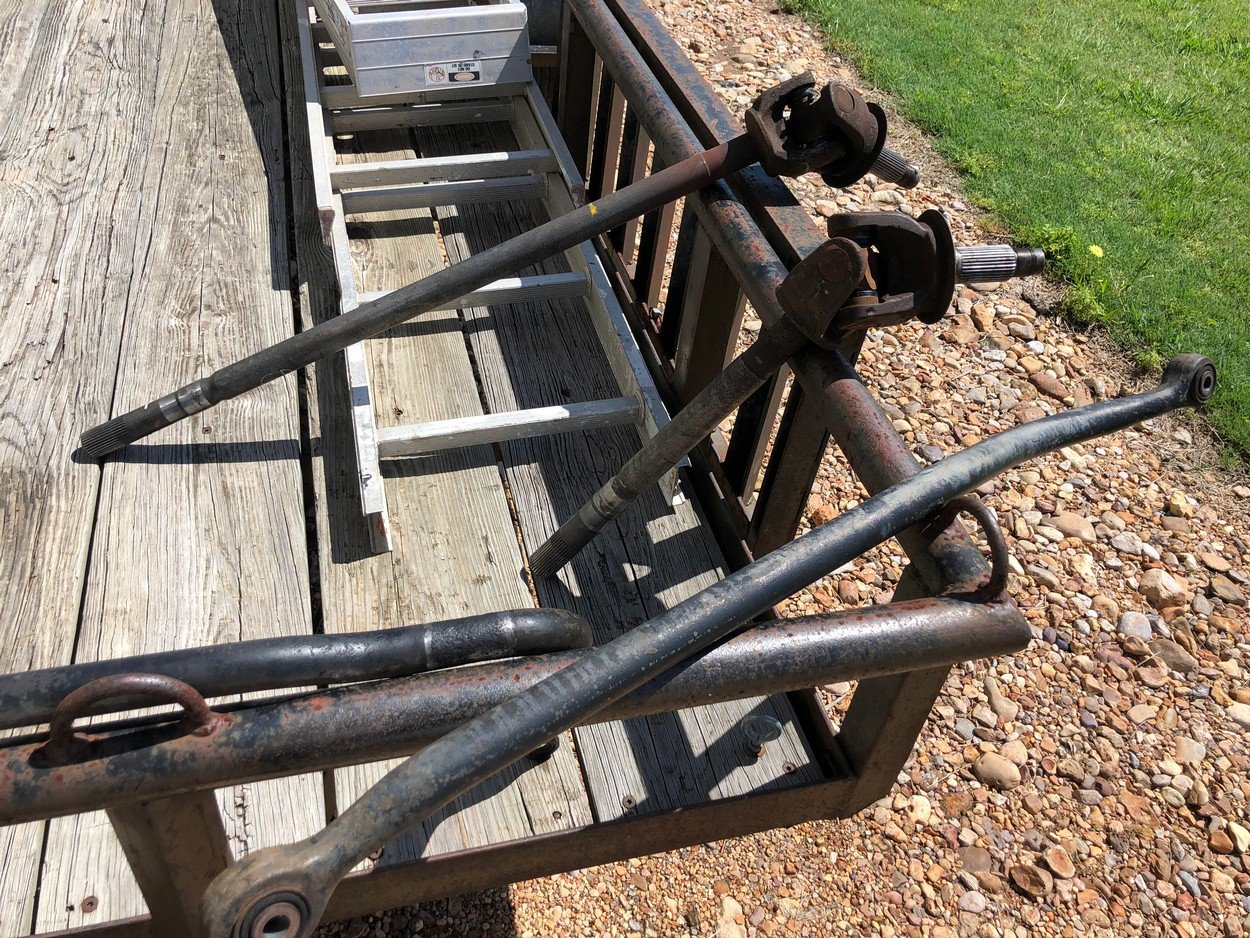
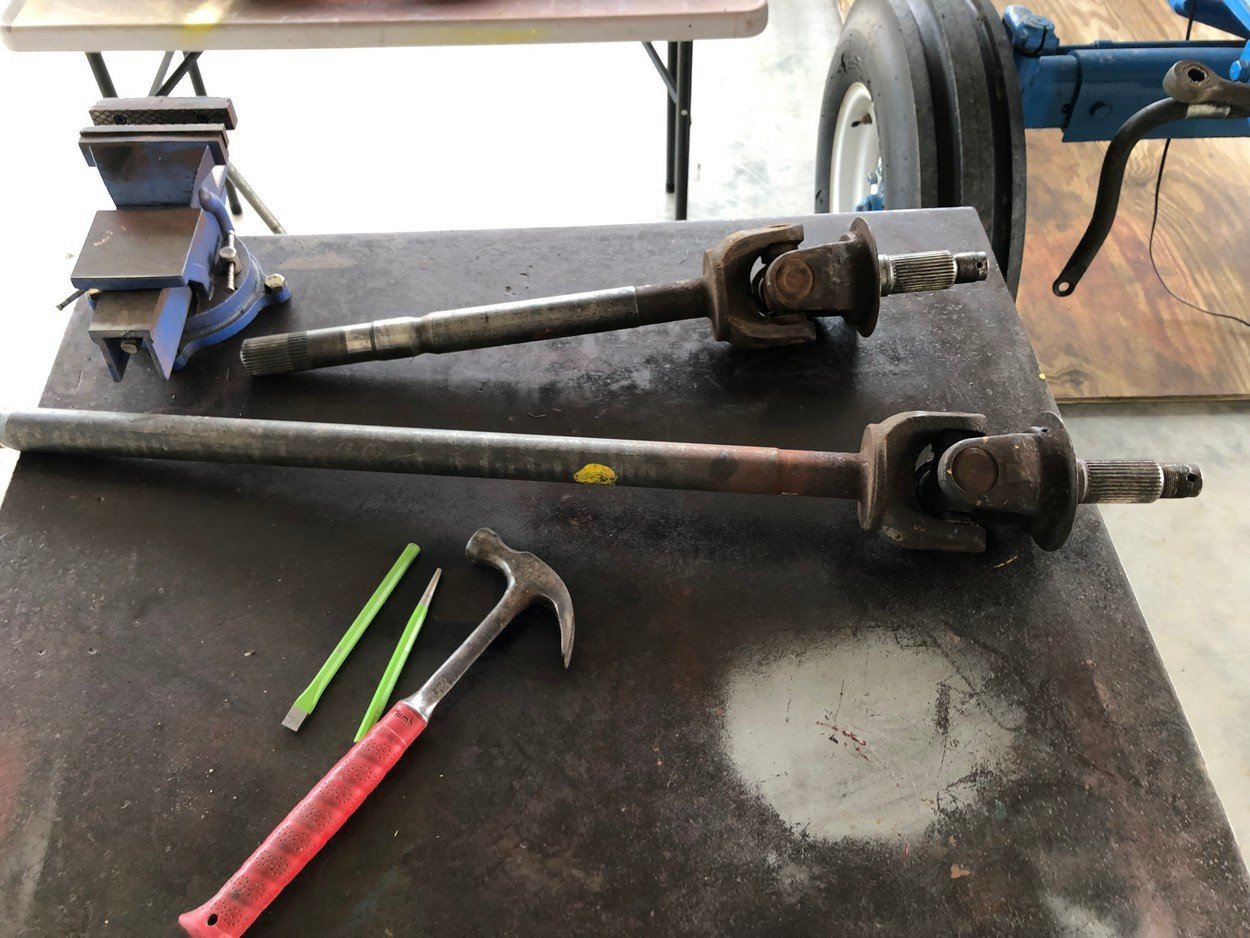
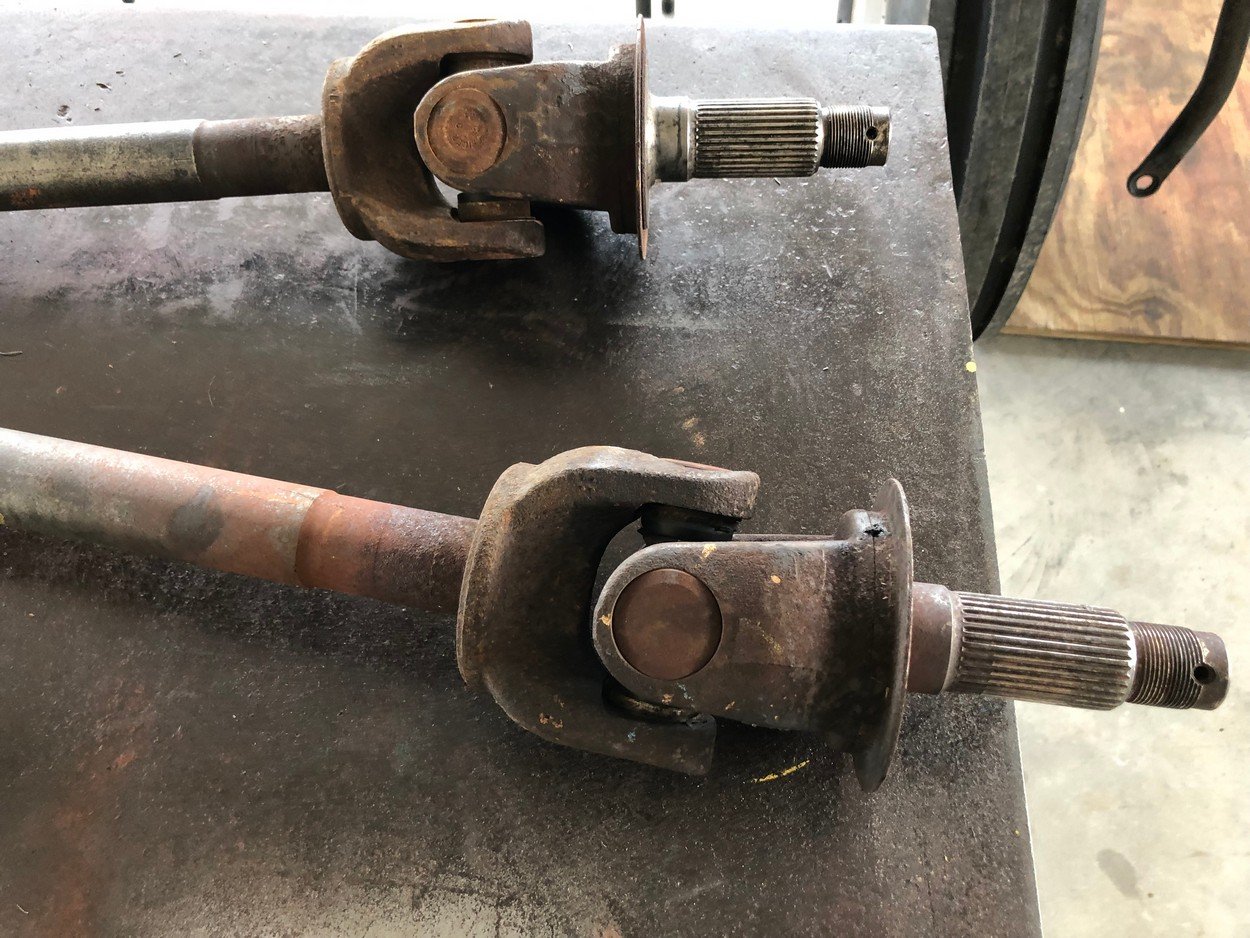
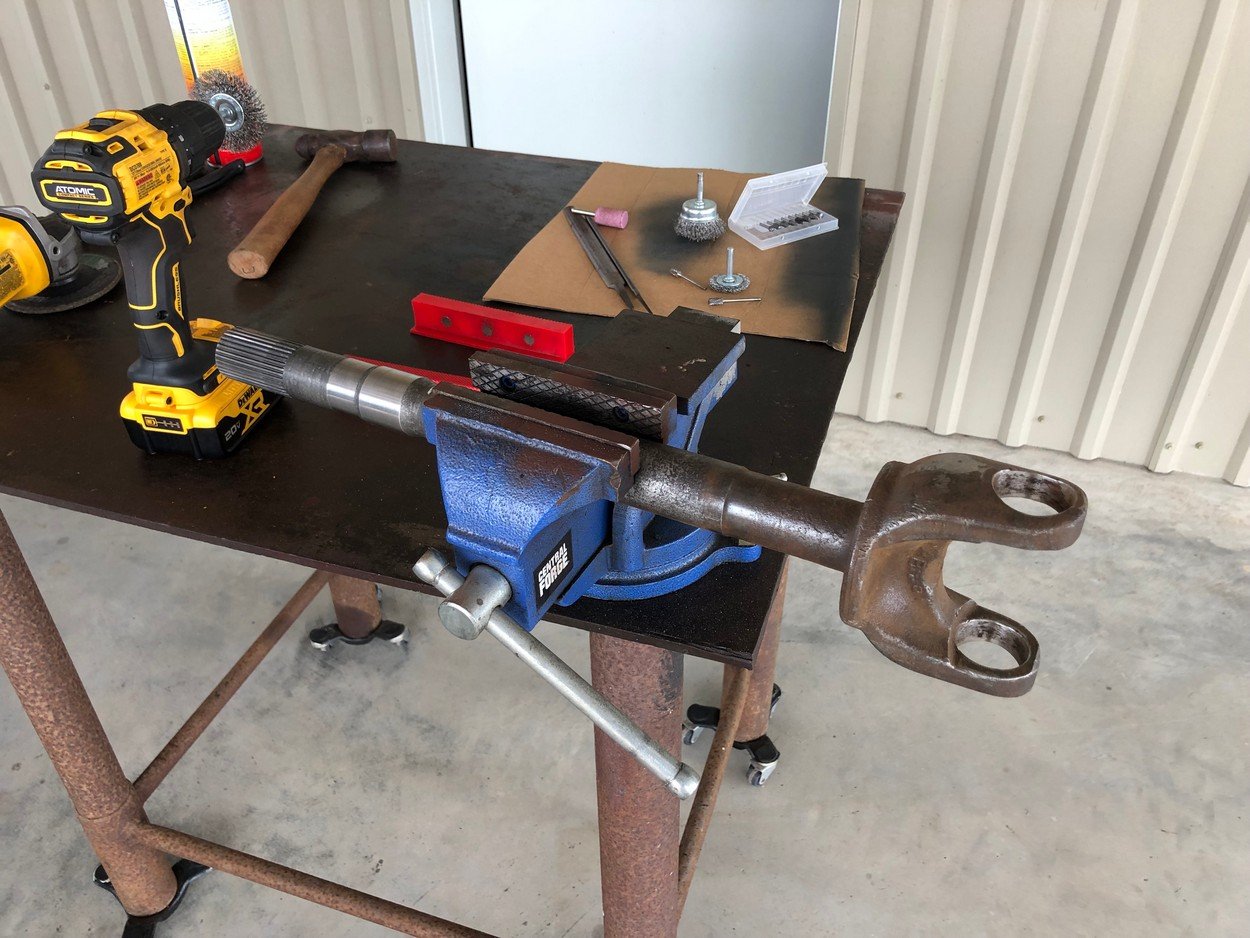
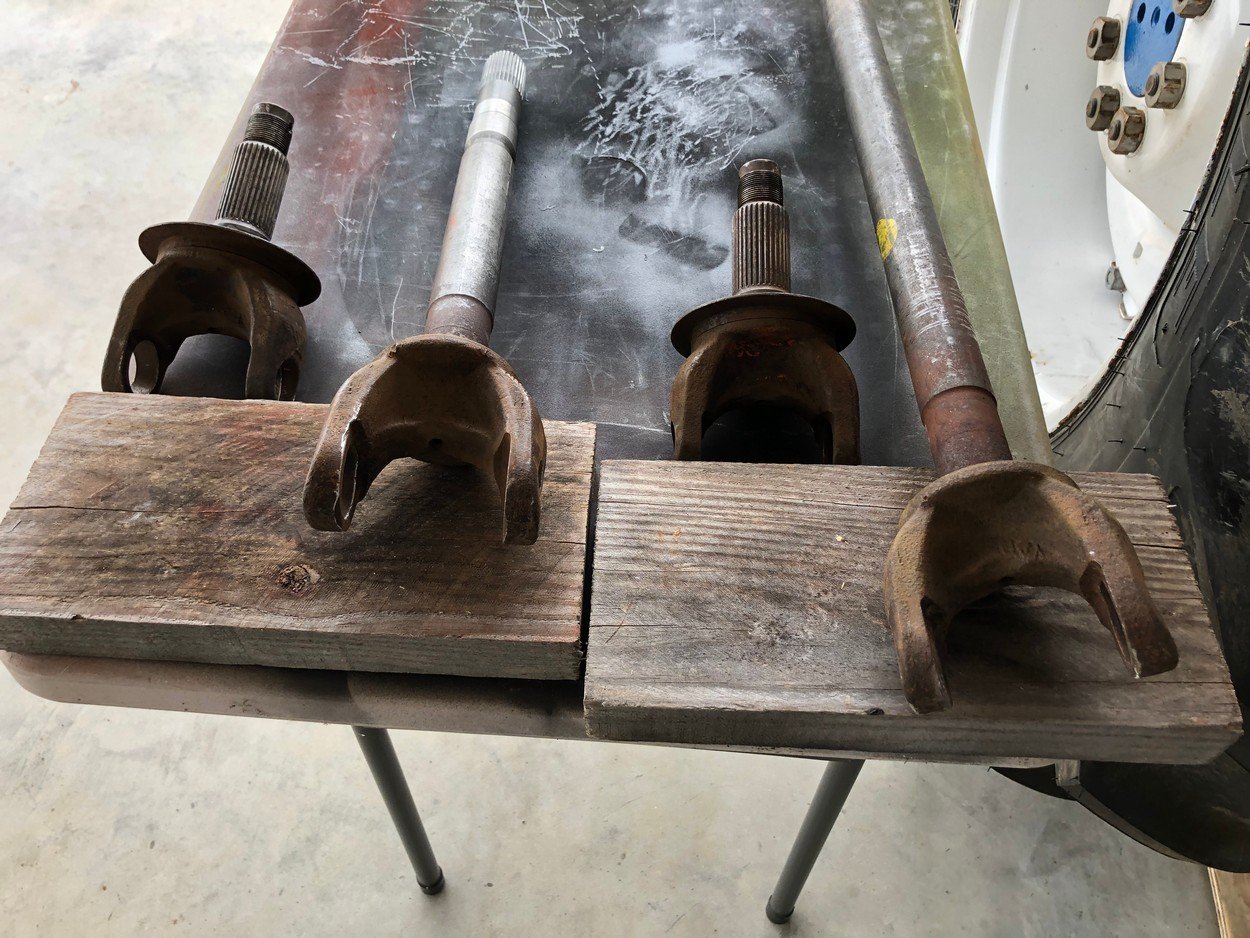
U-joints out, wire wheel axles and yokes clean
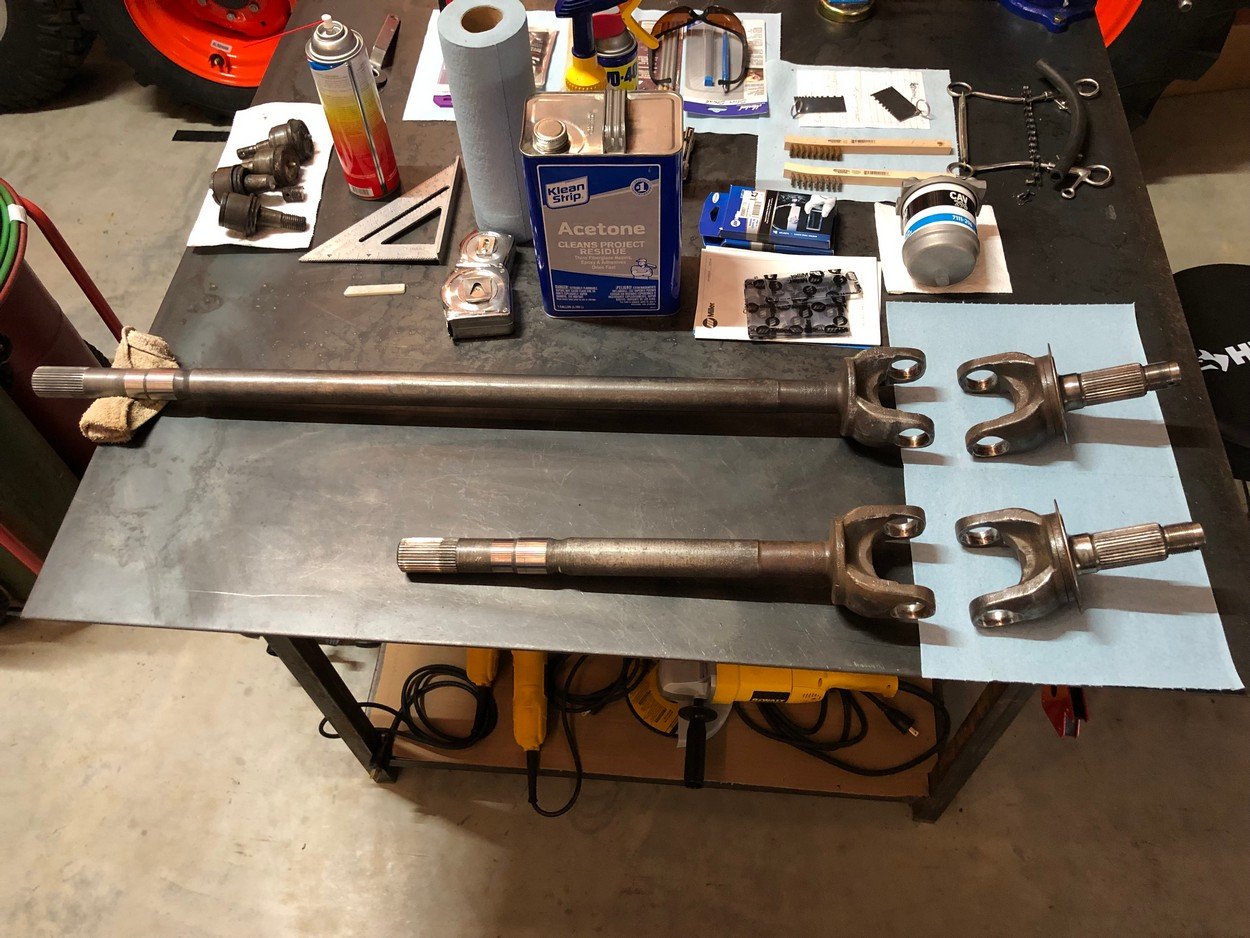
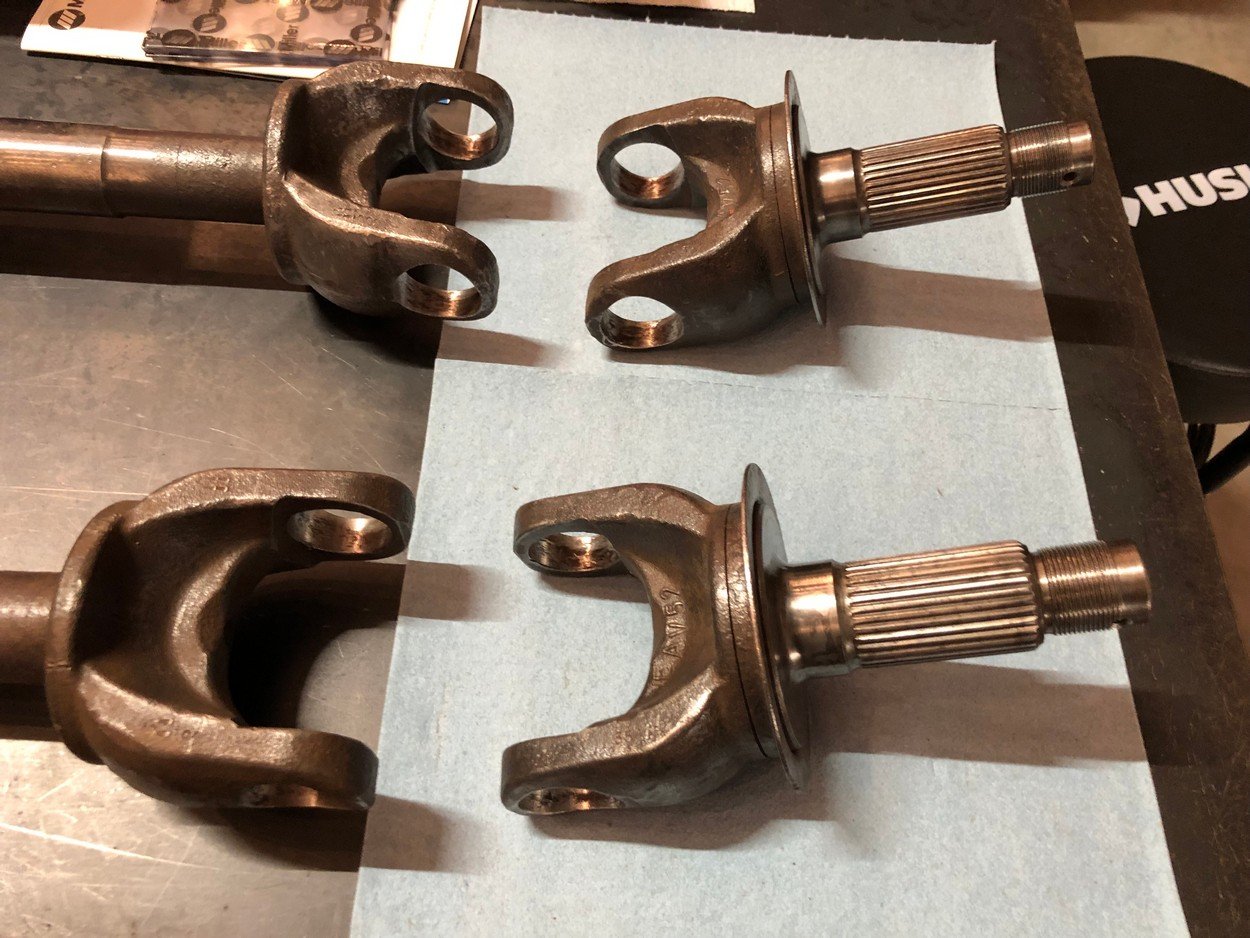
Press in new Spicer U-joints
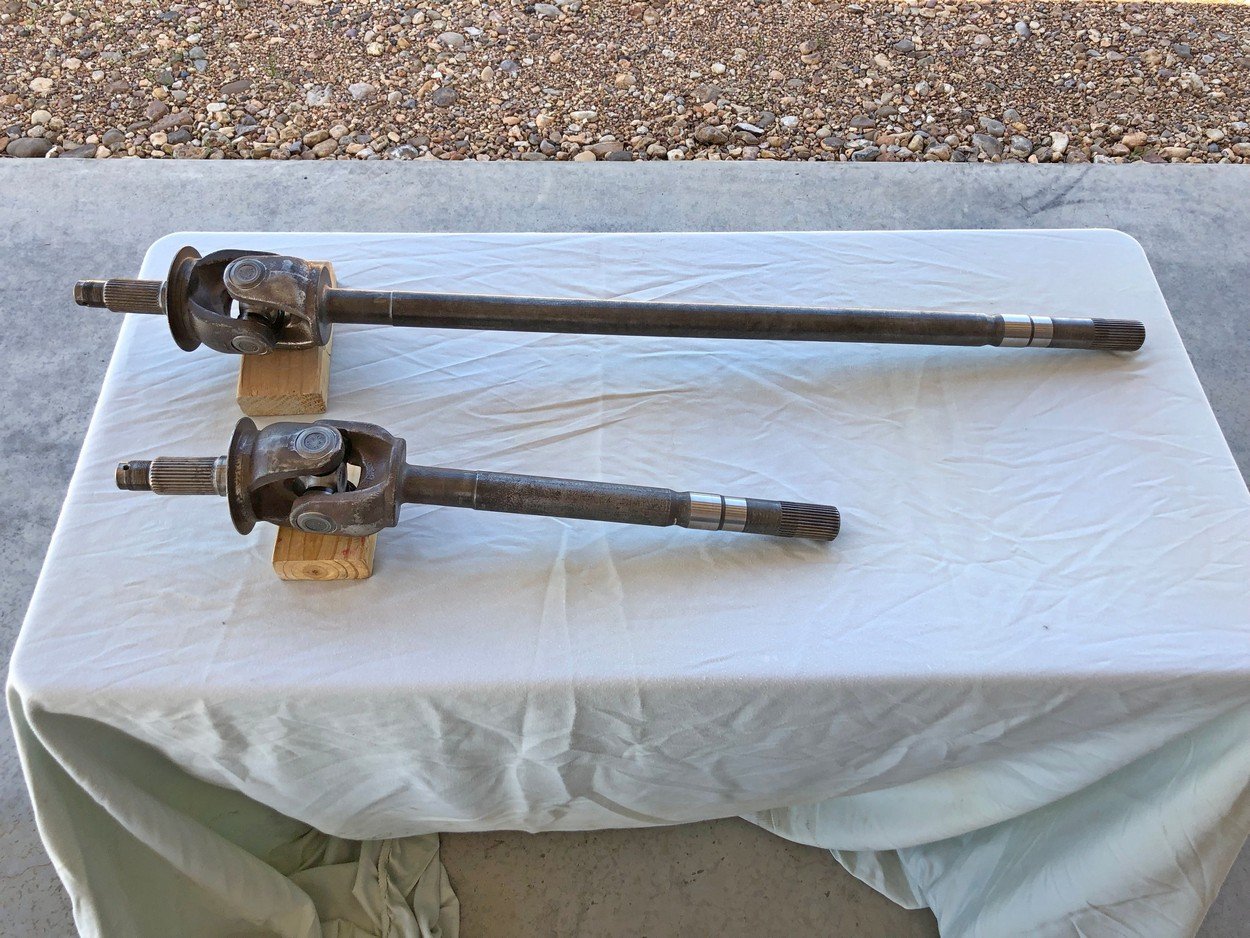
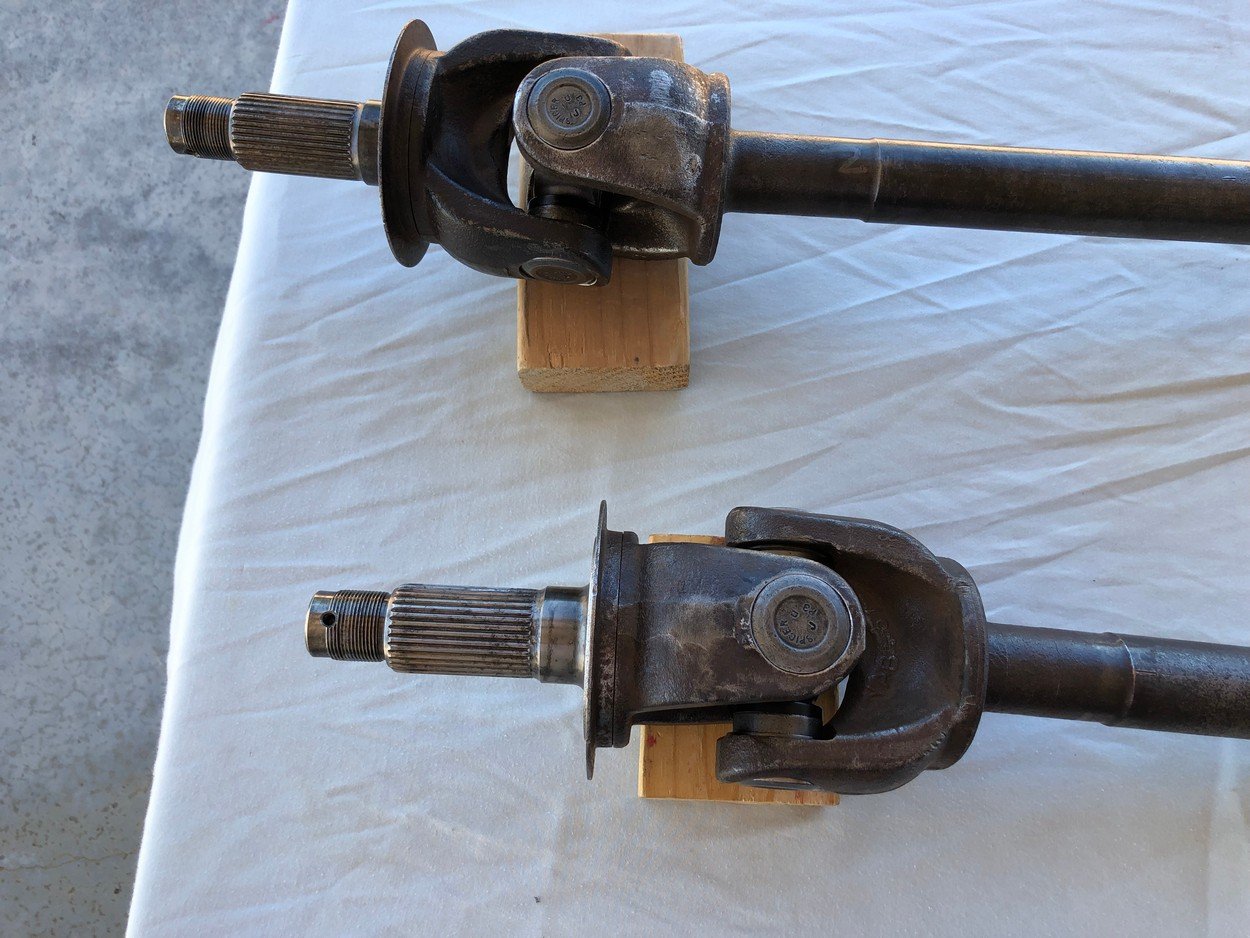
Mask off and paint axles
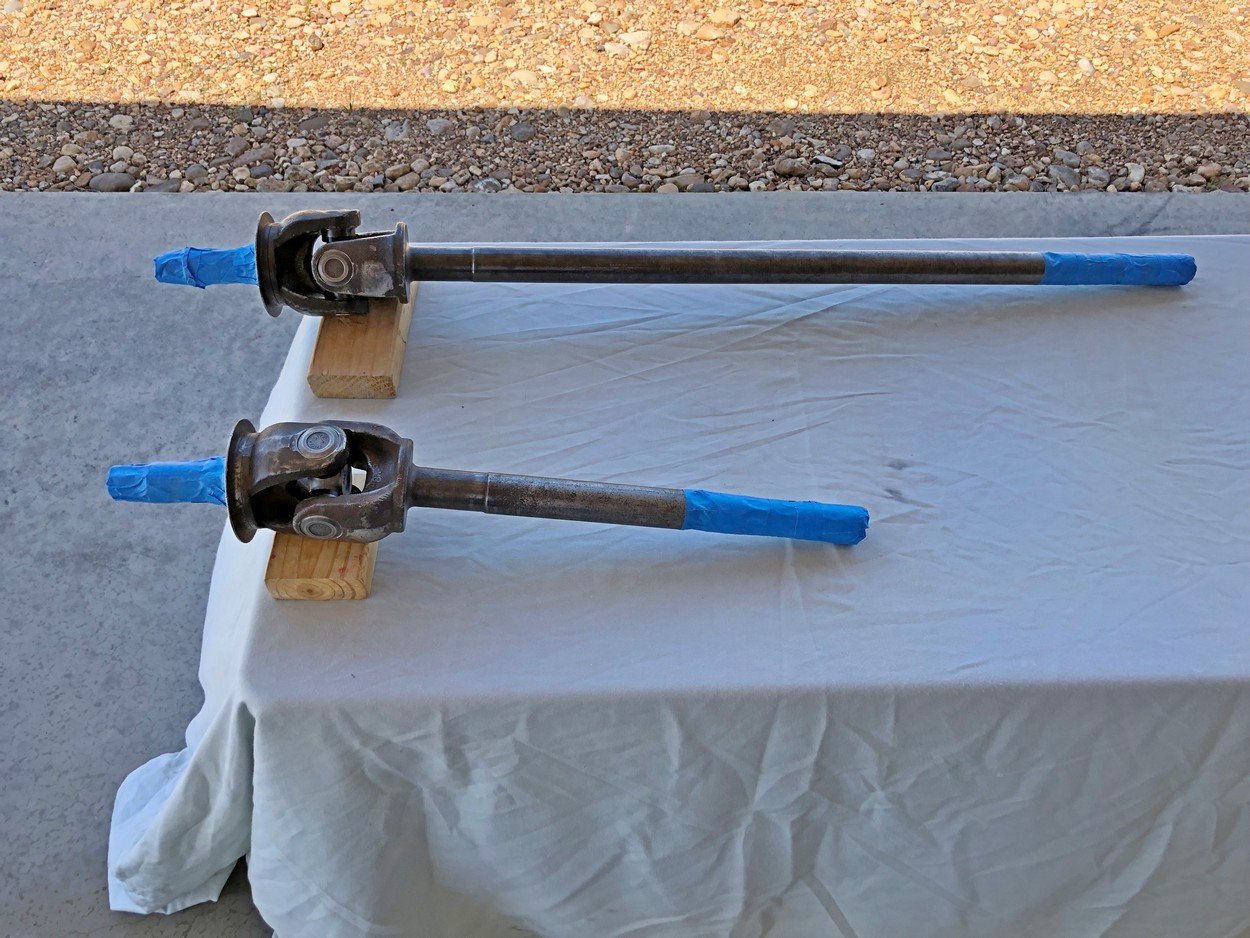
Painted with SEM silver paint
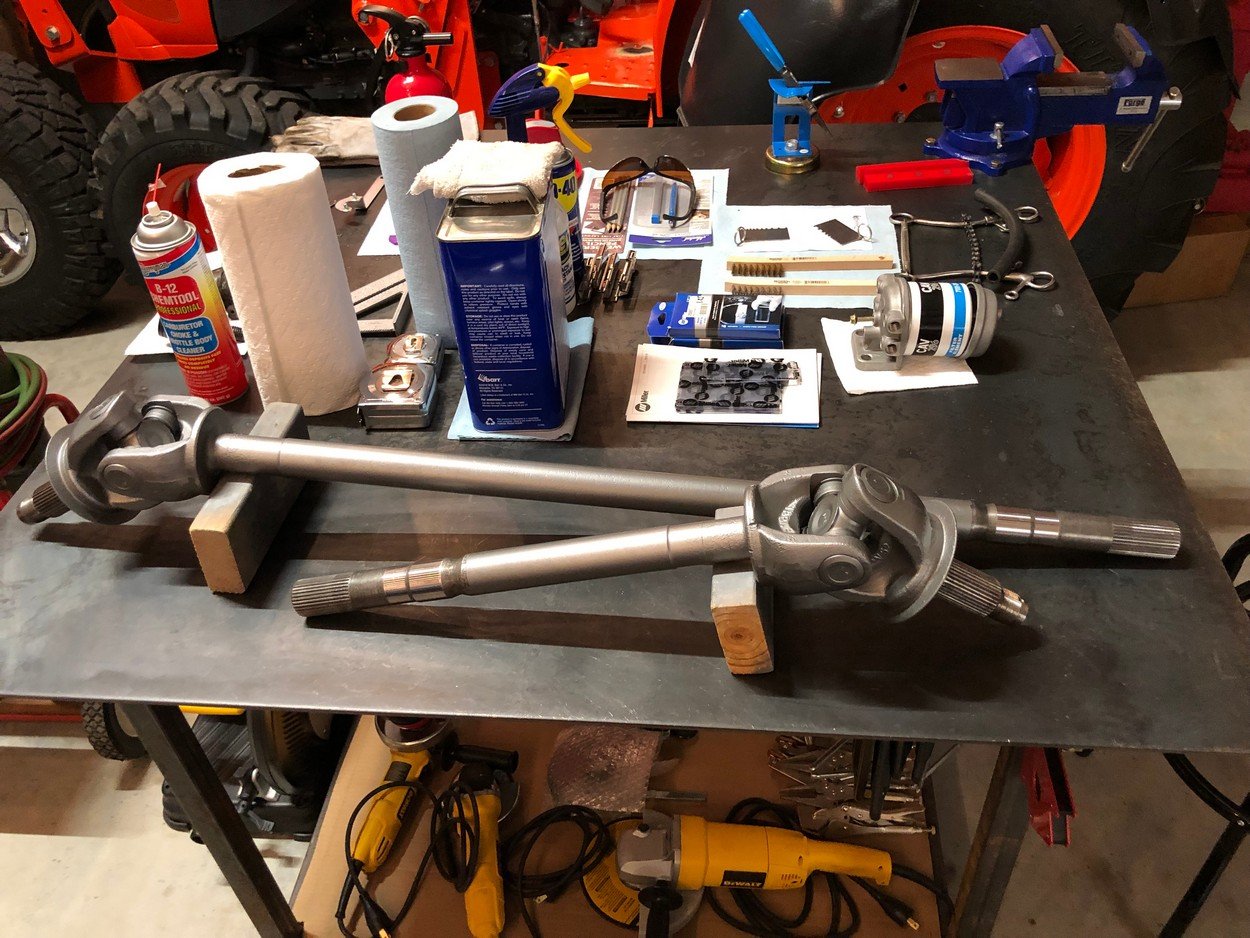
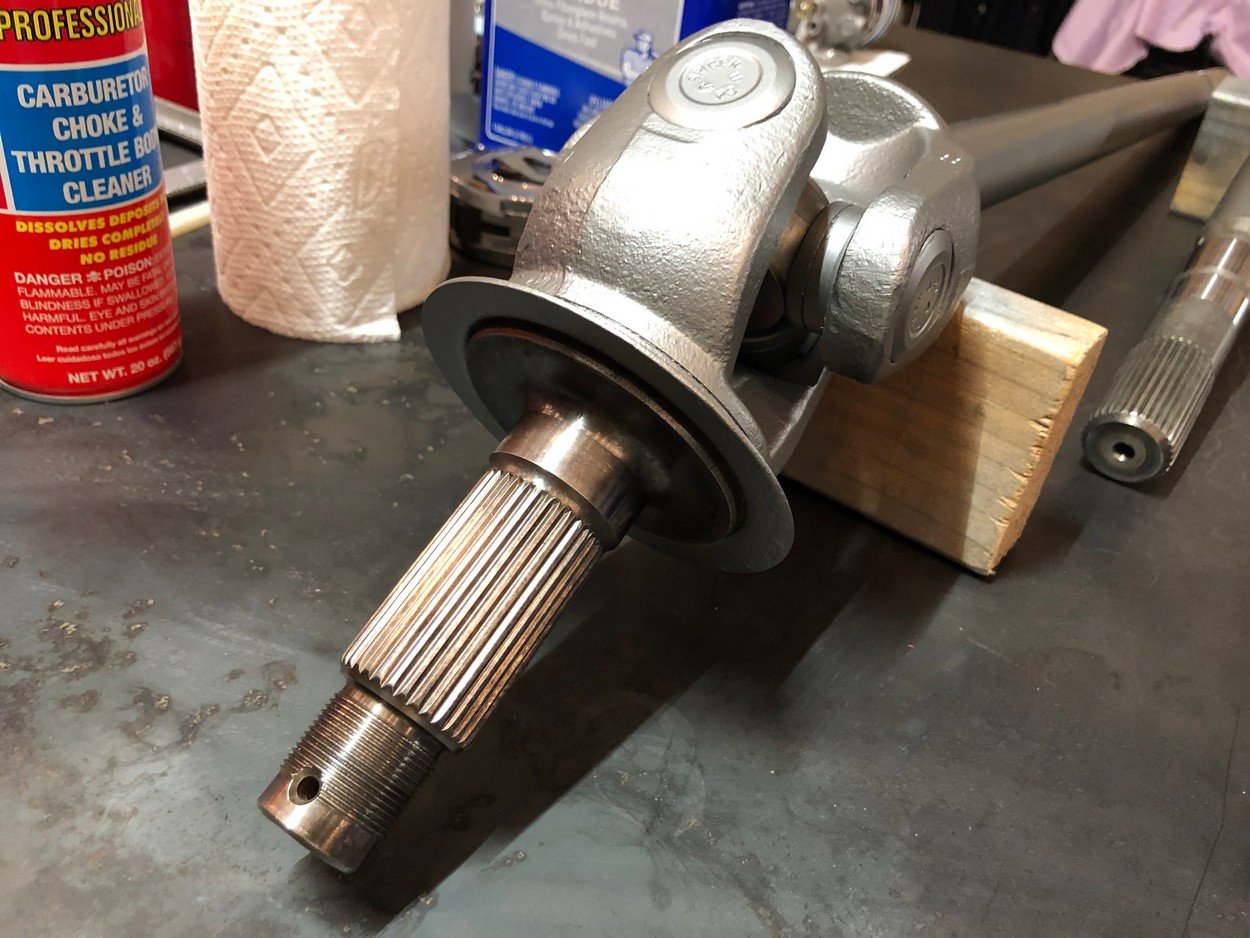
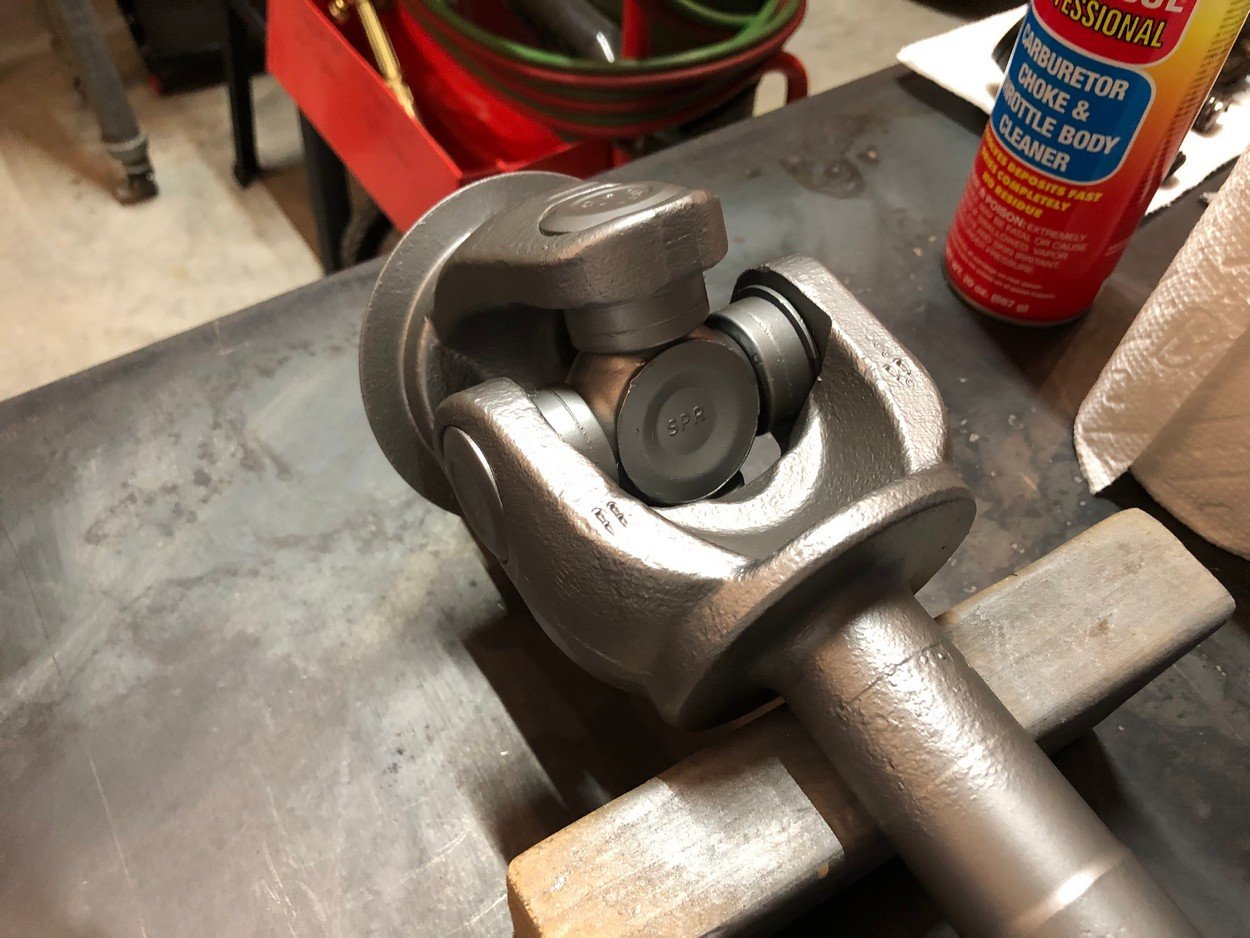
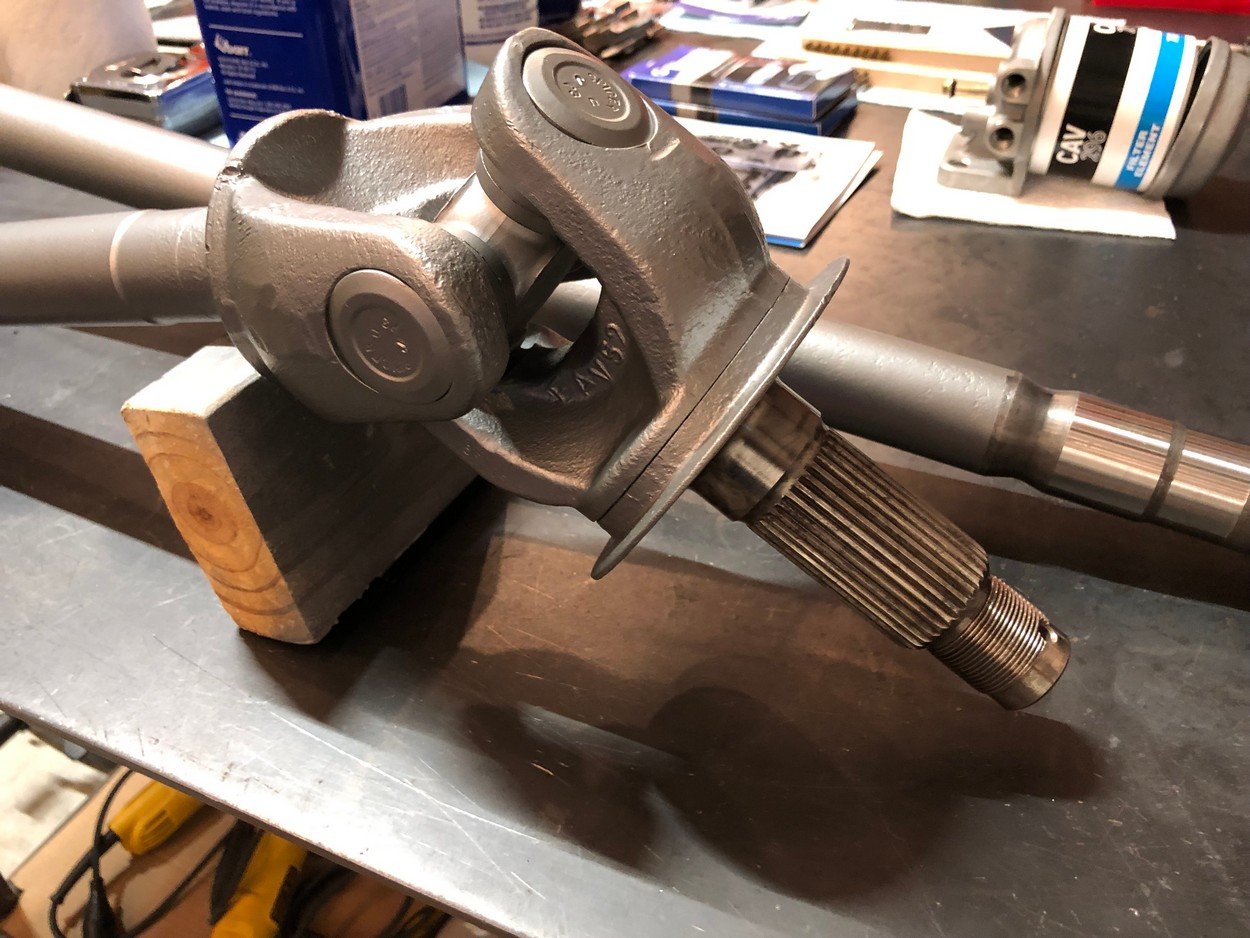
Pull front differential out
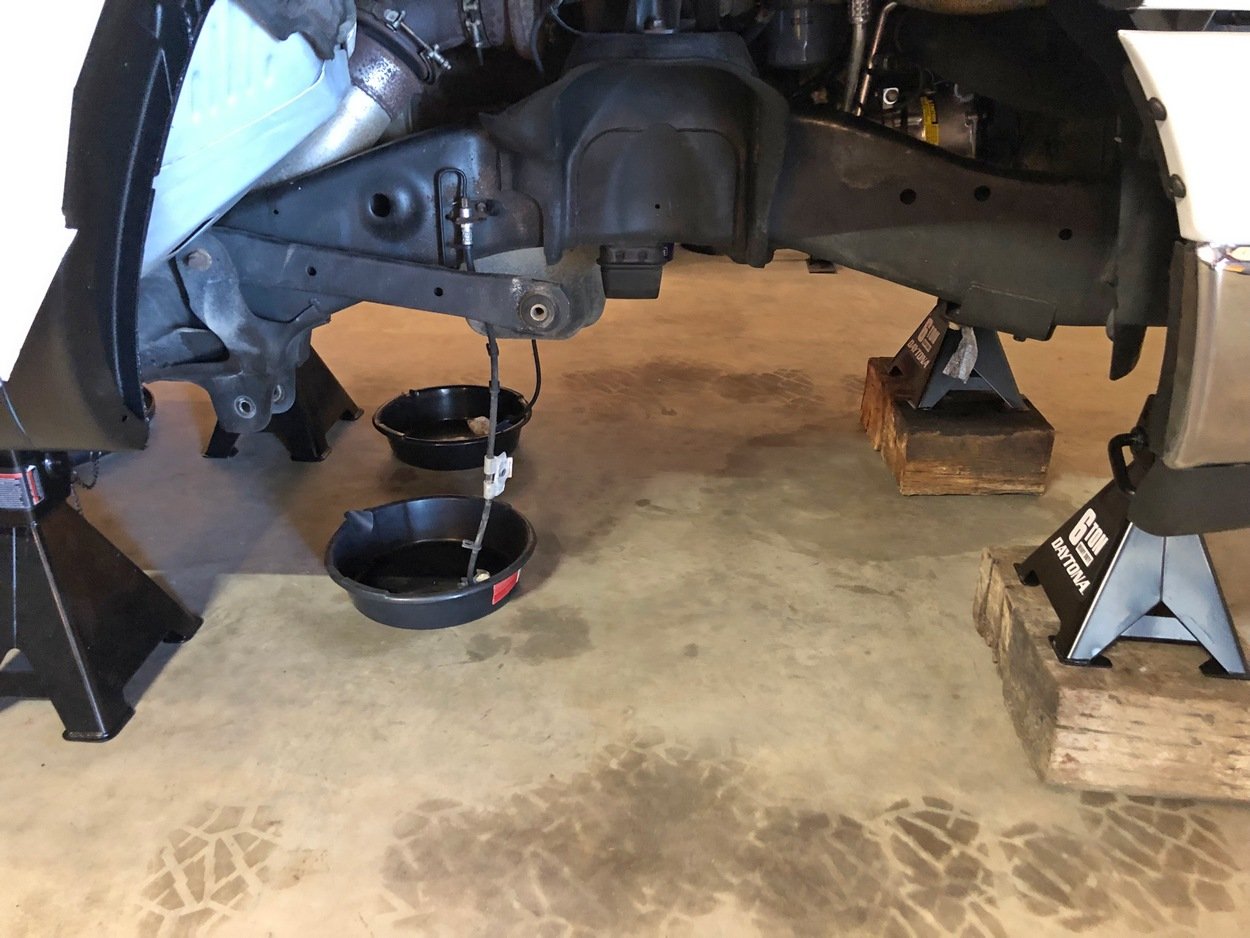
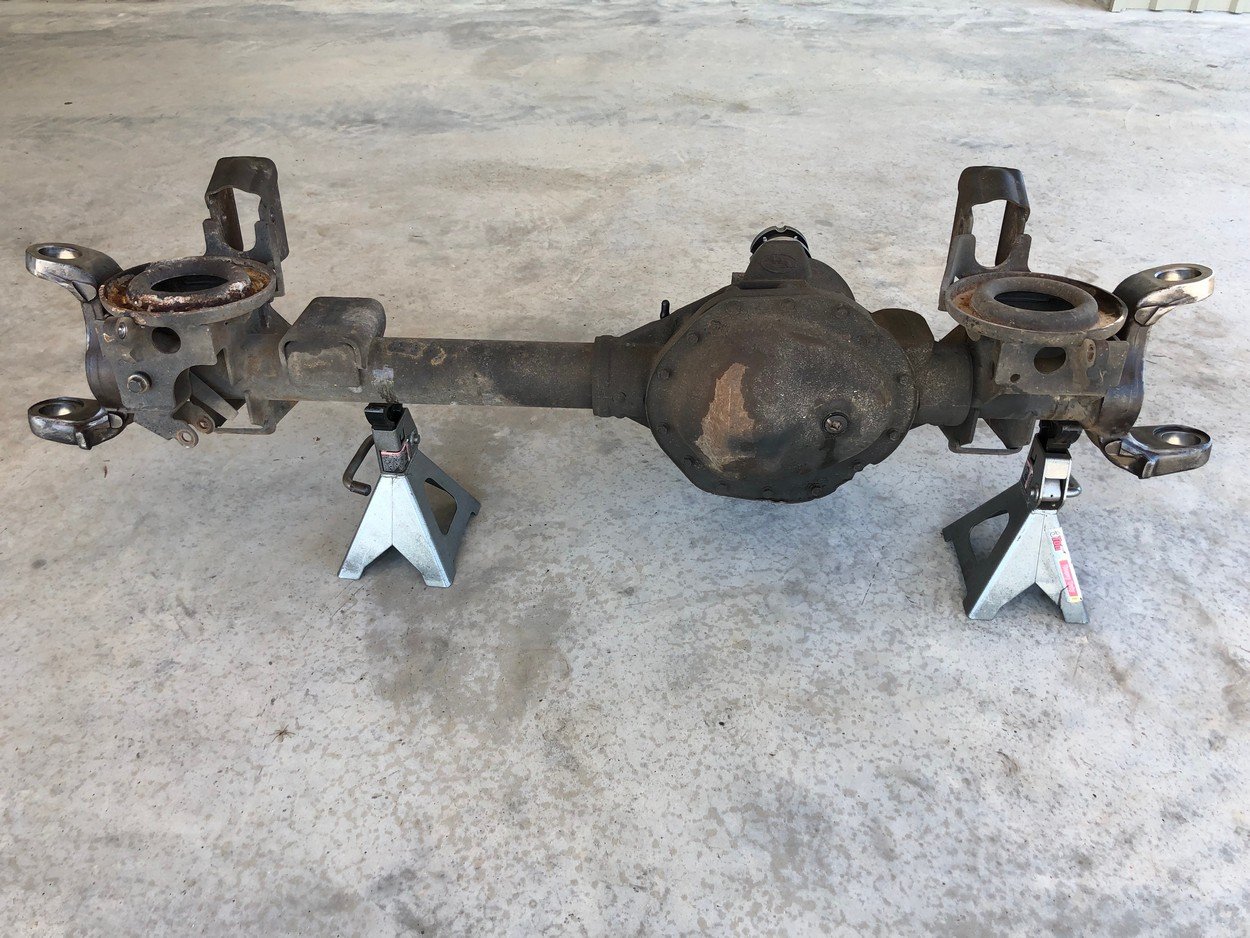
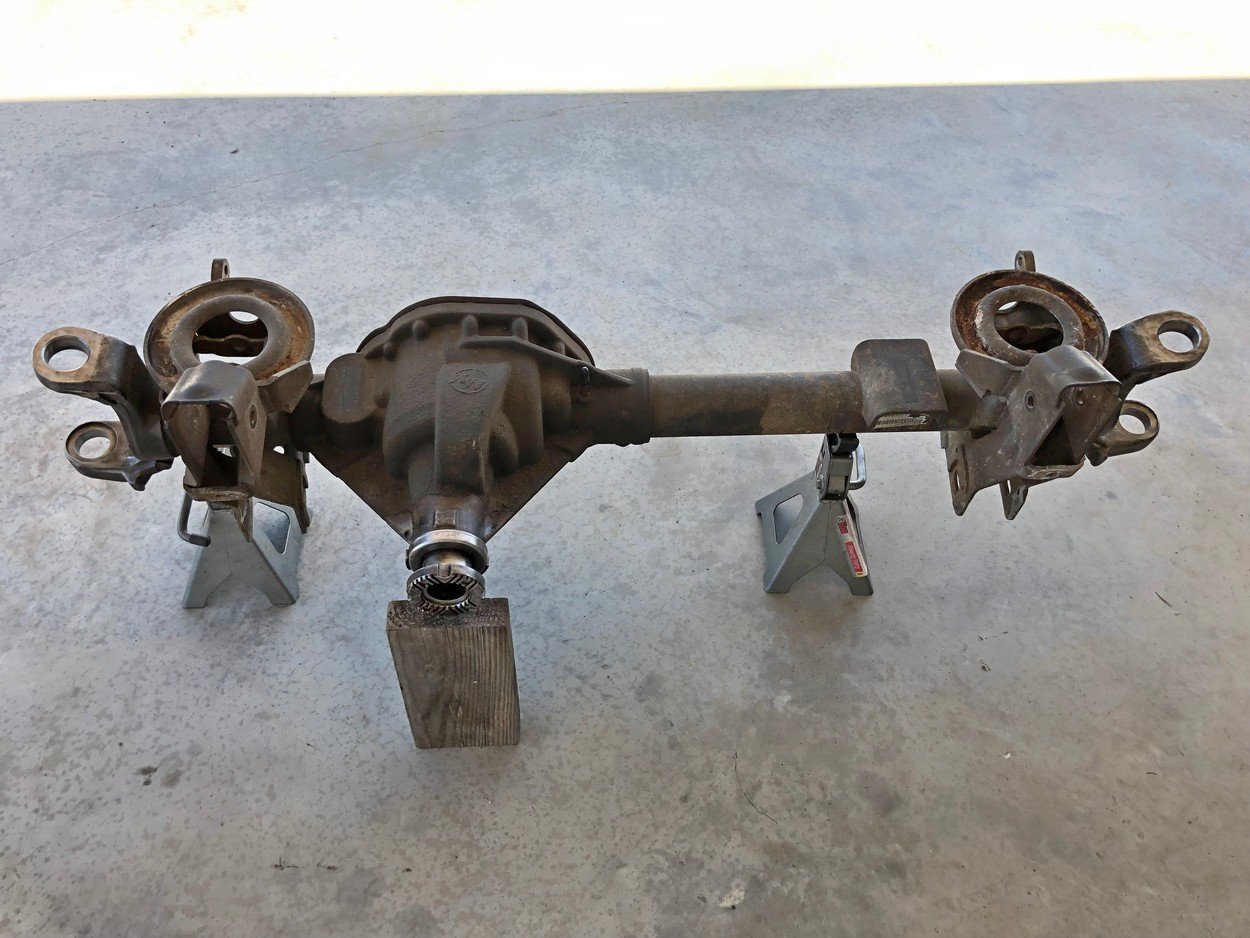
Clean off ball-joint sockets with wire-wheel & drill
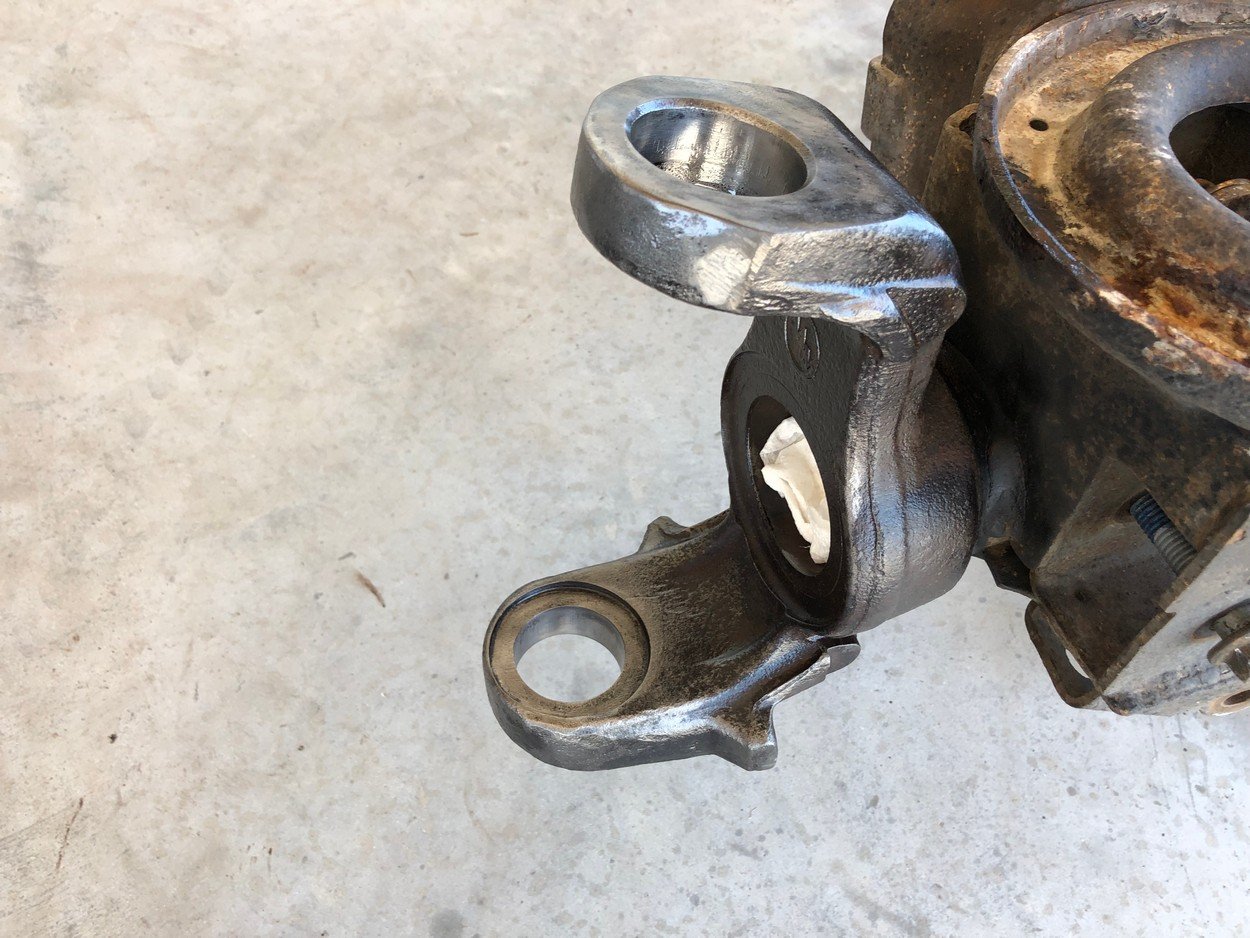
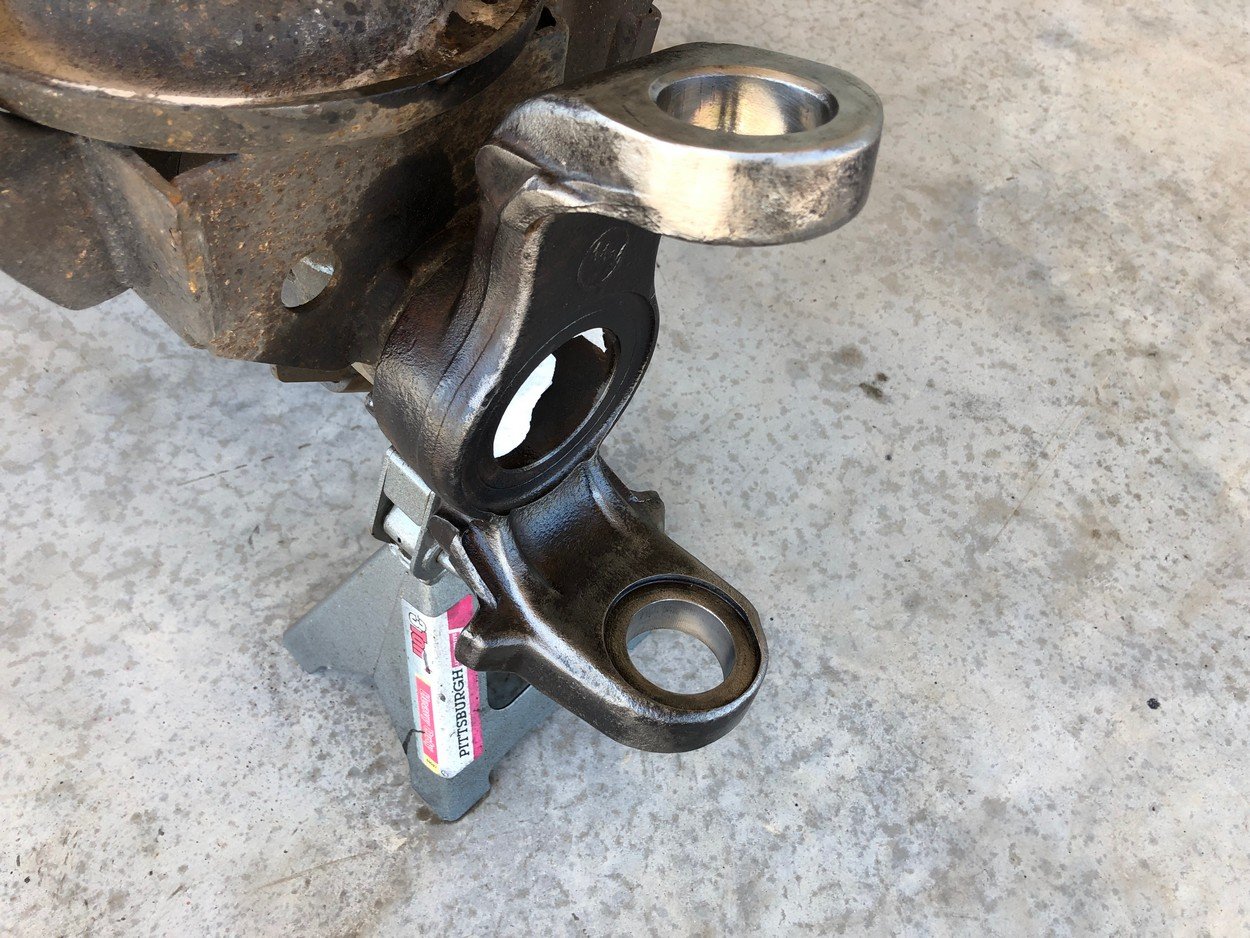
Remove carrier & pinion, drive out old seals and races.
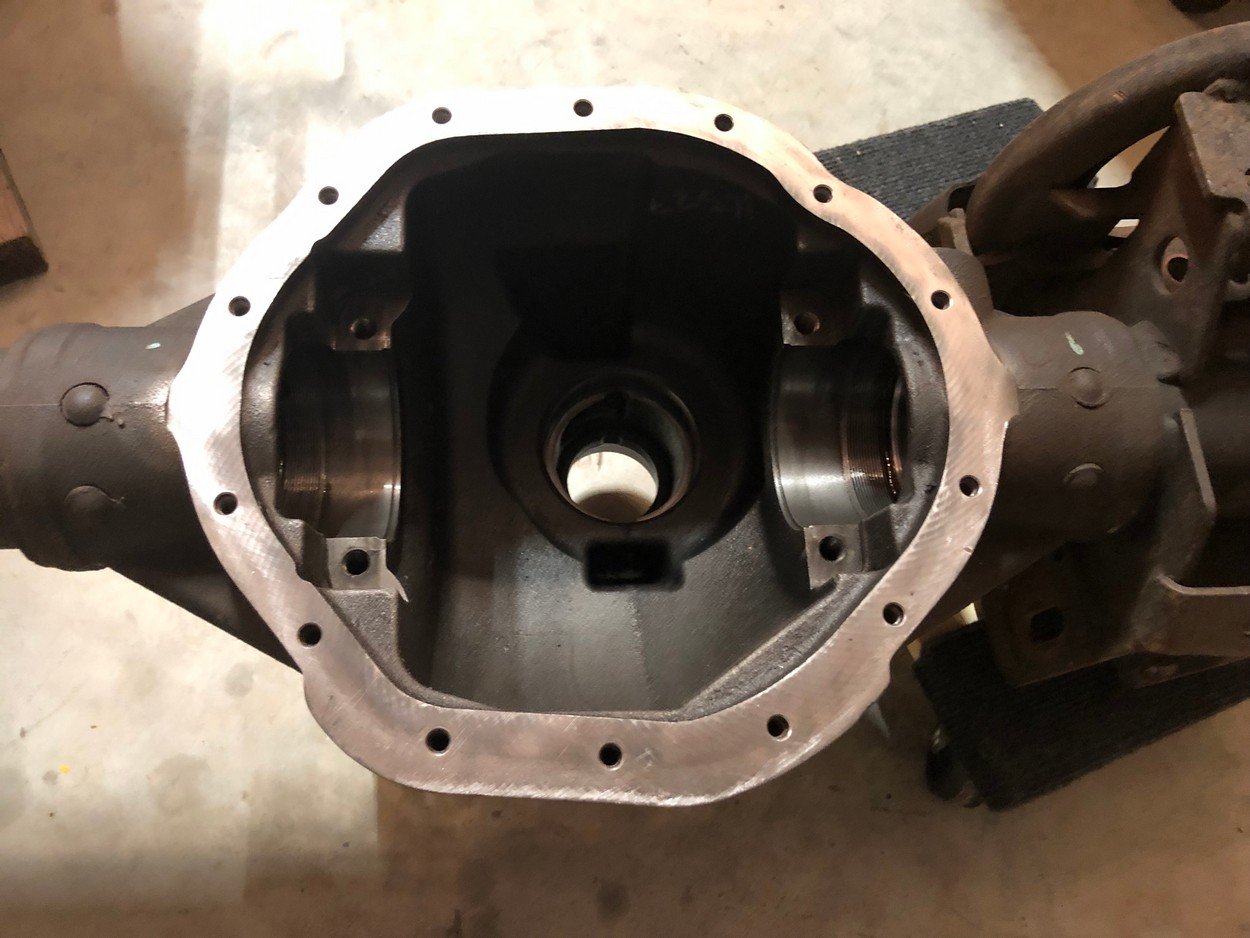
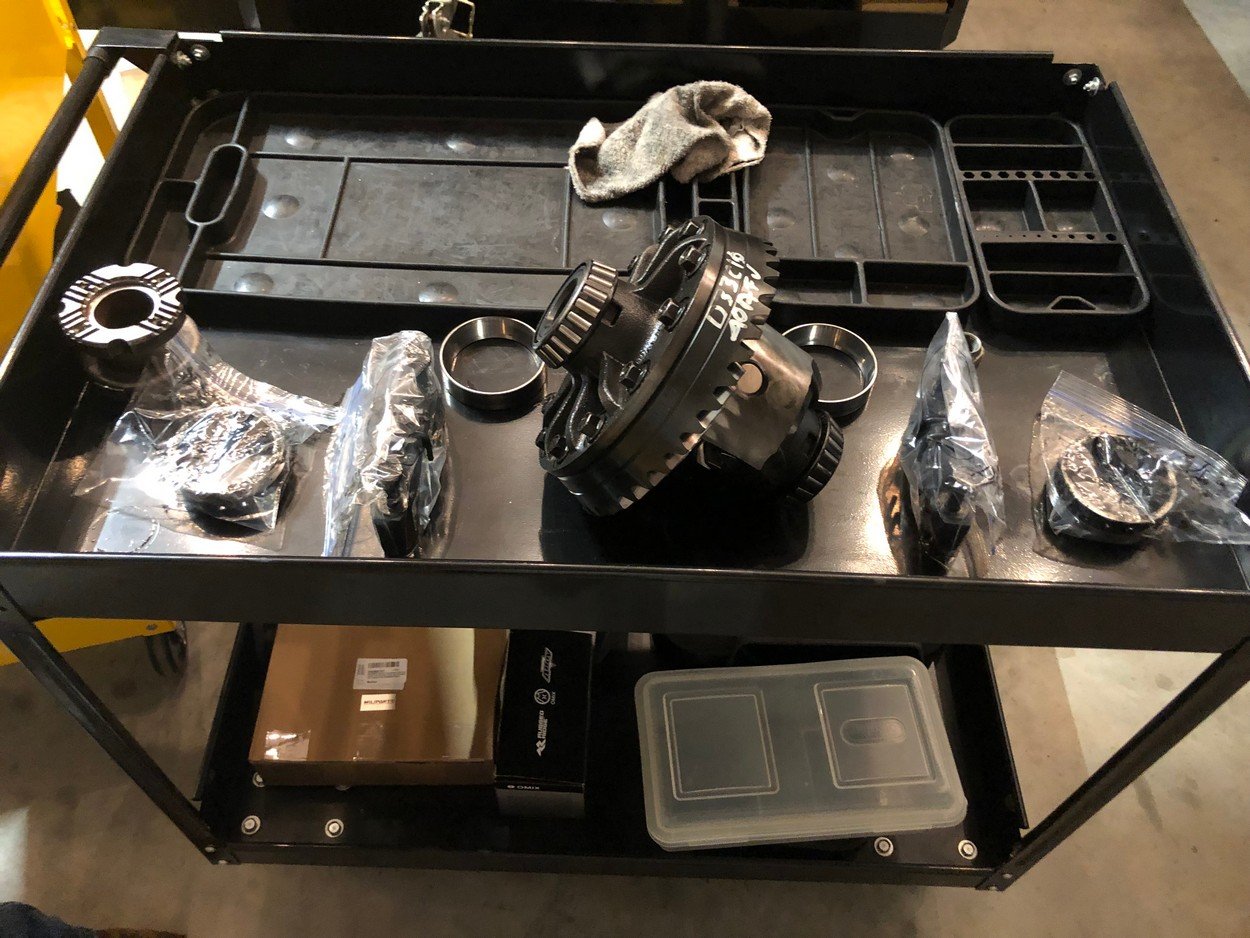
Sandblast, prime and paint differential housing
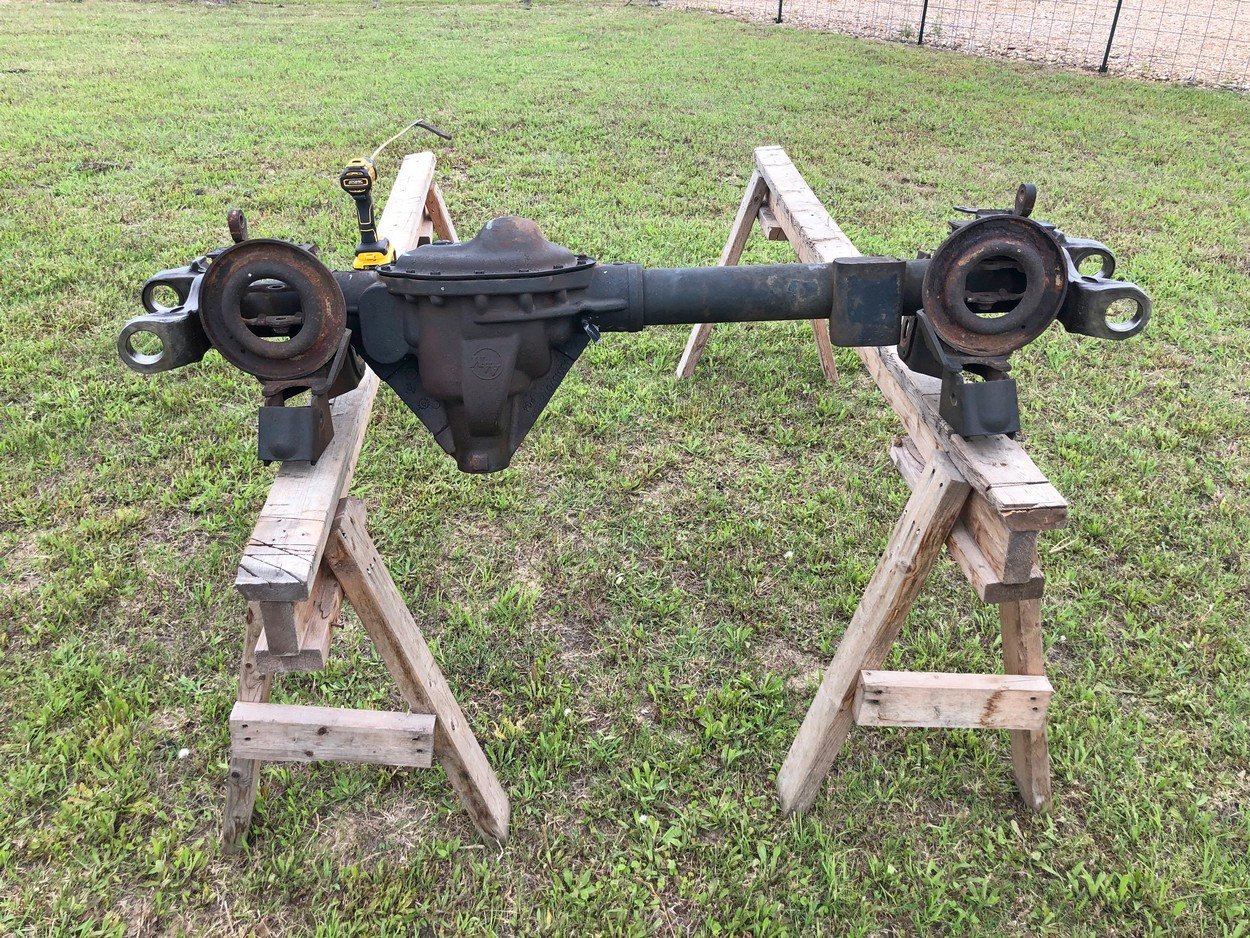
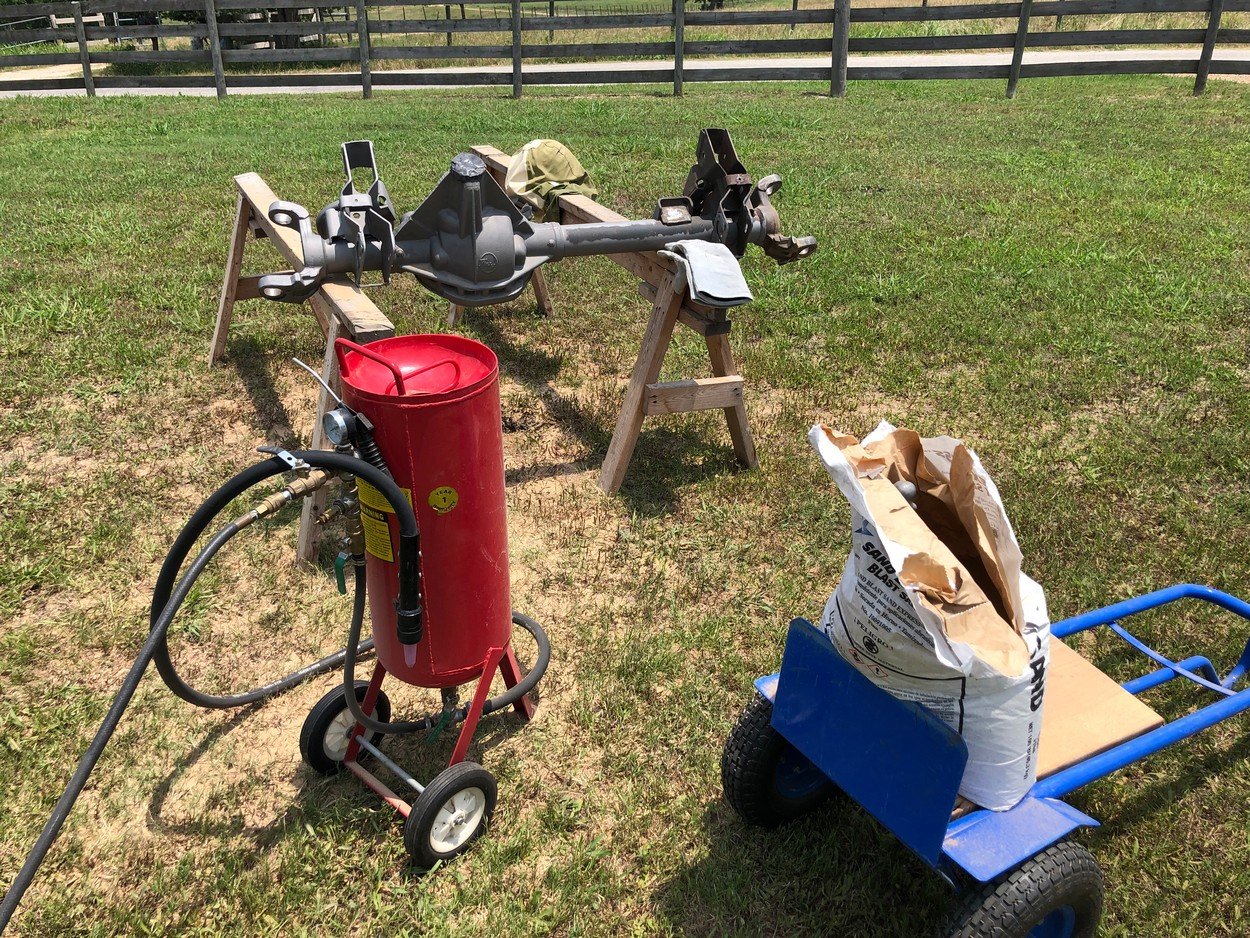
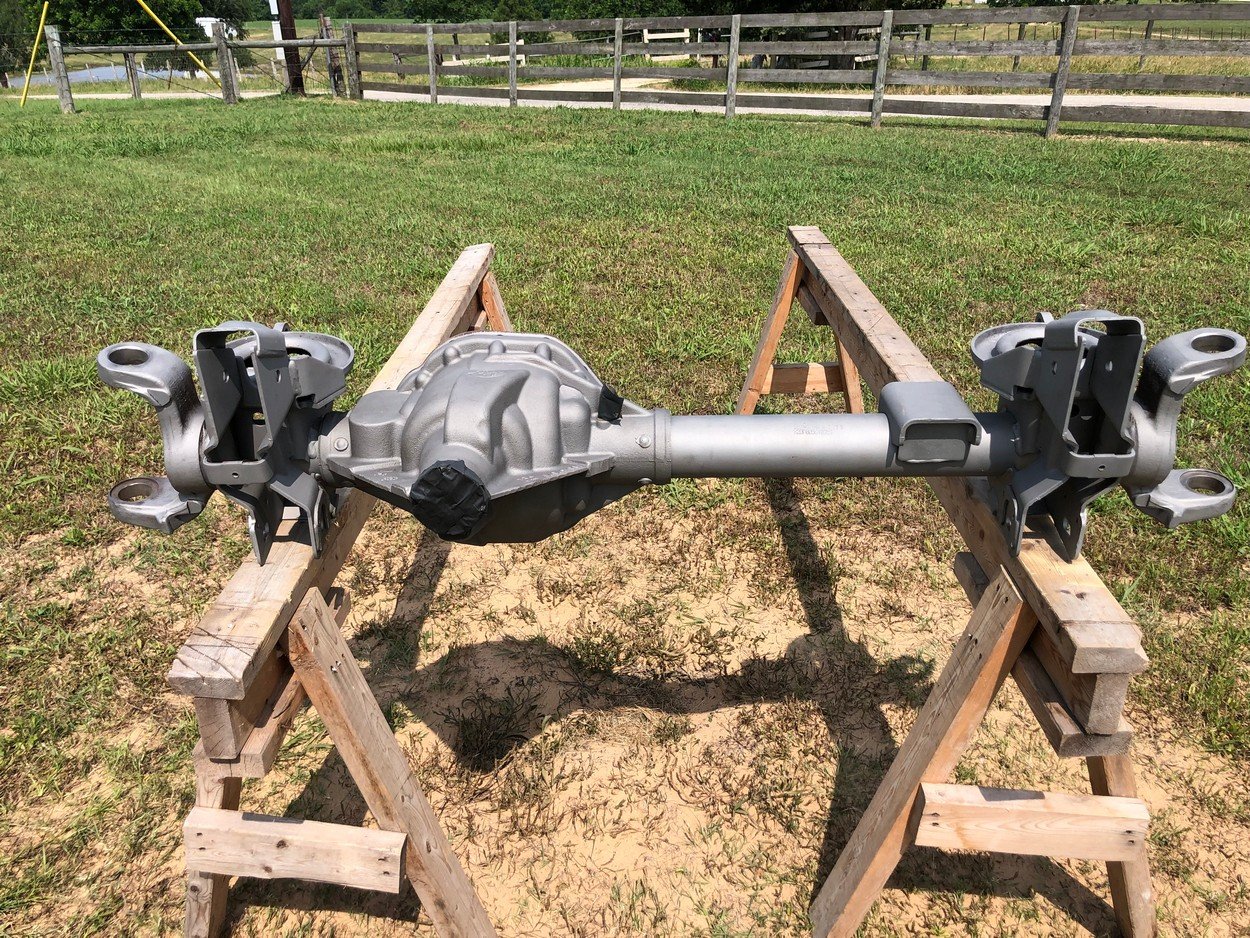
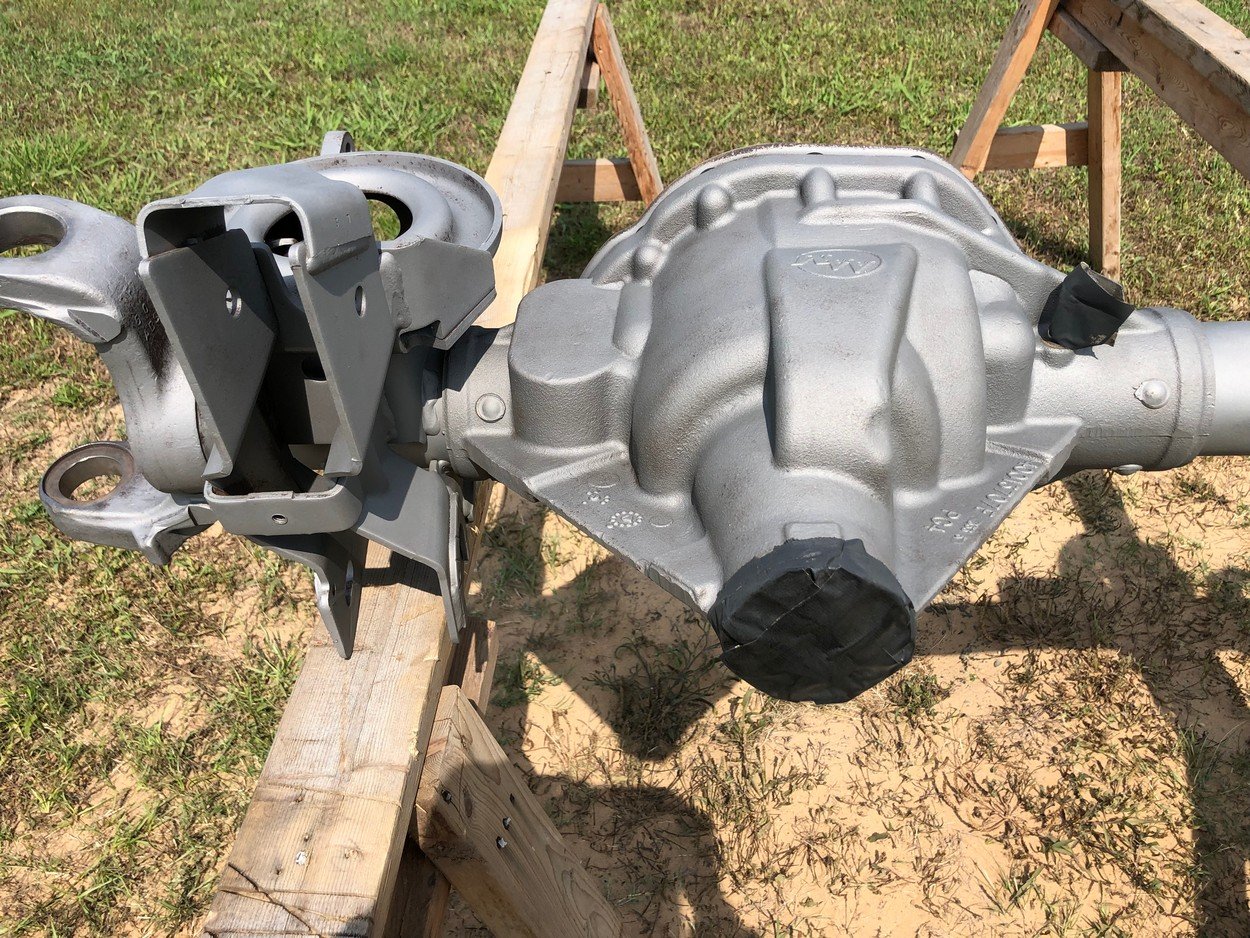
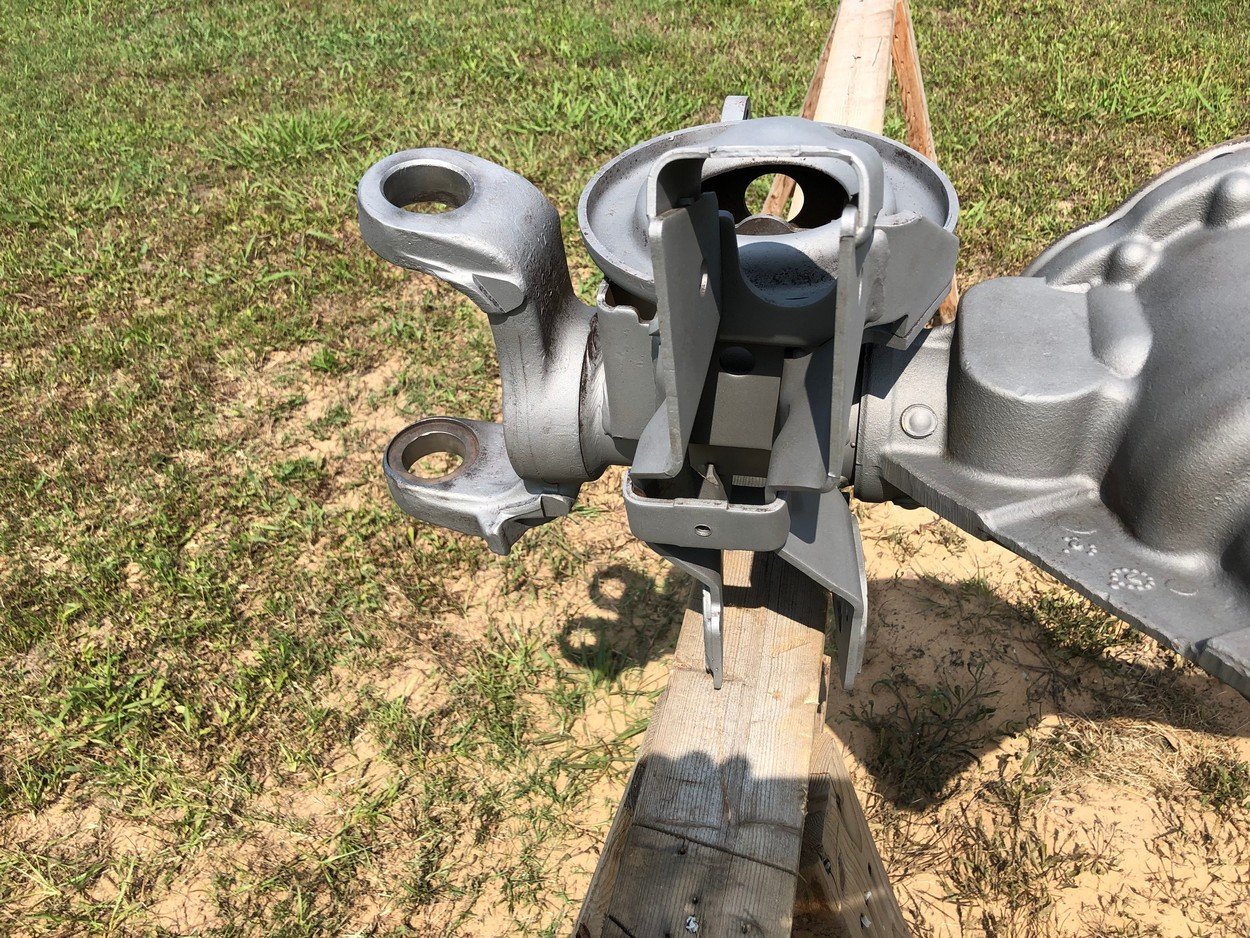
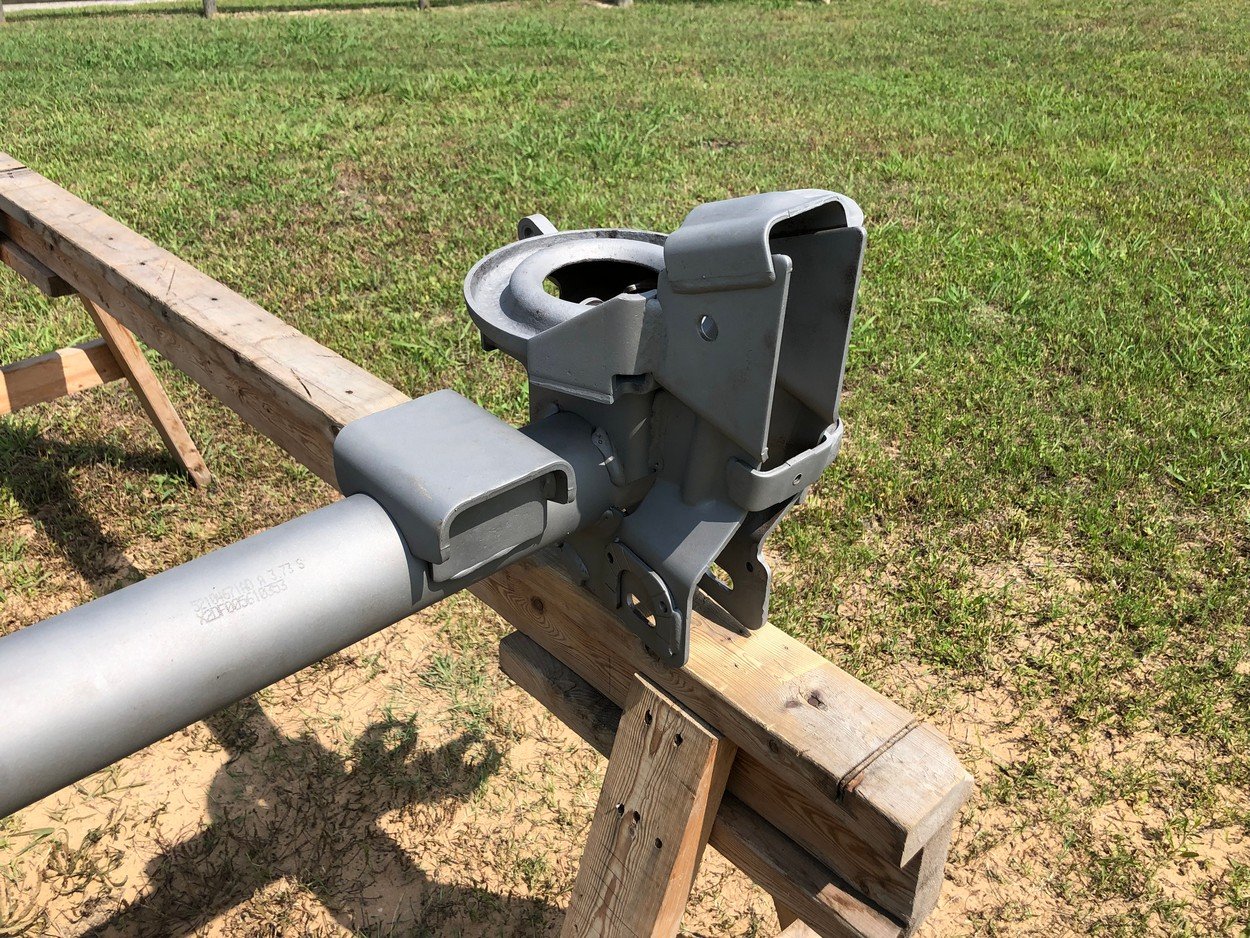
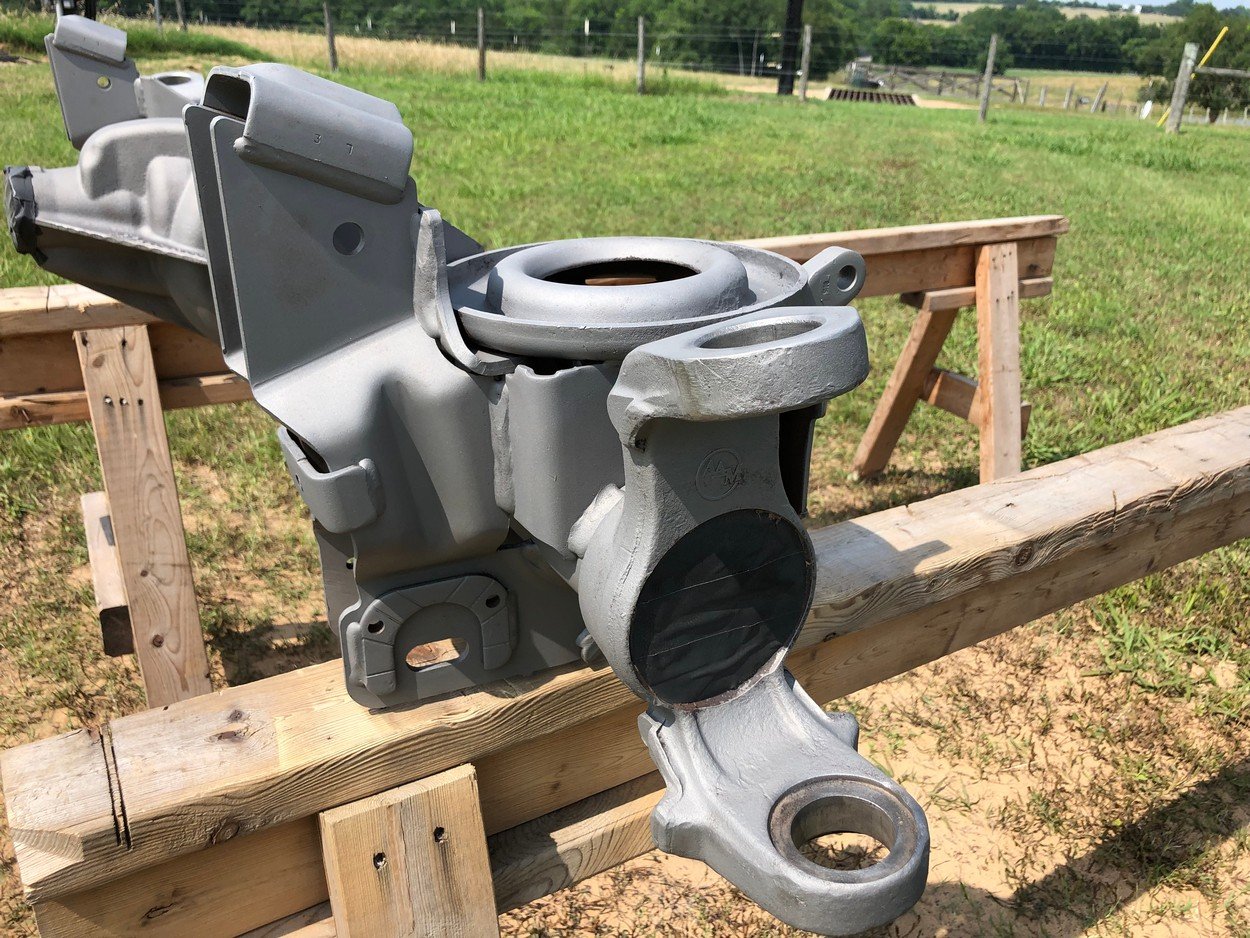
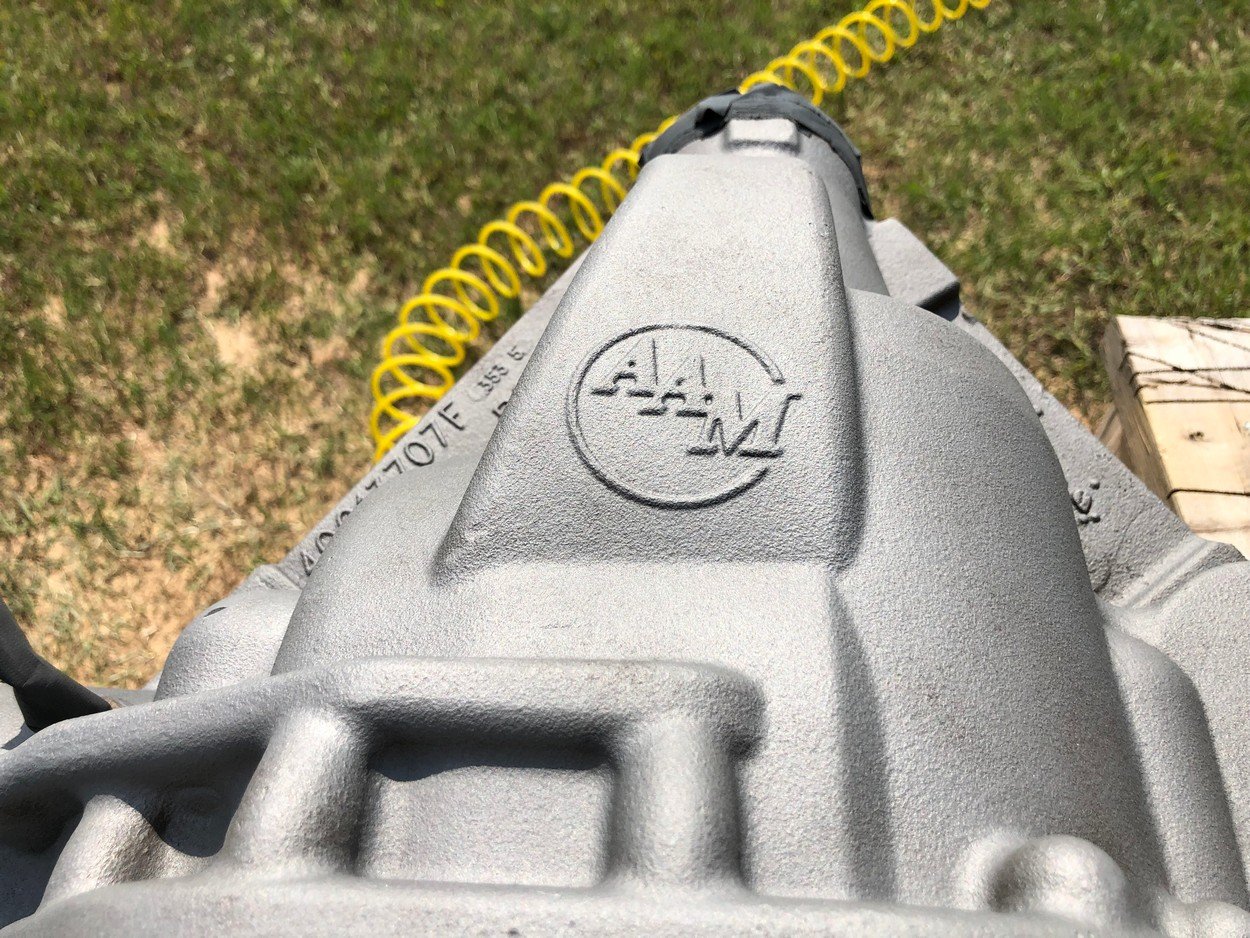
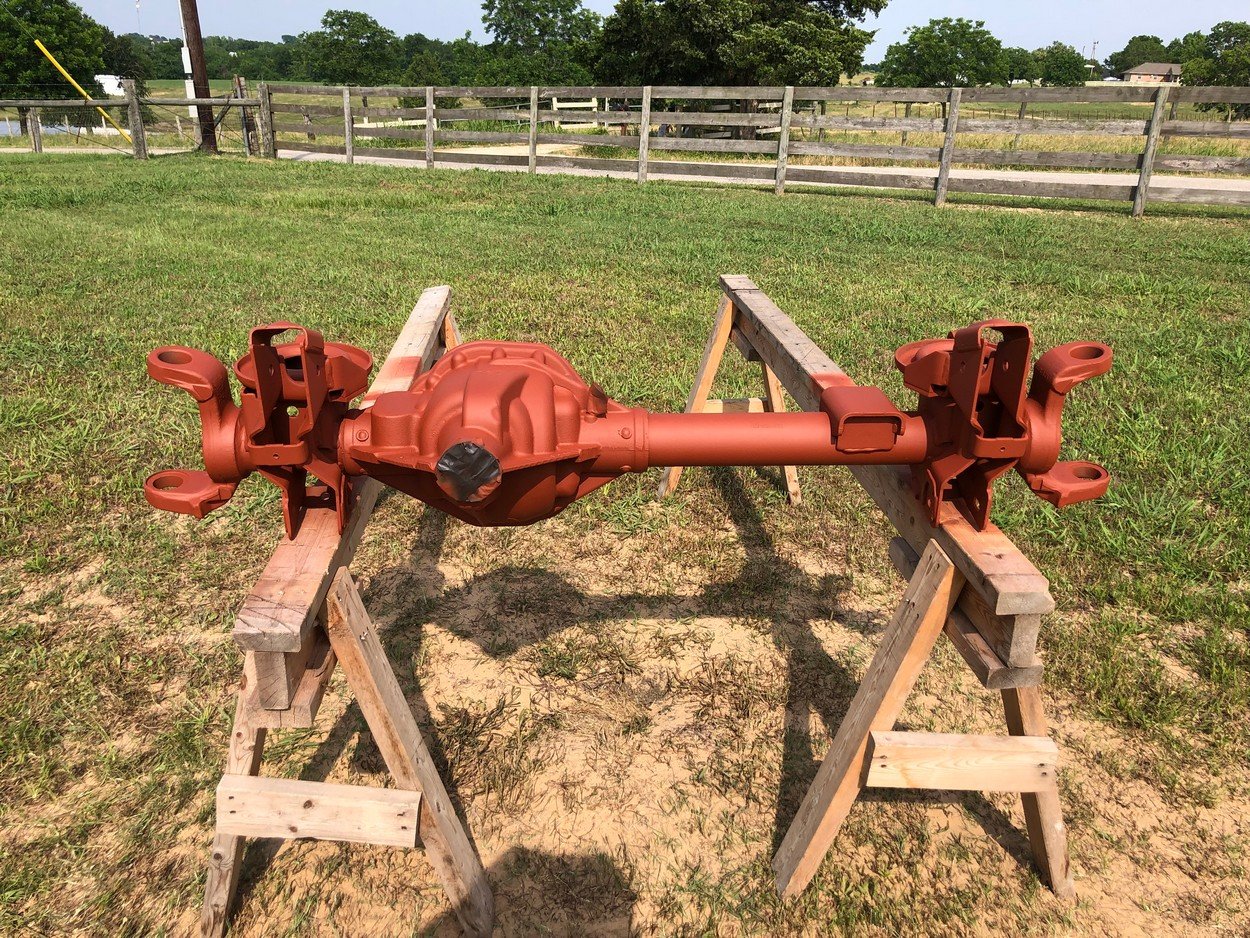
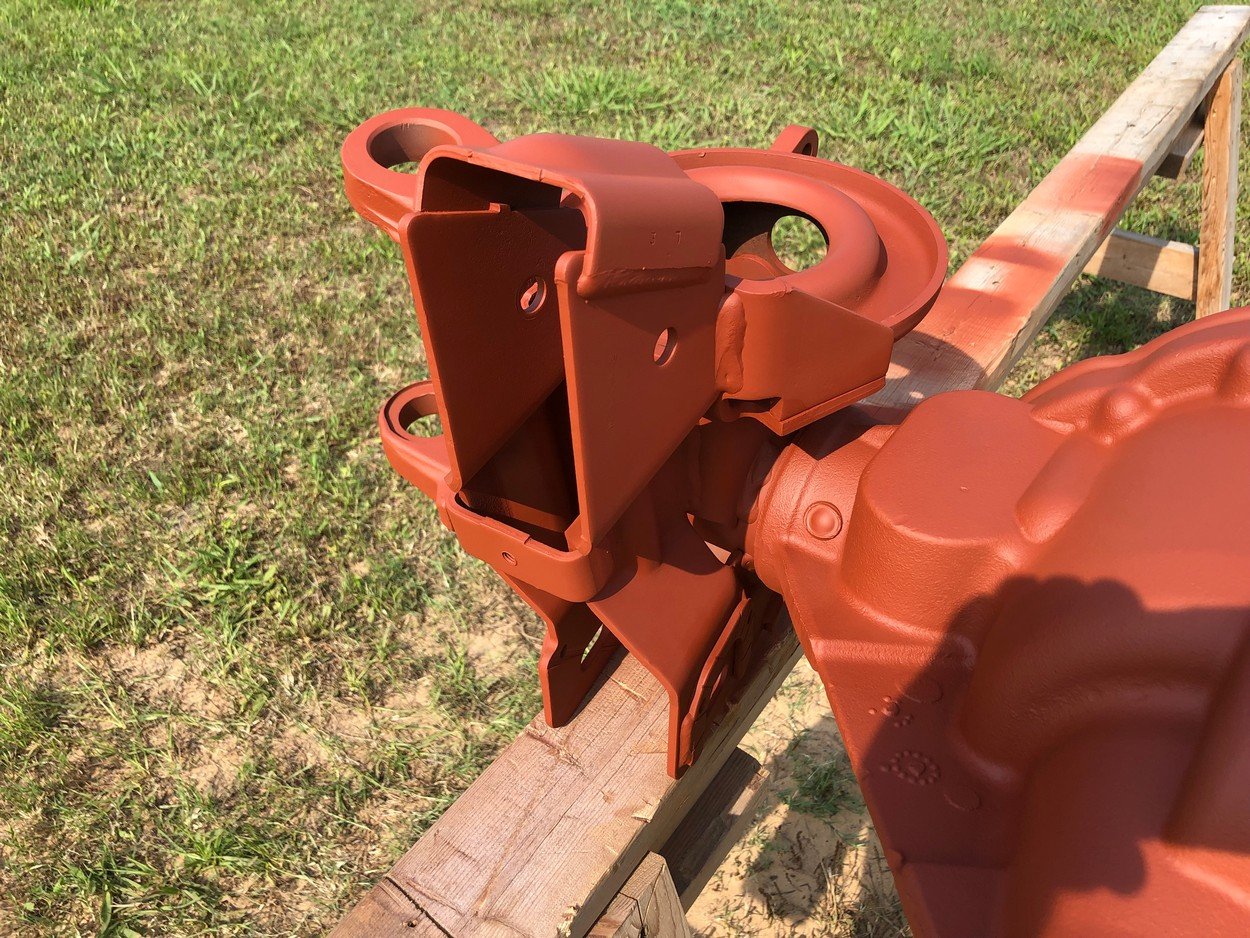
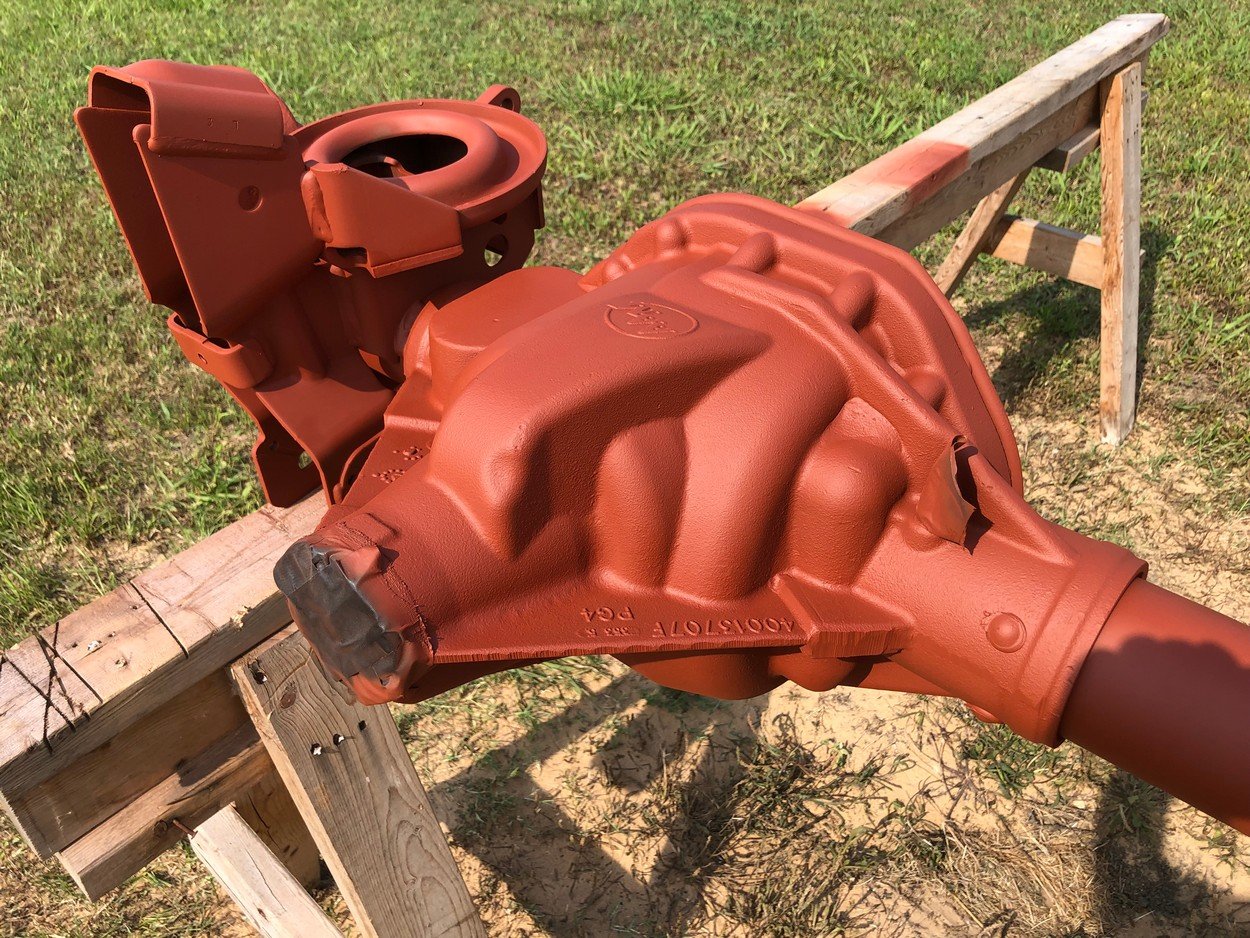
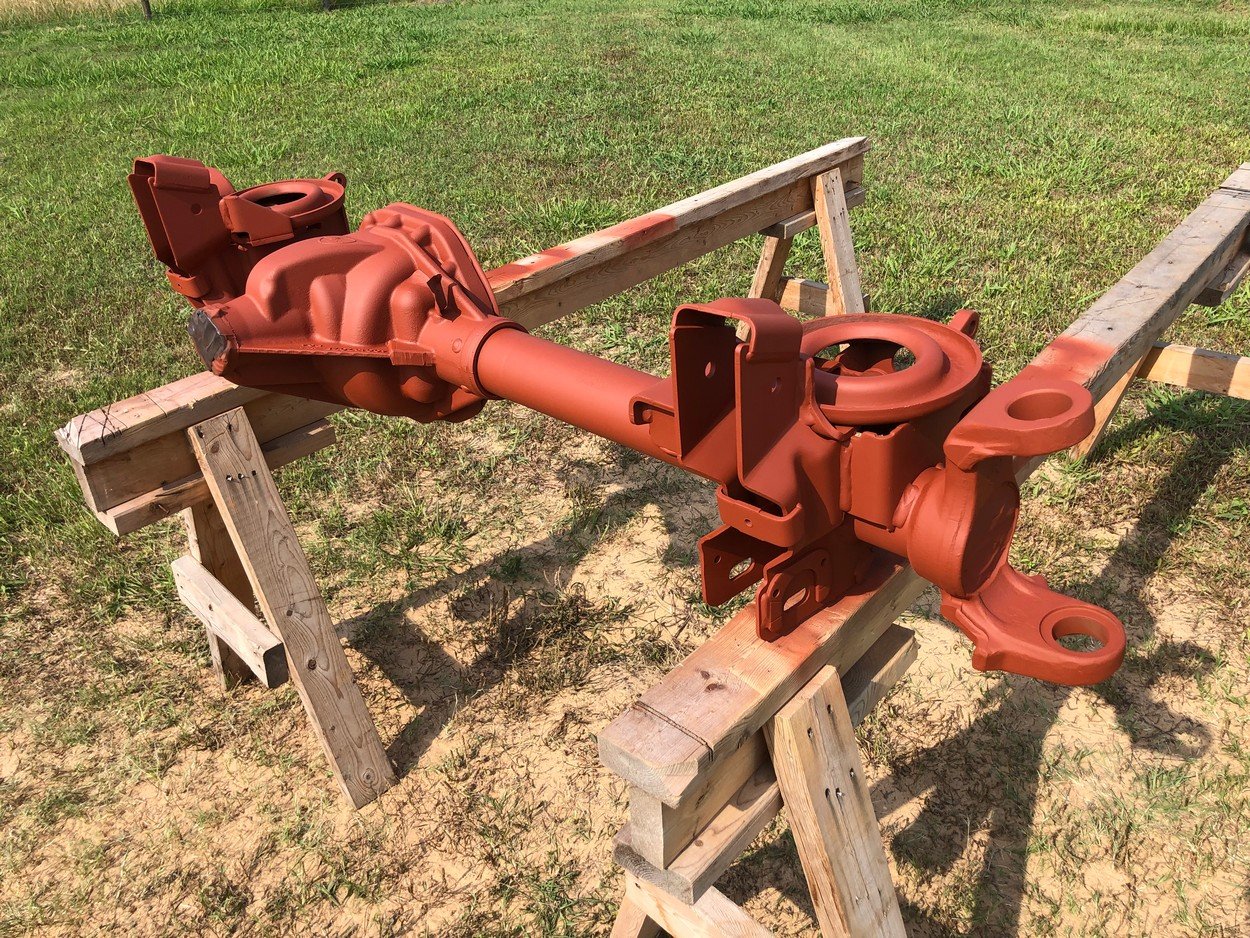
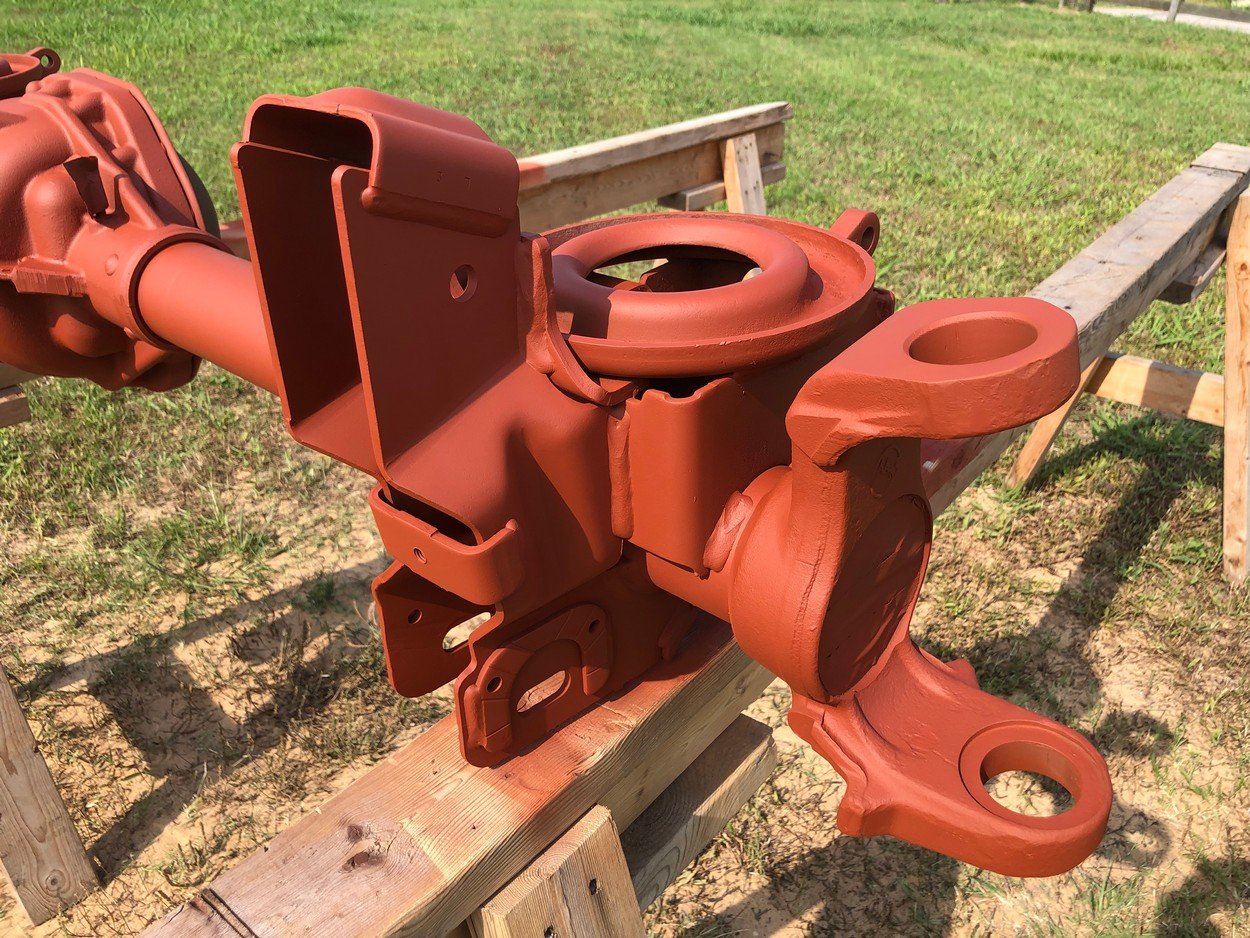
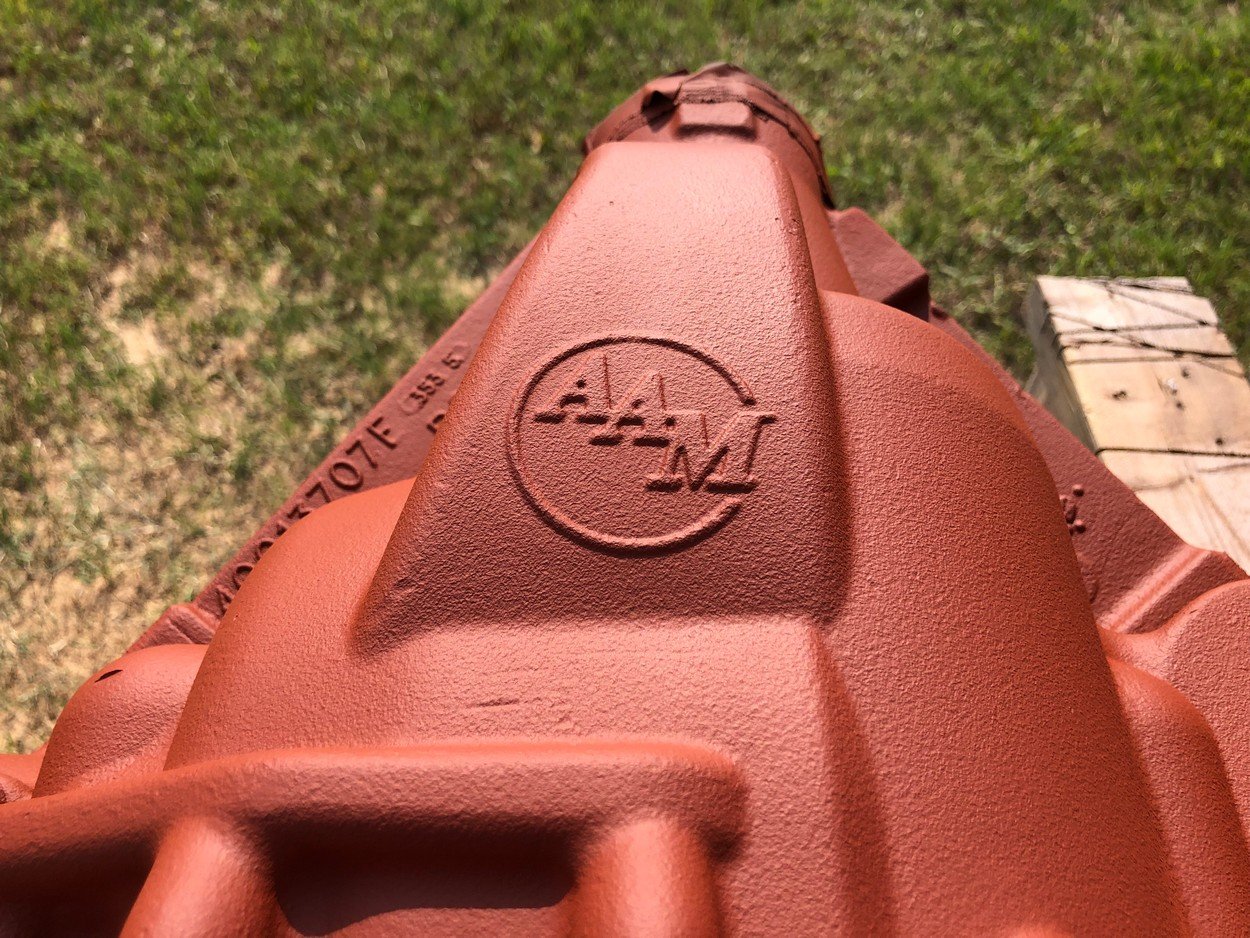
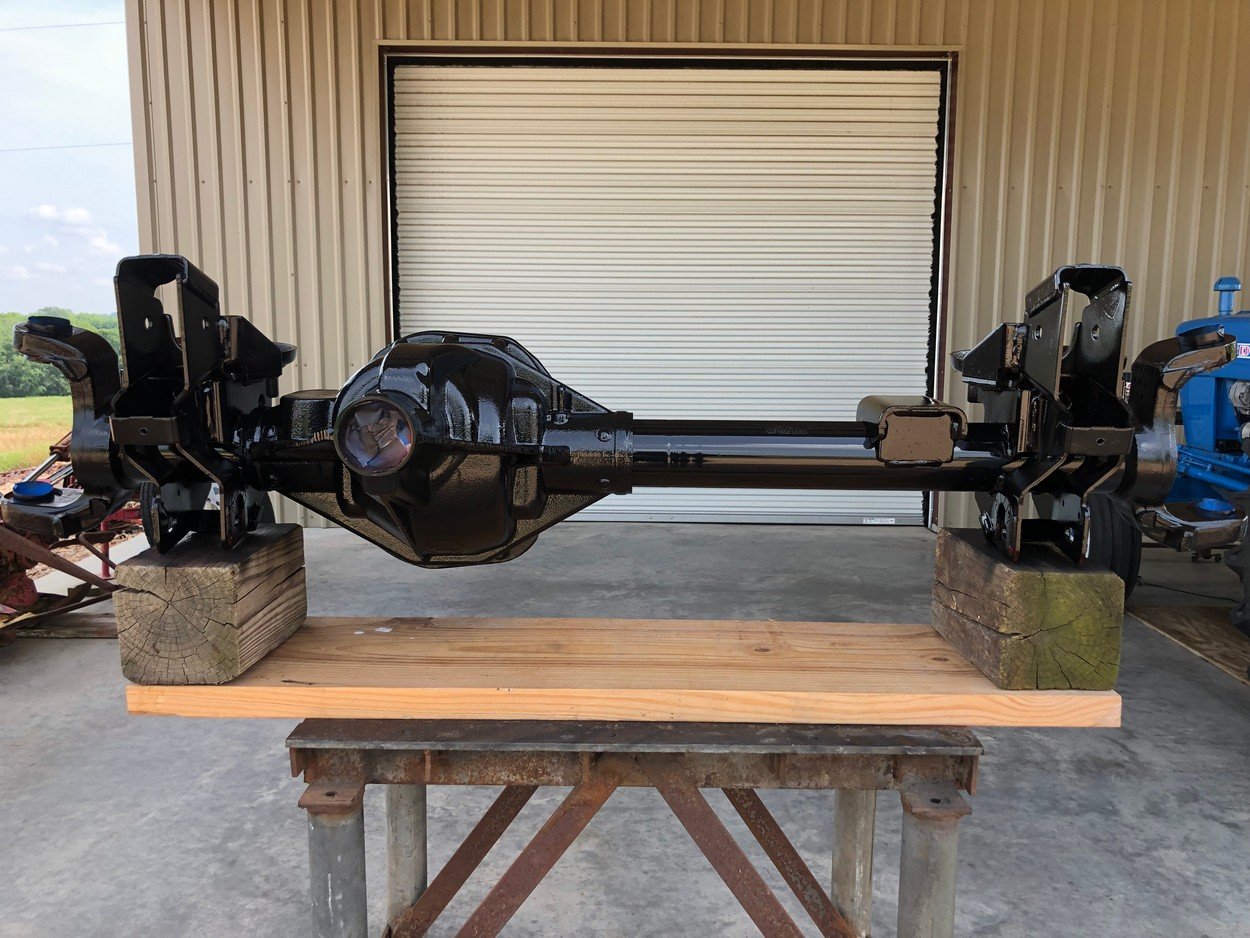
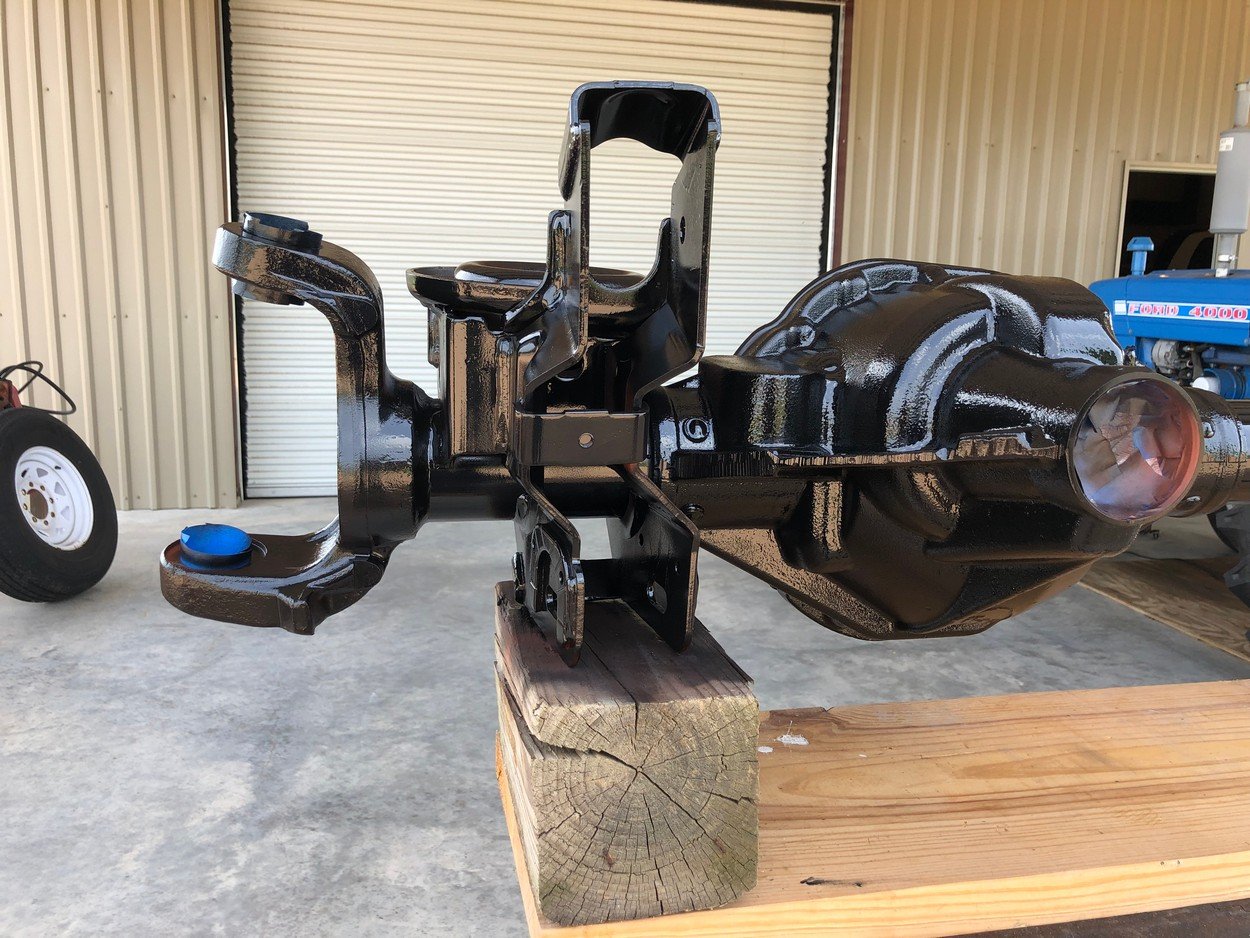
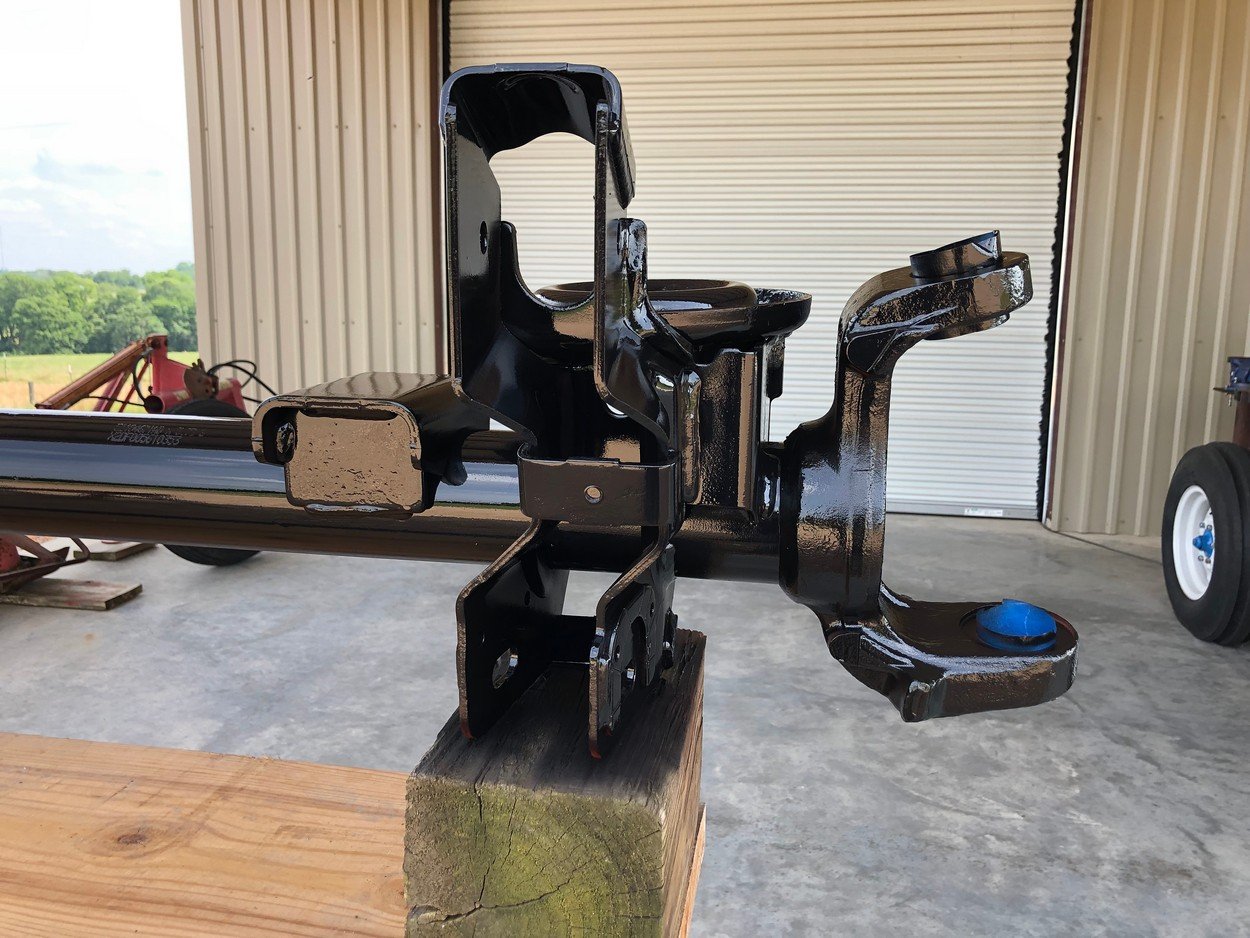

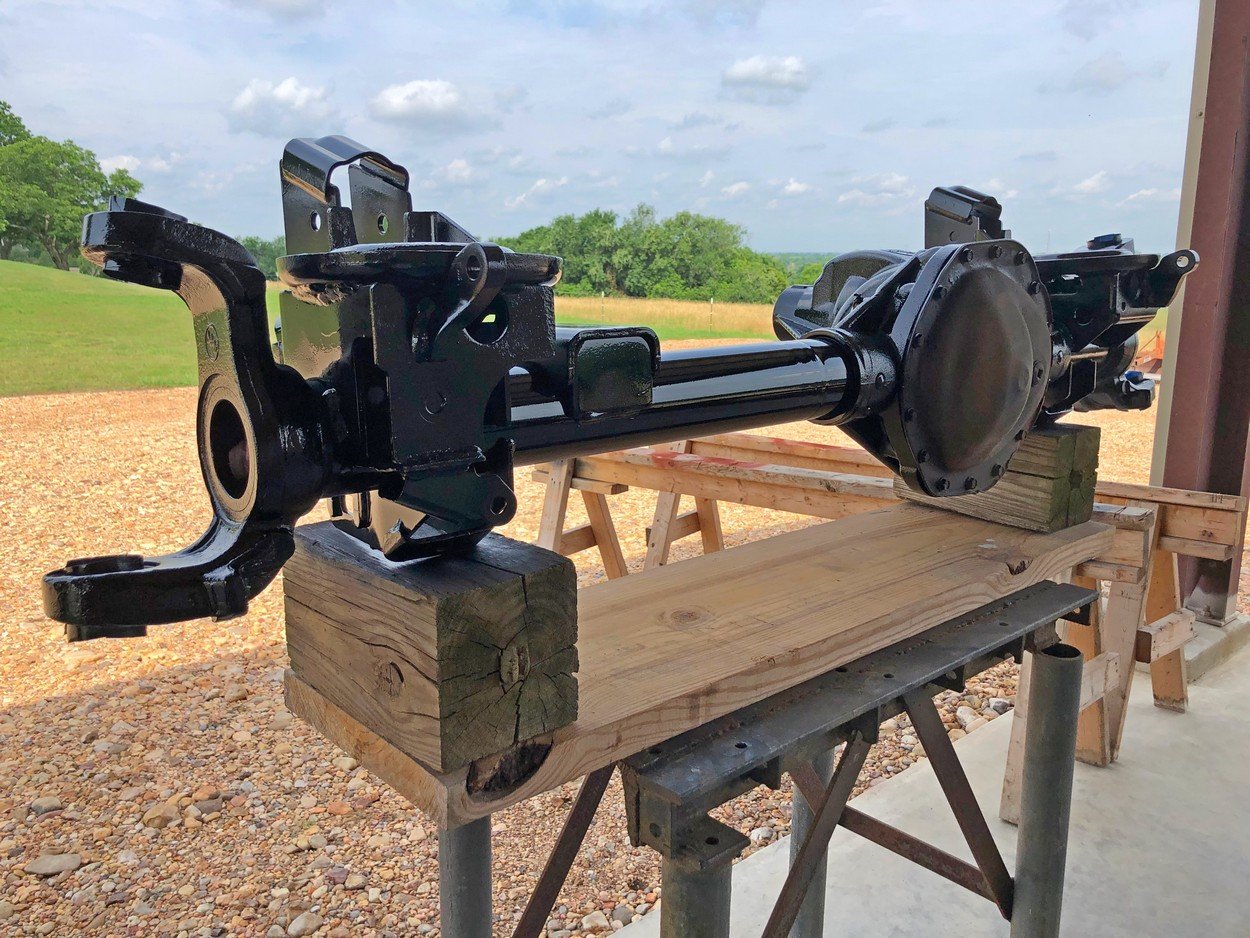
Wash differential housing thoroughly and prepare to re-assemble
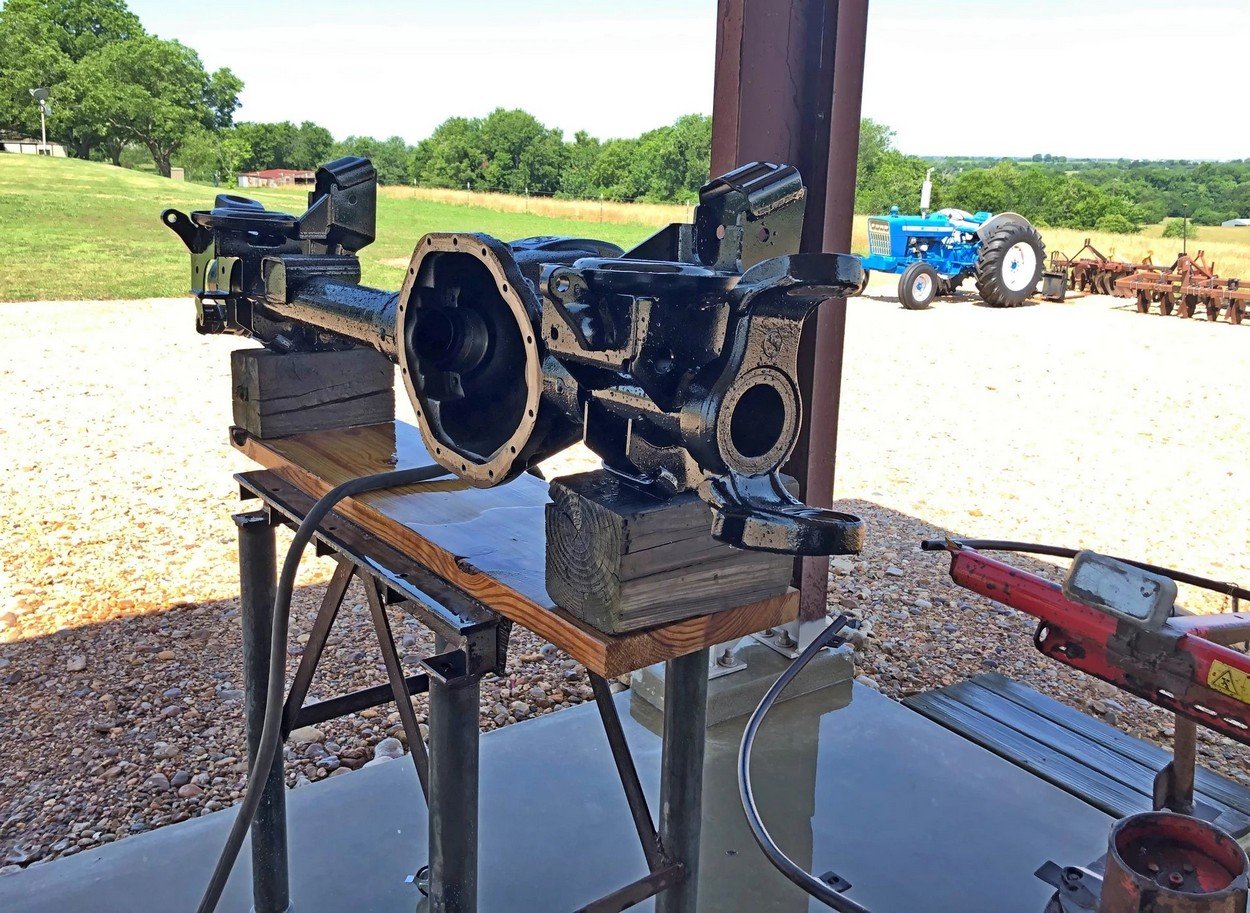
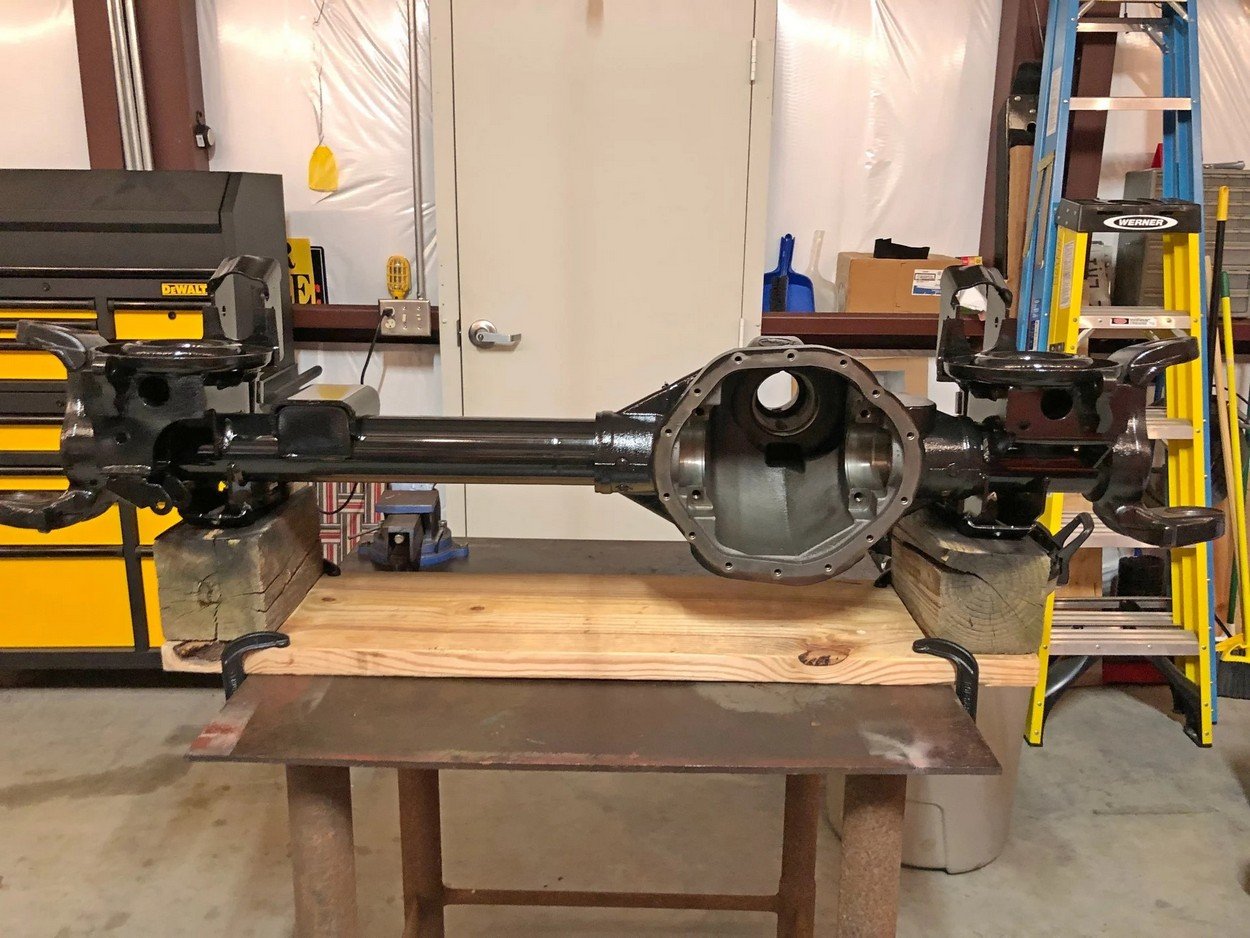
All new bearings & seals for AAM front differential.
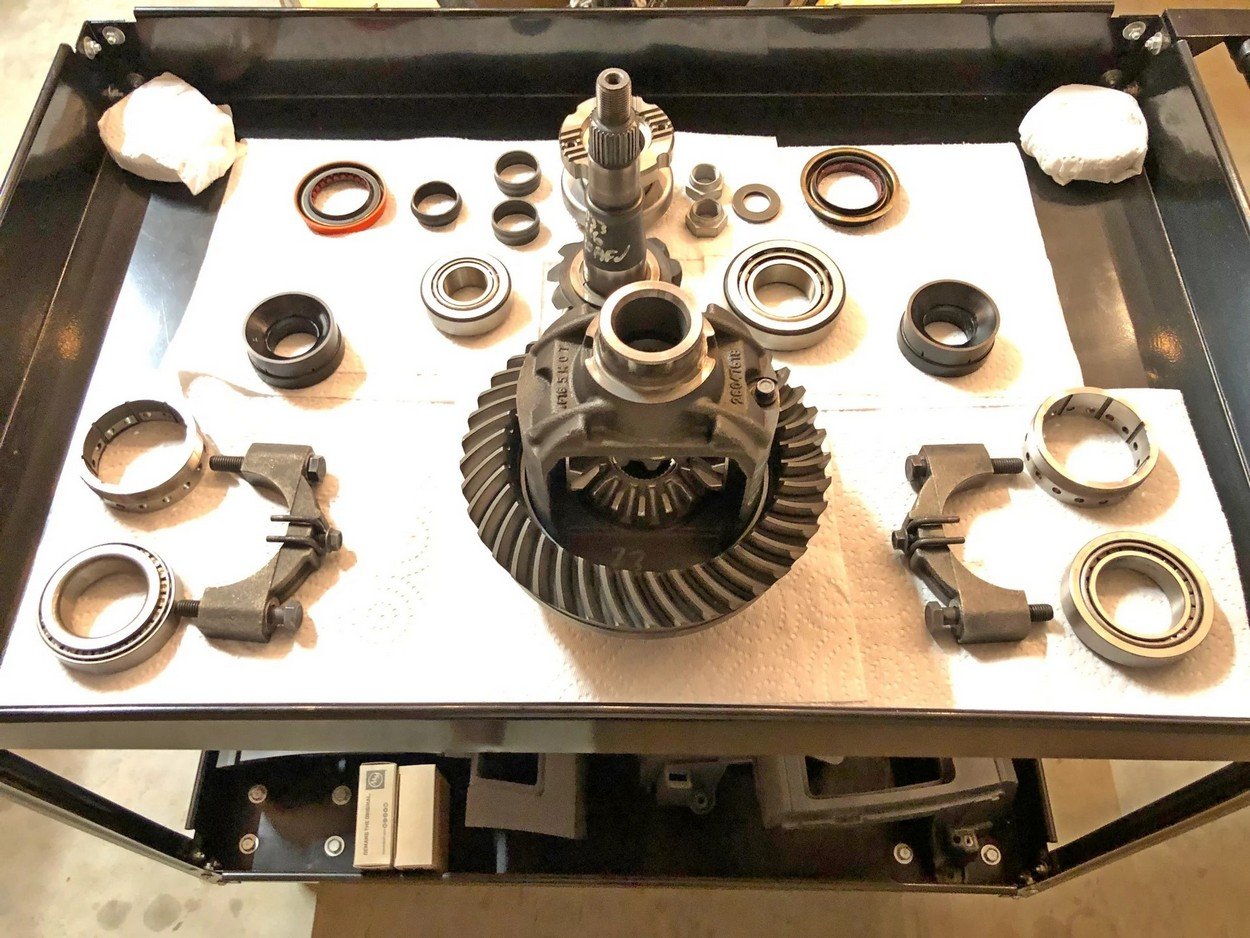
Install new axle seals and races in housing
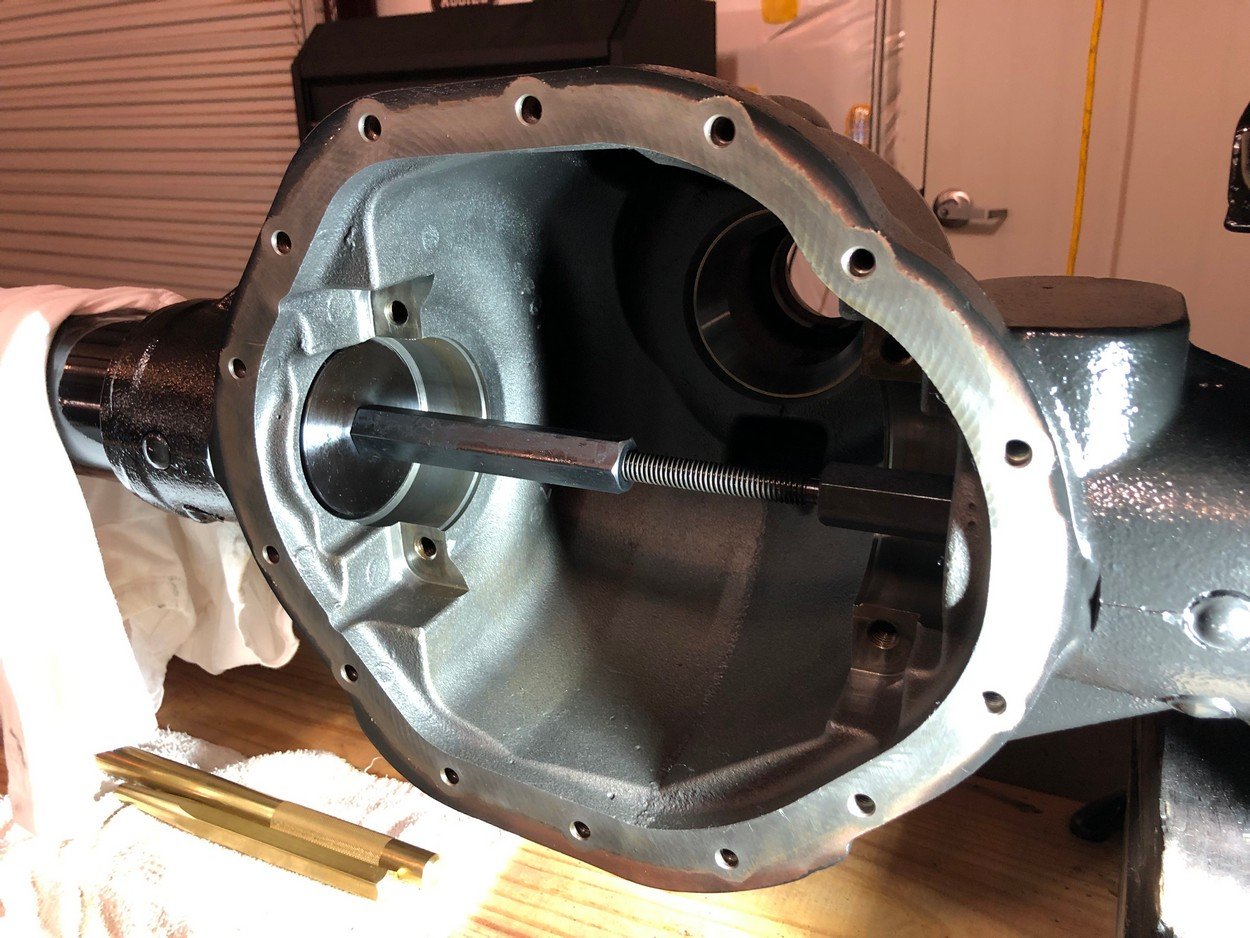
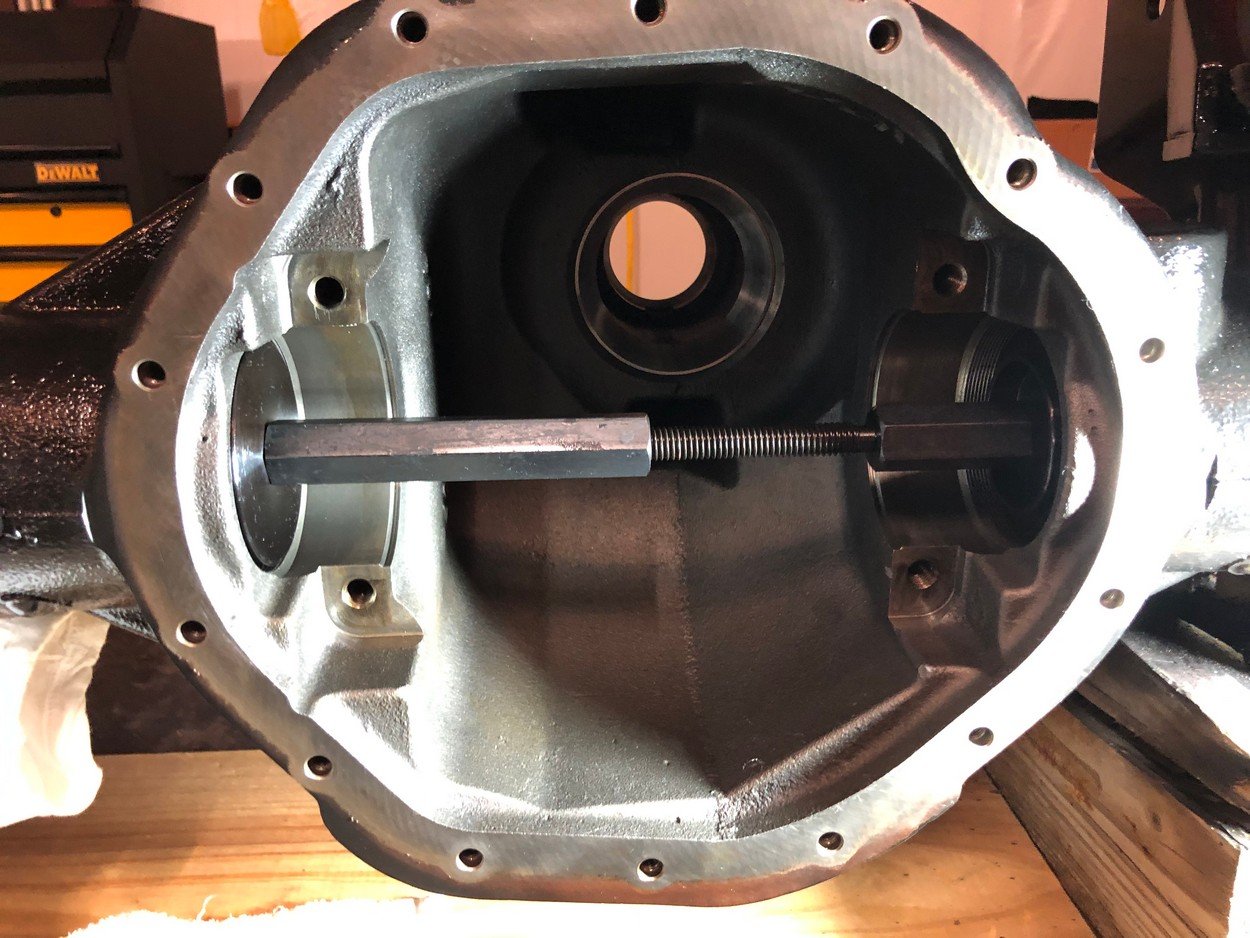
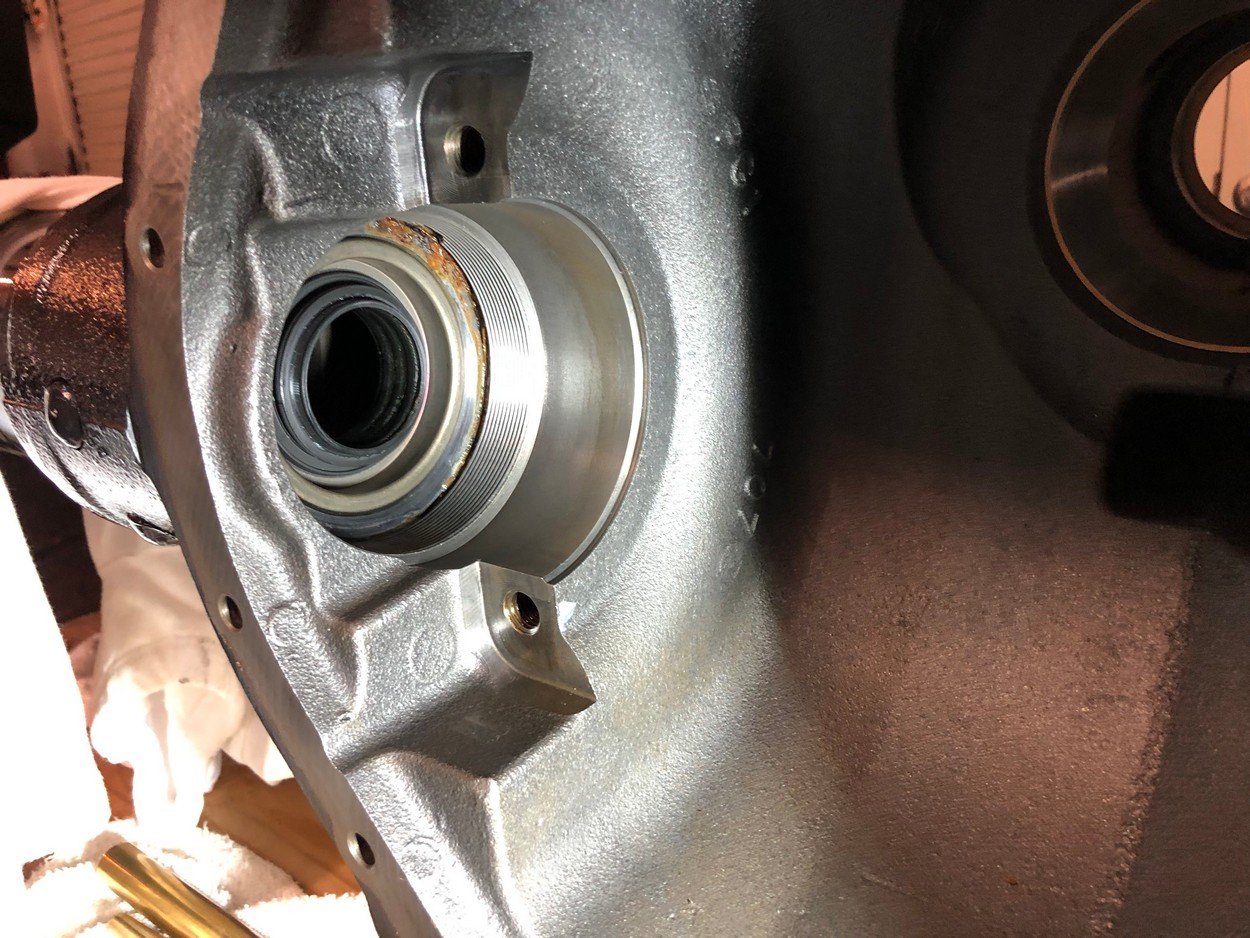
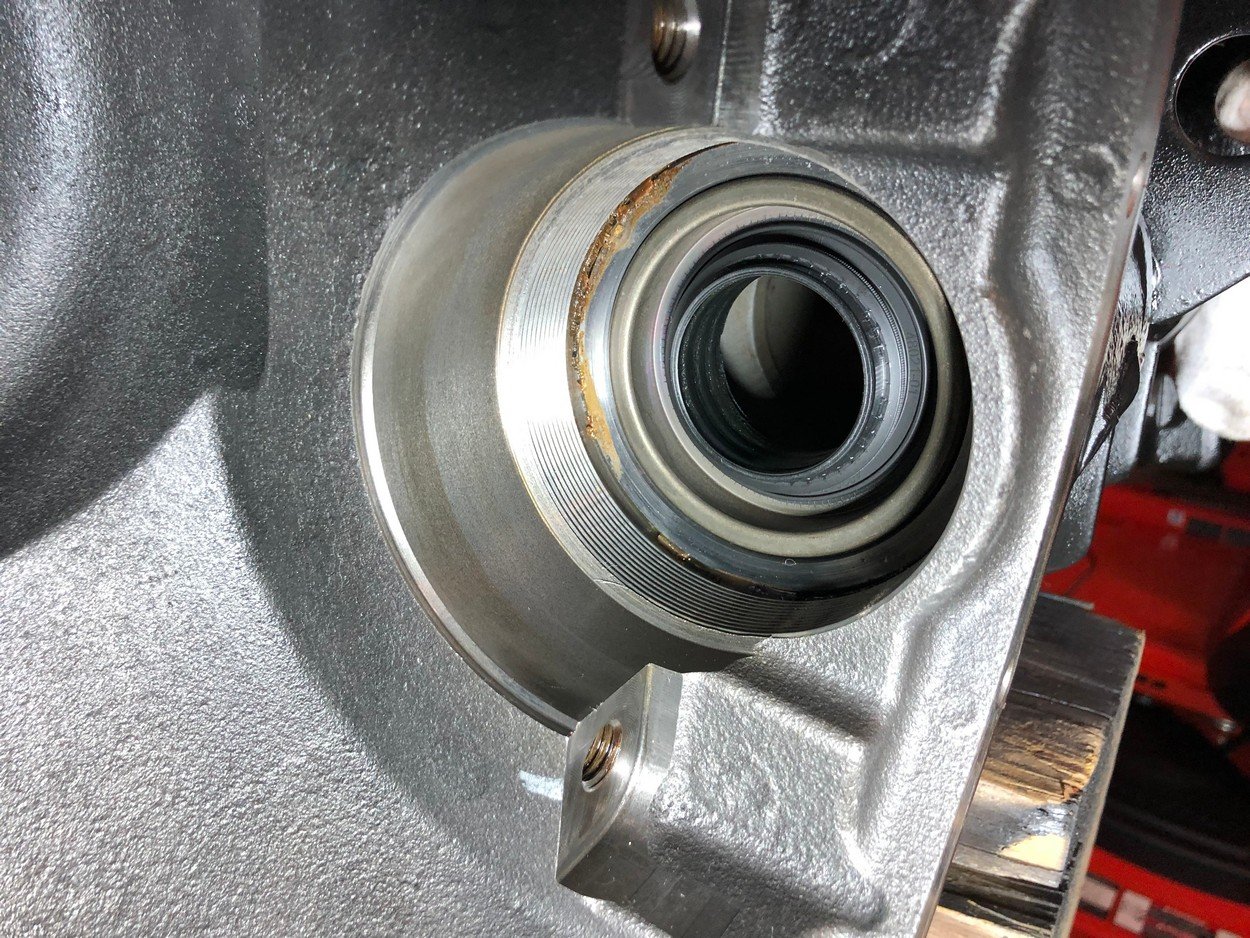
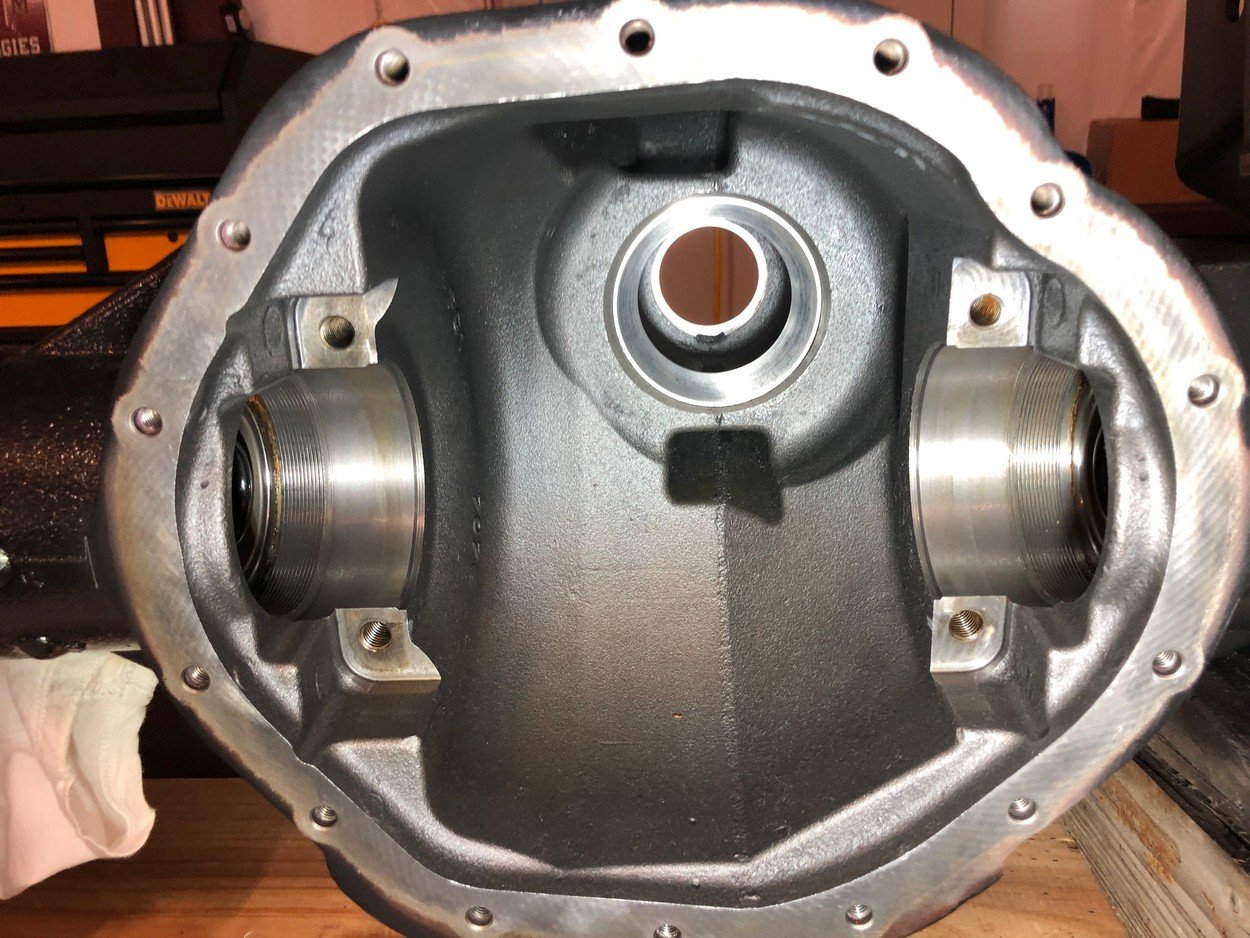
Install spacer shim, press new bearing on pinion and drop on crush sleeve.
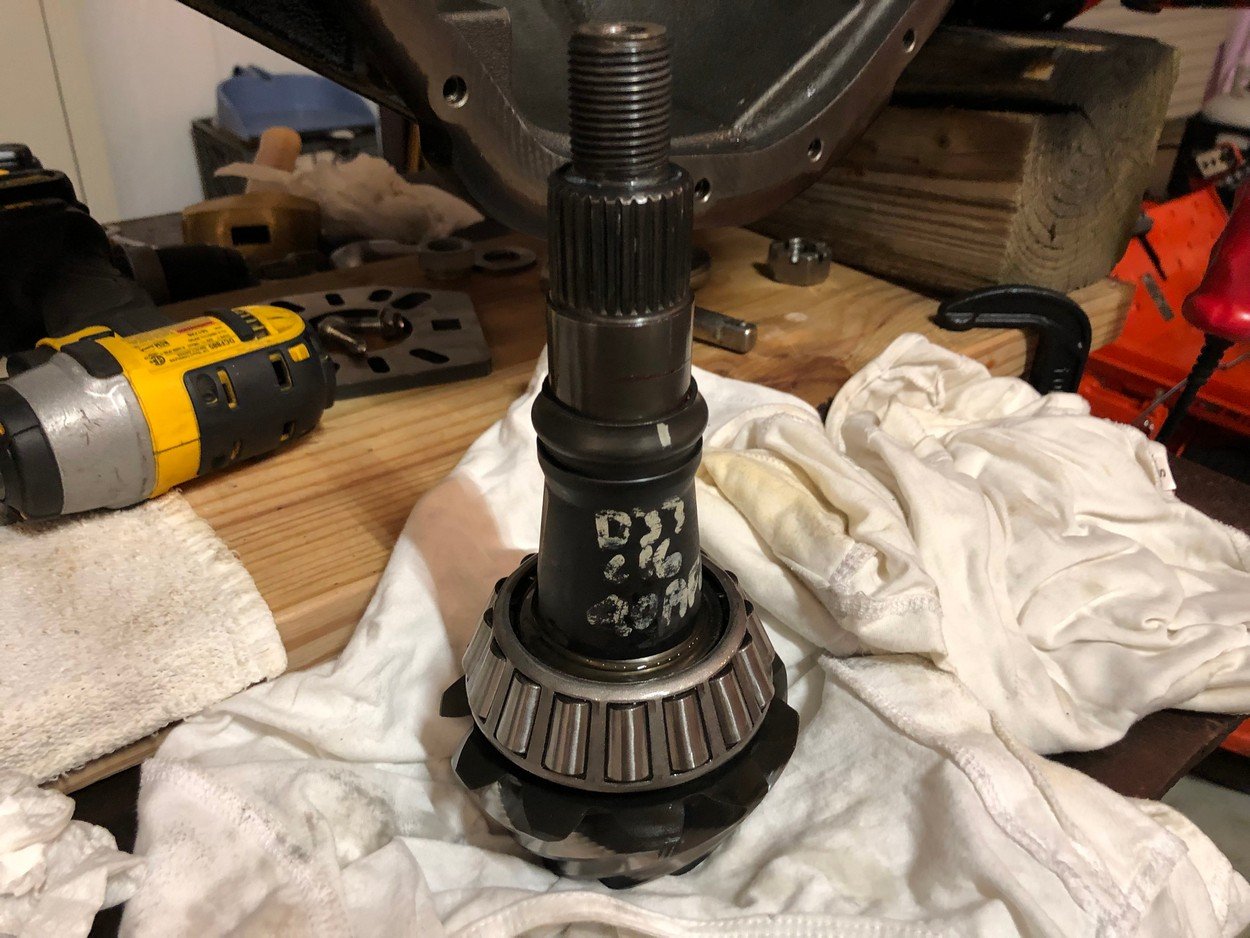
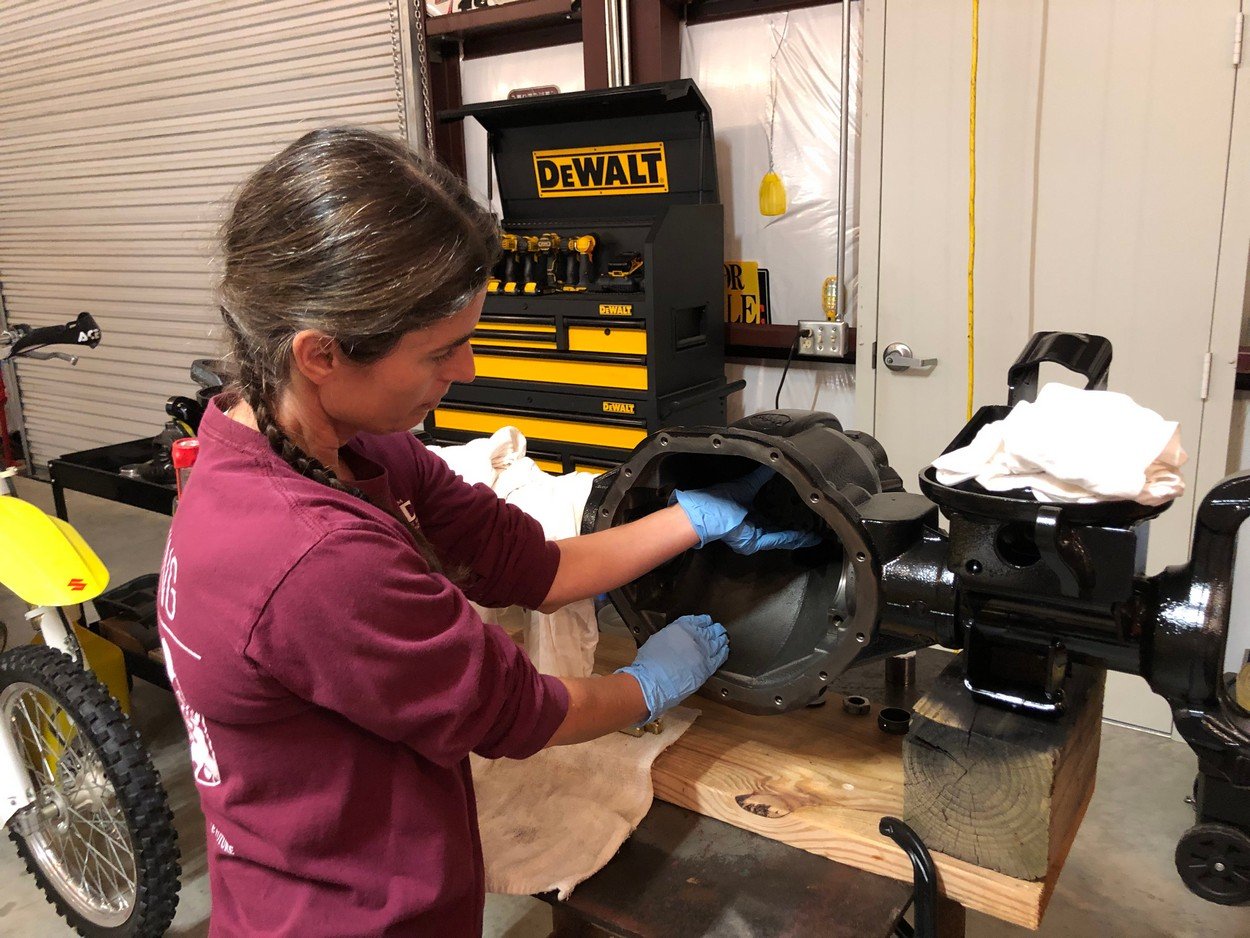
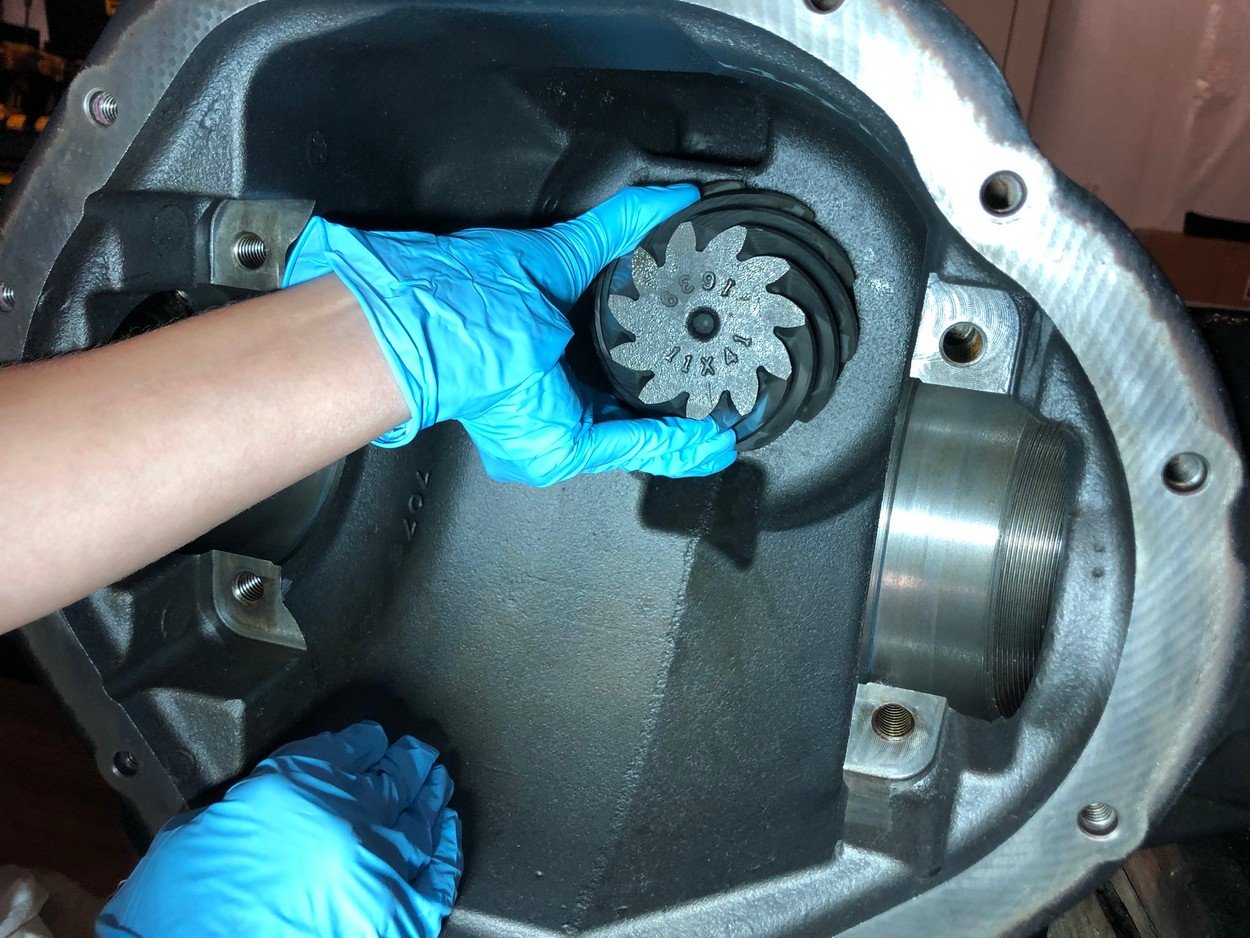
Use tool to hold pinion flange while setting pinion preload on crush sleeve
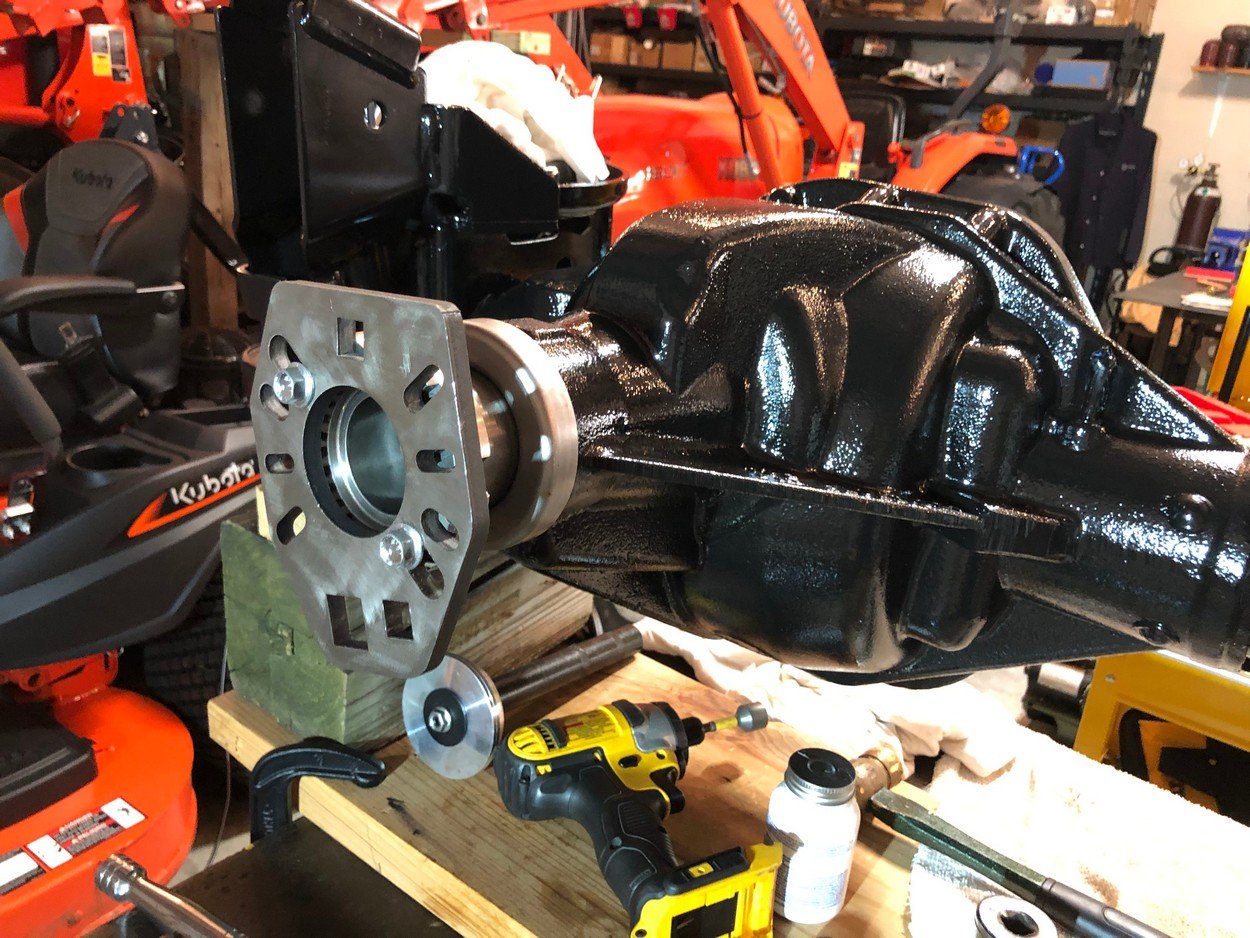
If too much preload is applied, (spec is 15-25 inch pounds) pull flange and try again!
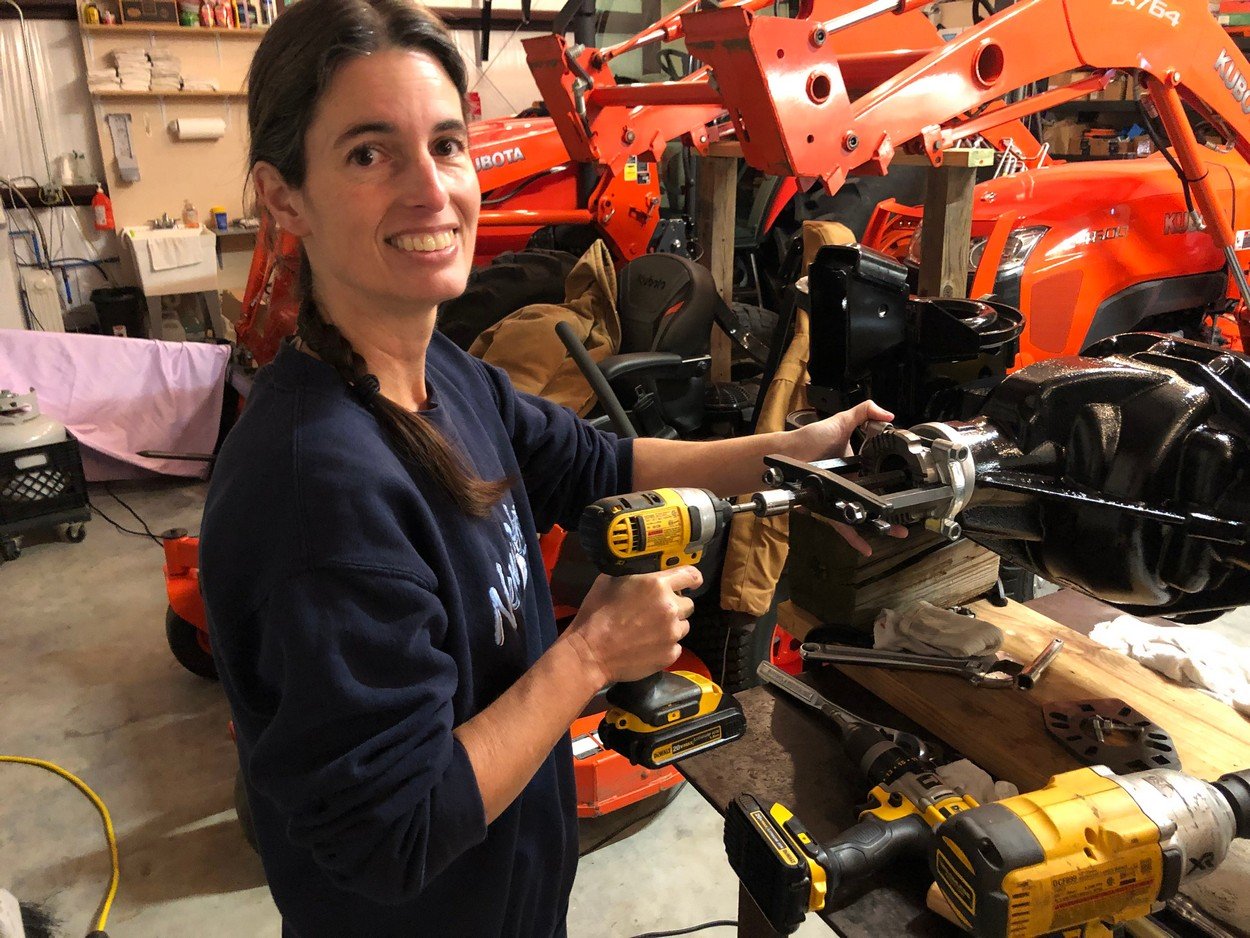
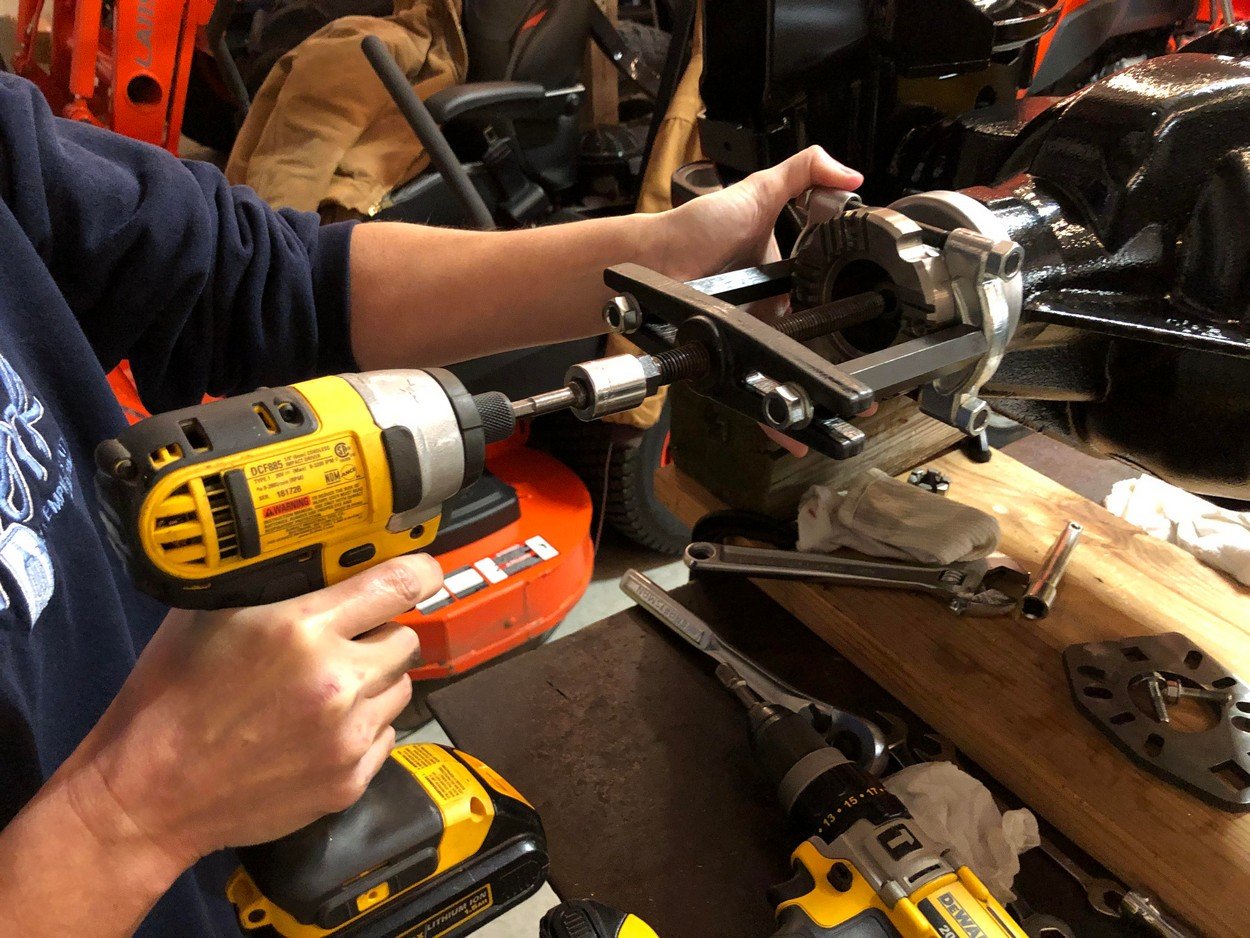
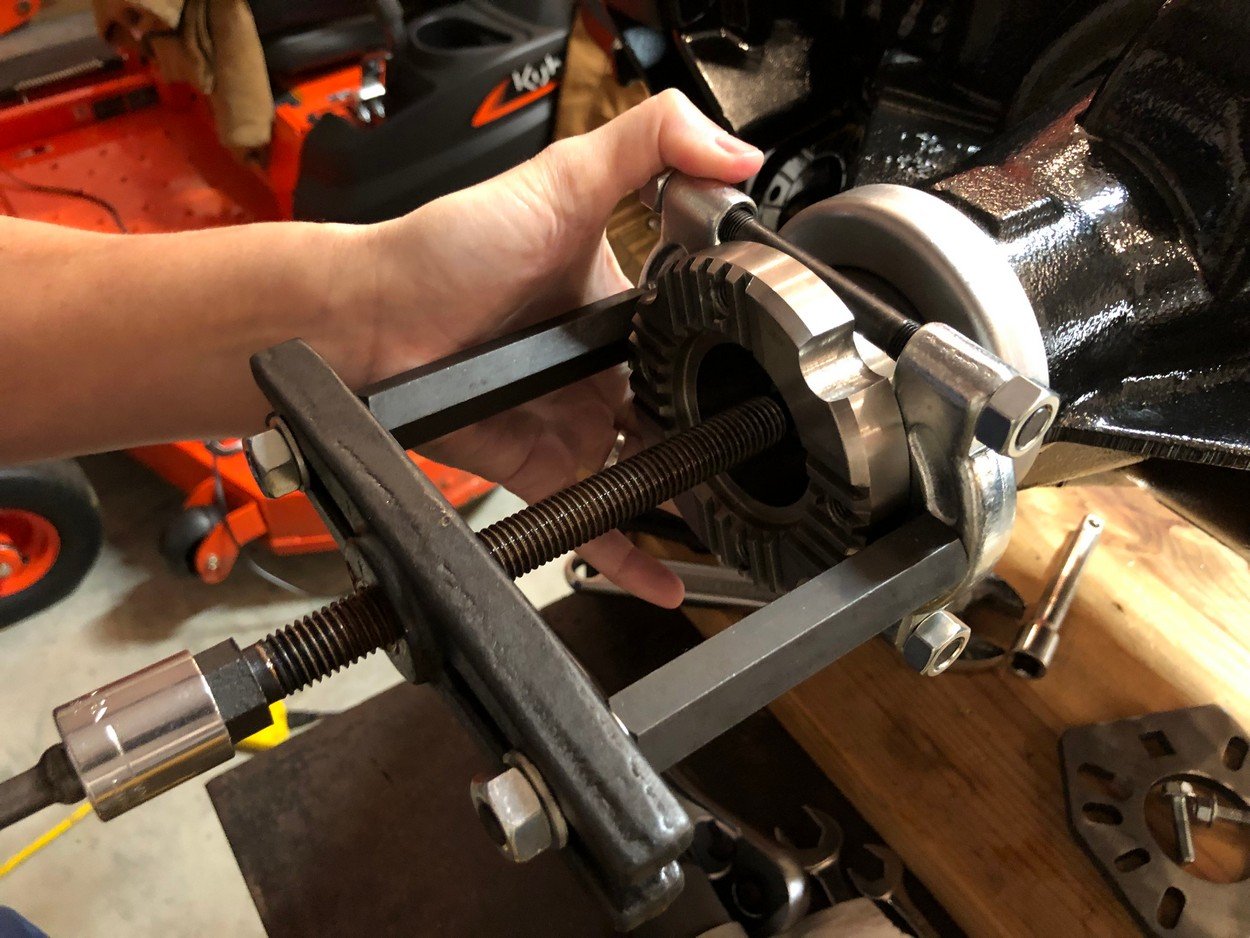
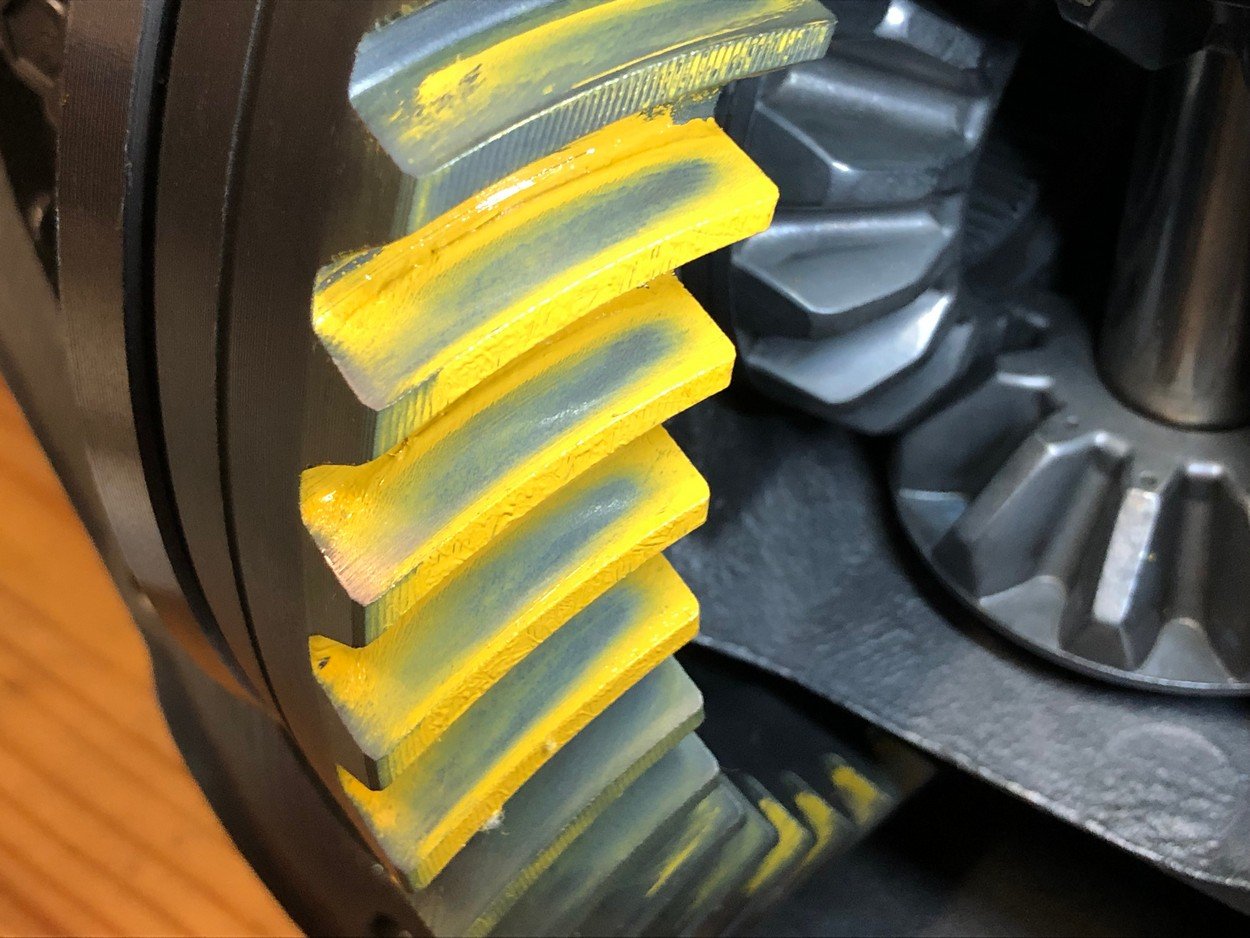
Install carrier and set backlash
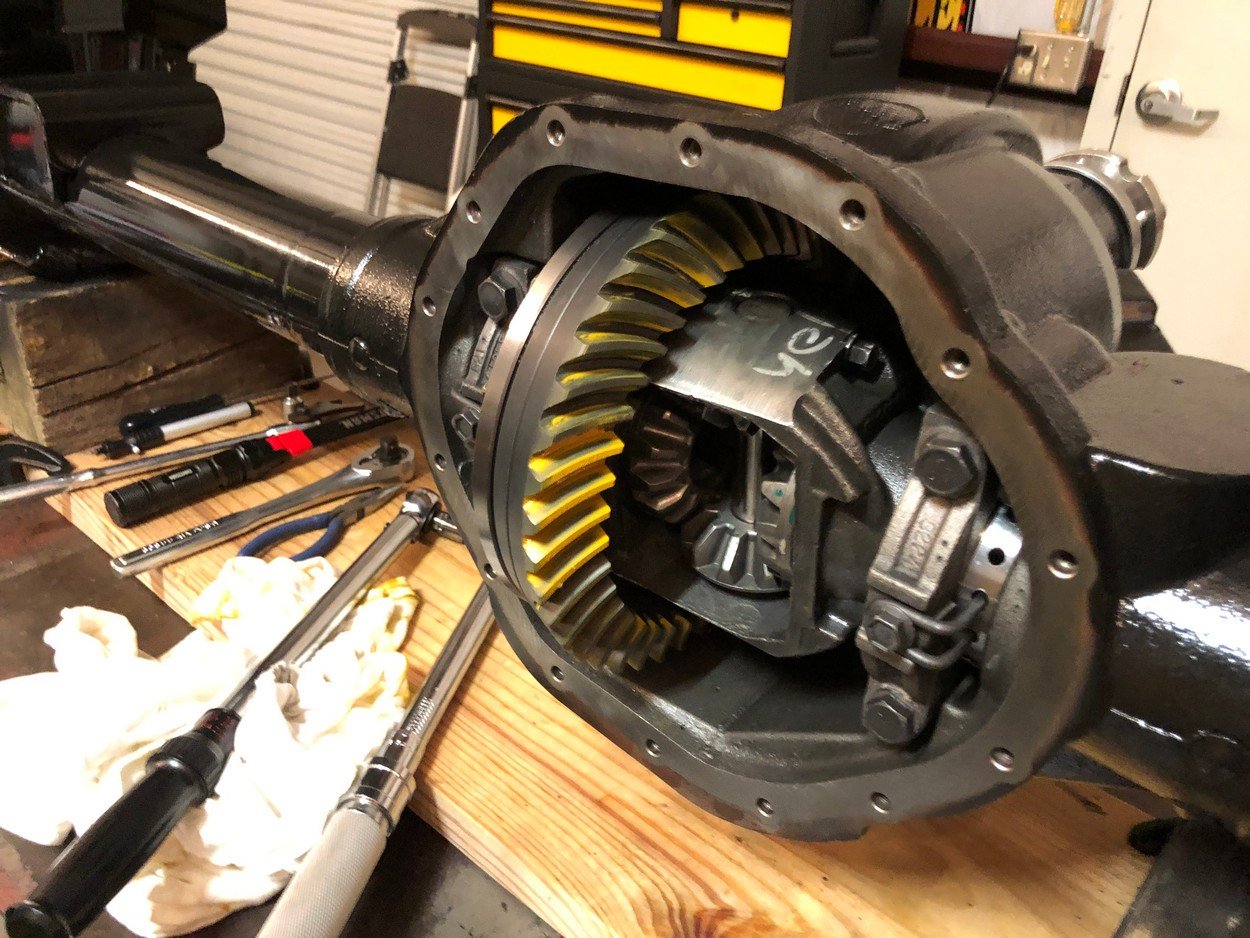
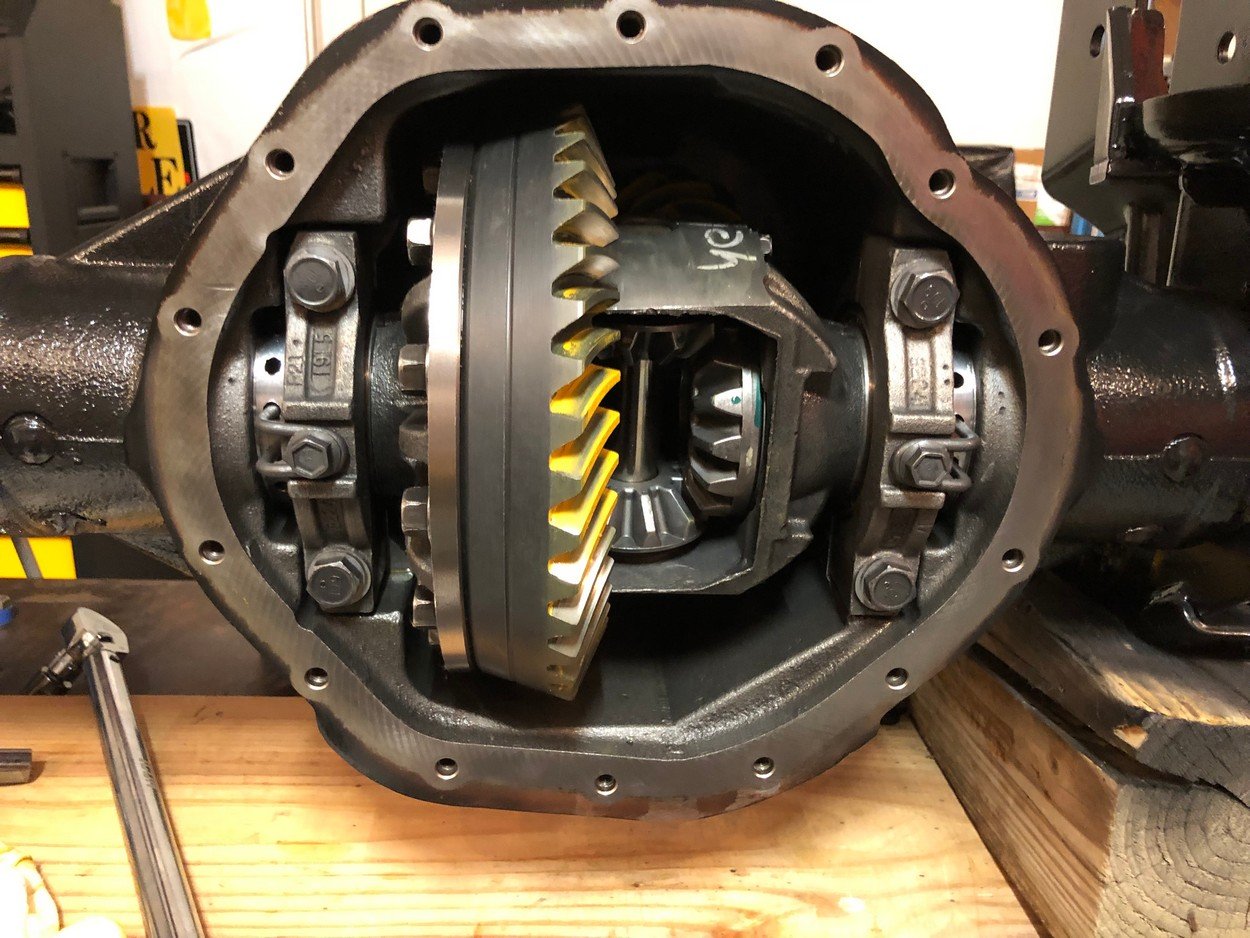
Wear pattern looked the best at .007
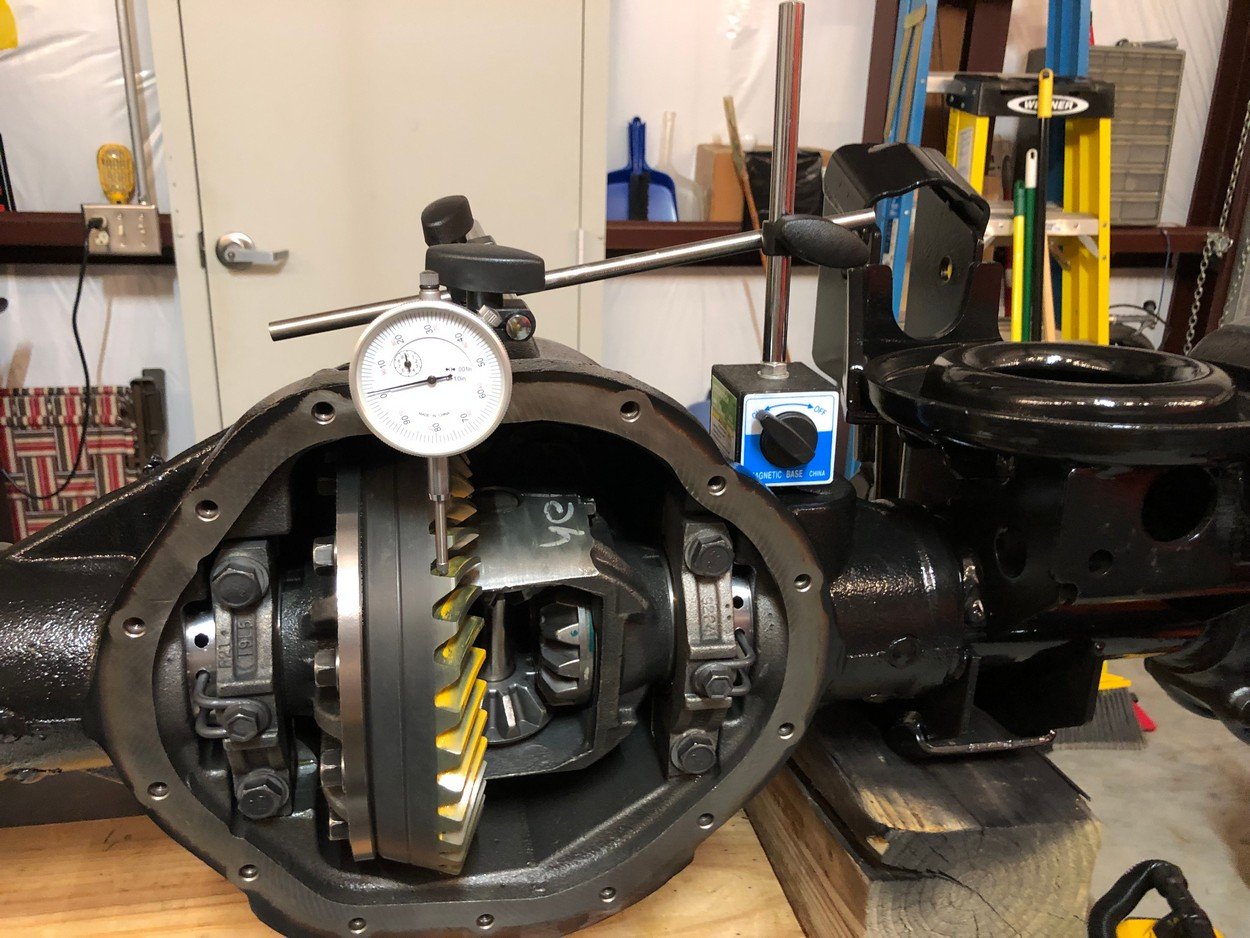
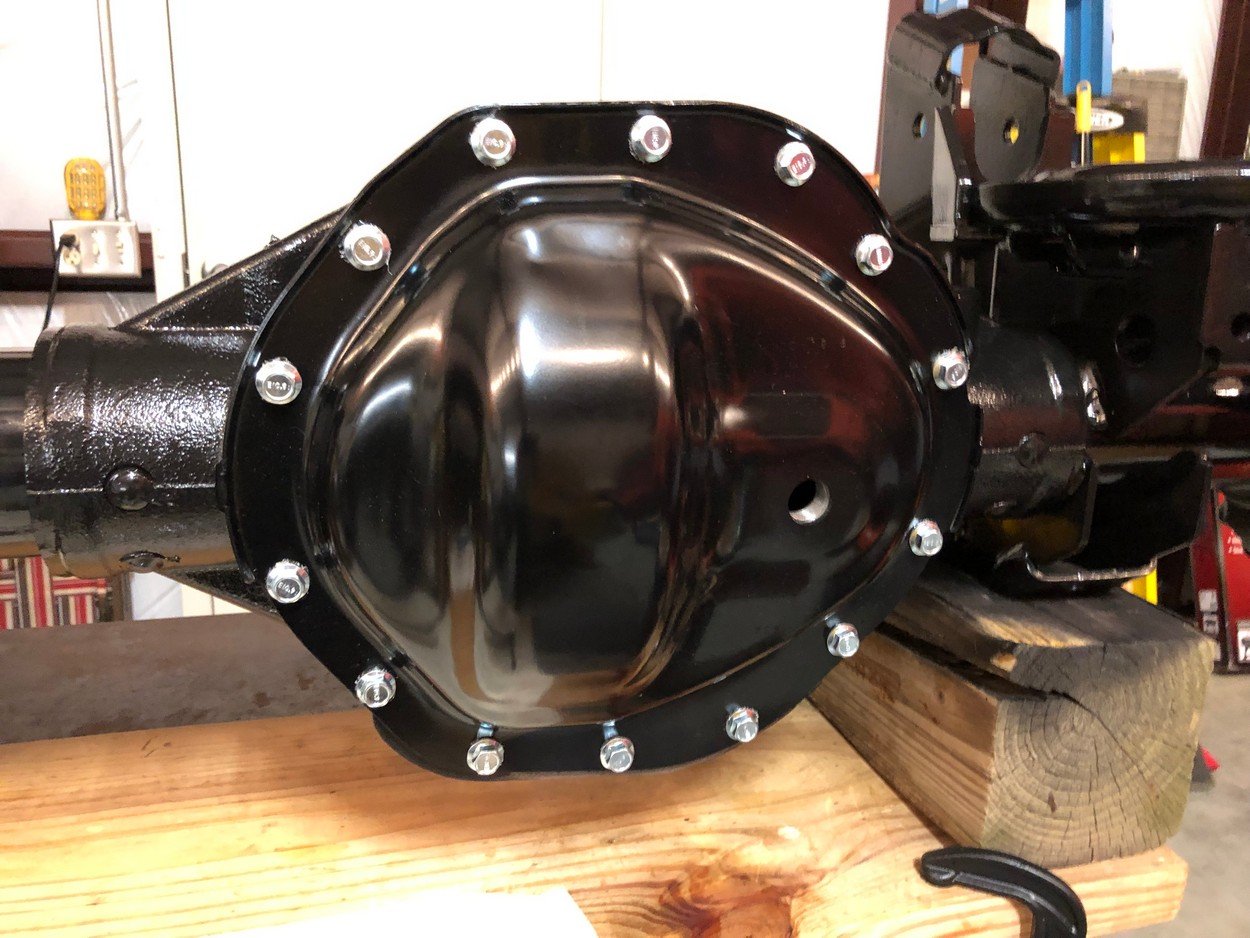
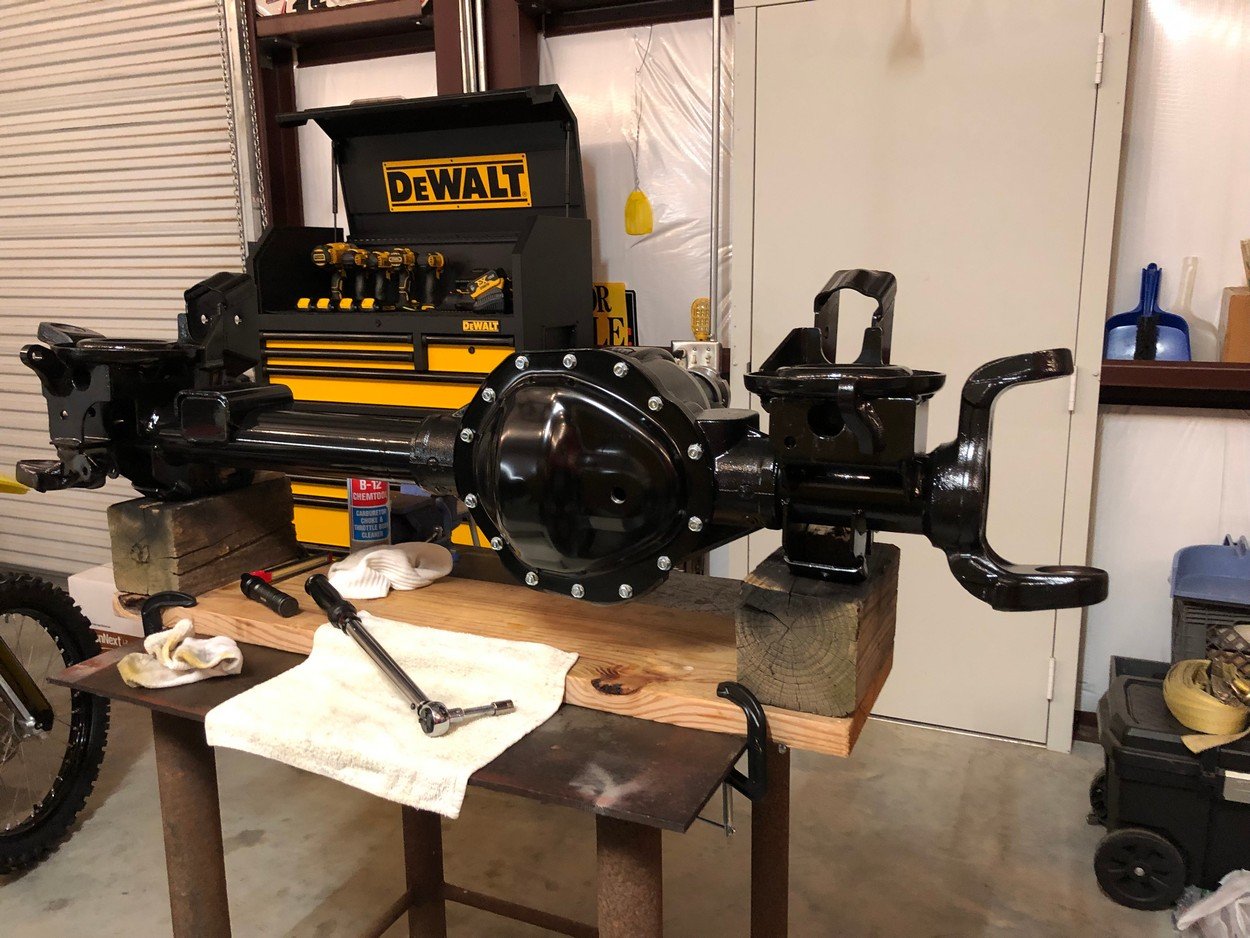
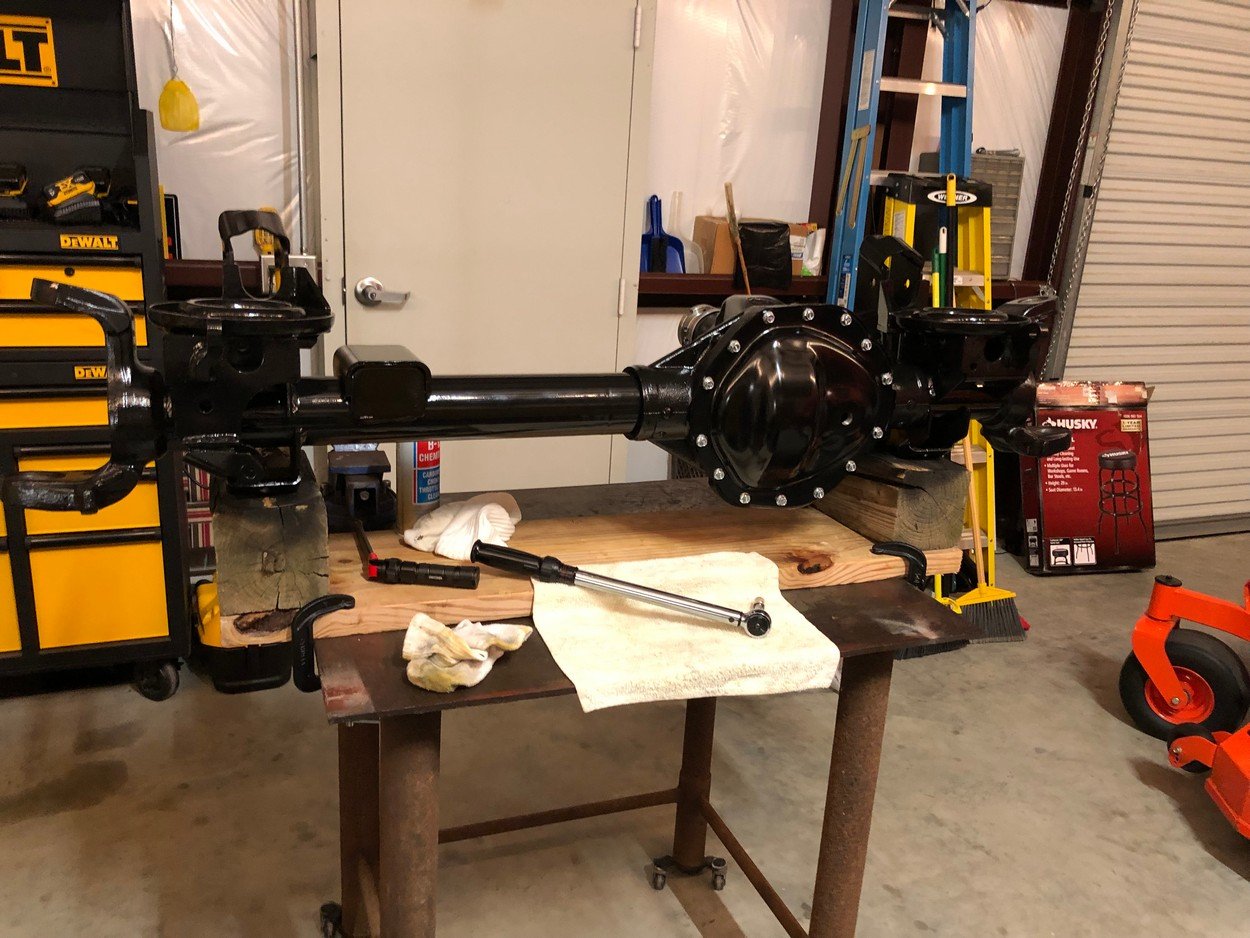
Close 'er up and ready to go!
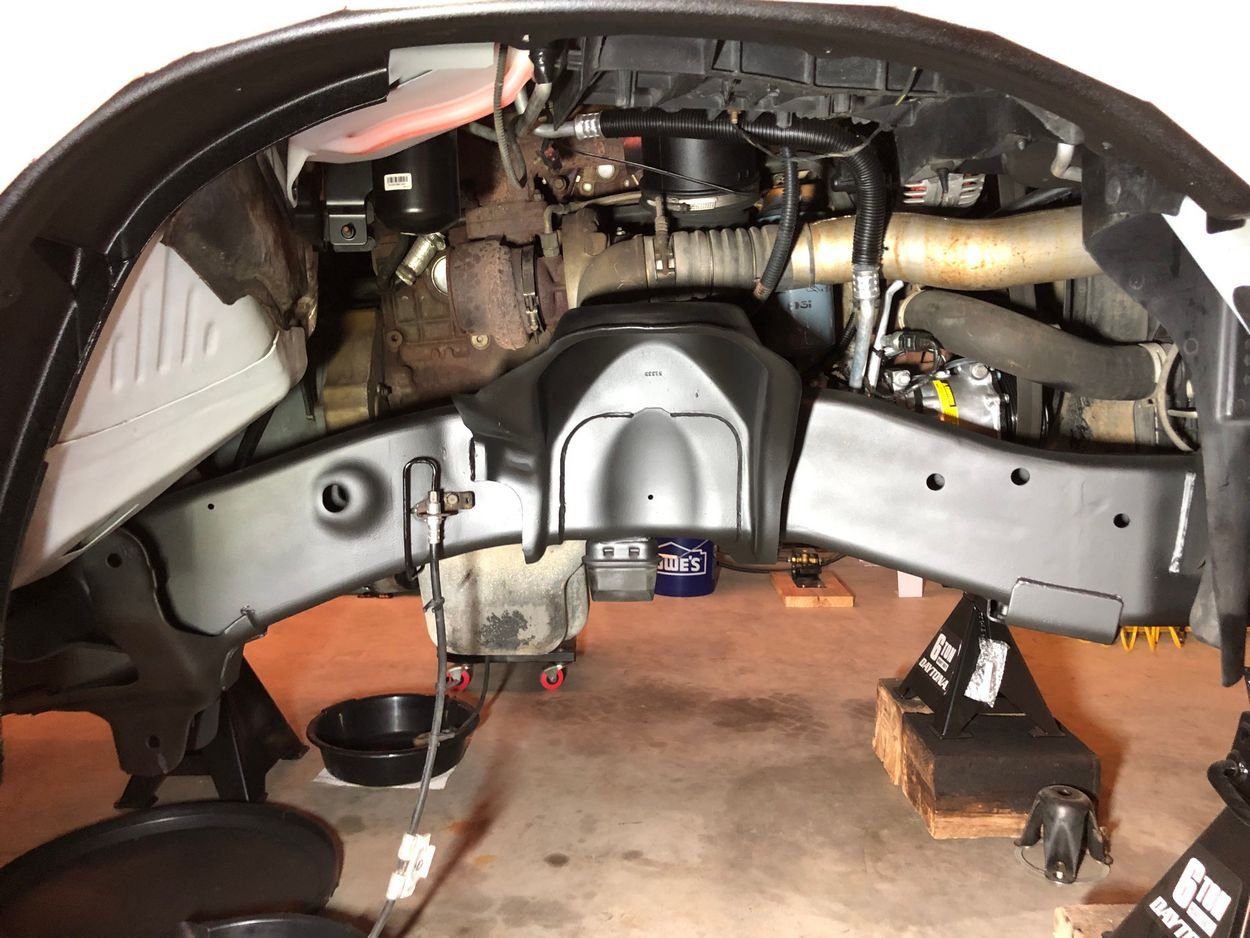
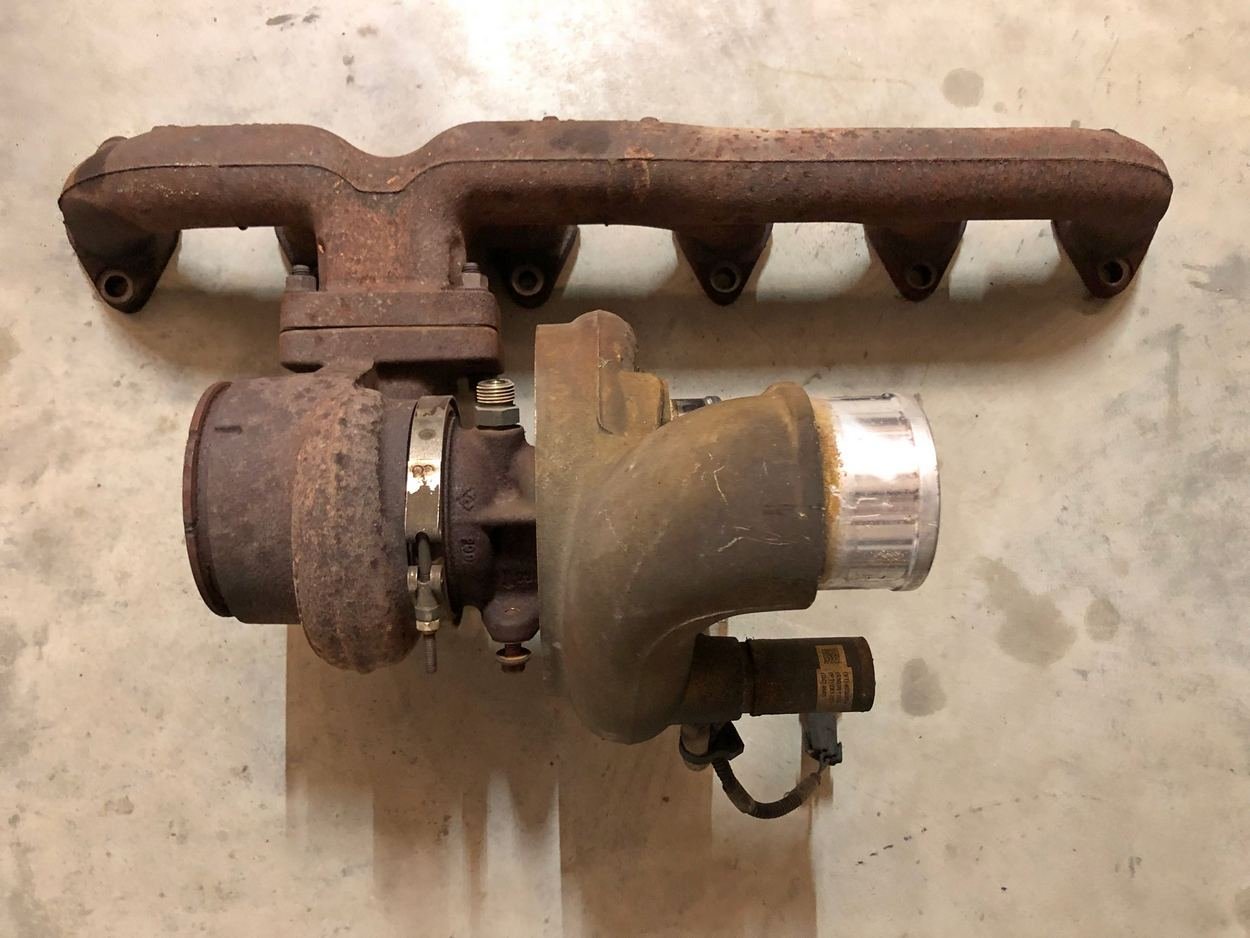
Before putting front axle in, replace manifold and turbo
because its so easy to access the old stuff with the axle out
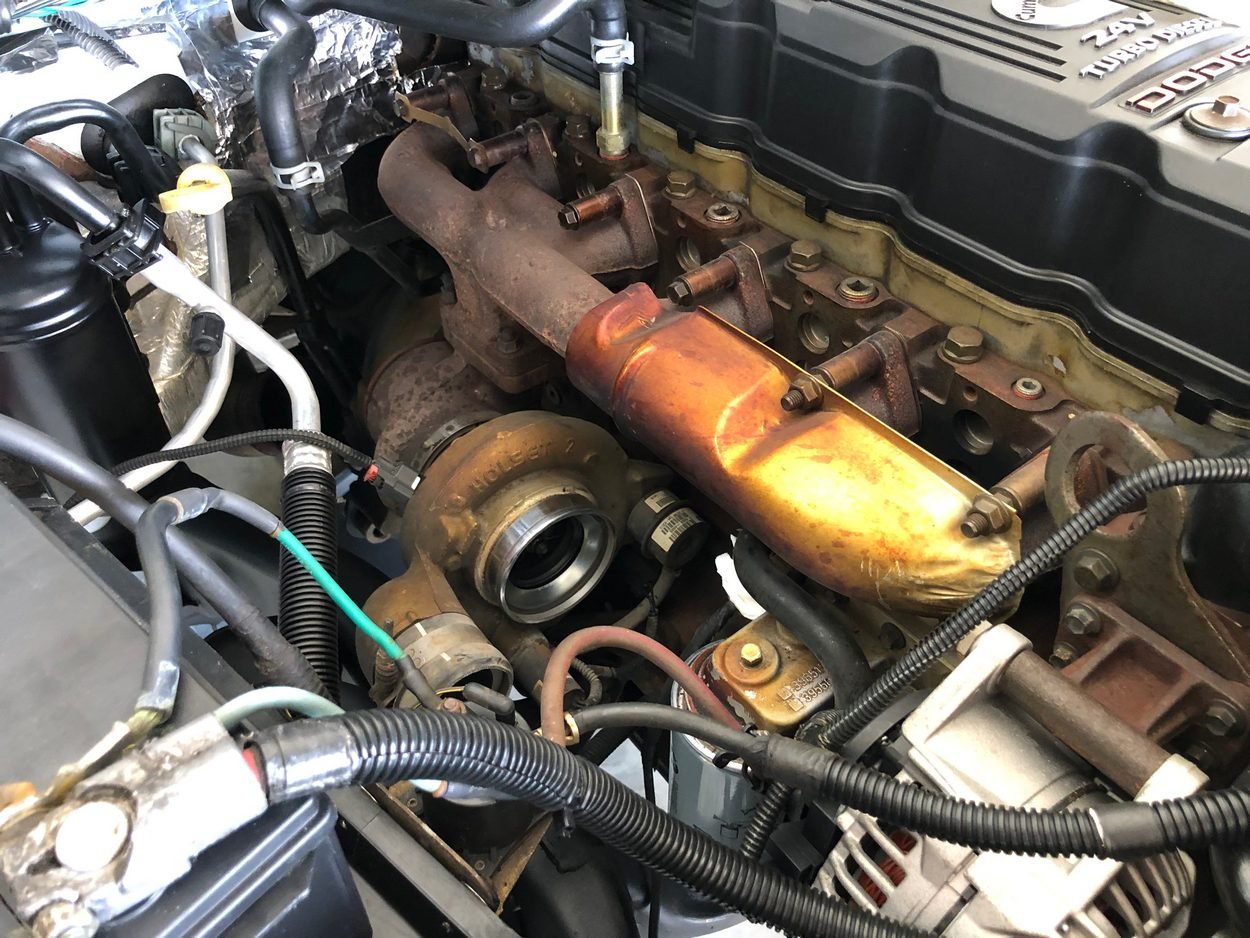
18 years old, this guy is tired
New stuff ready to go back in
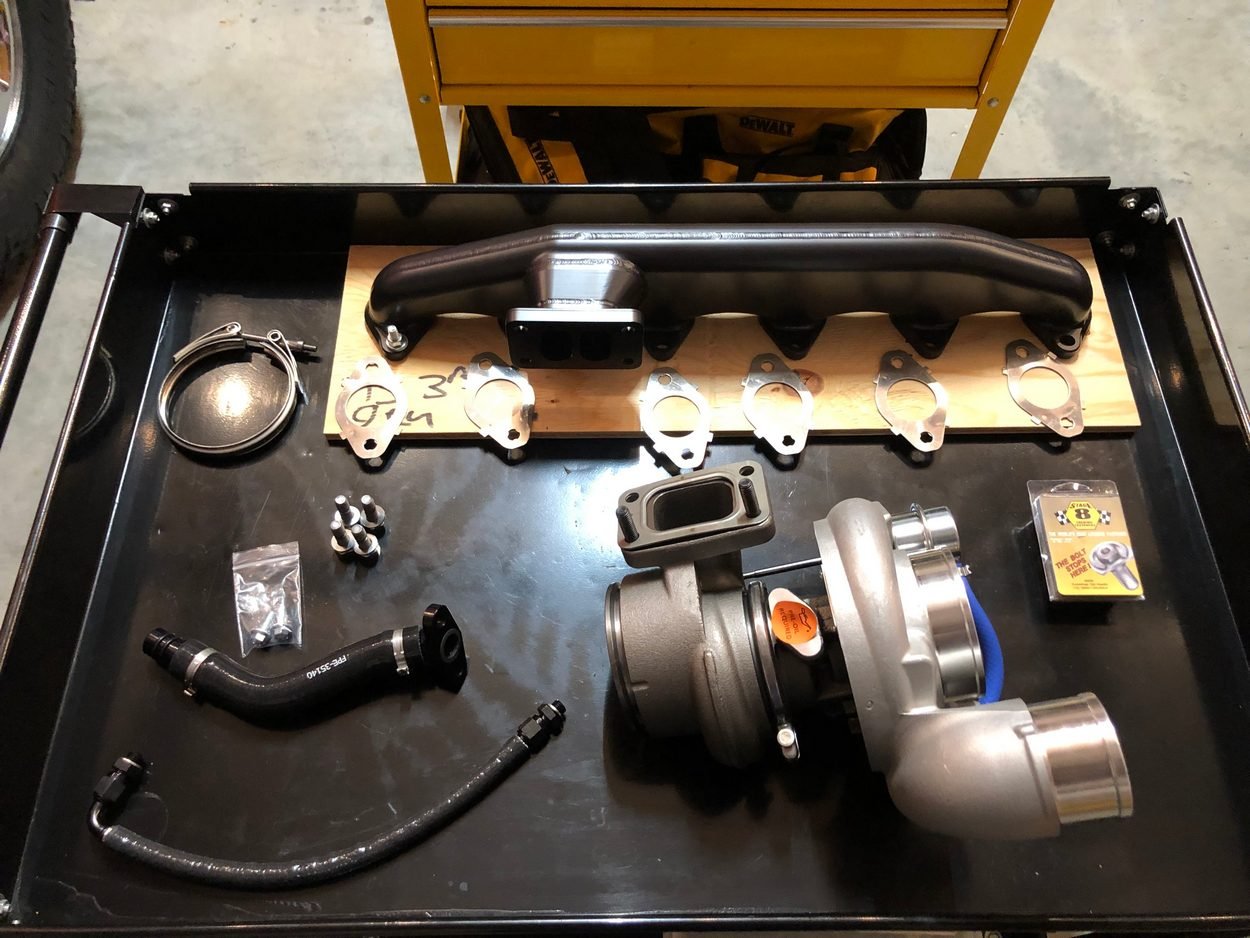
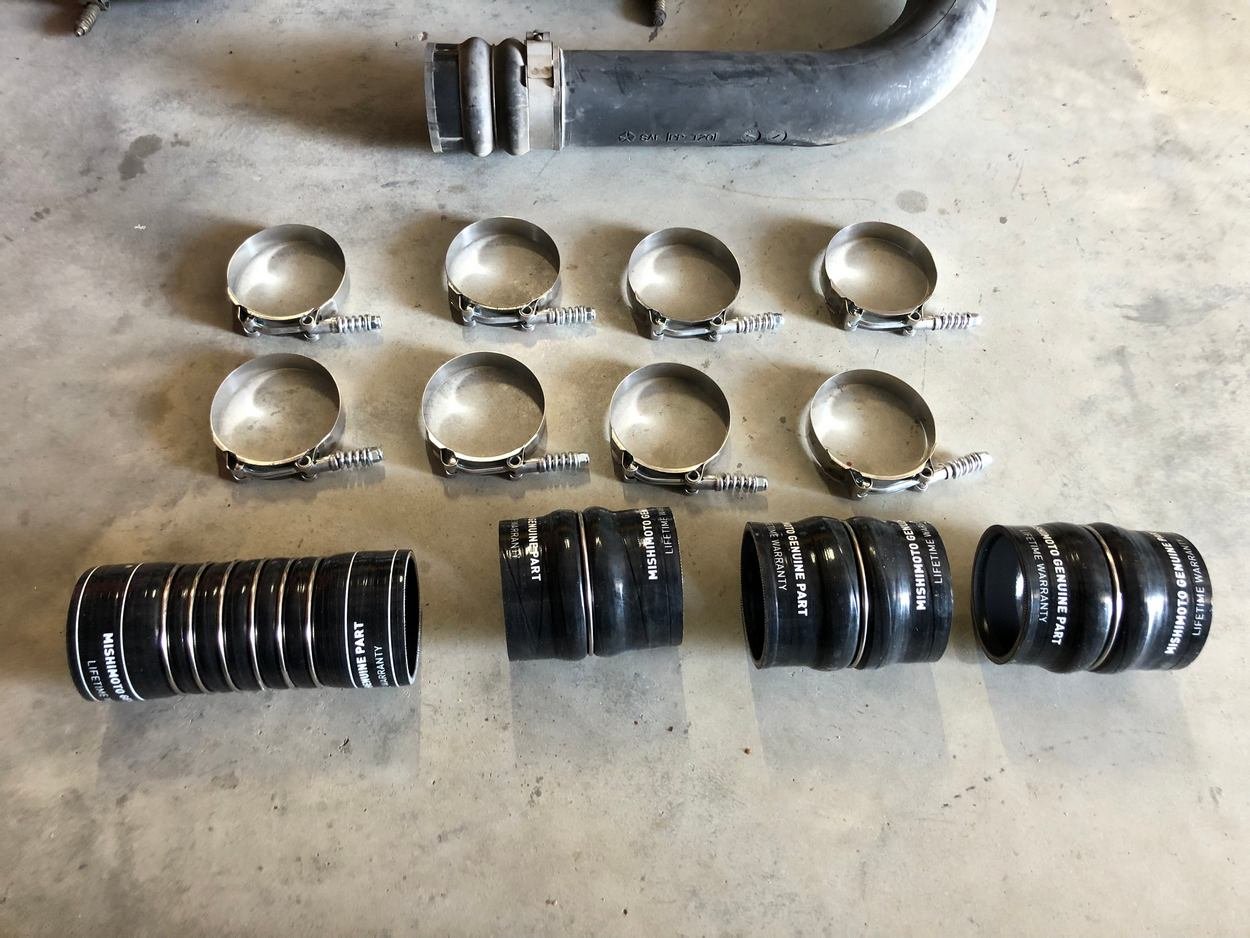
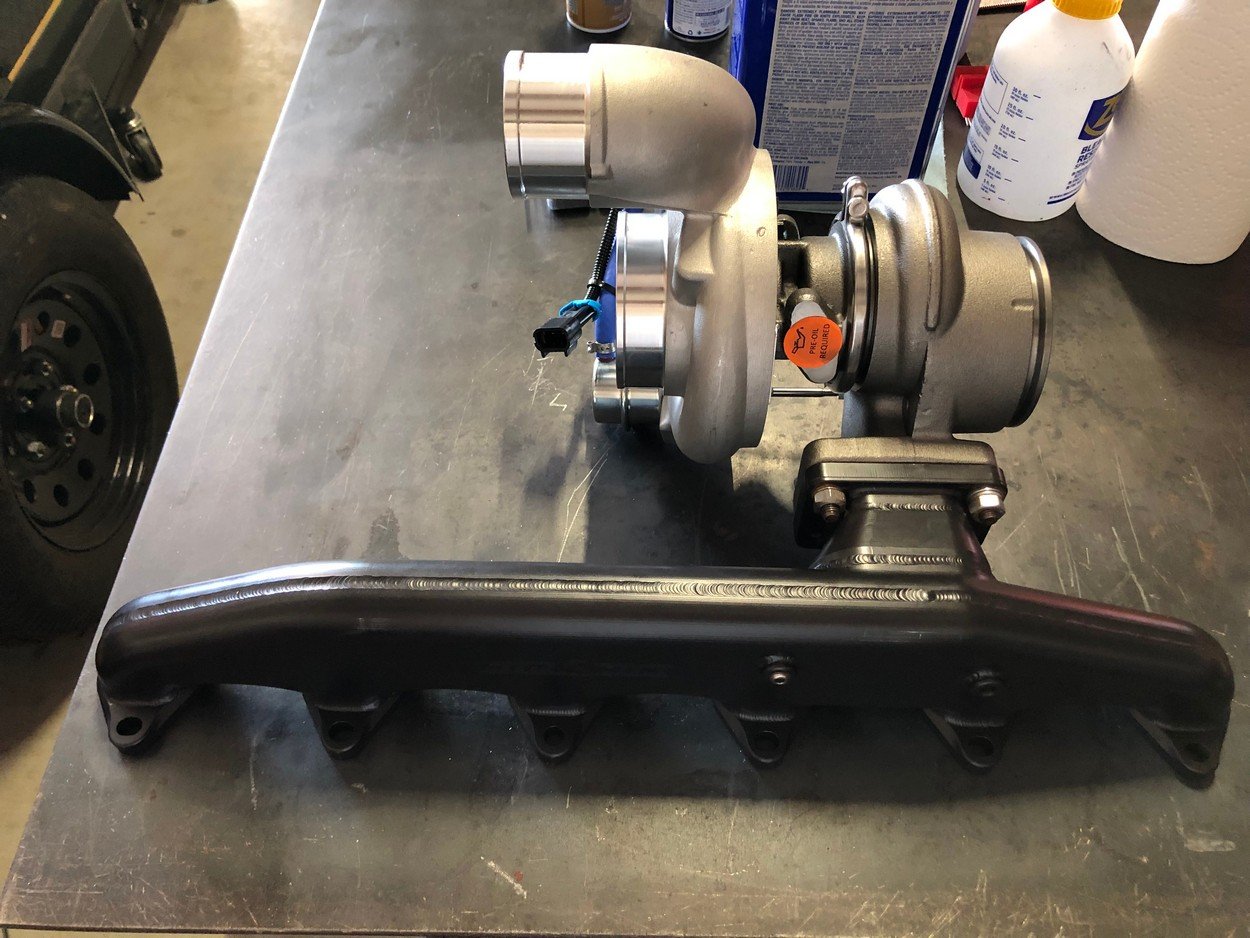
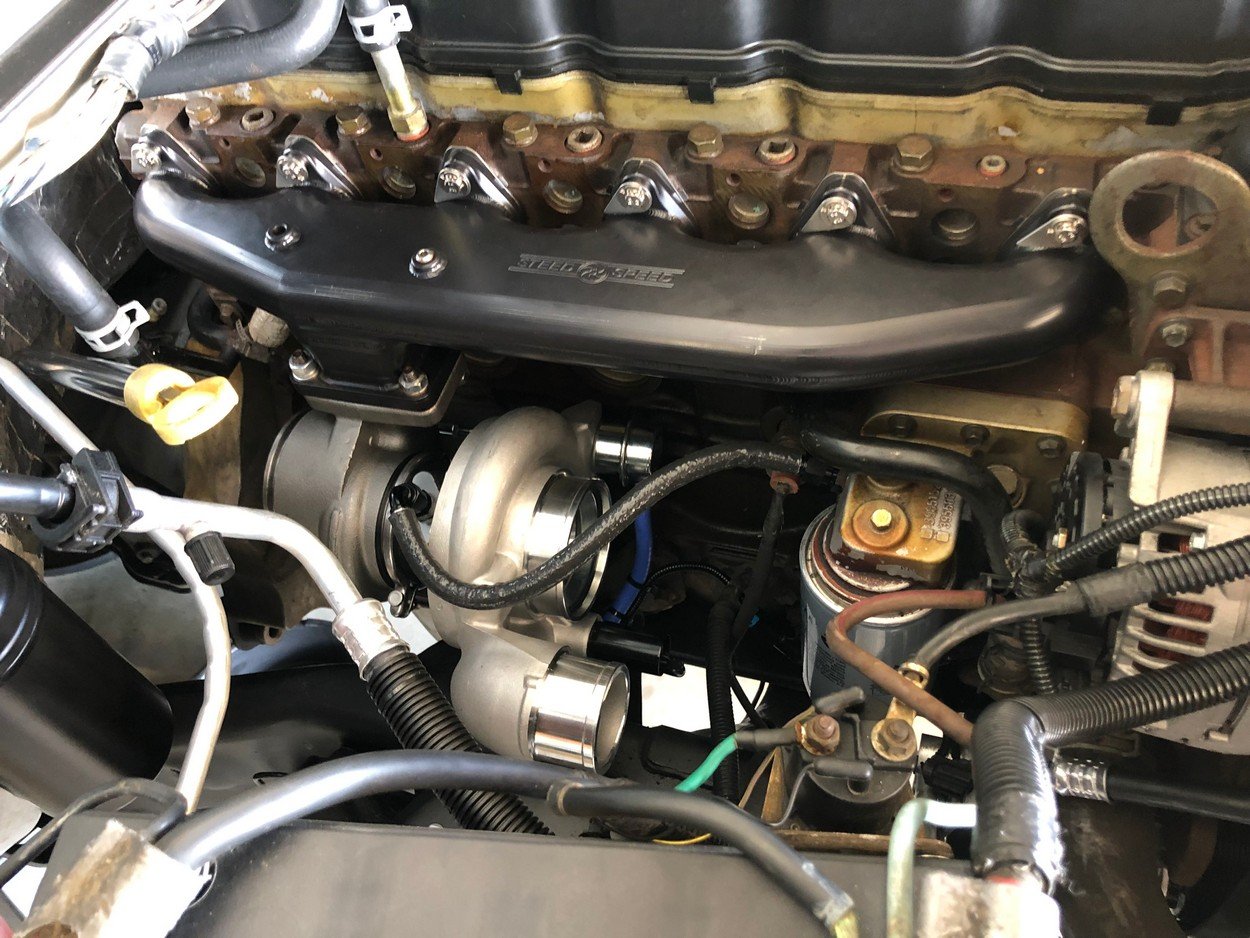
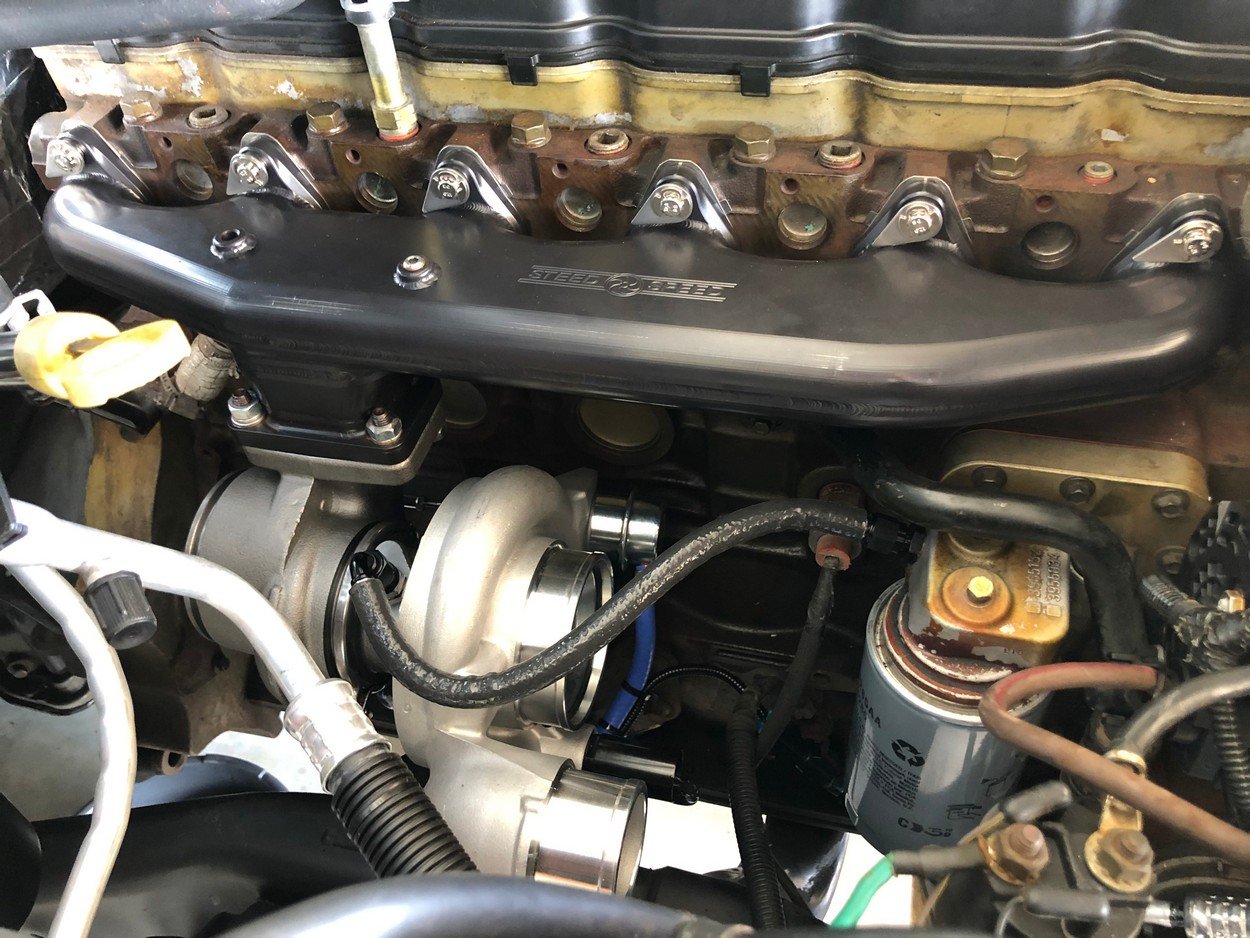
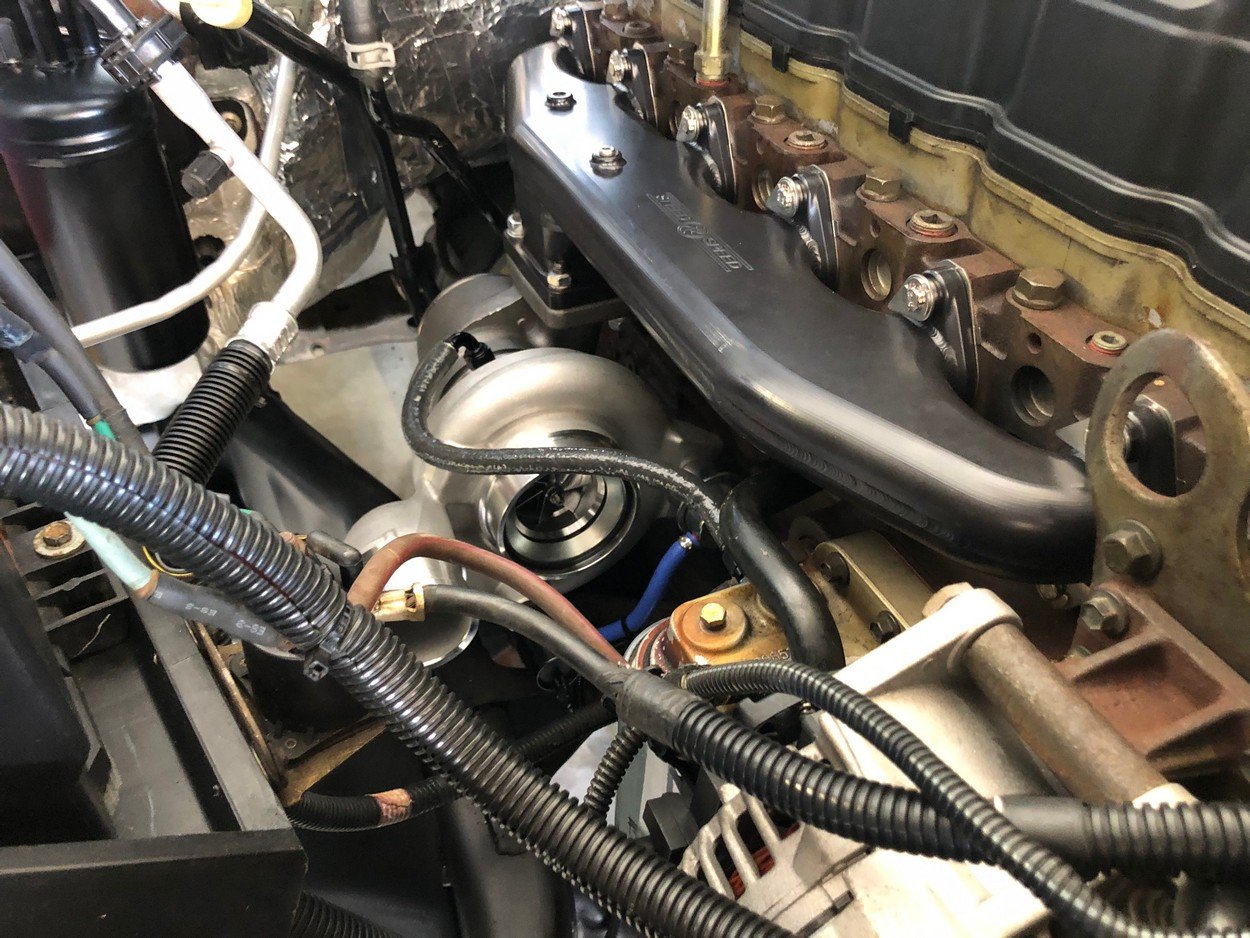
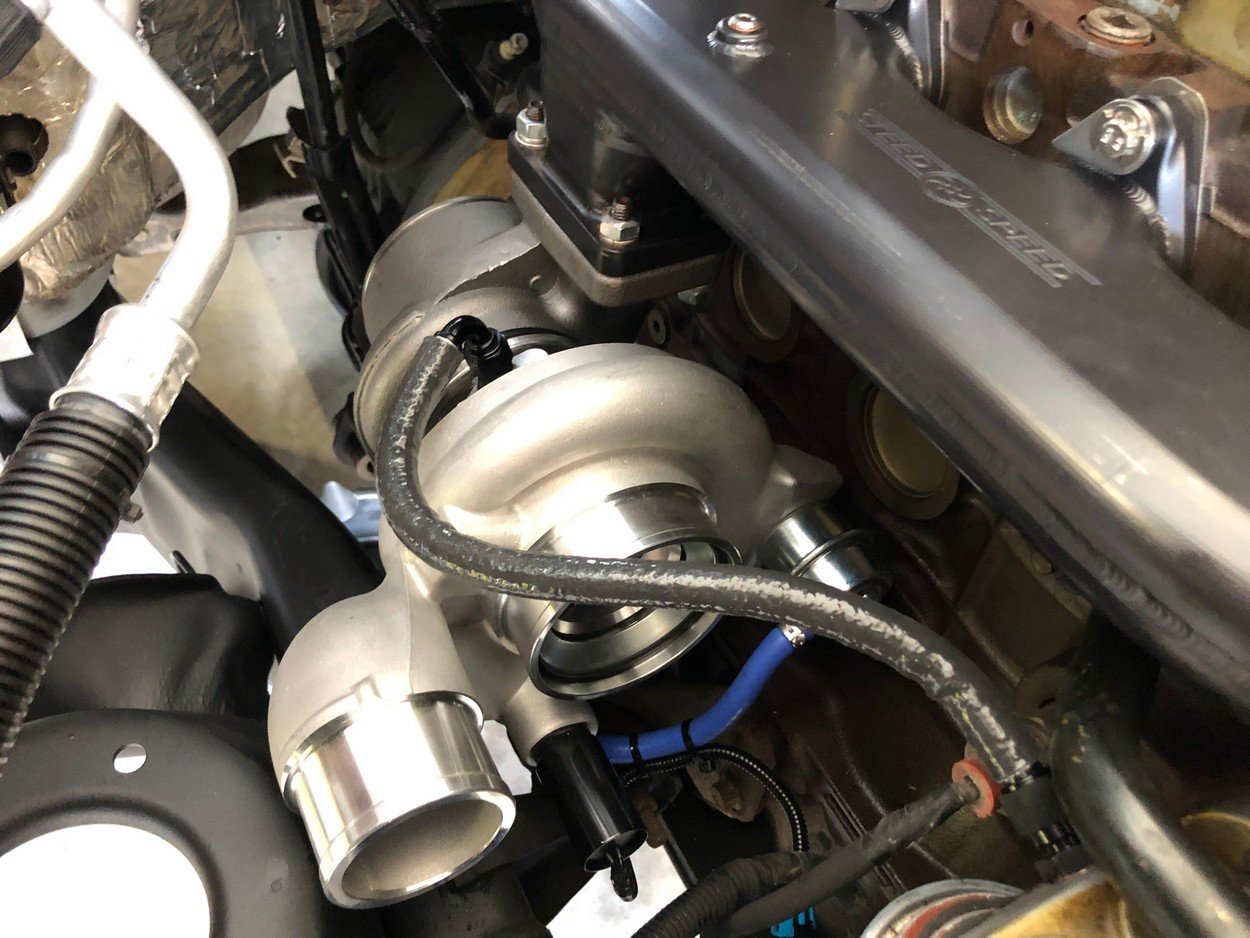
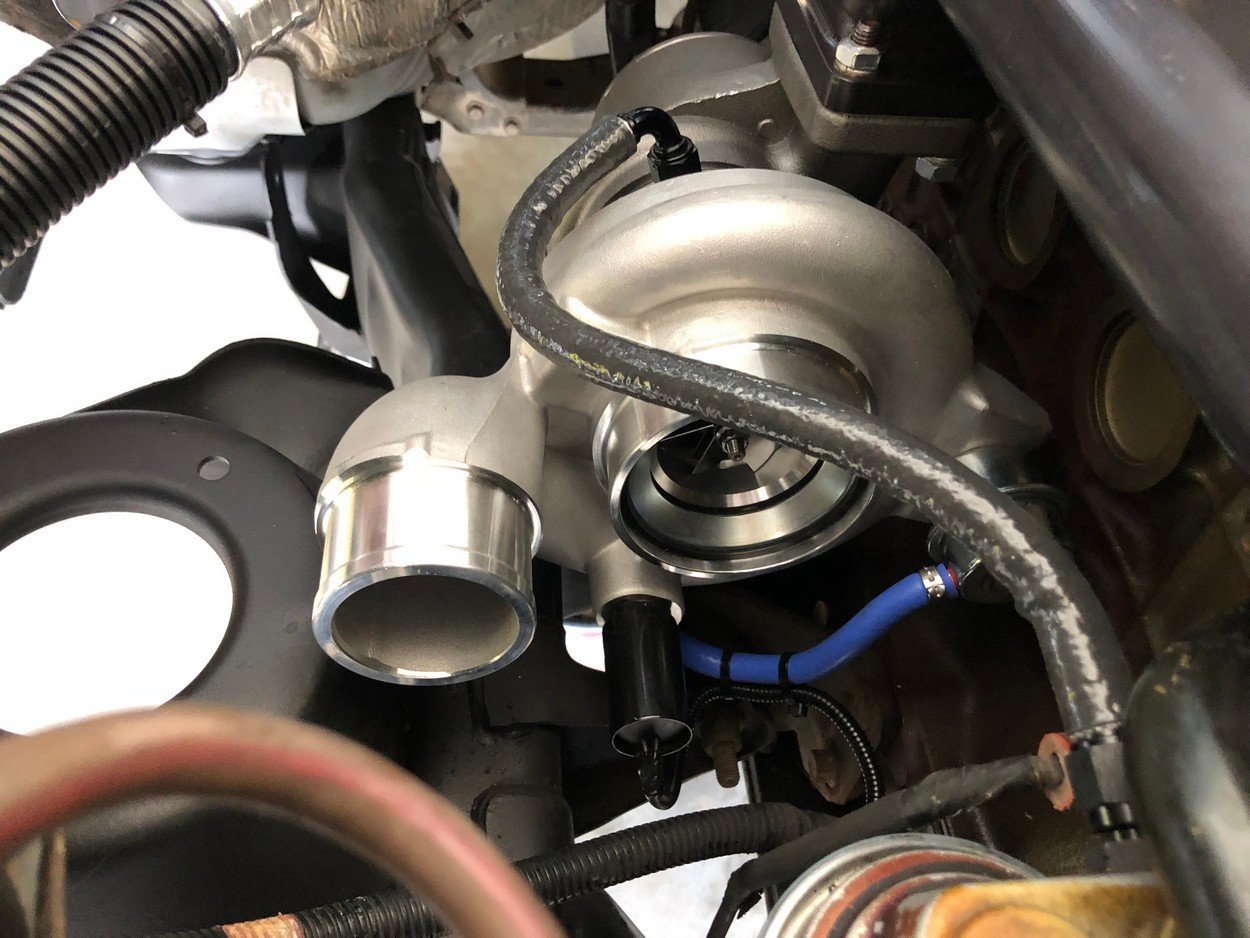
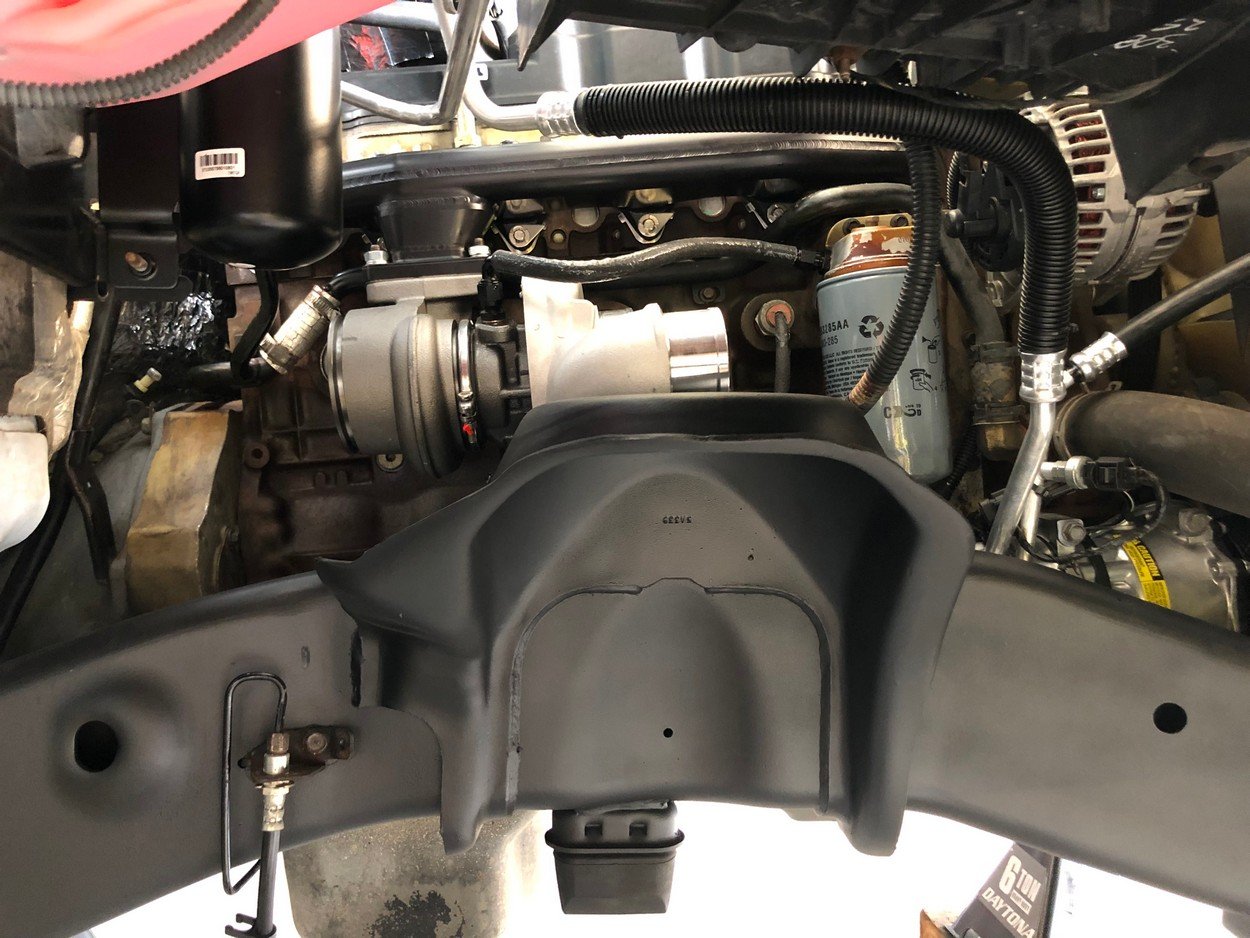
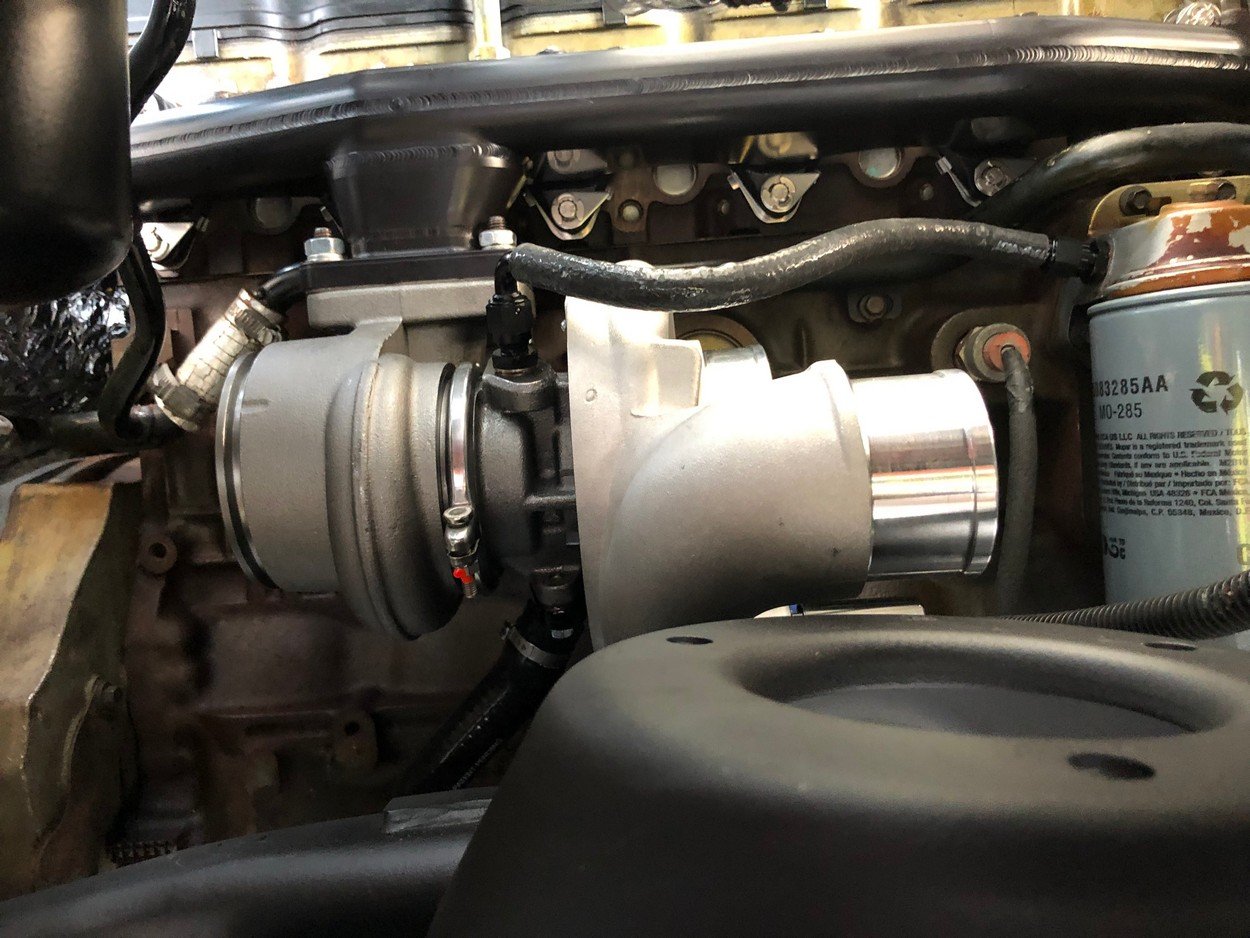
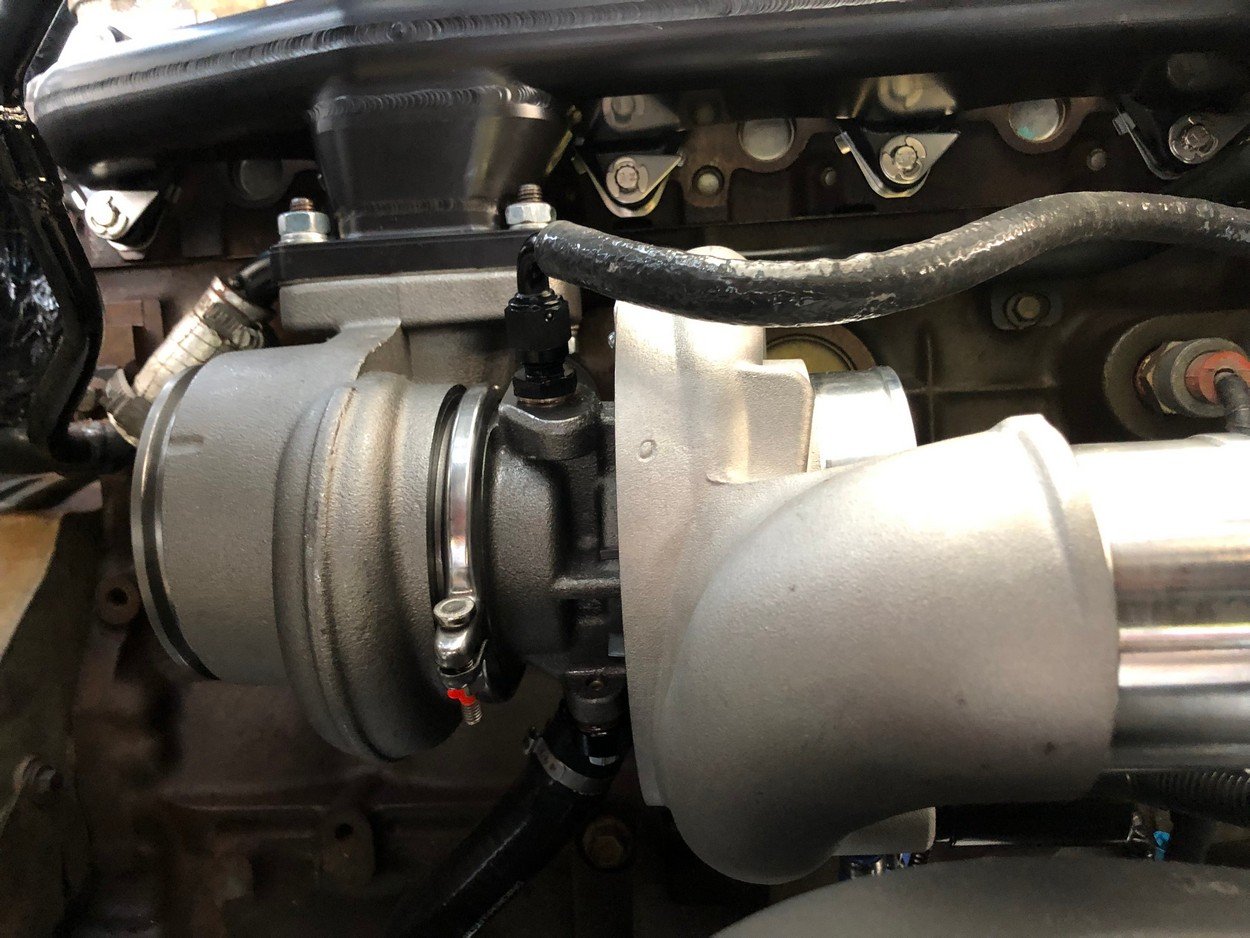
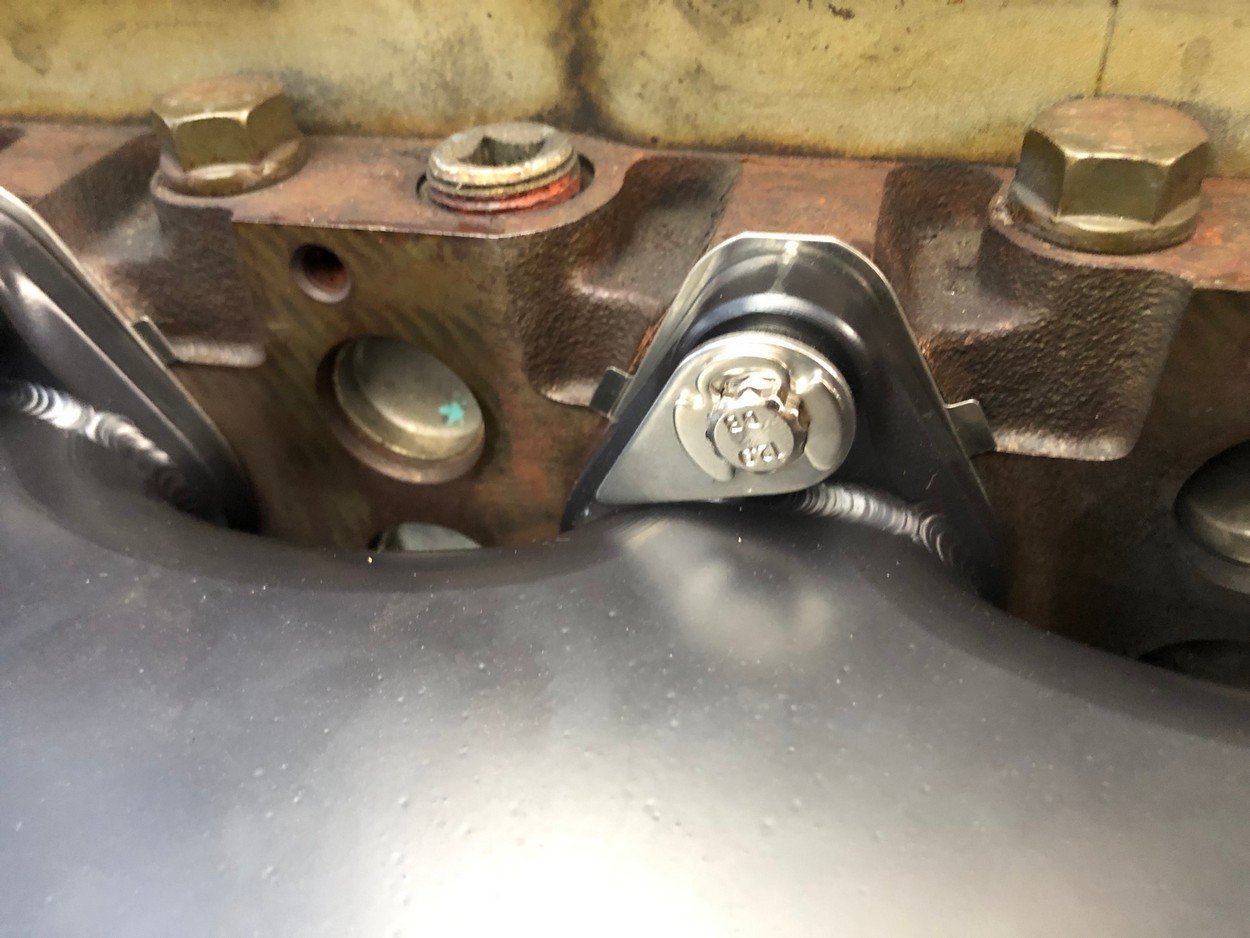
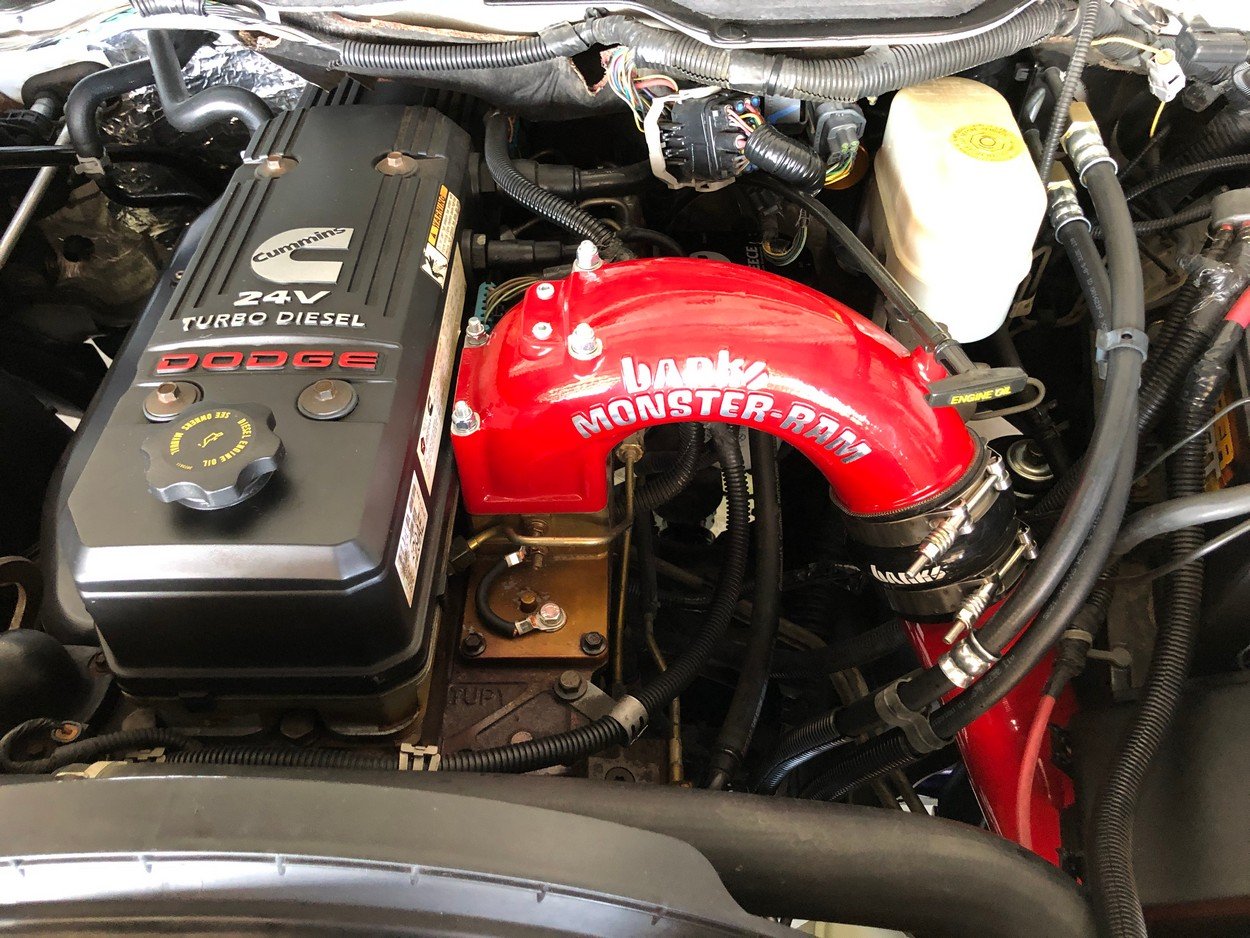
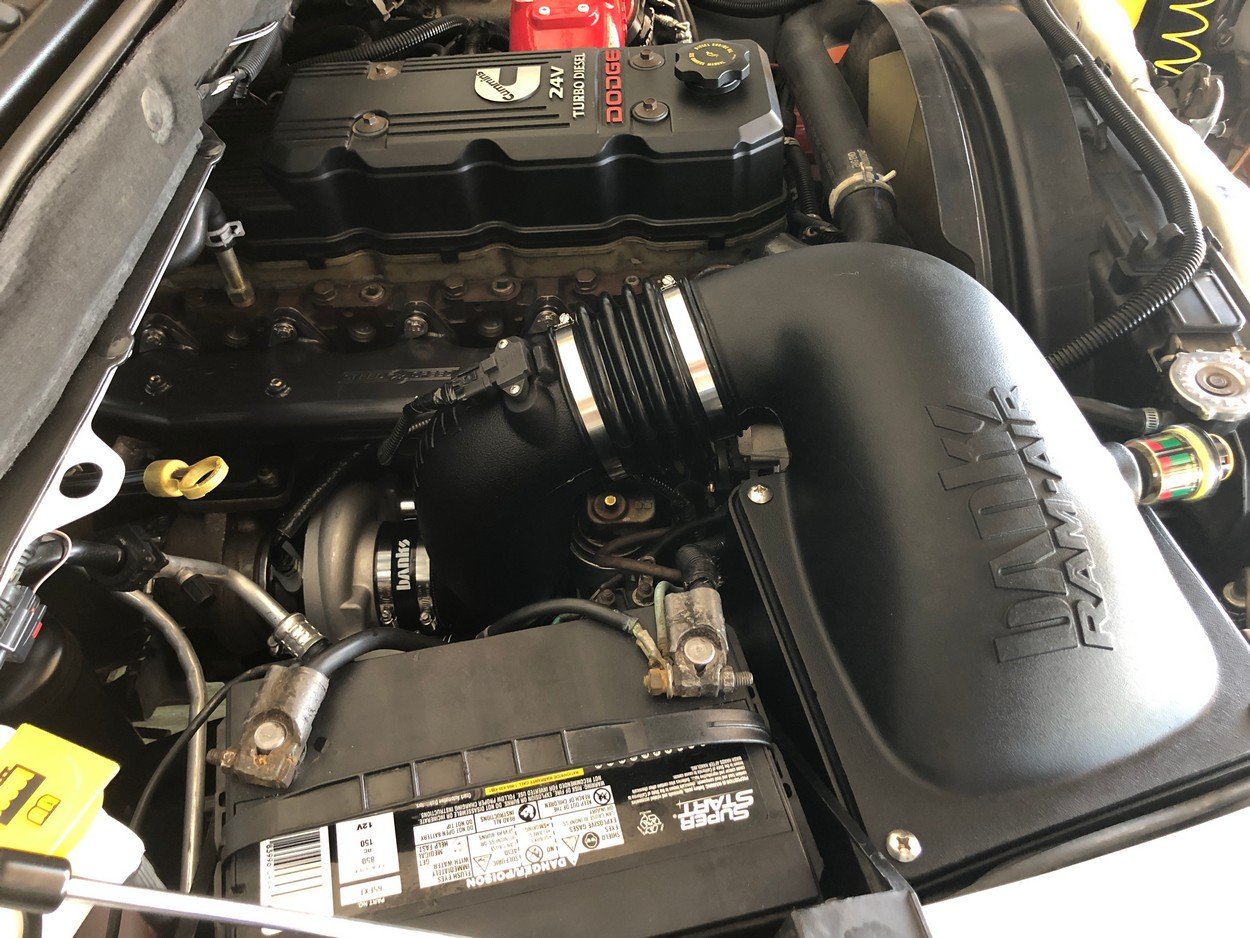
Put in new Banks Performance products
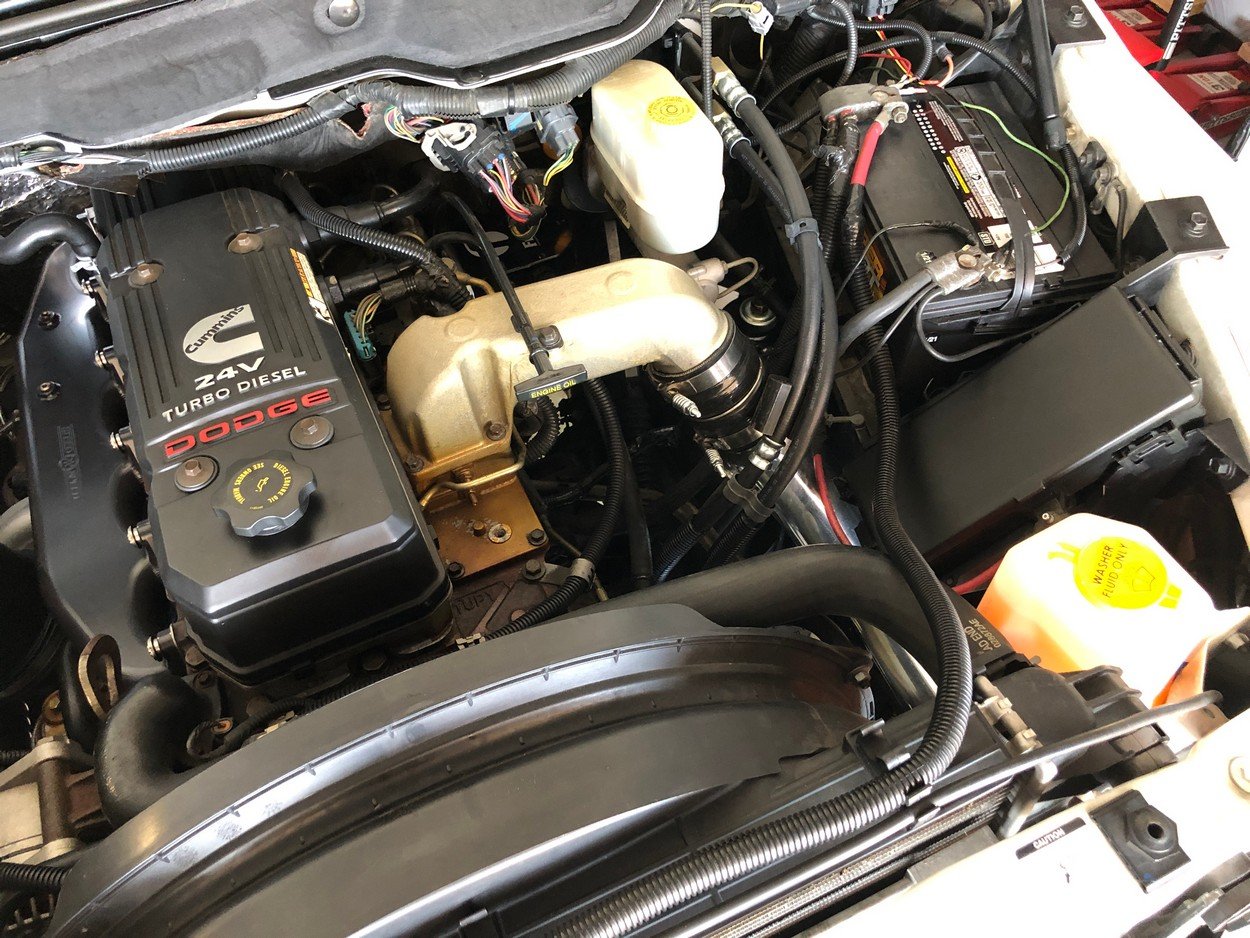
Stock stuff
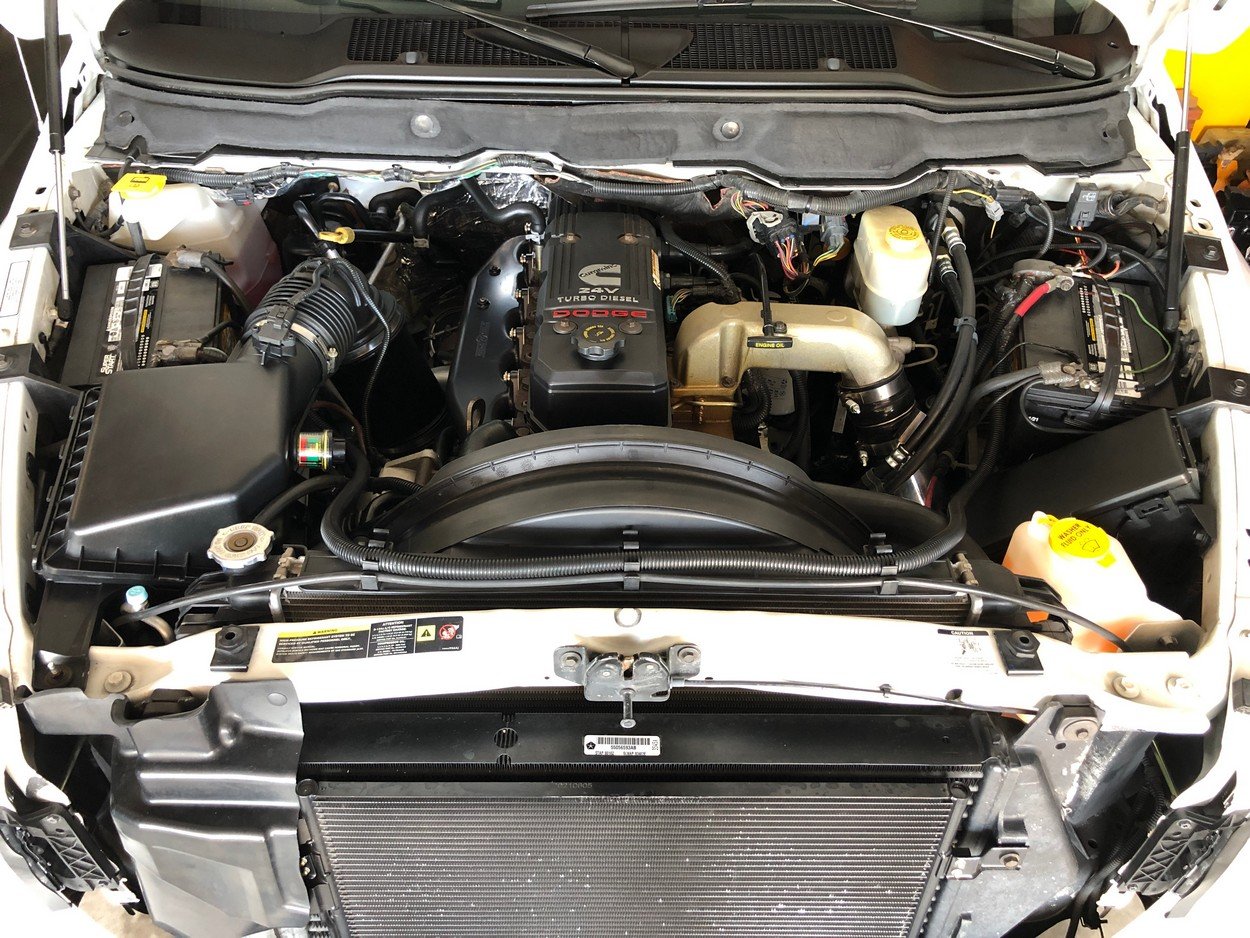
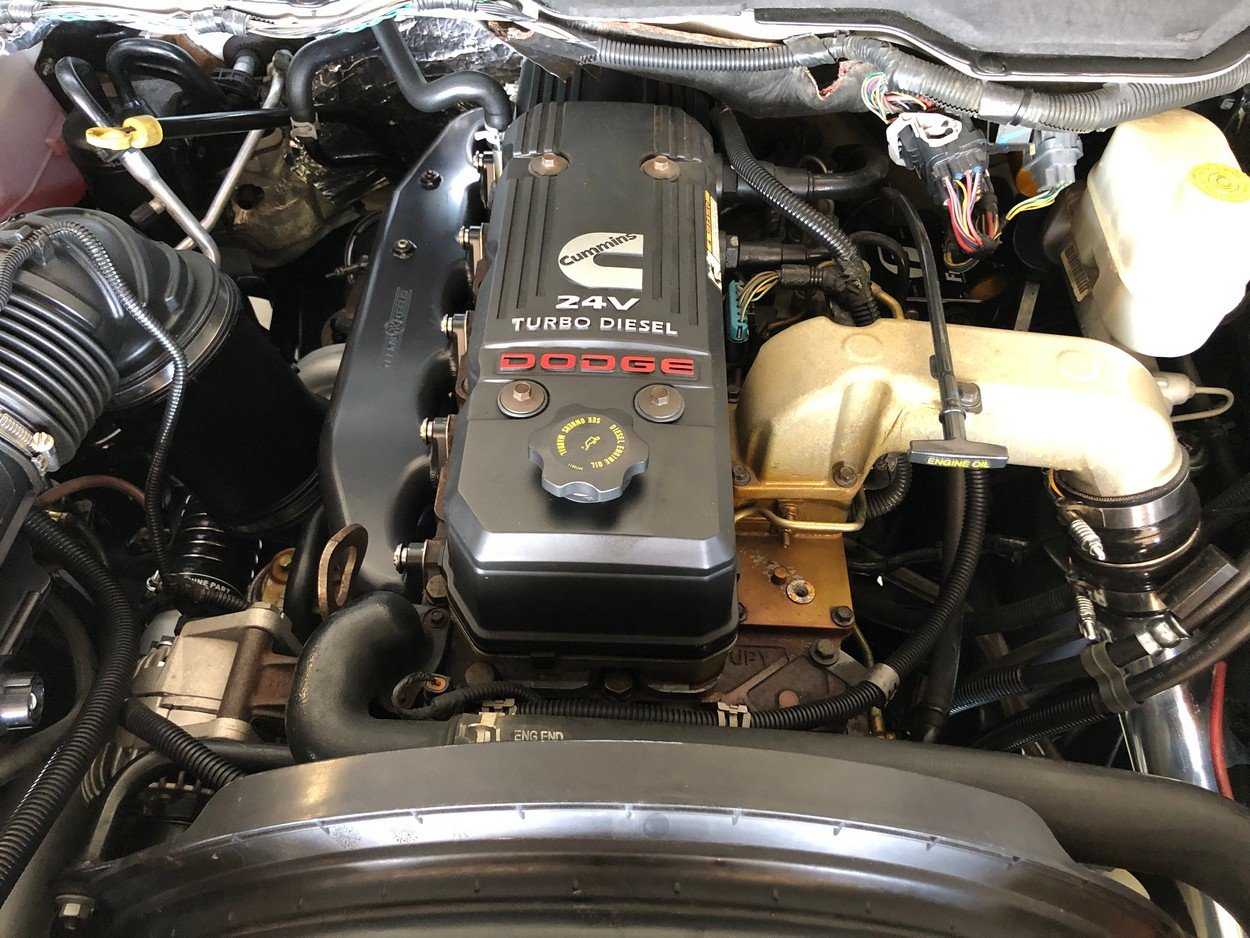
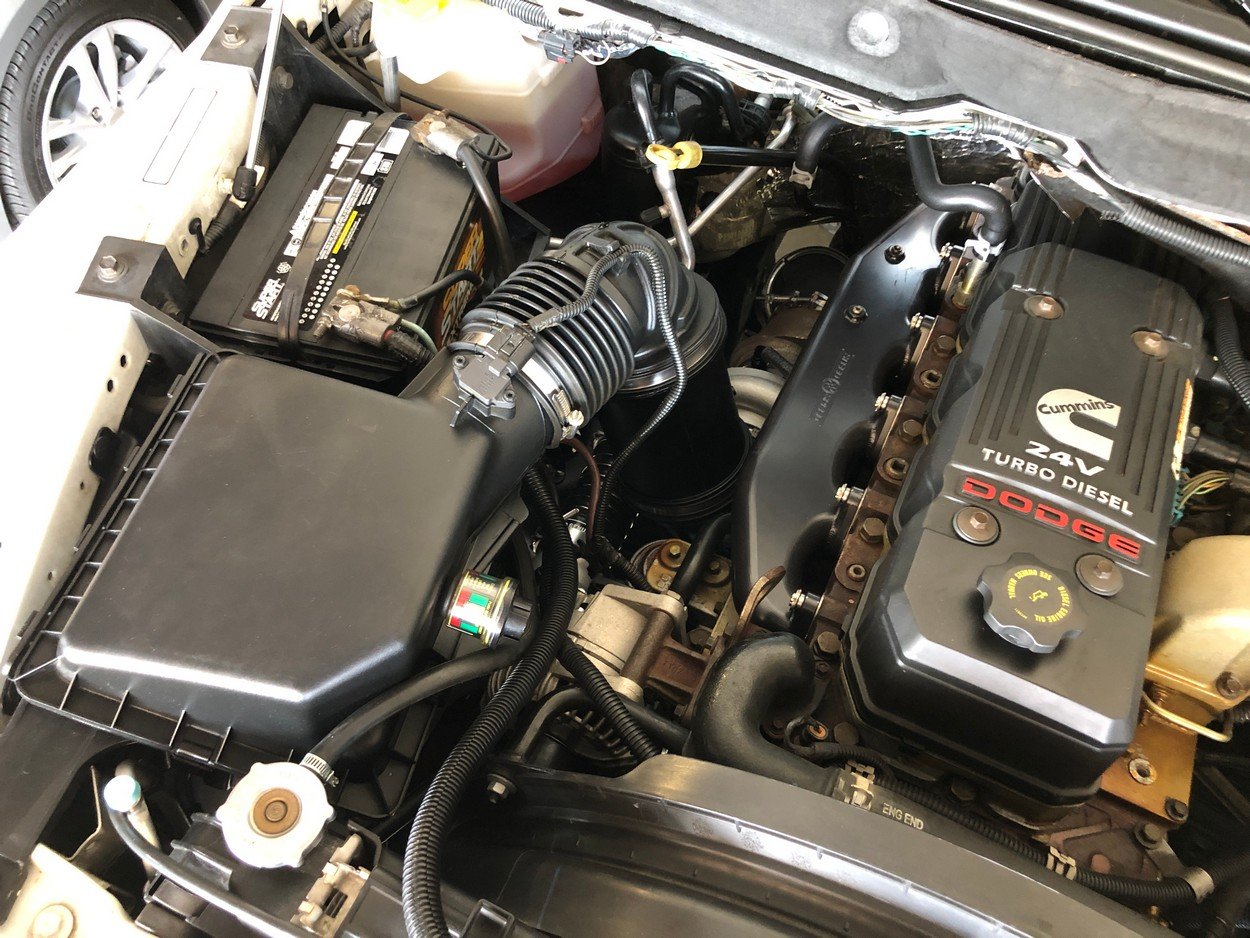
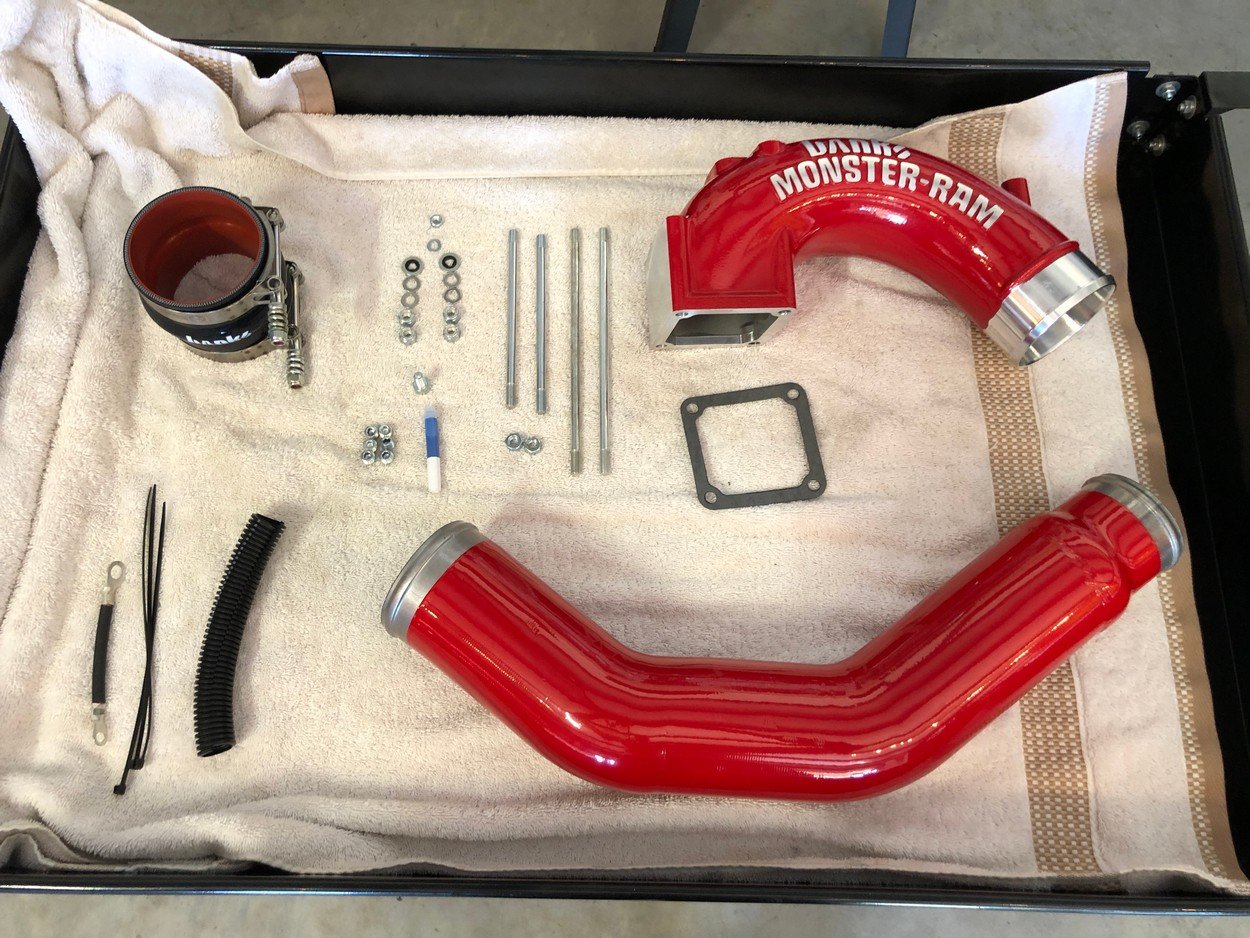
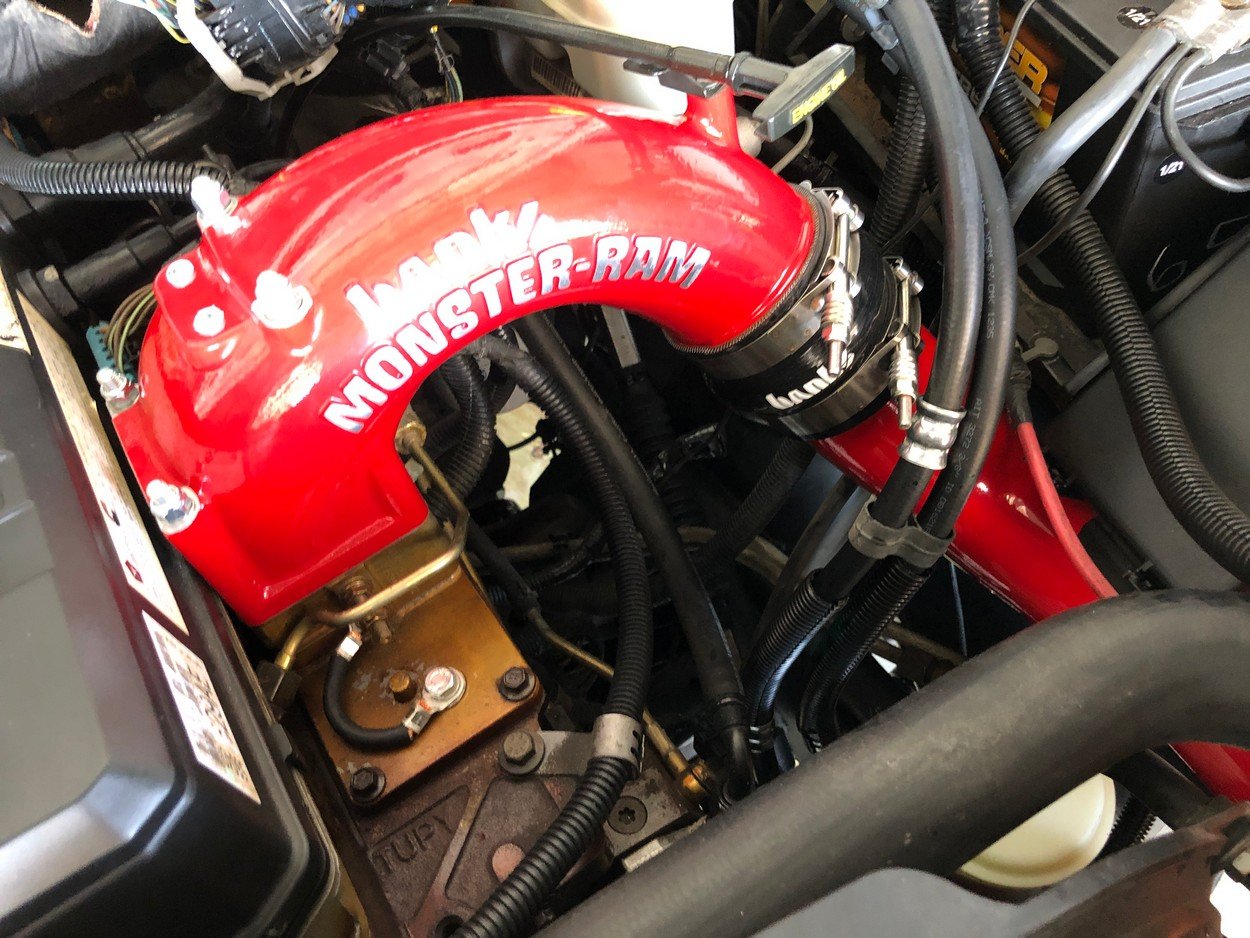
Start off with the Monster-Ram intake horn and boost tube
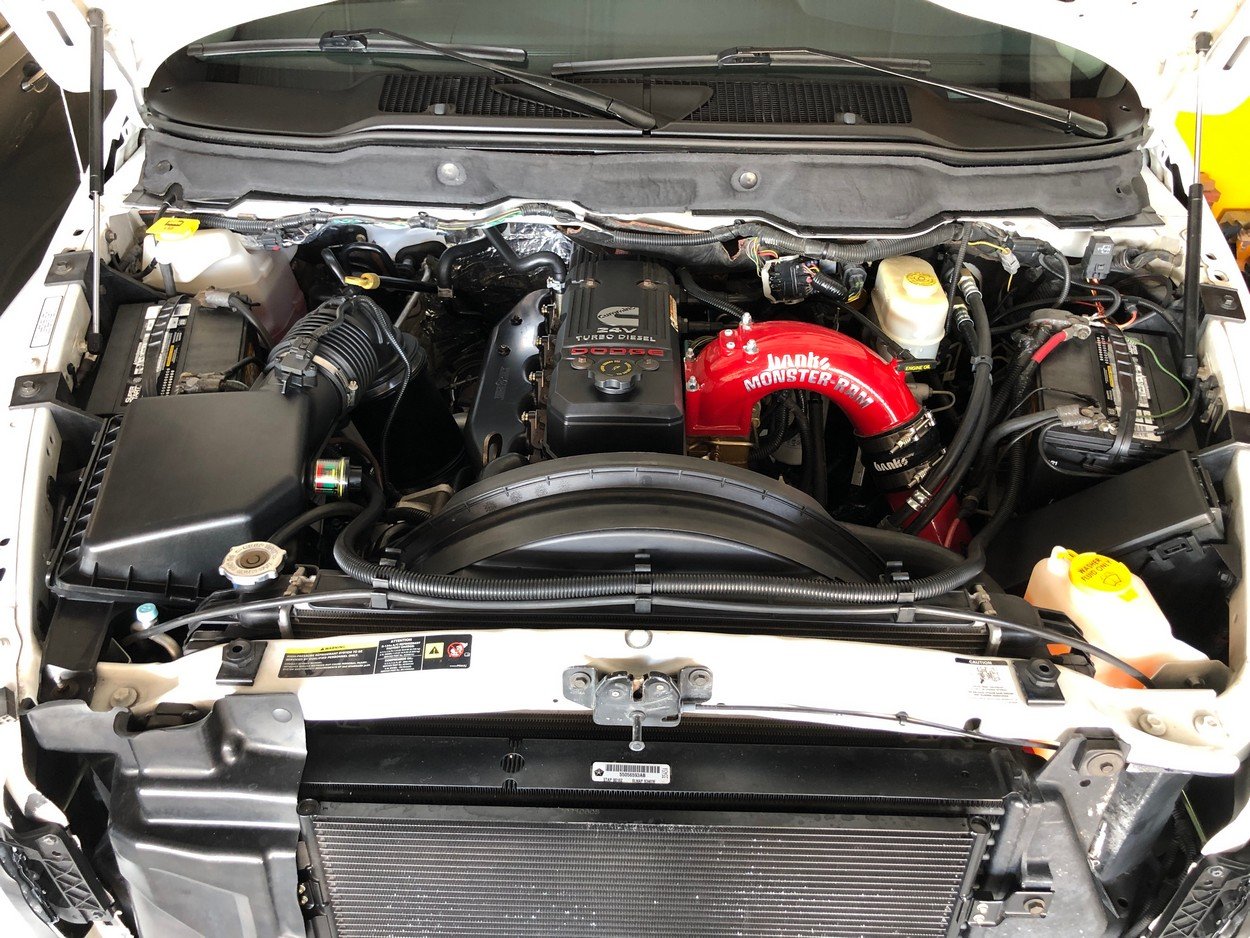
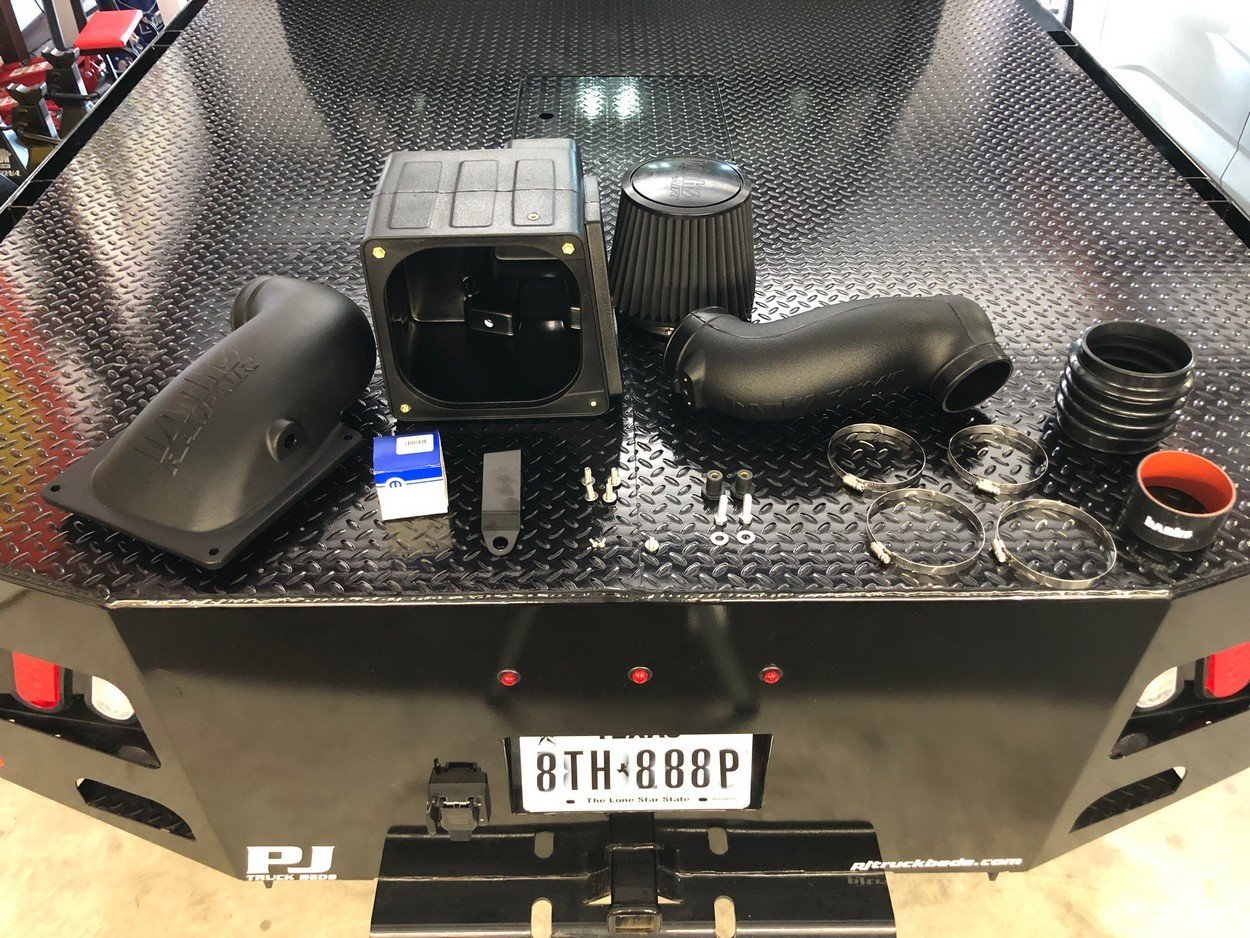
Next, put in Ram-Air cold air intake system
Before putting in new cold-air intake system, perform boost leak test
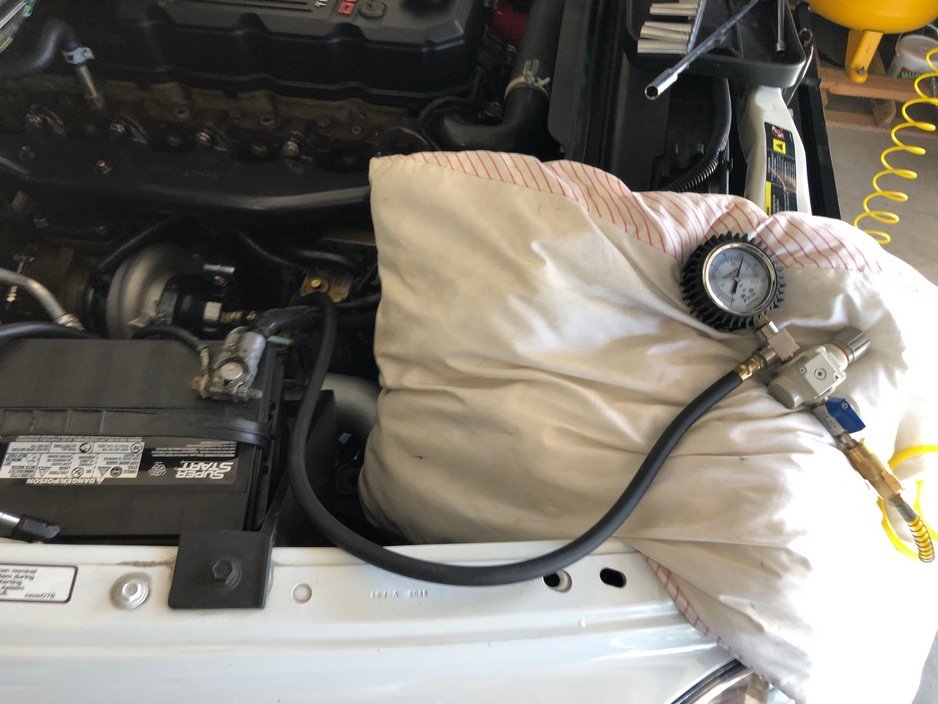
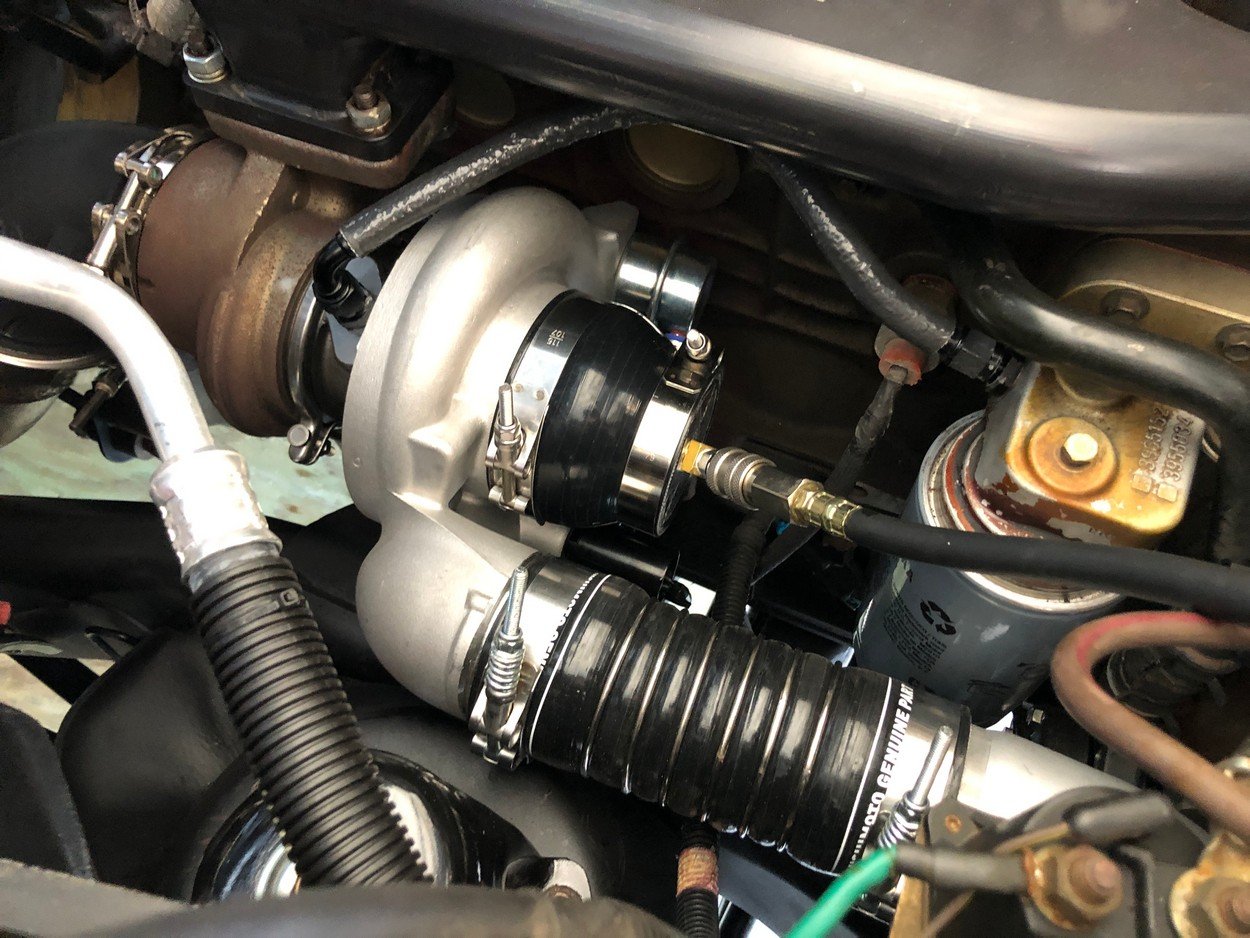
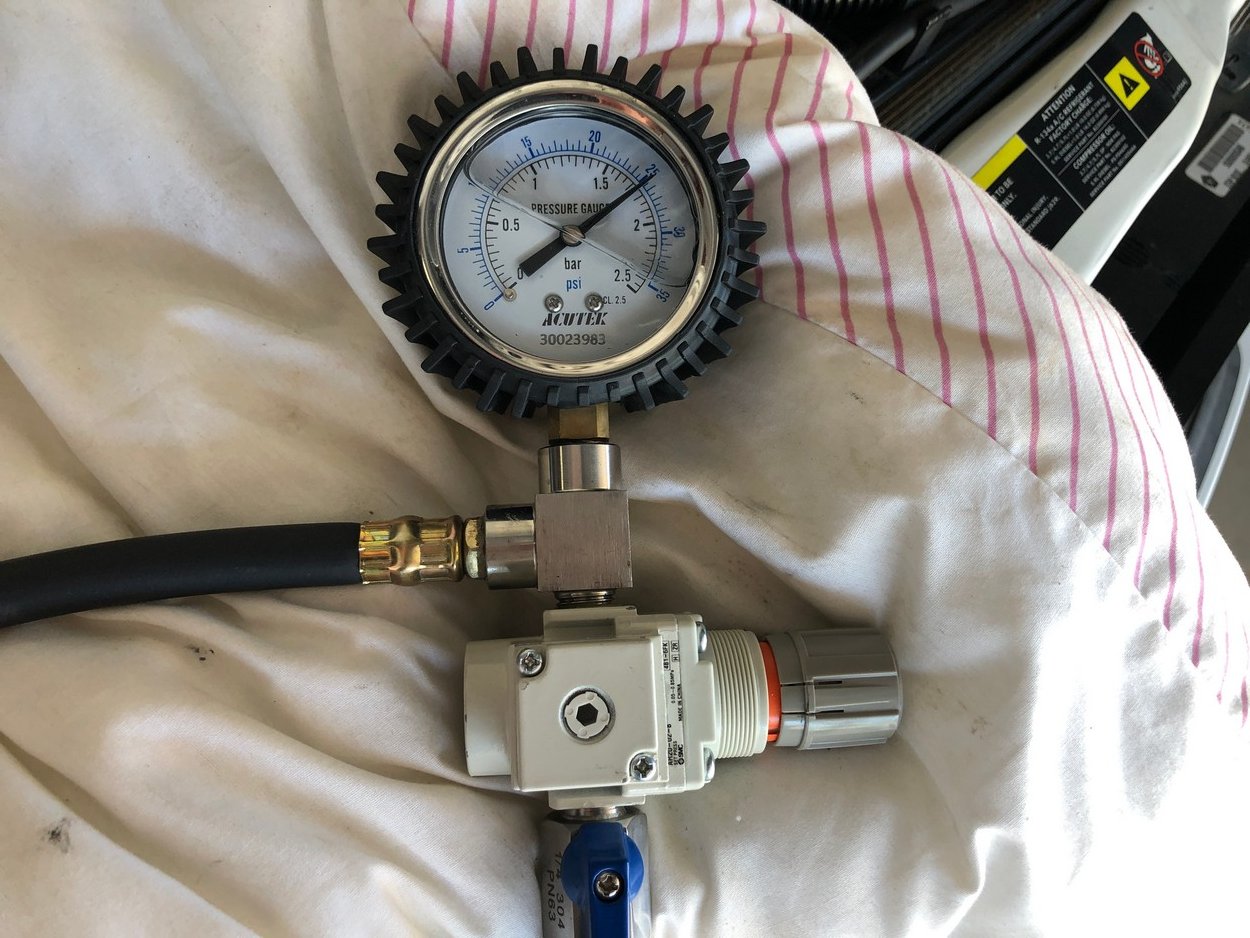
No leaks using 25 psi
Banks Ram-Air system installed
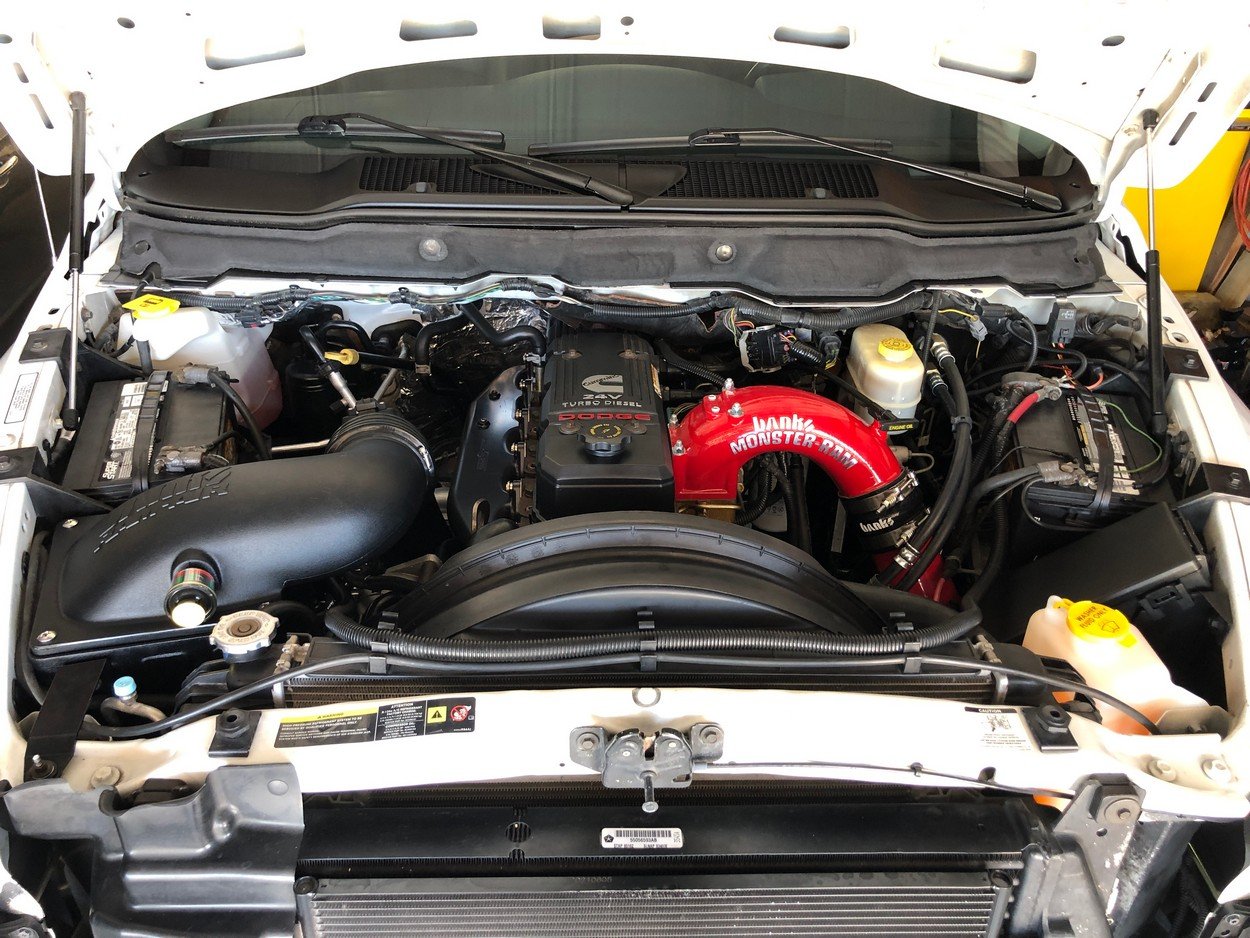
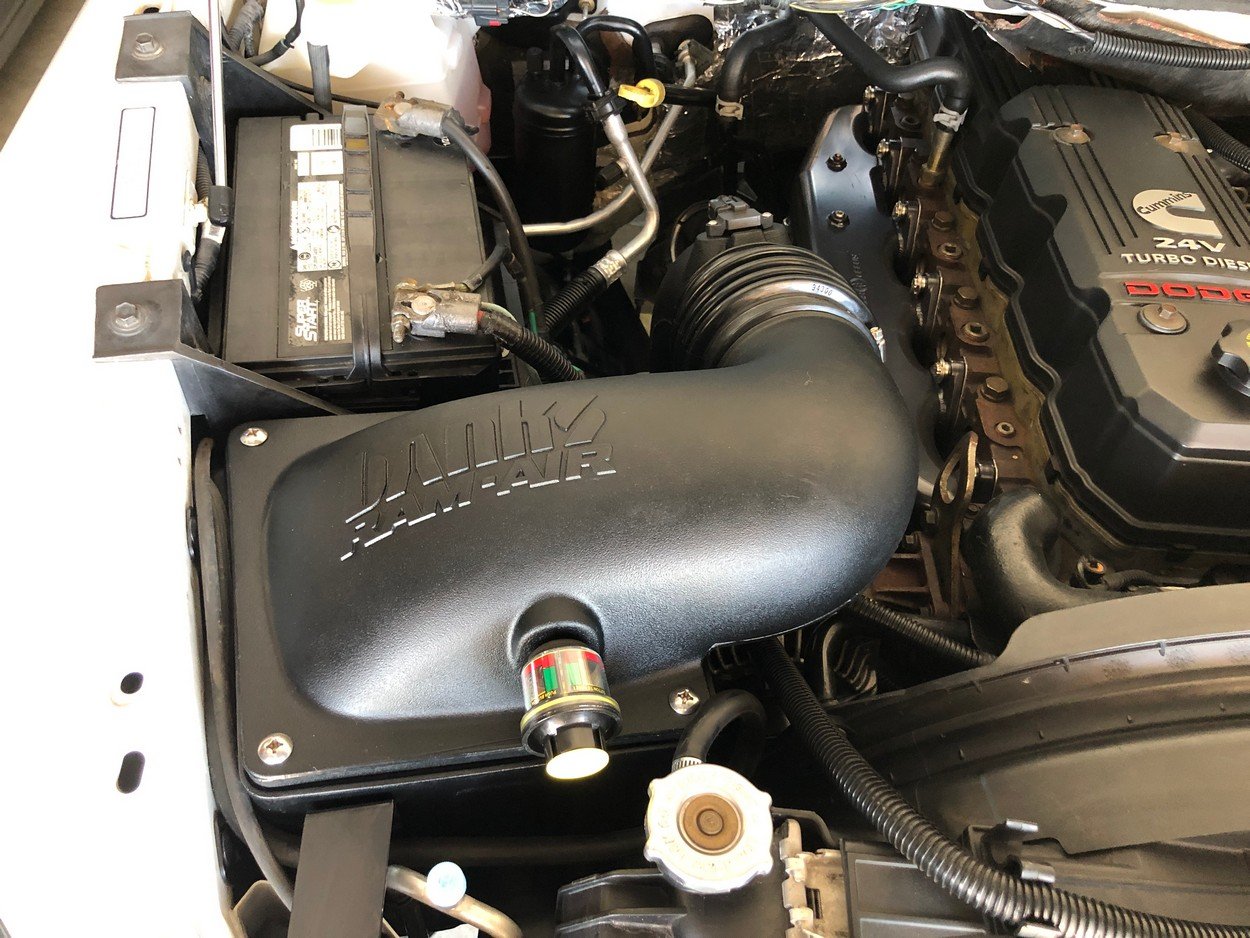
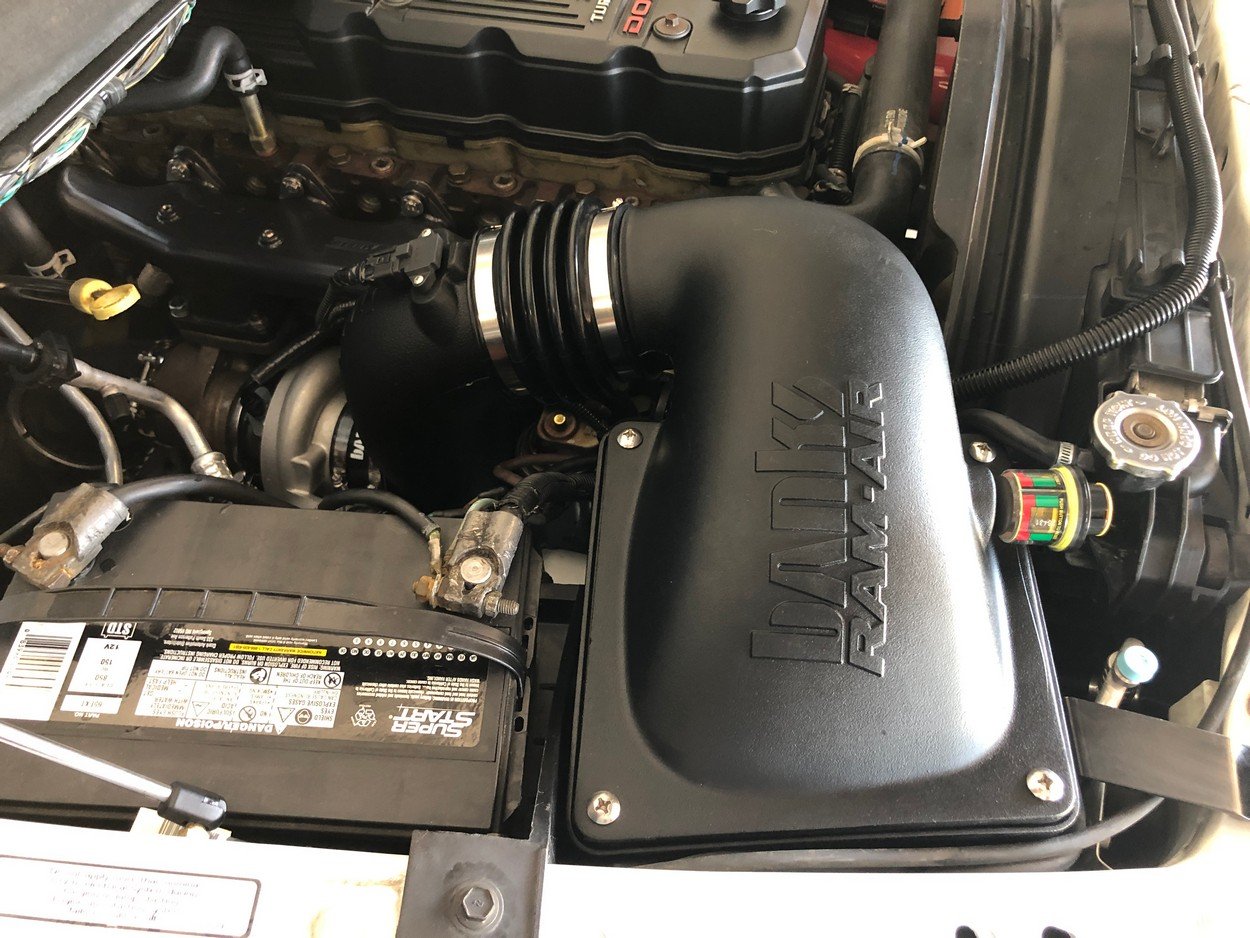
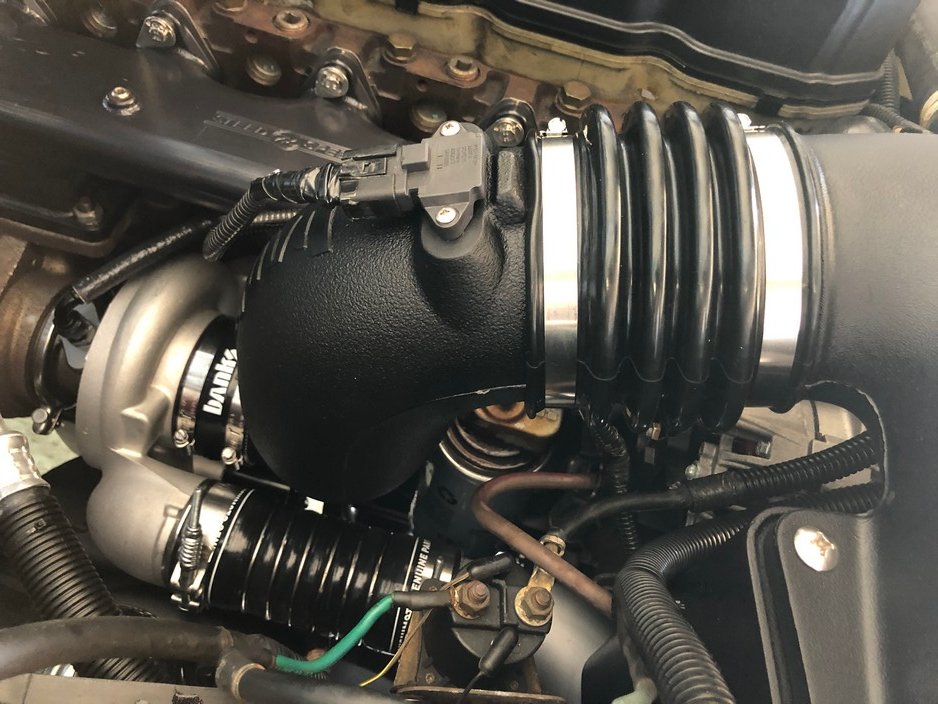
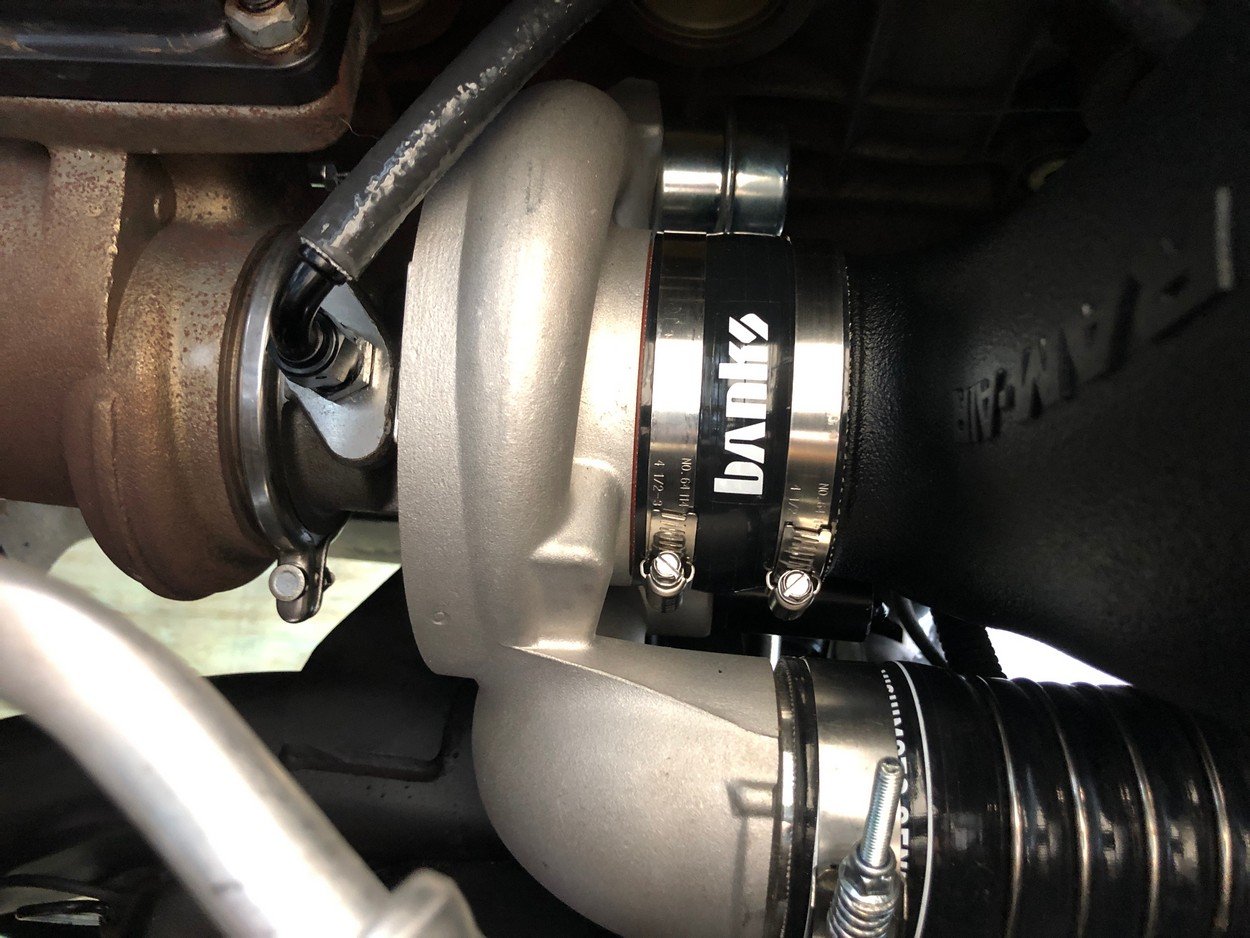
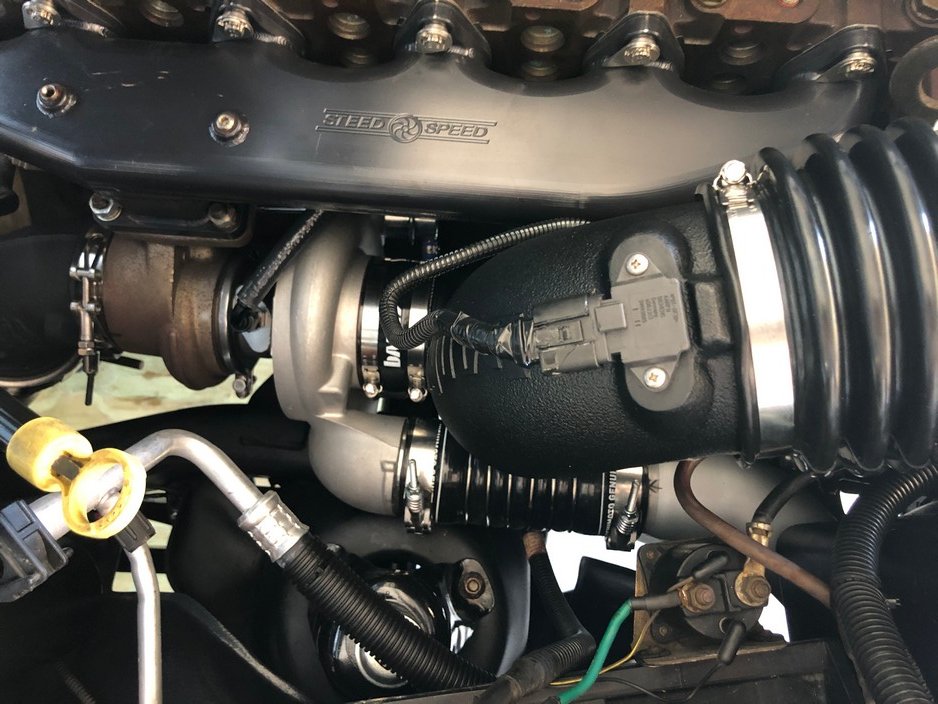
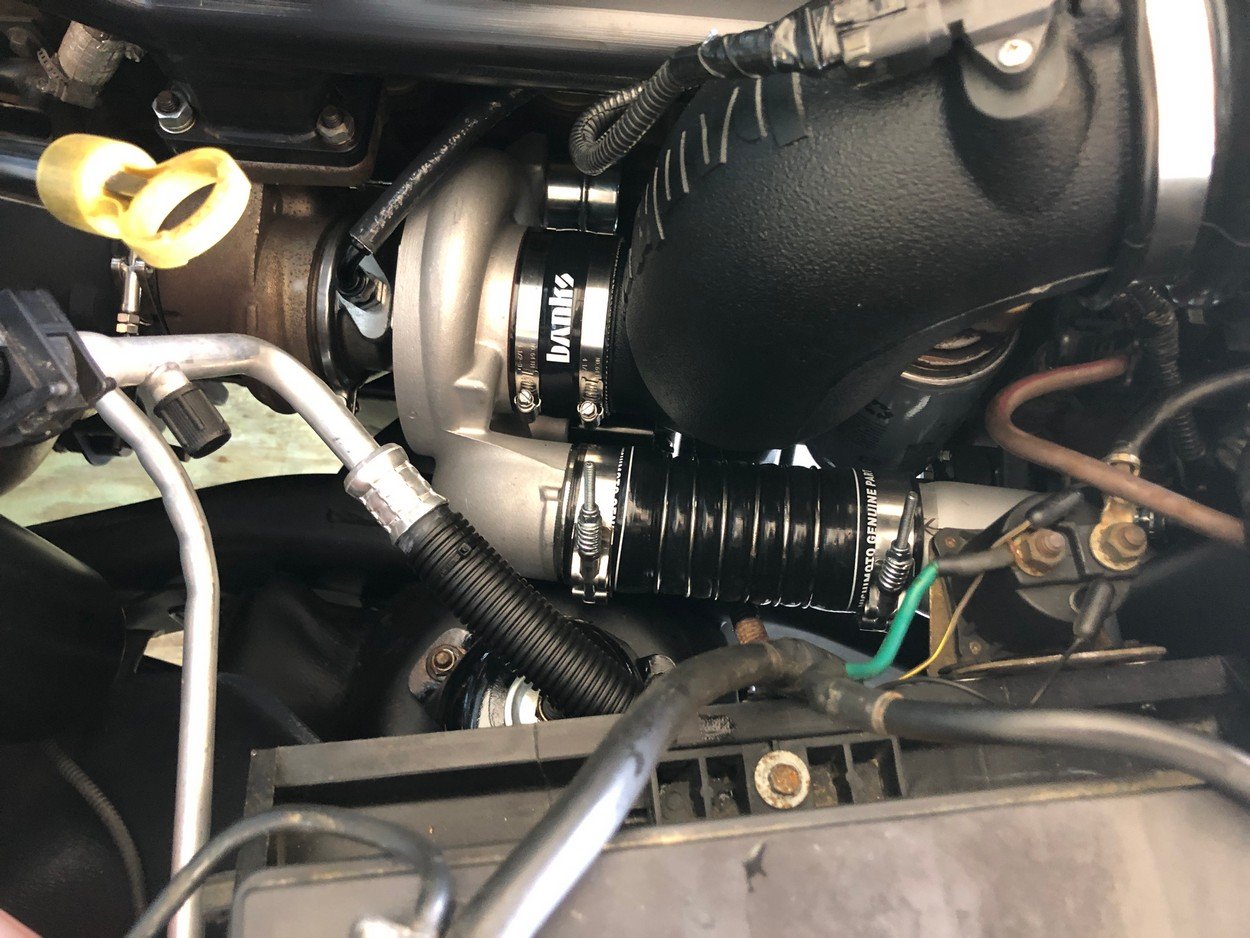
With the induction system done, its time to put front axle with all this stuff!
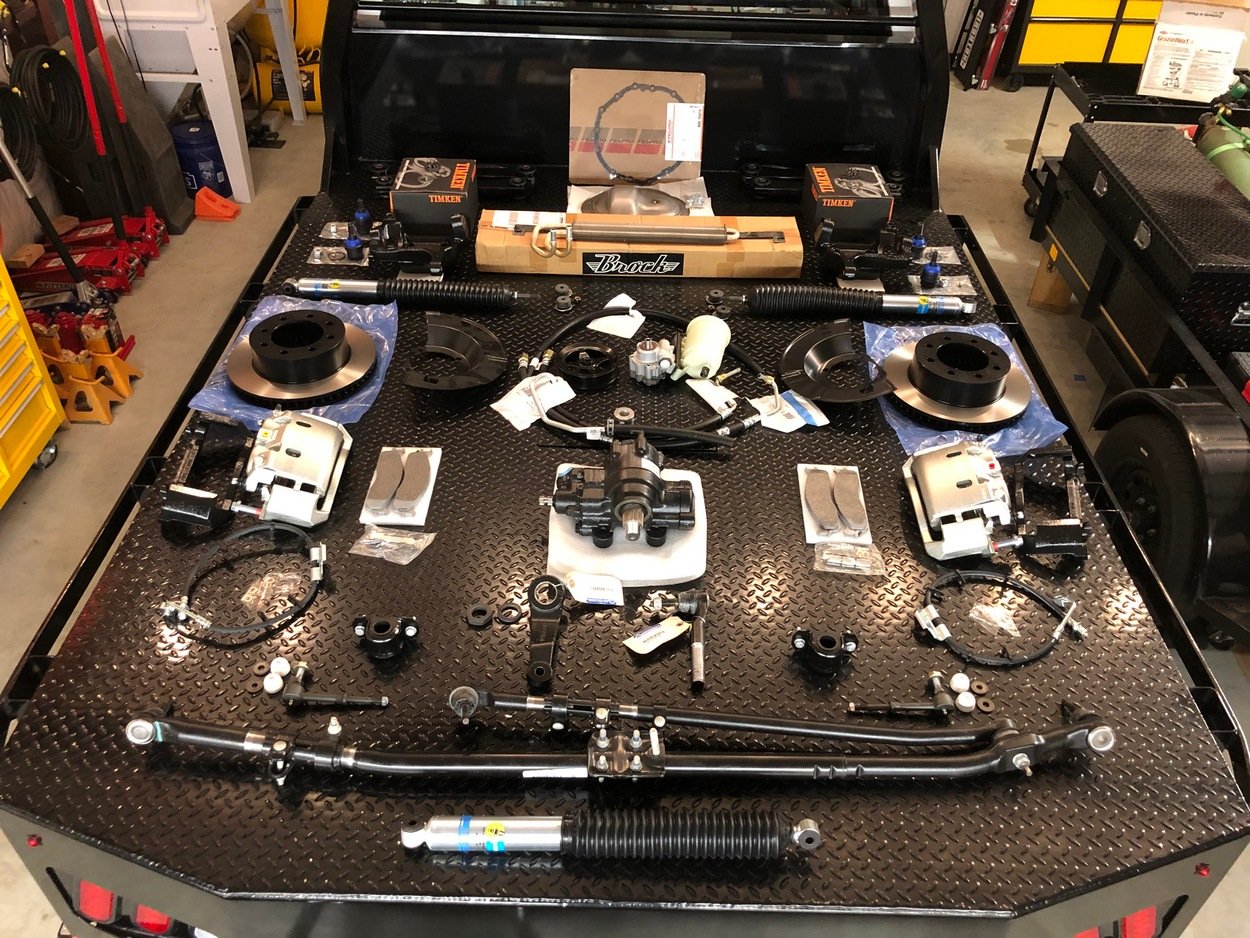
Start with new large/upgraded Mopar steering box
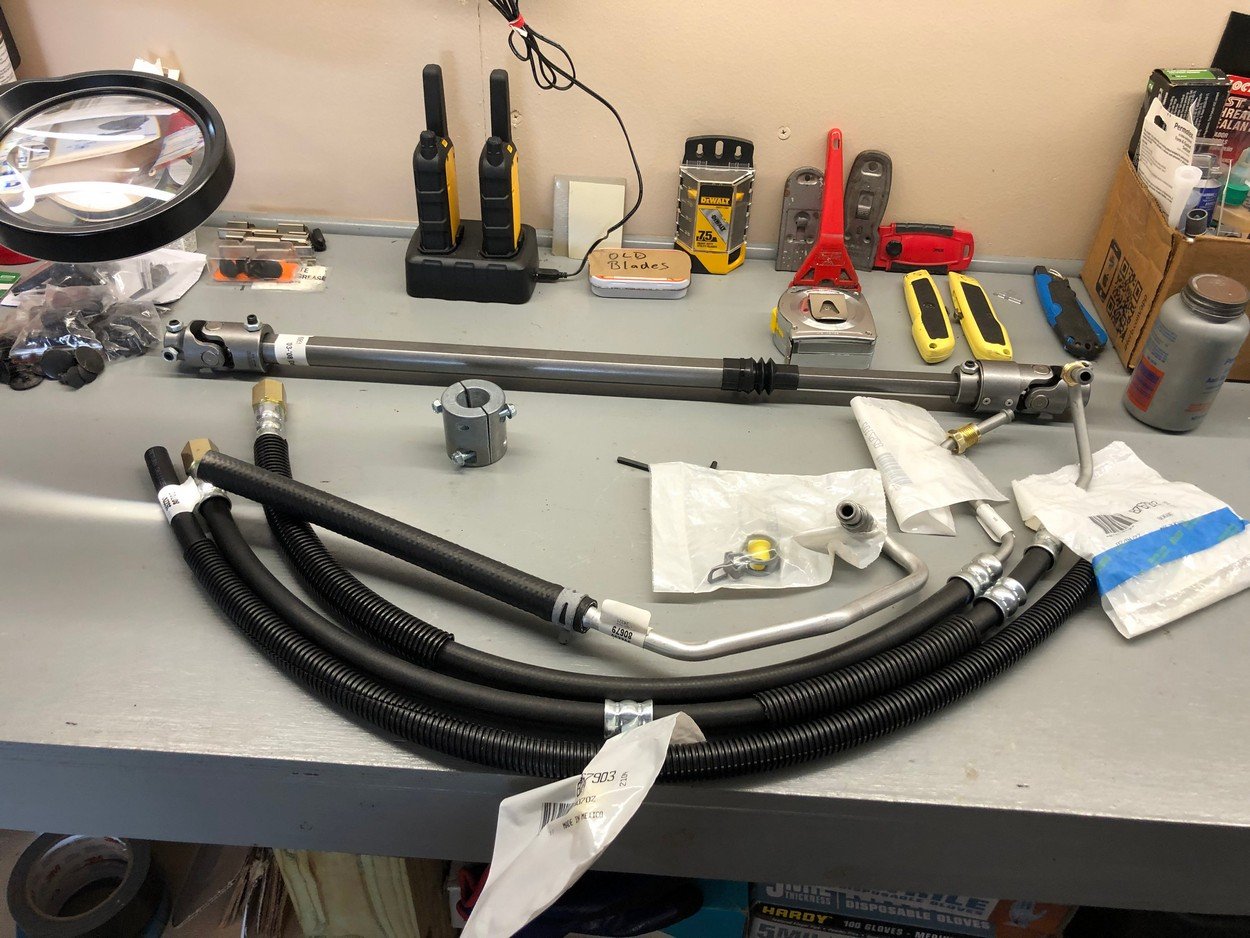
All hoses ready to go in
Put new pulley on power steering pump and install
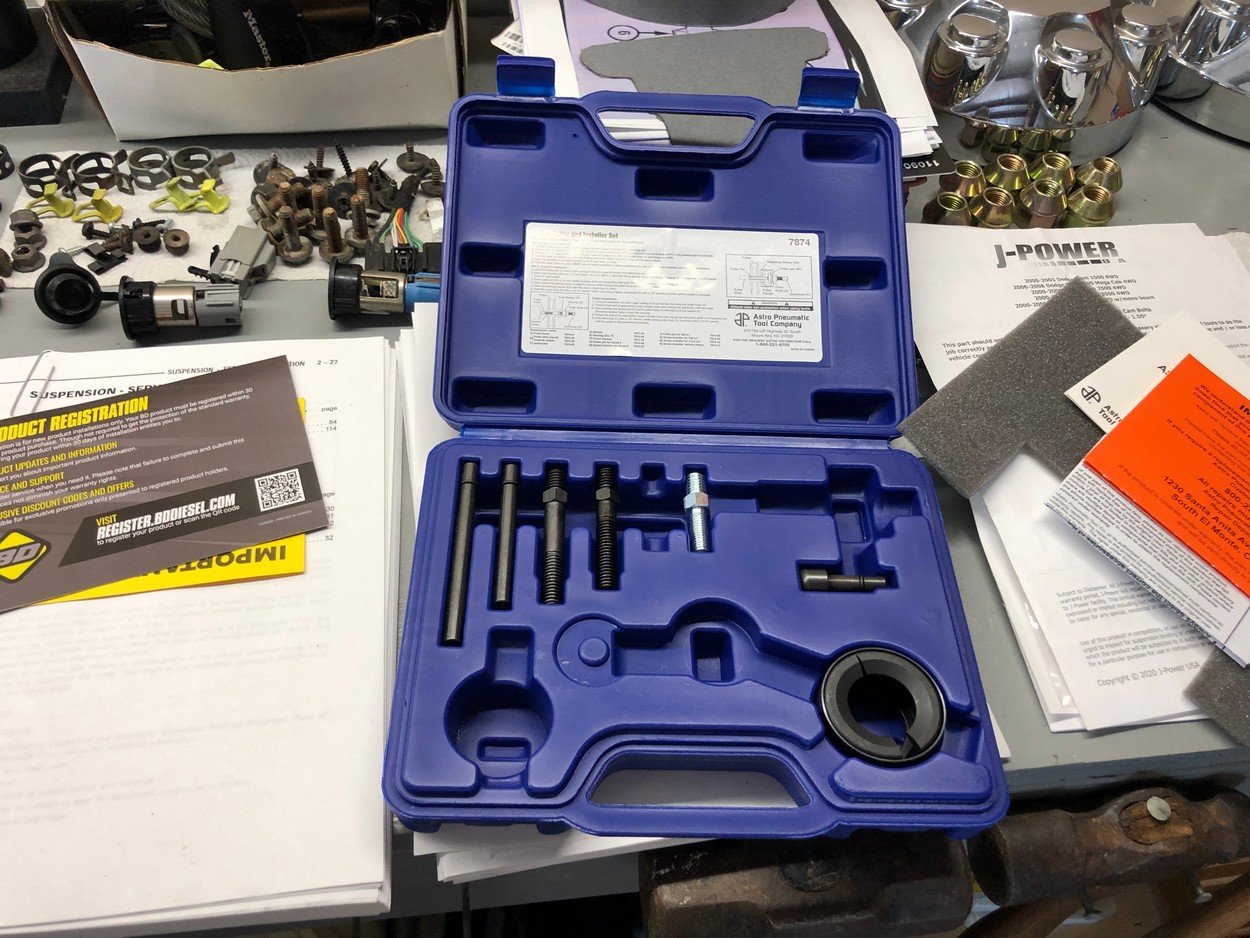
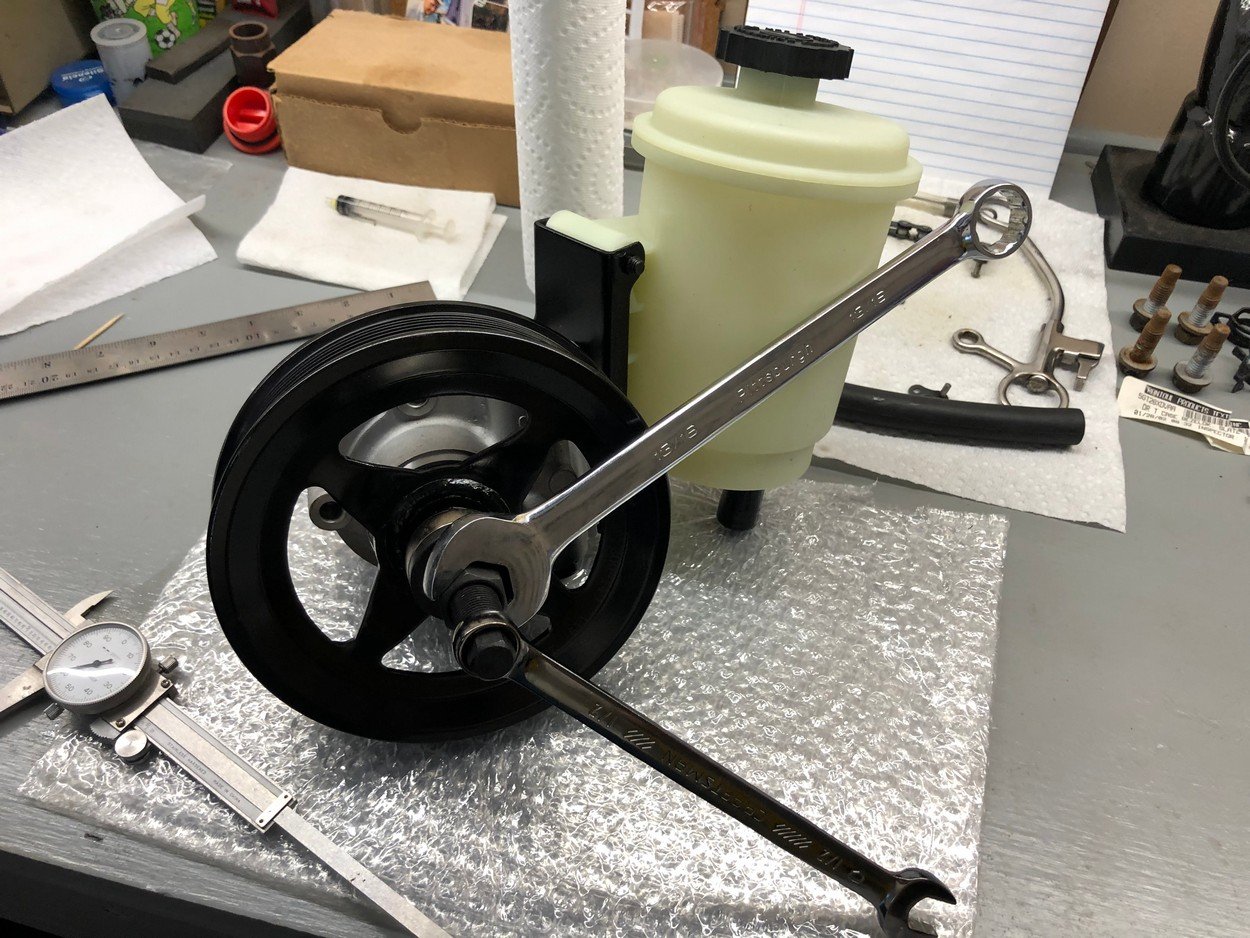
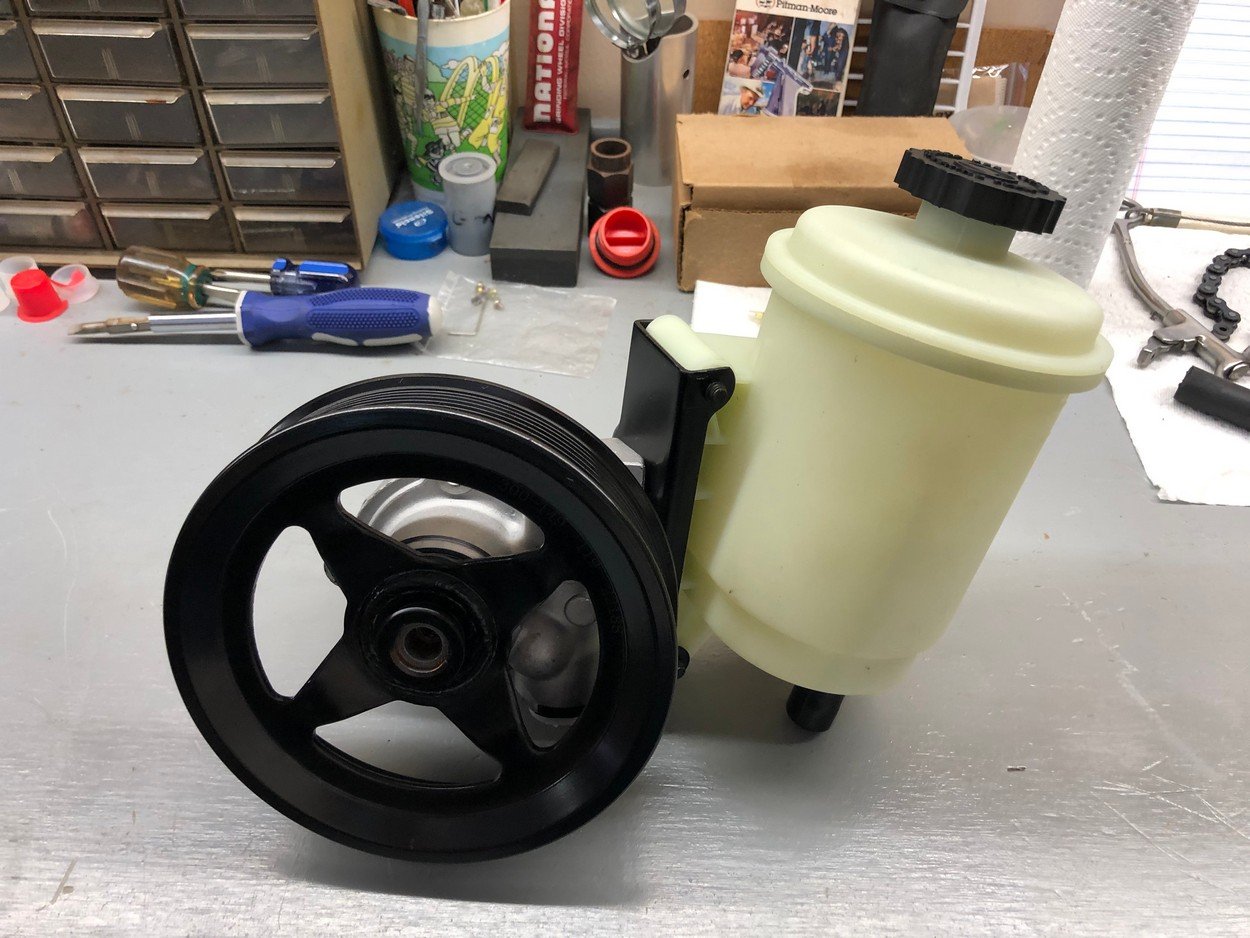
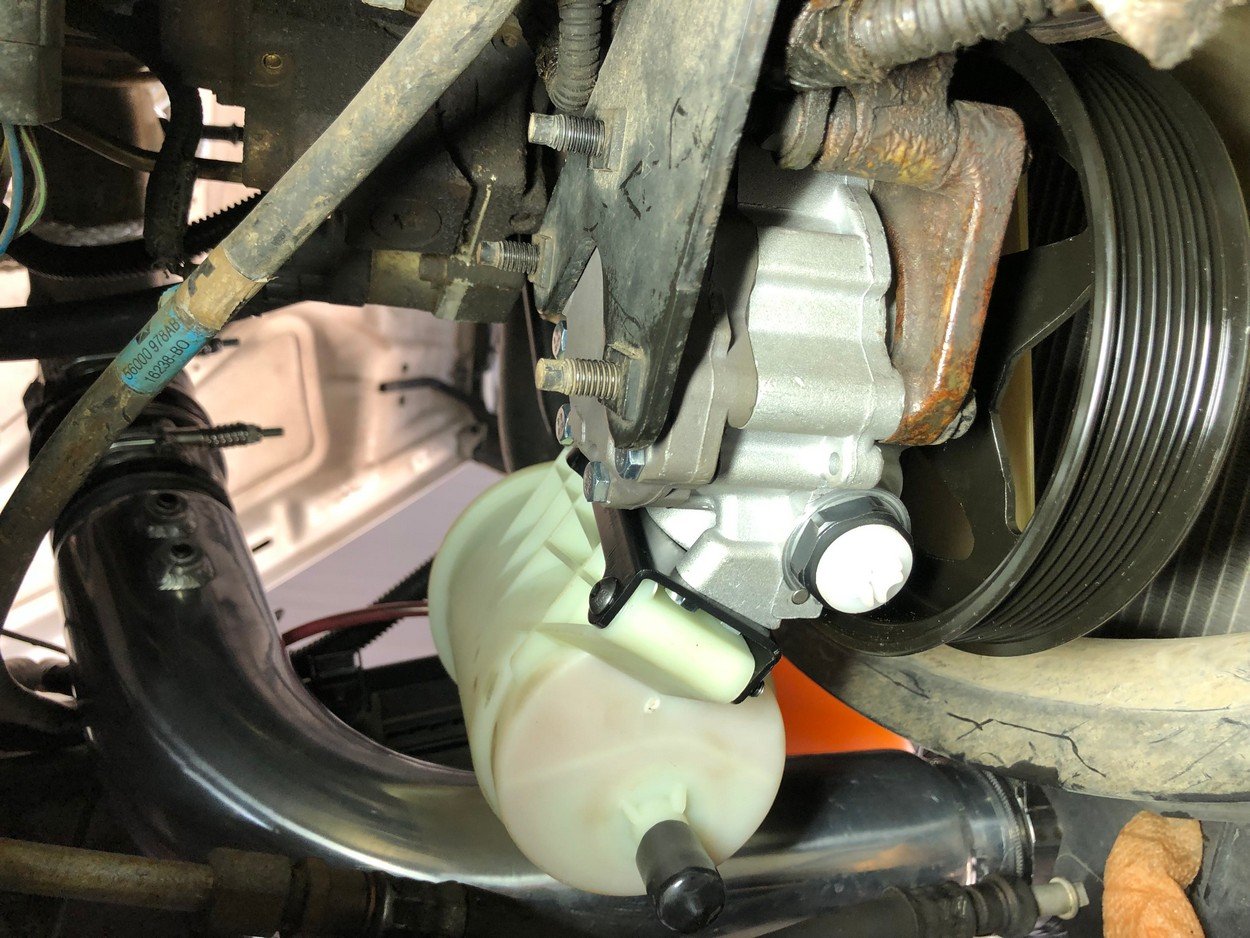
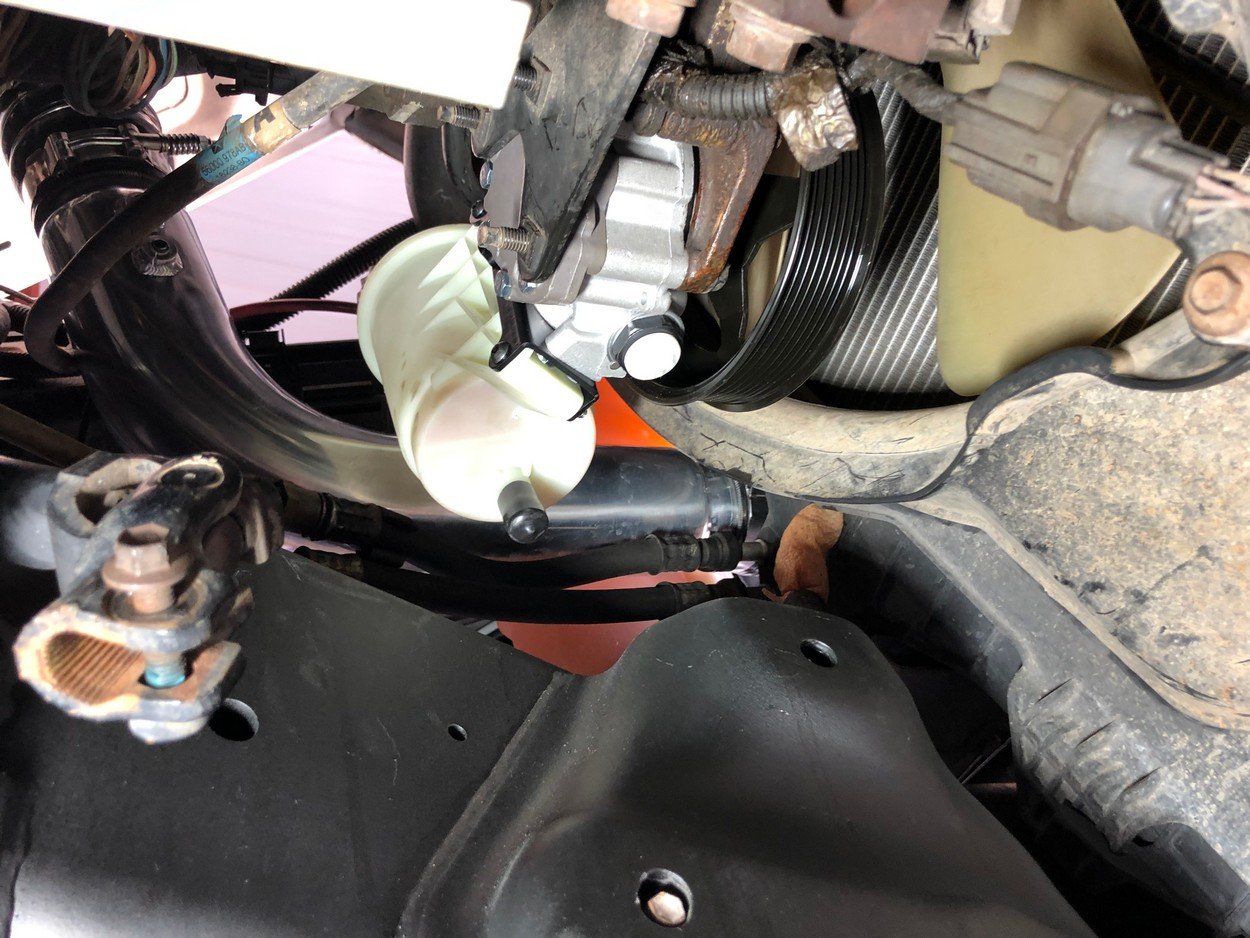
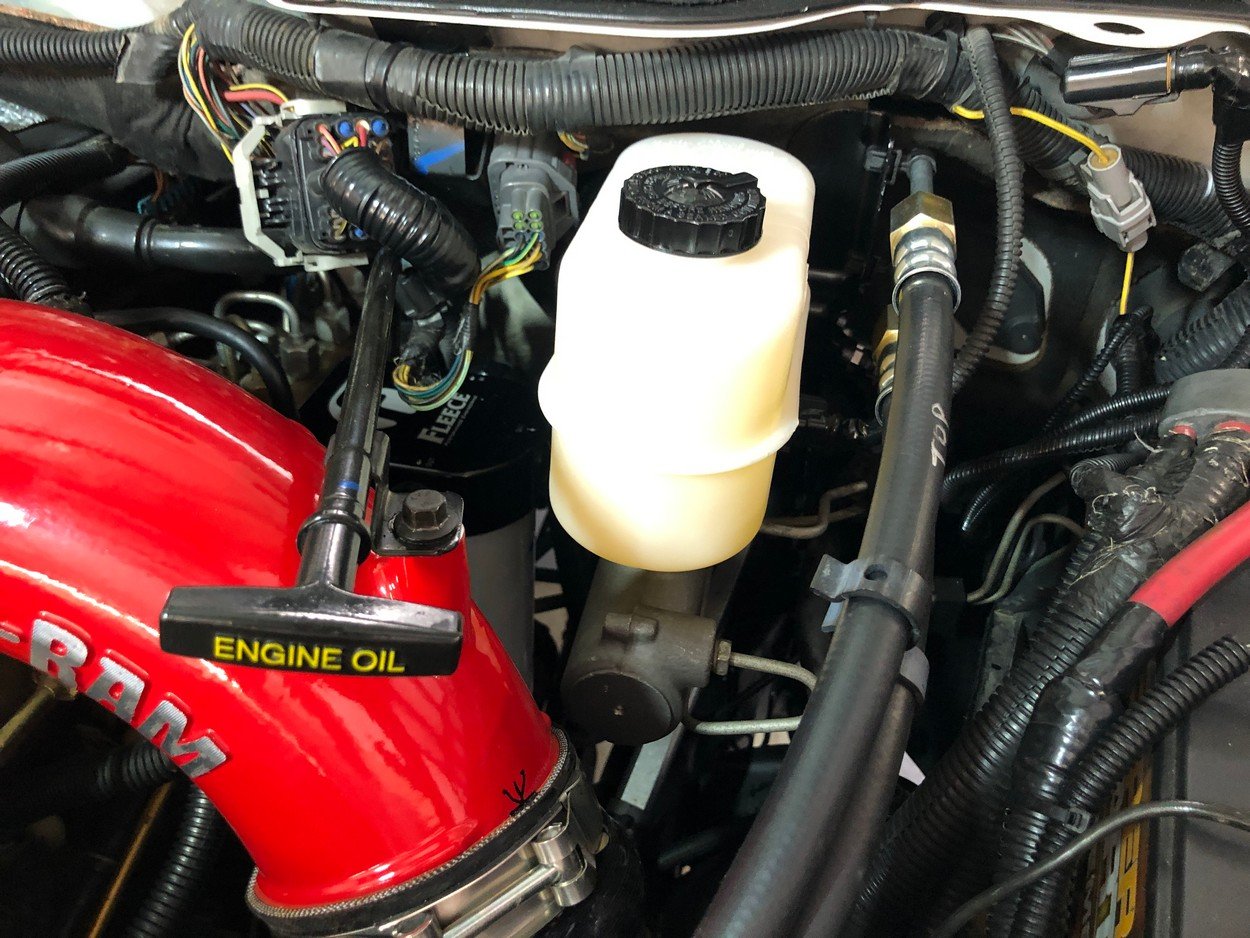
Time to replace the hydro-booster and master cylinder !
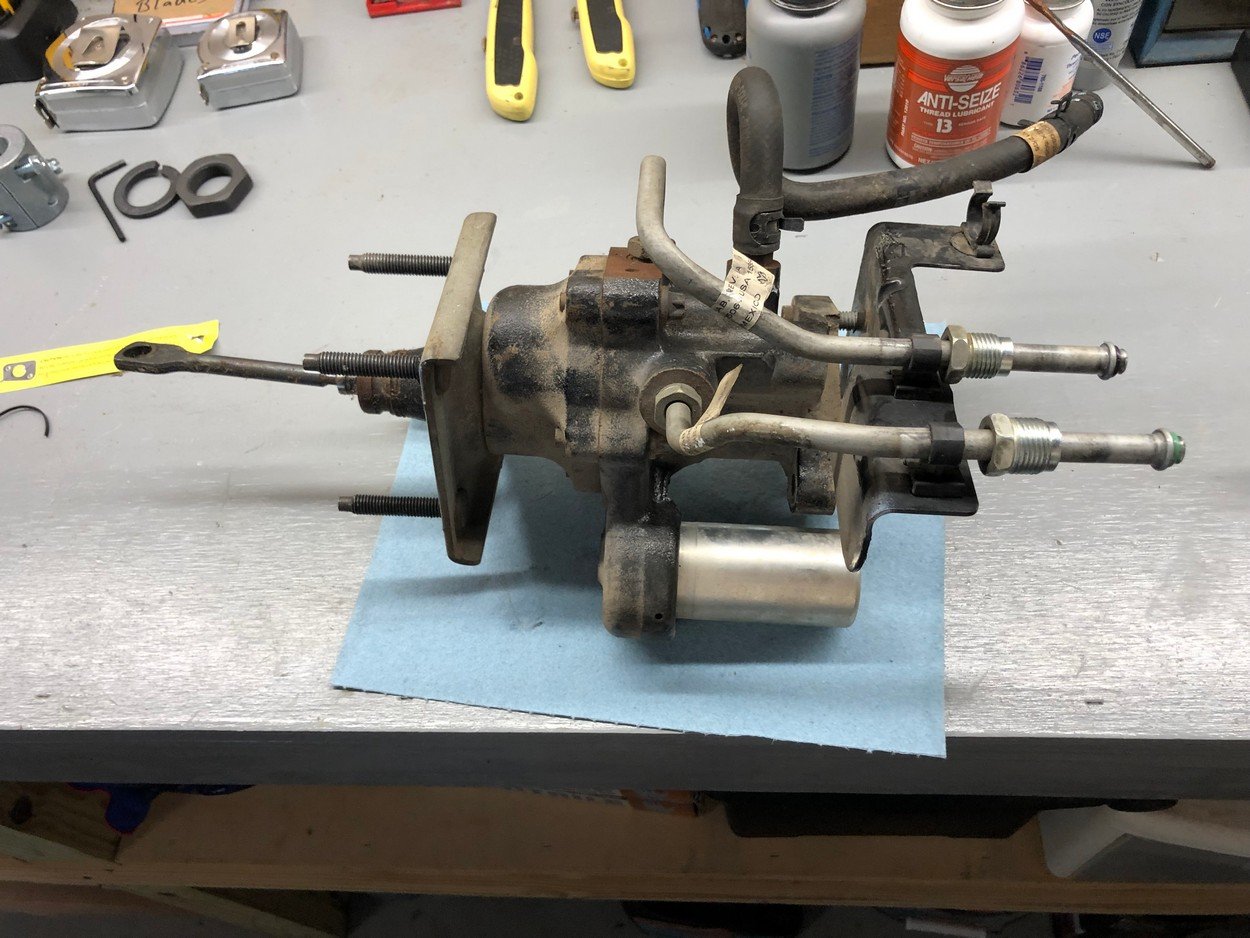
Pull the old one out
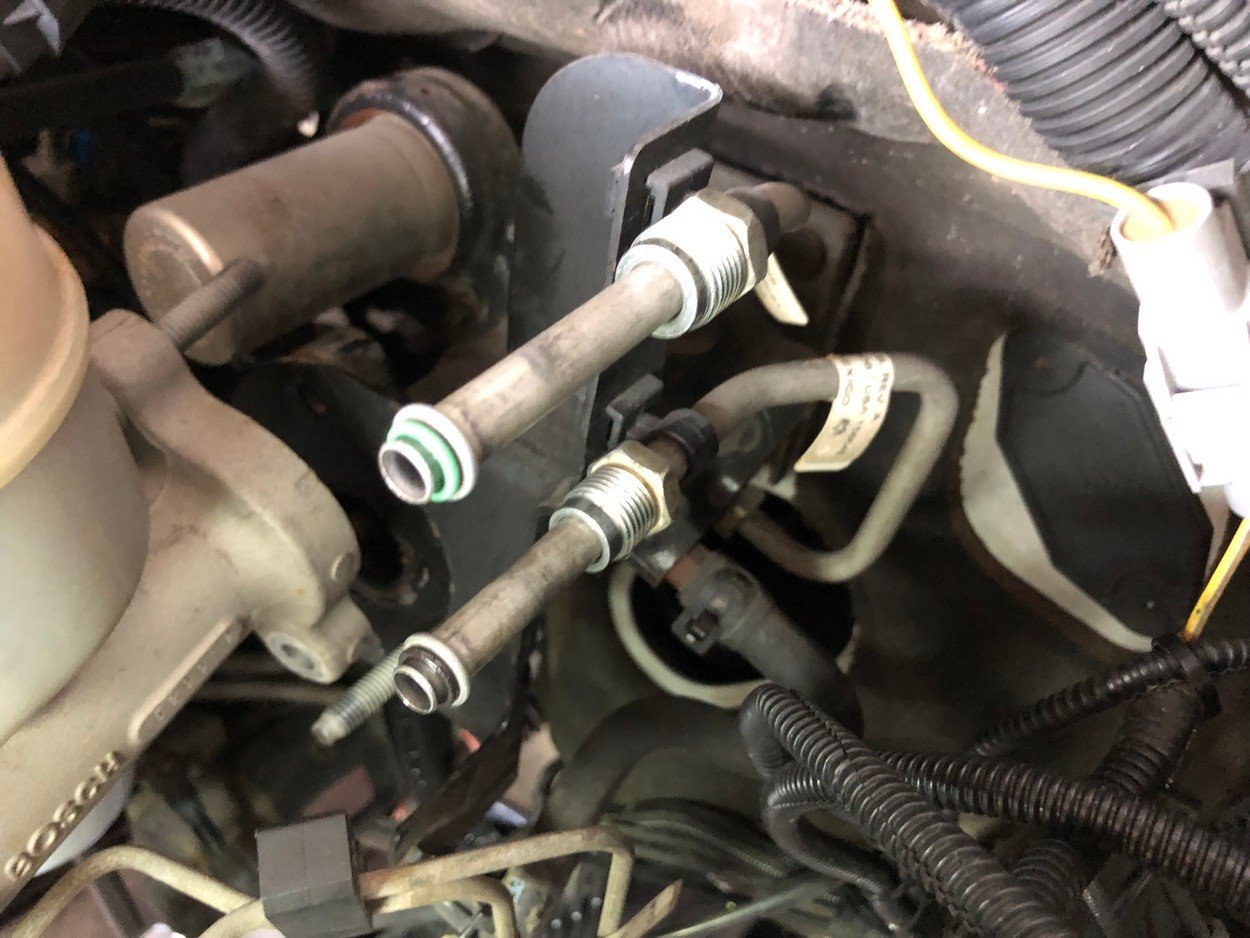
New Bosch replacement
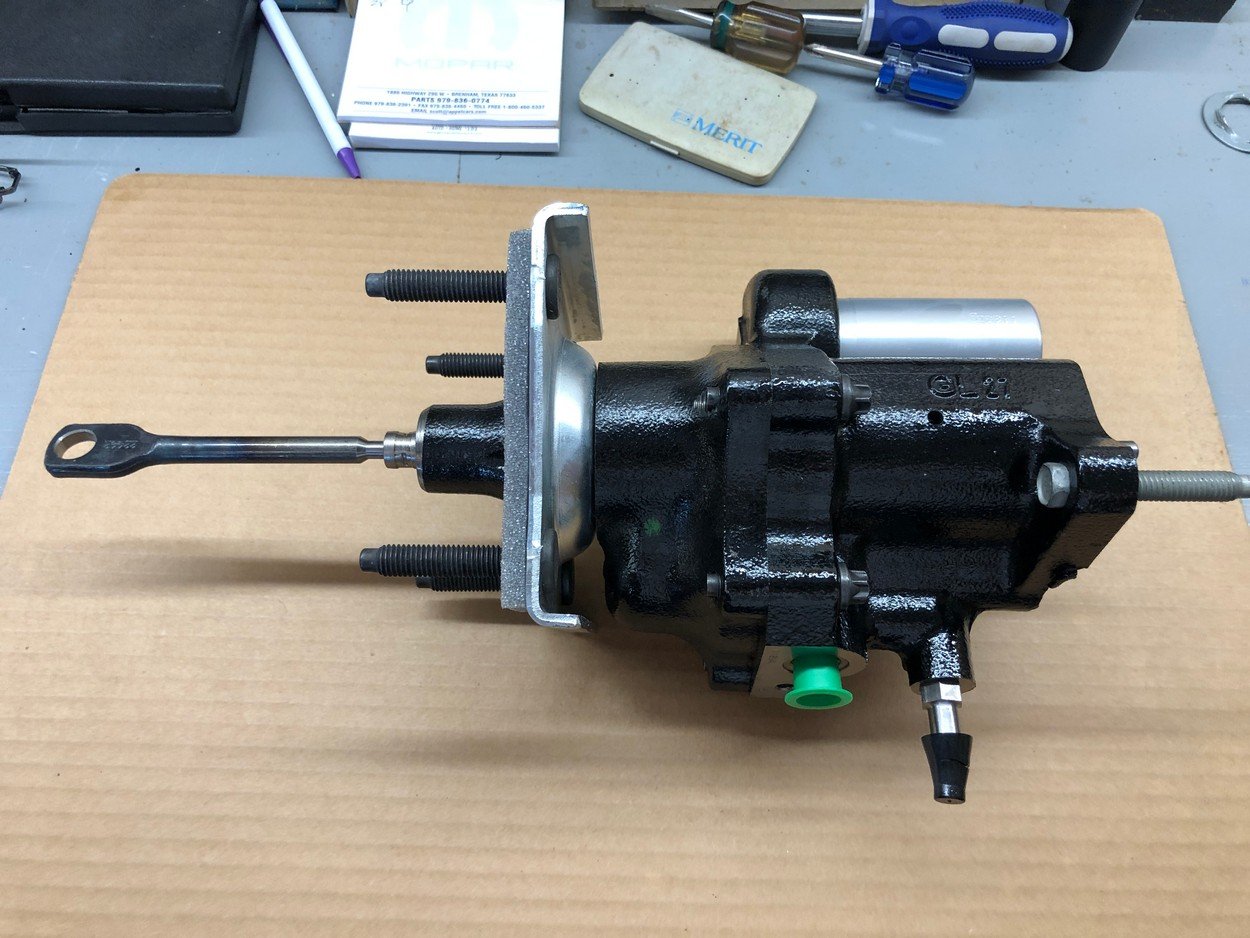
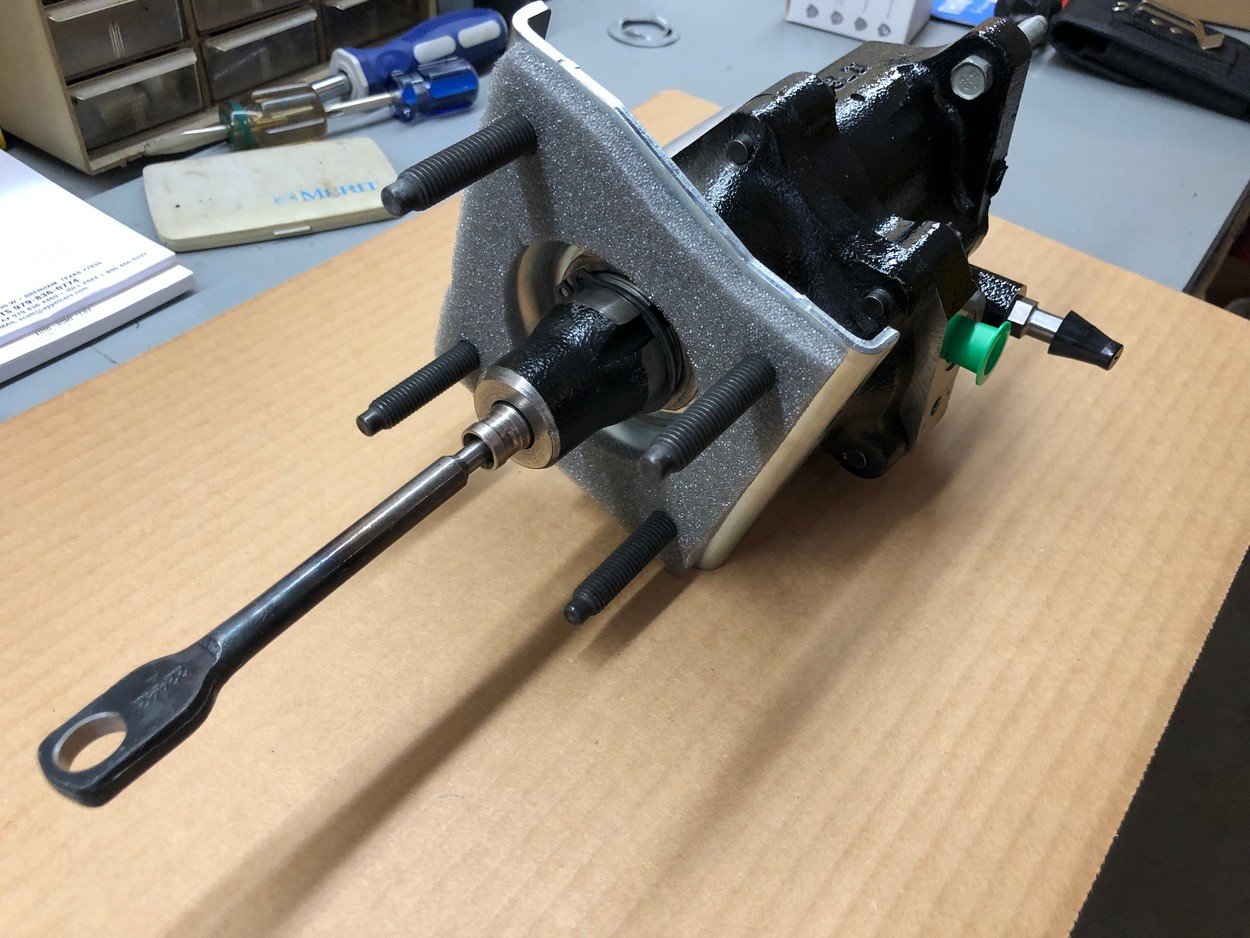
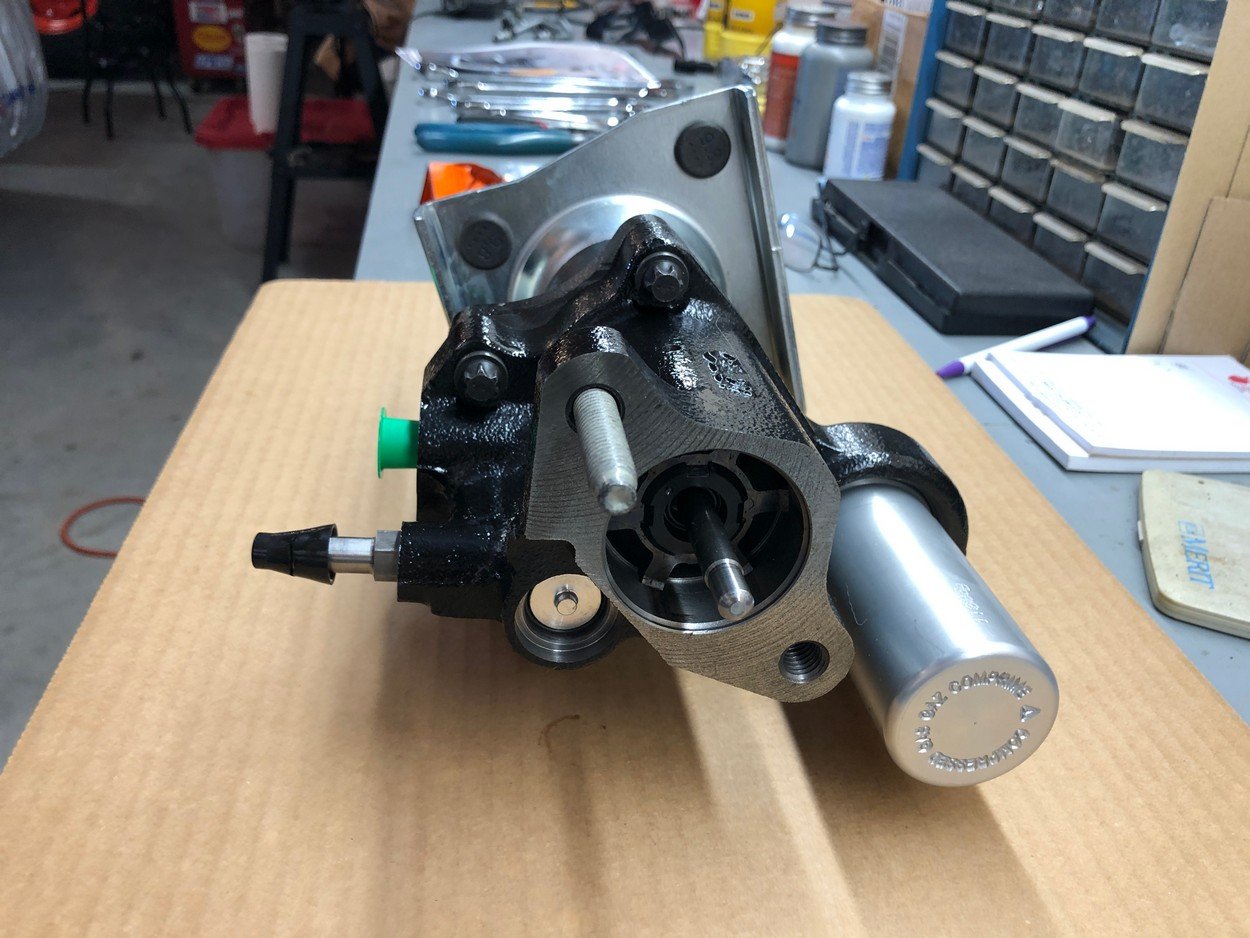
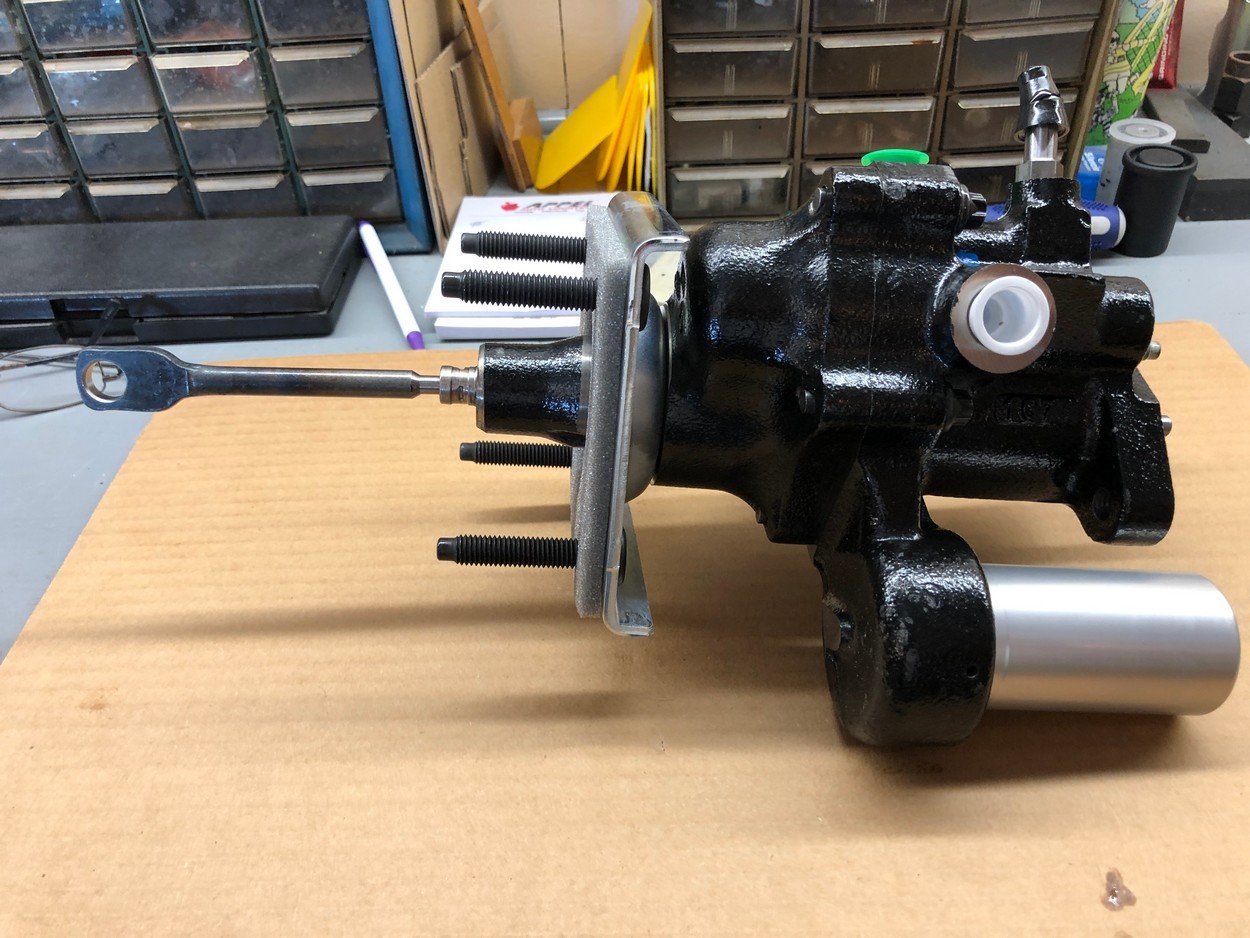
New Dorman master cylinder
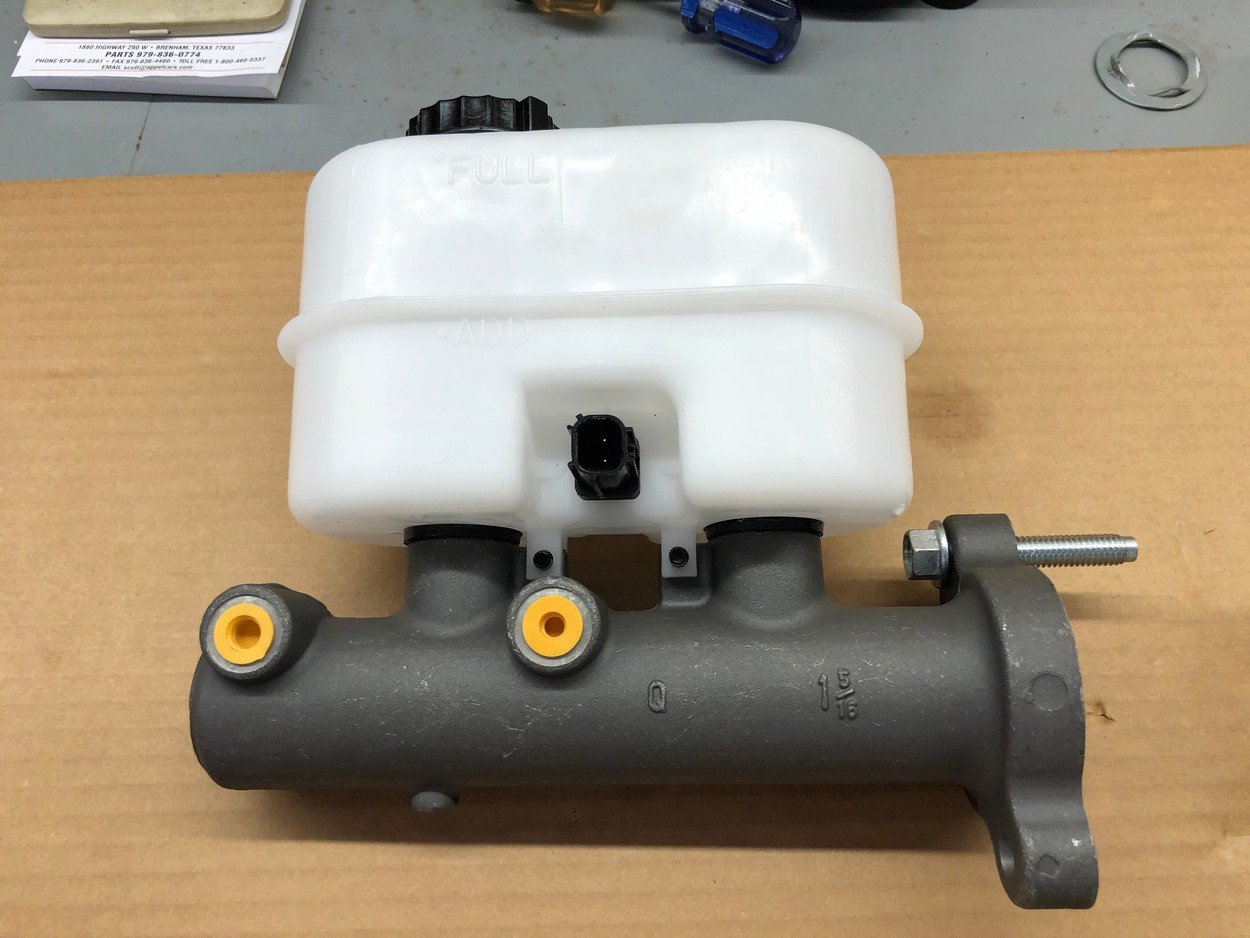
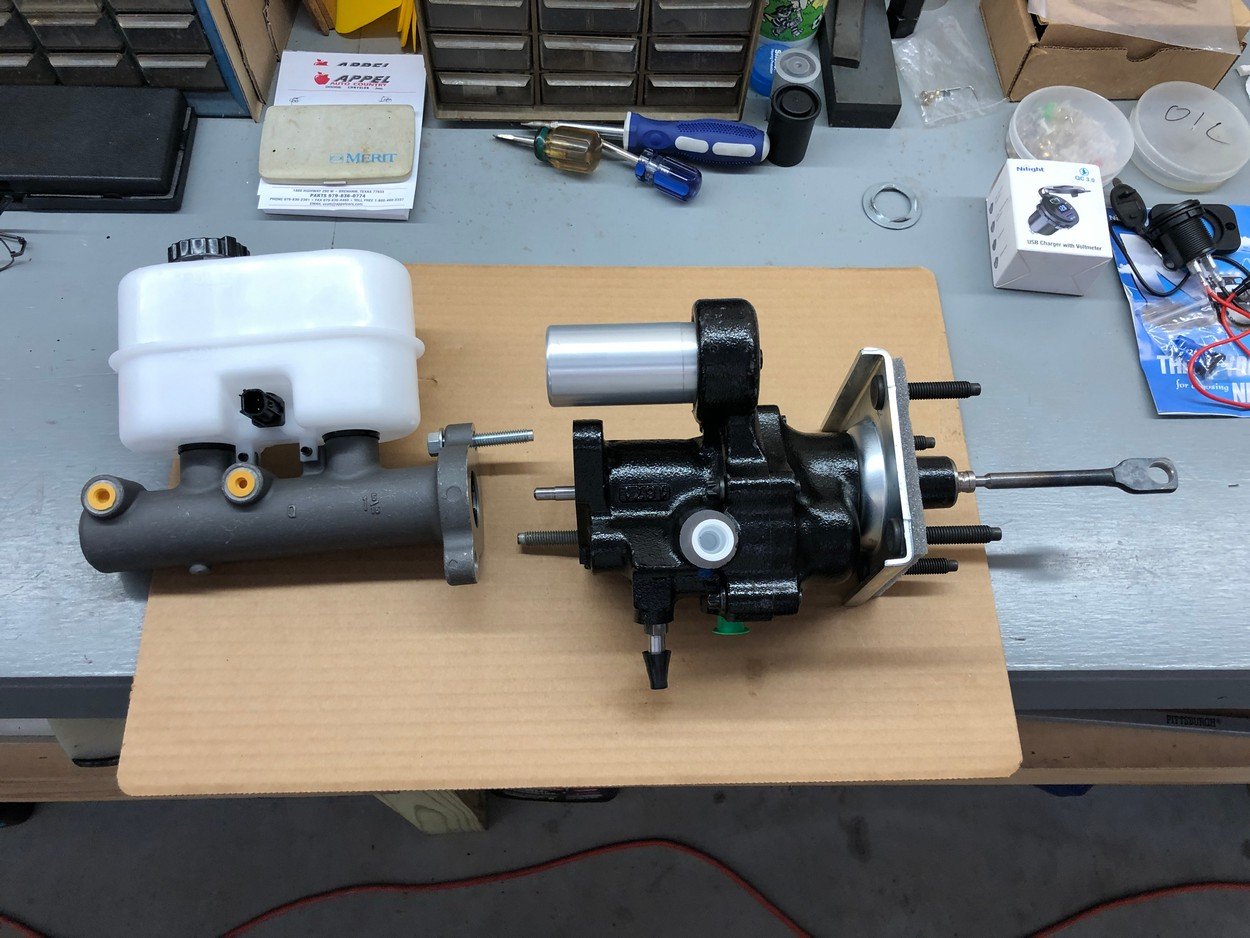
Installation
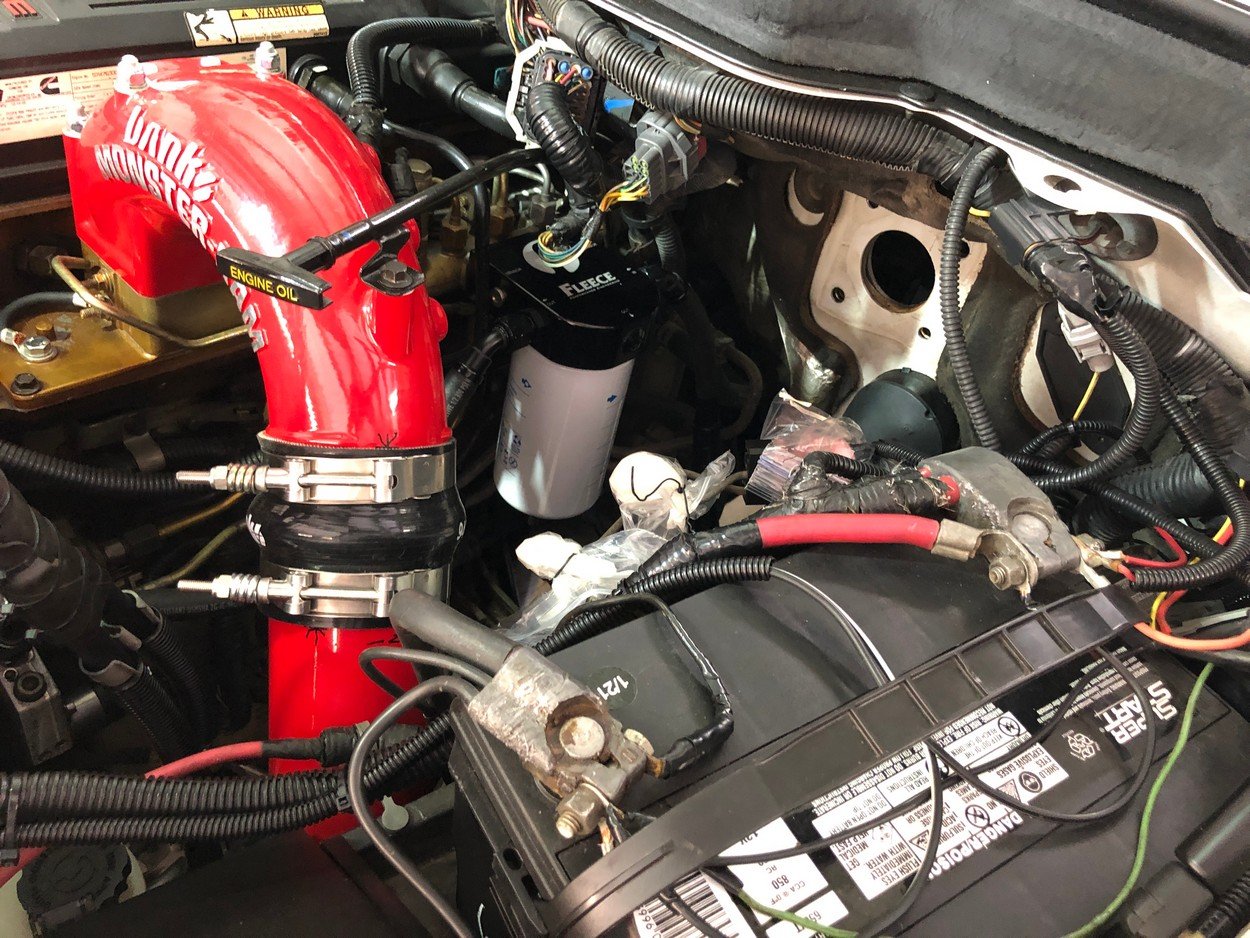
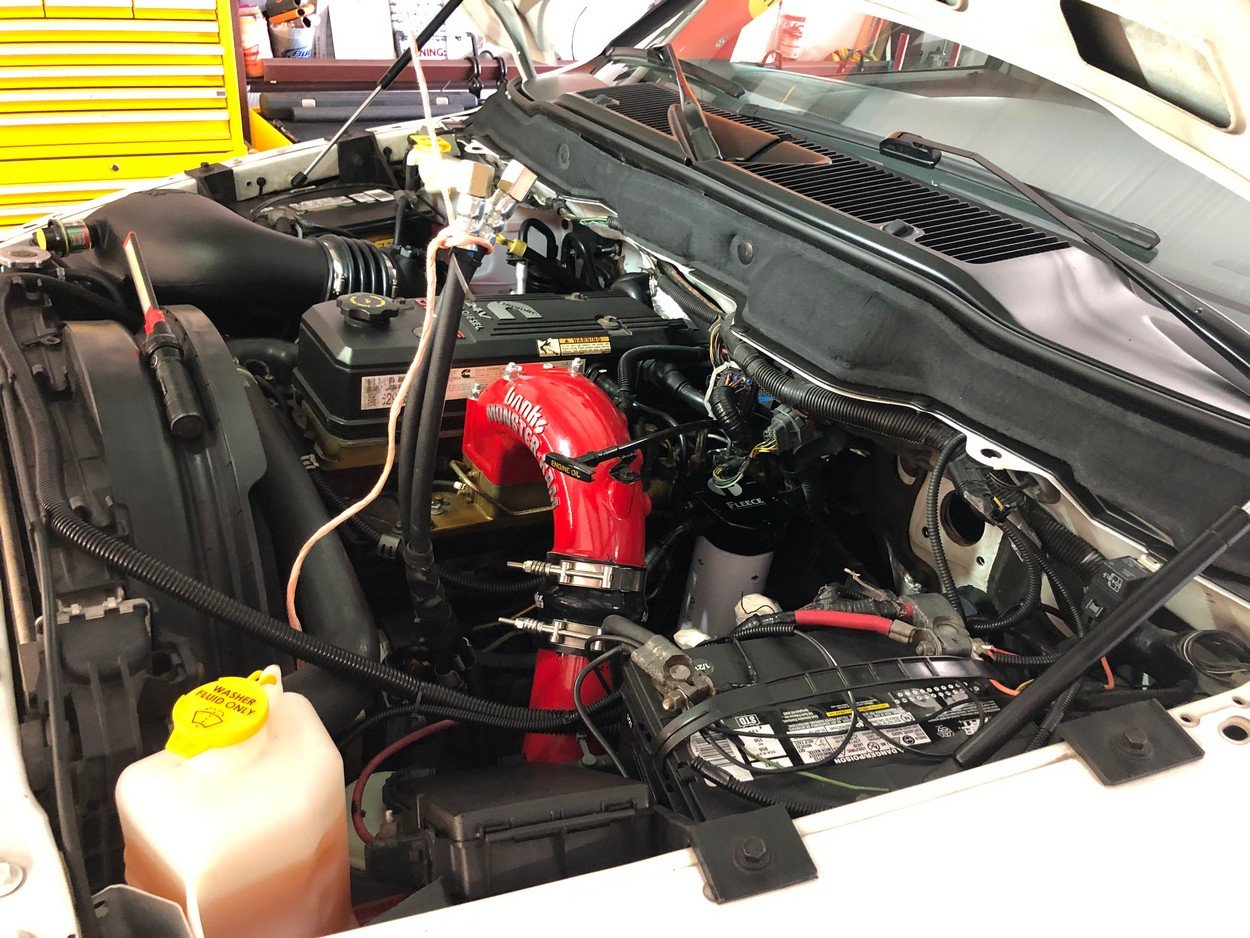
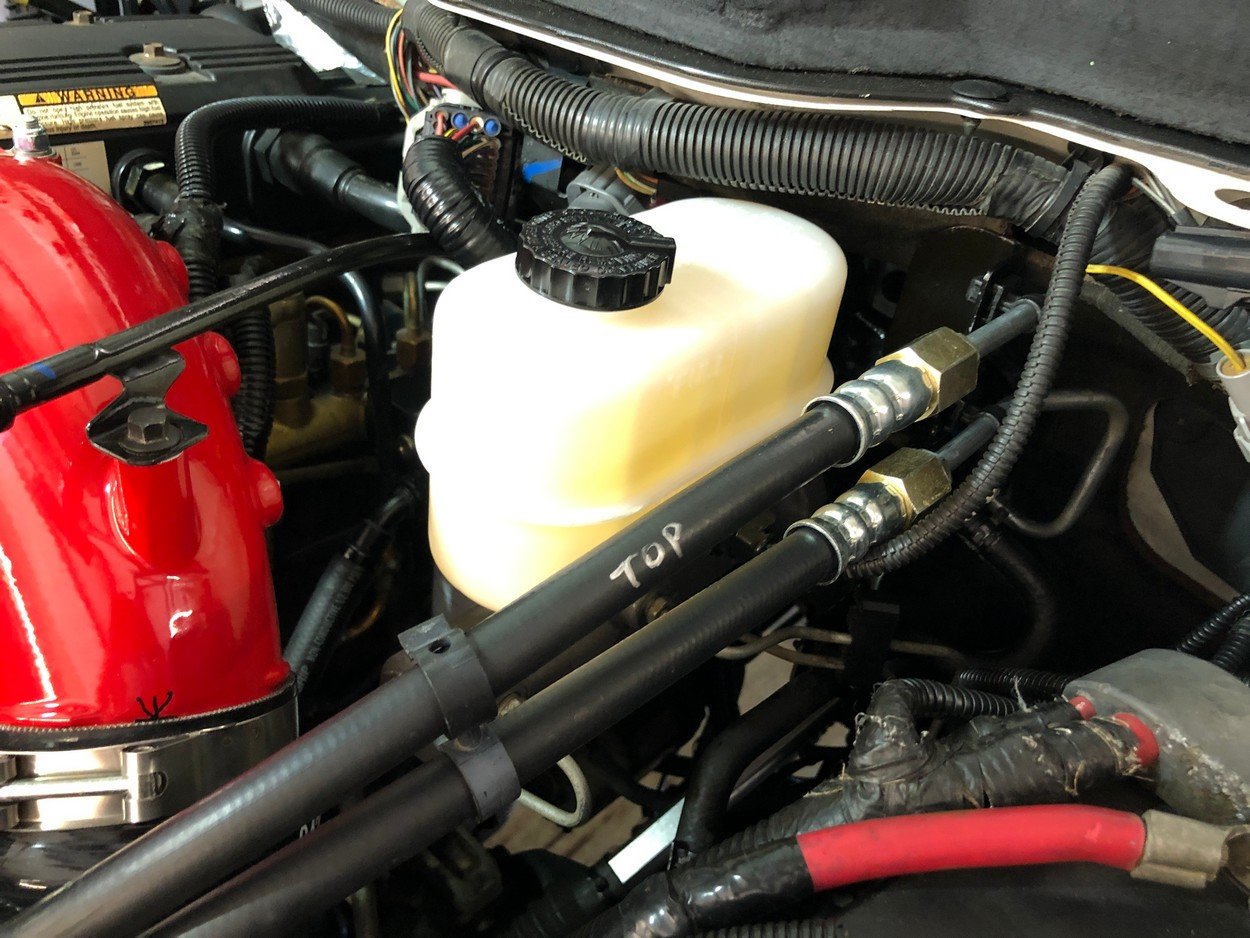
New hydrobooster & master cylinder installed
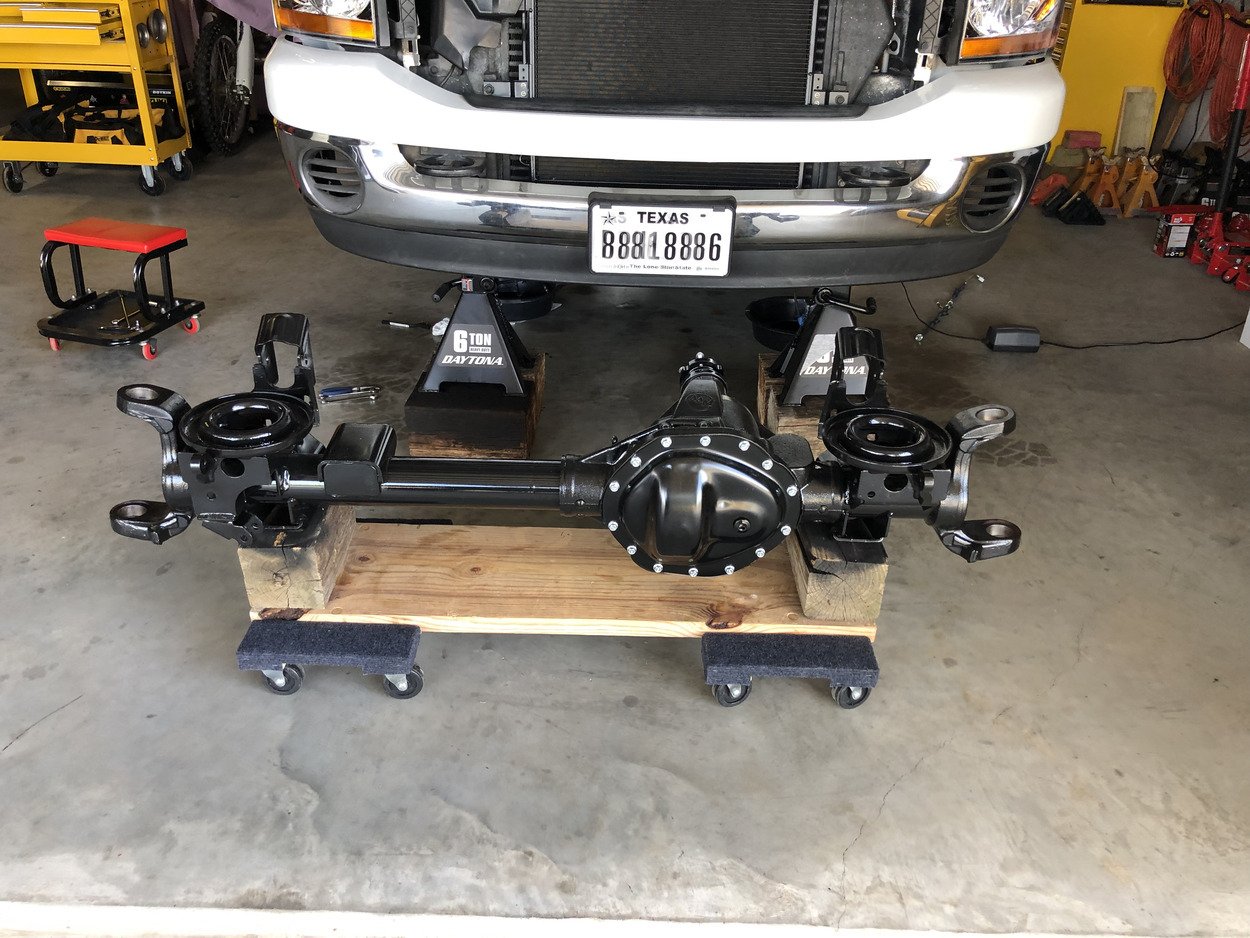
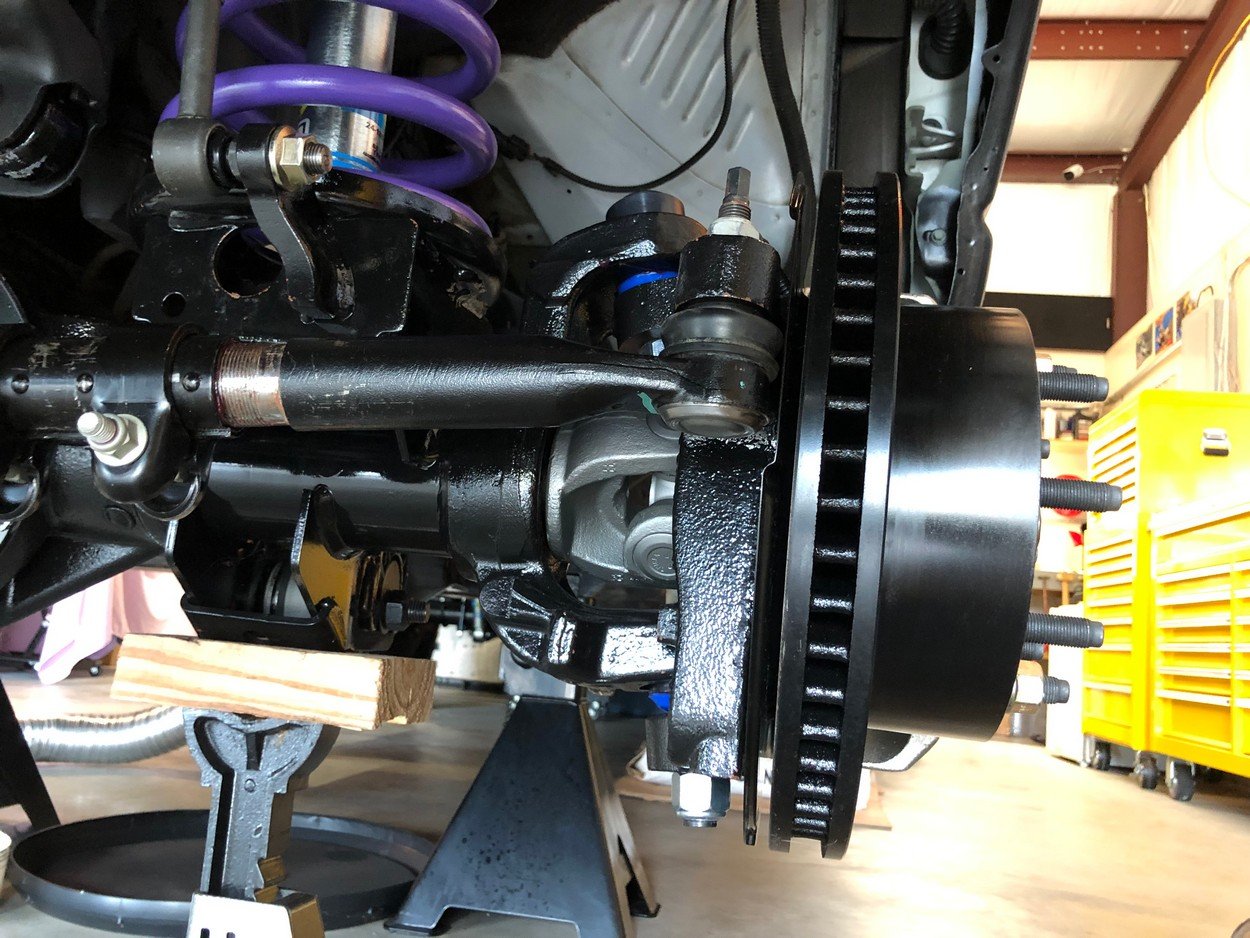
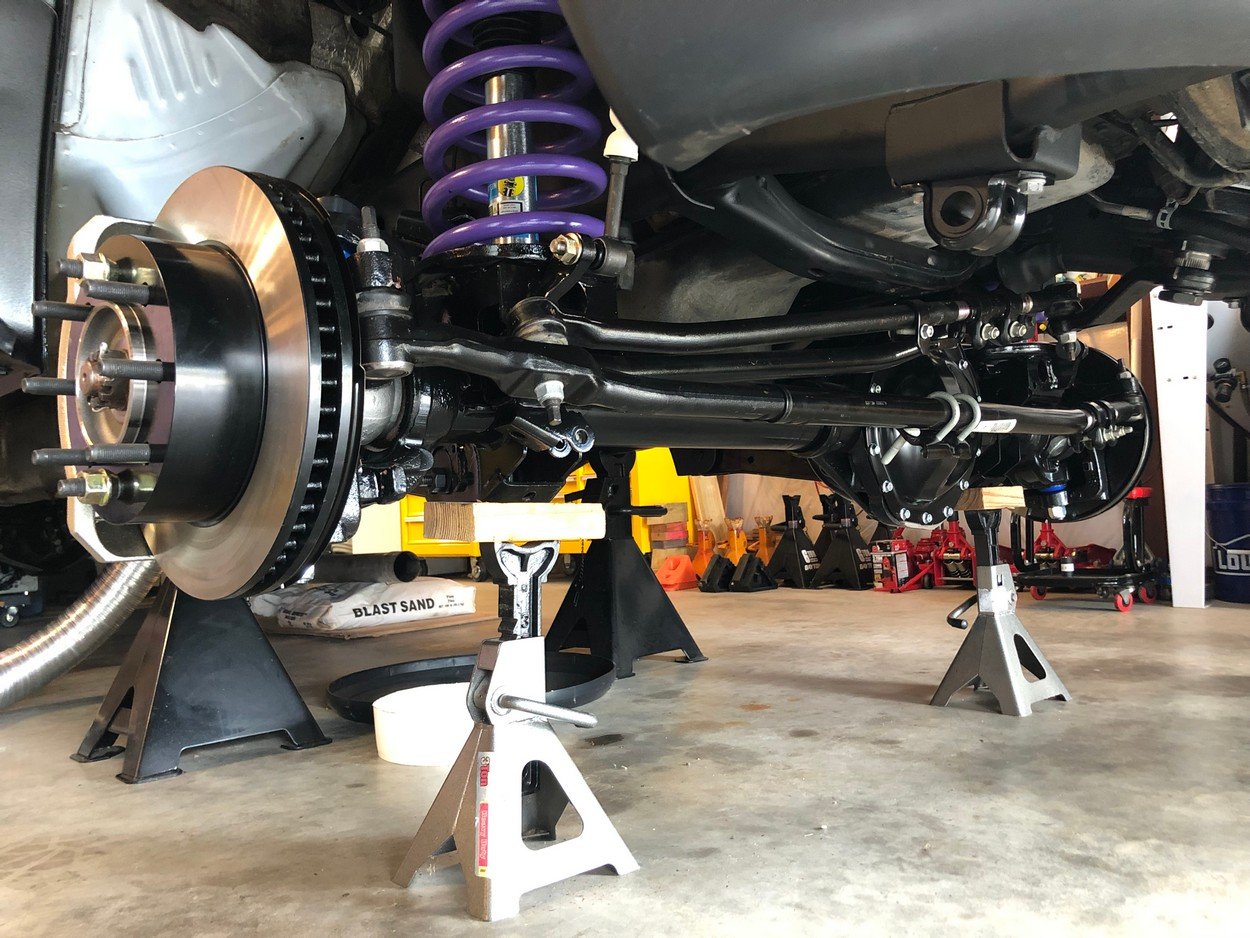
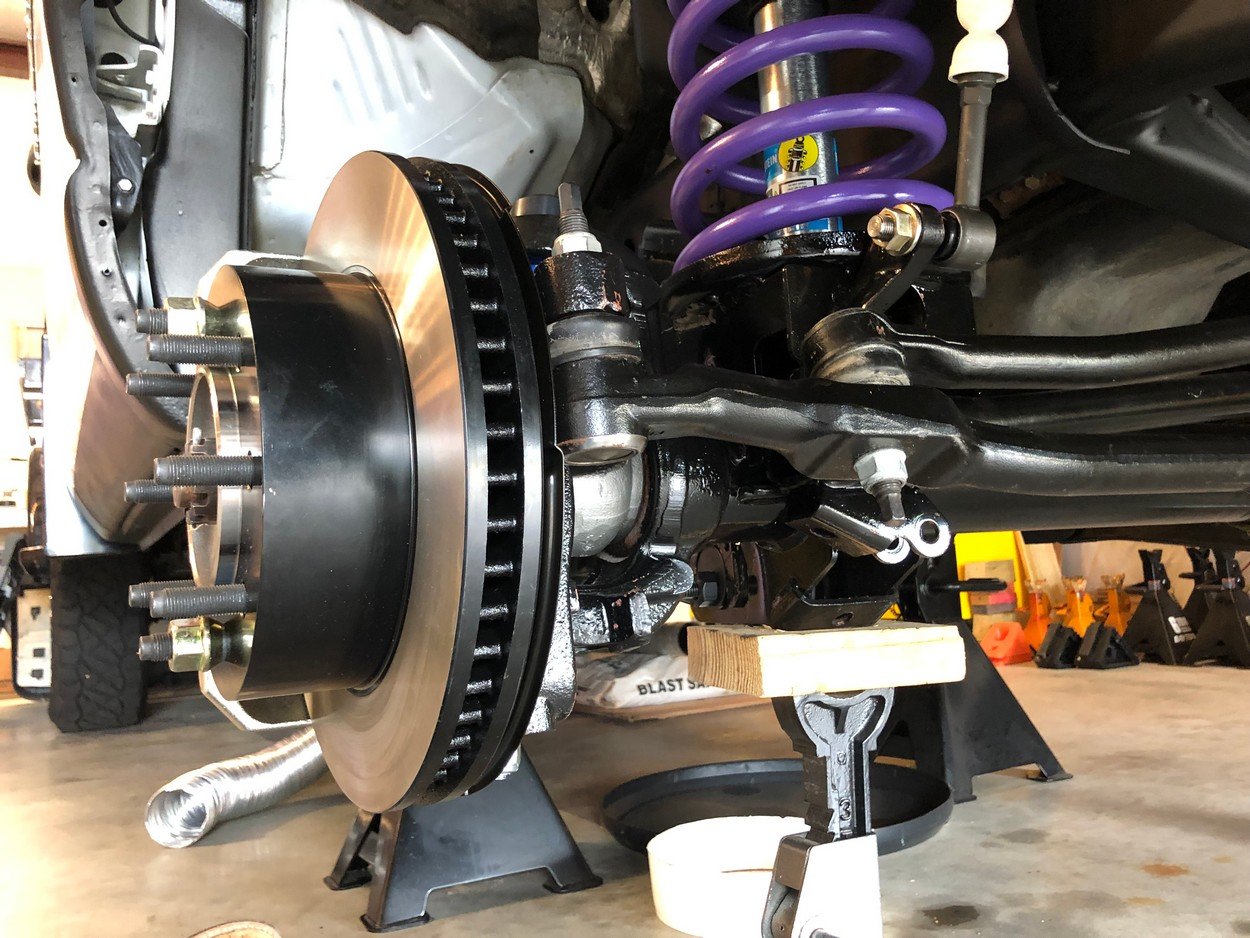
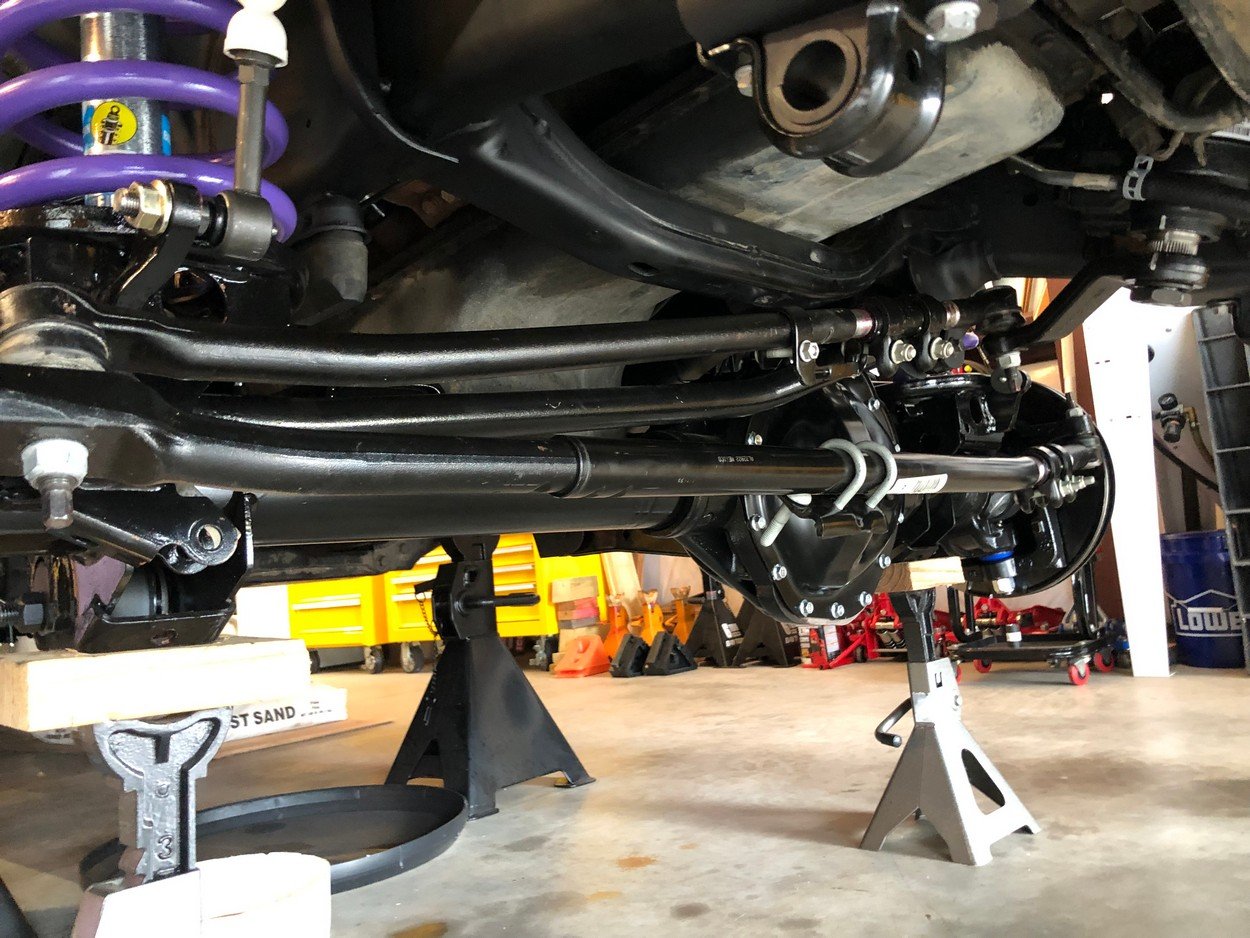
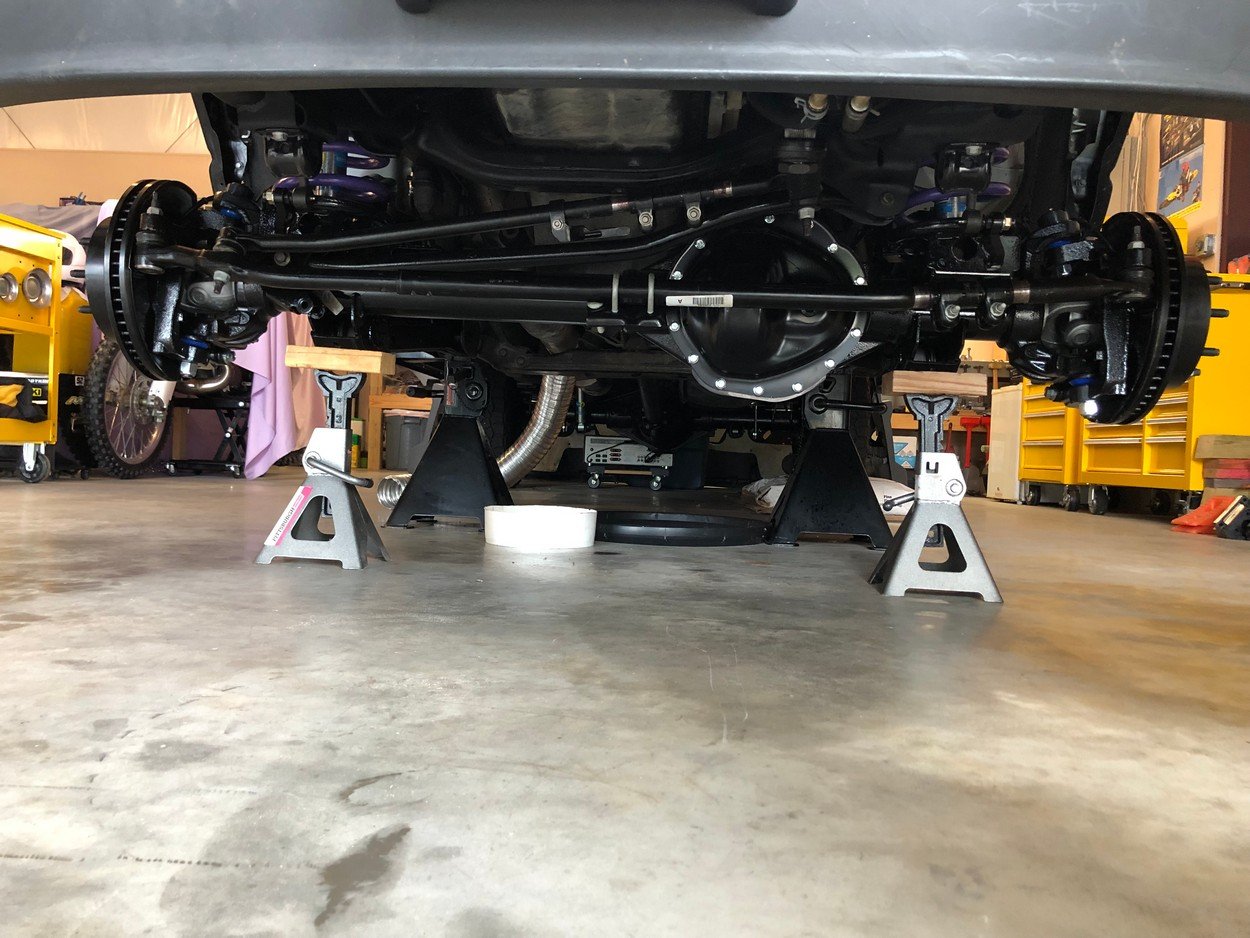
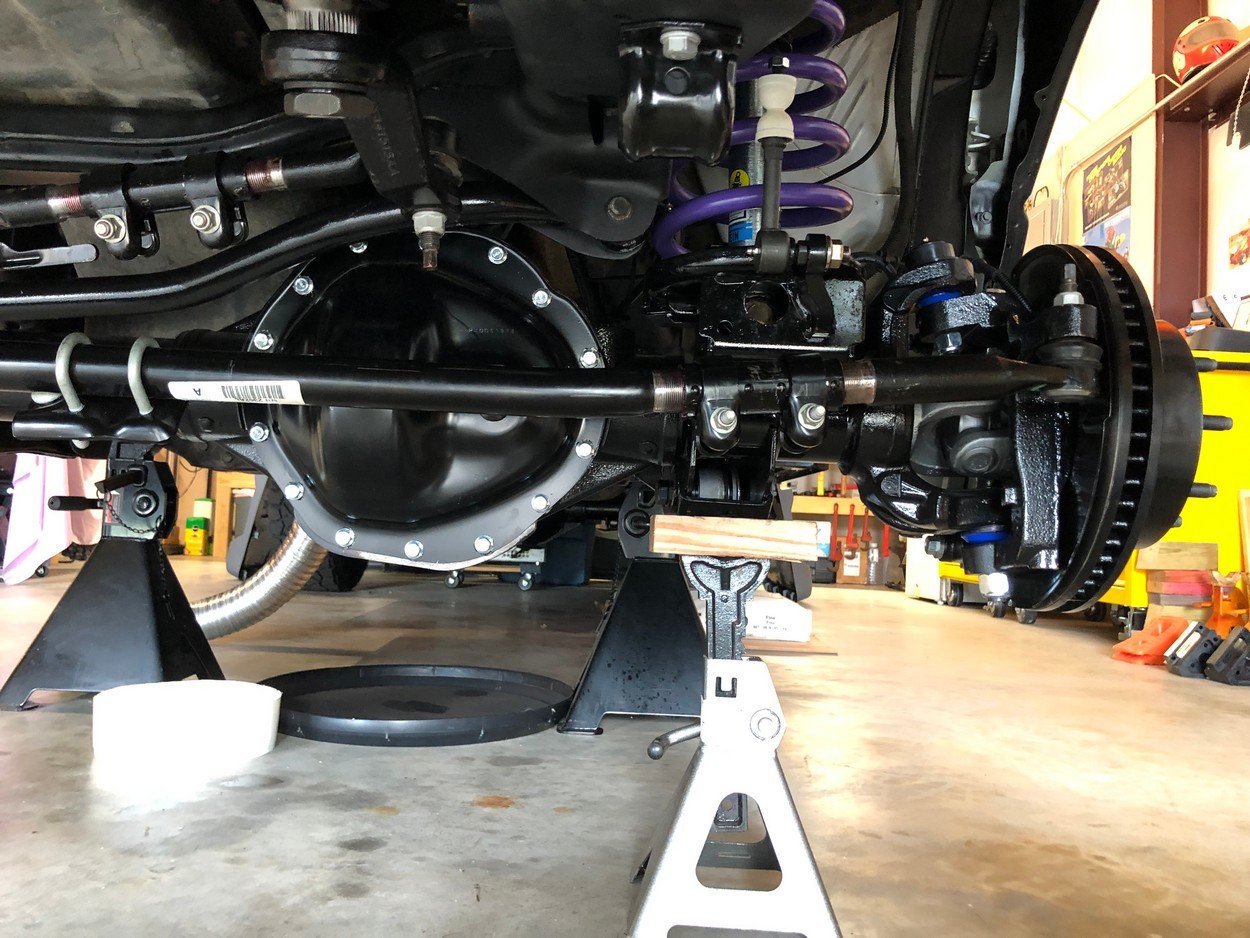
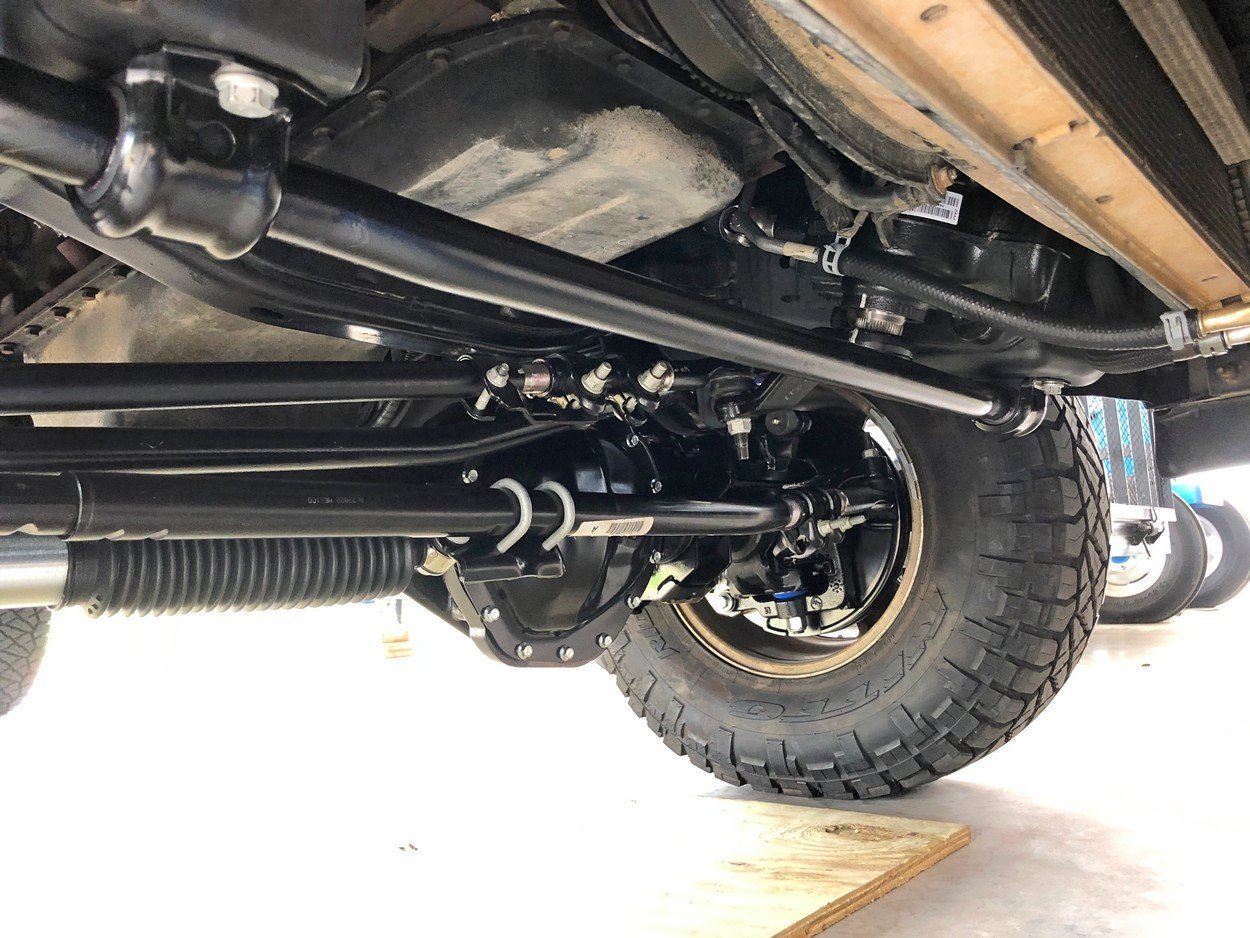
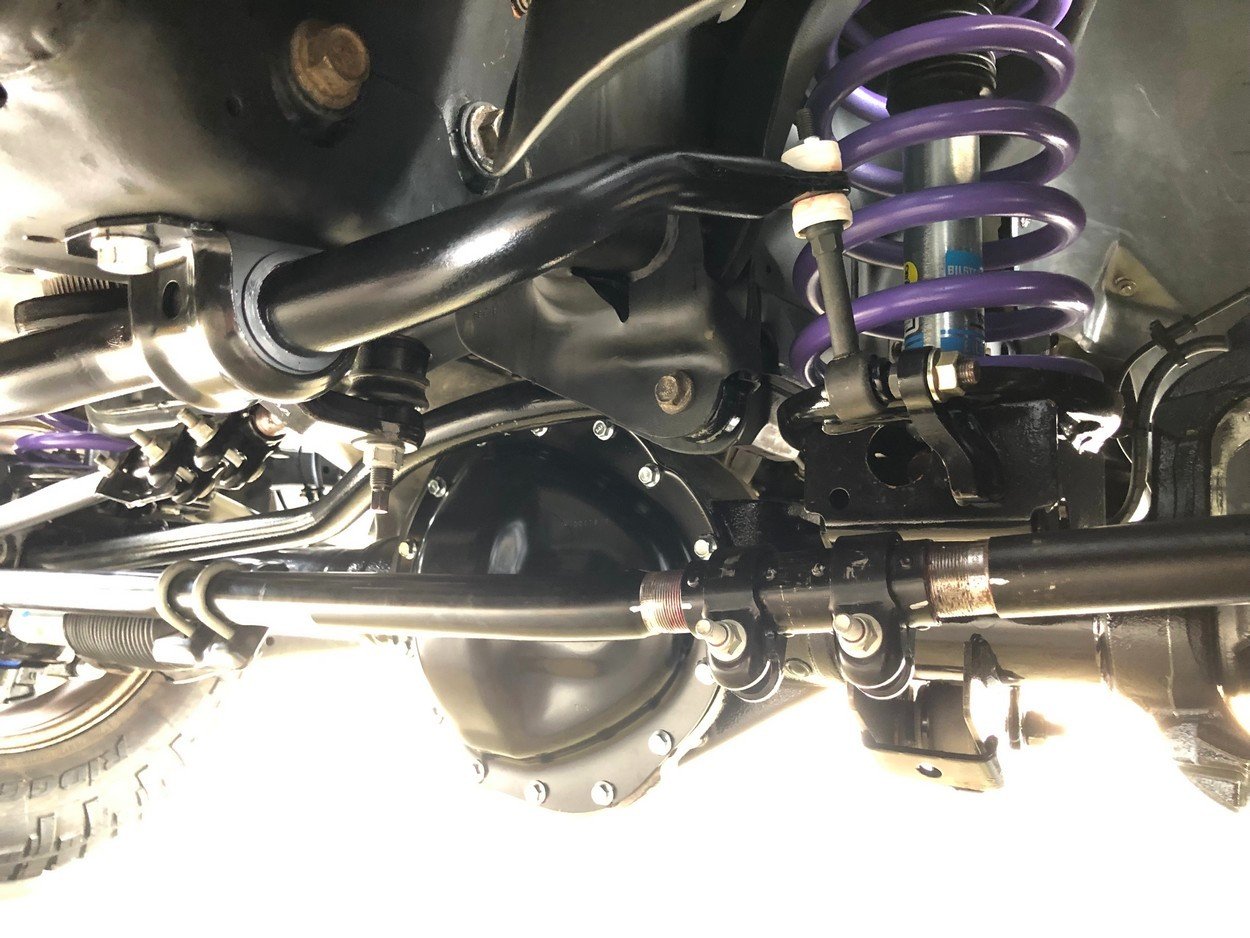
Install rebuilt front axle
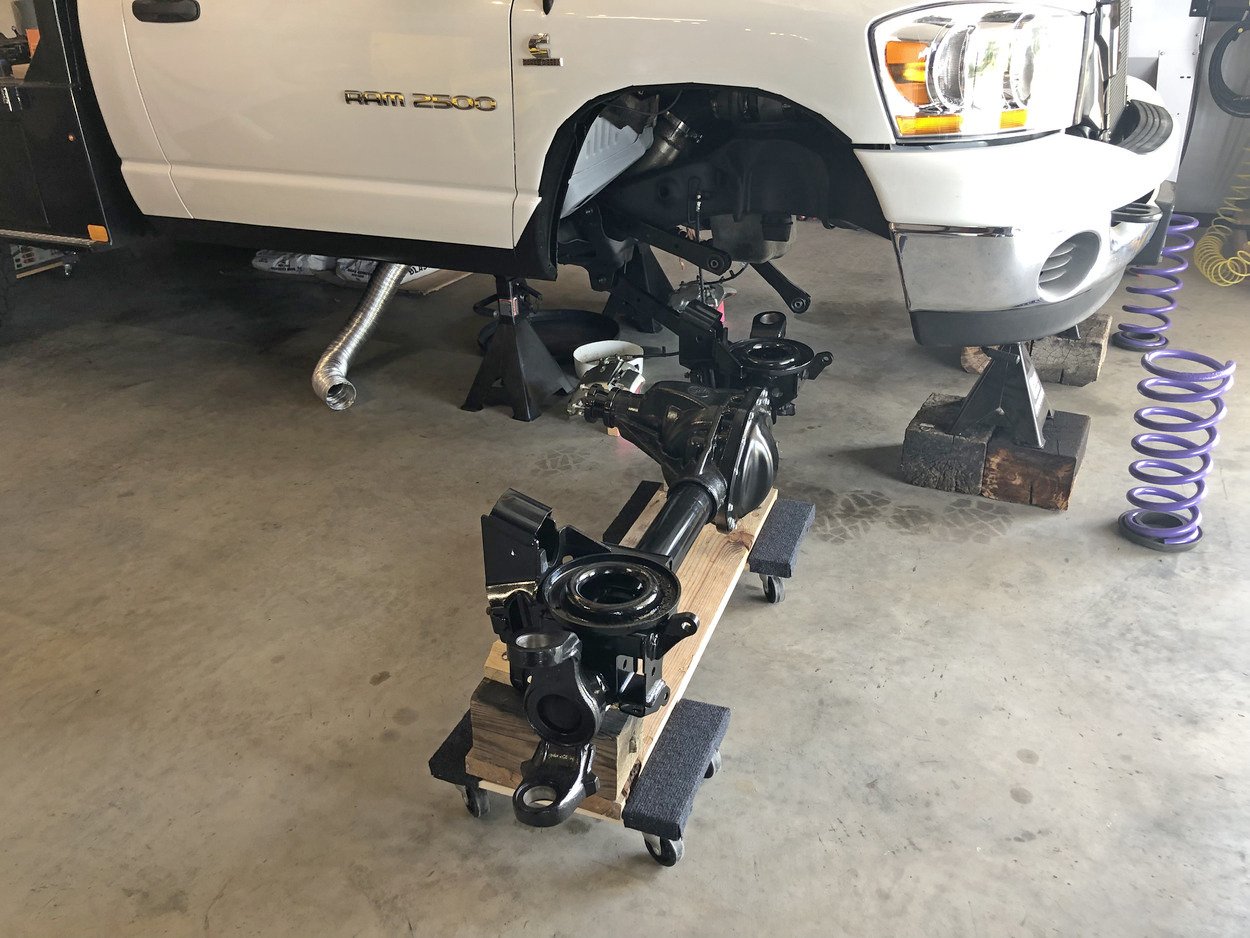
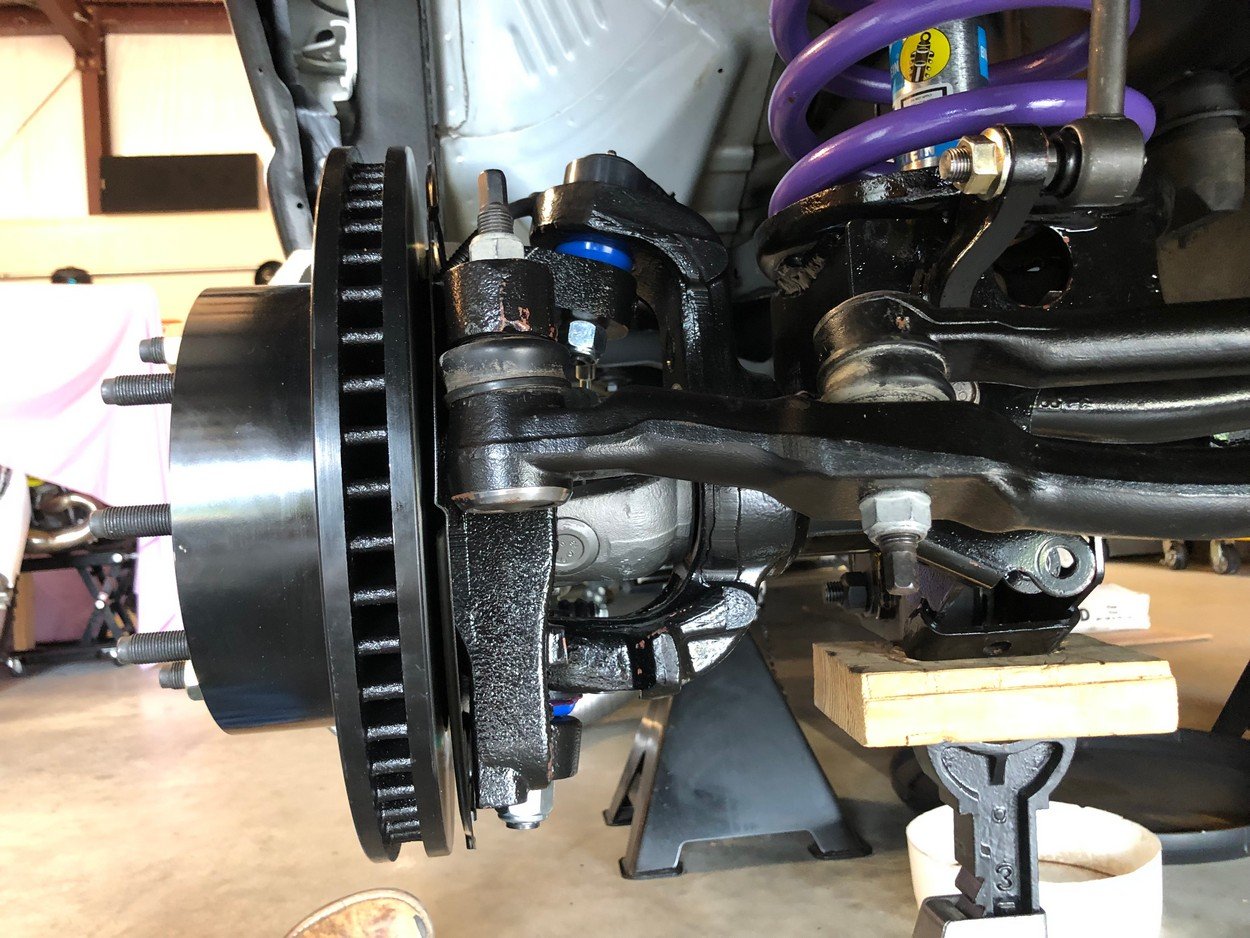
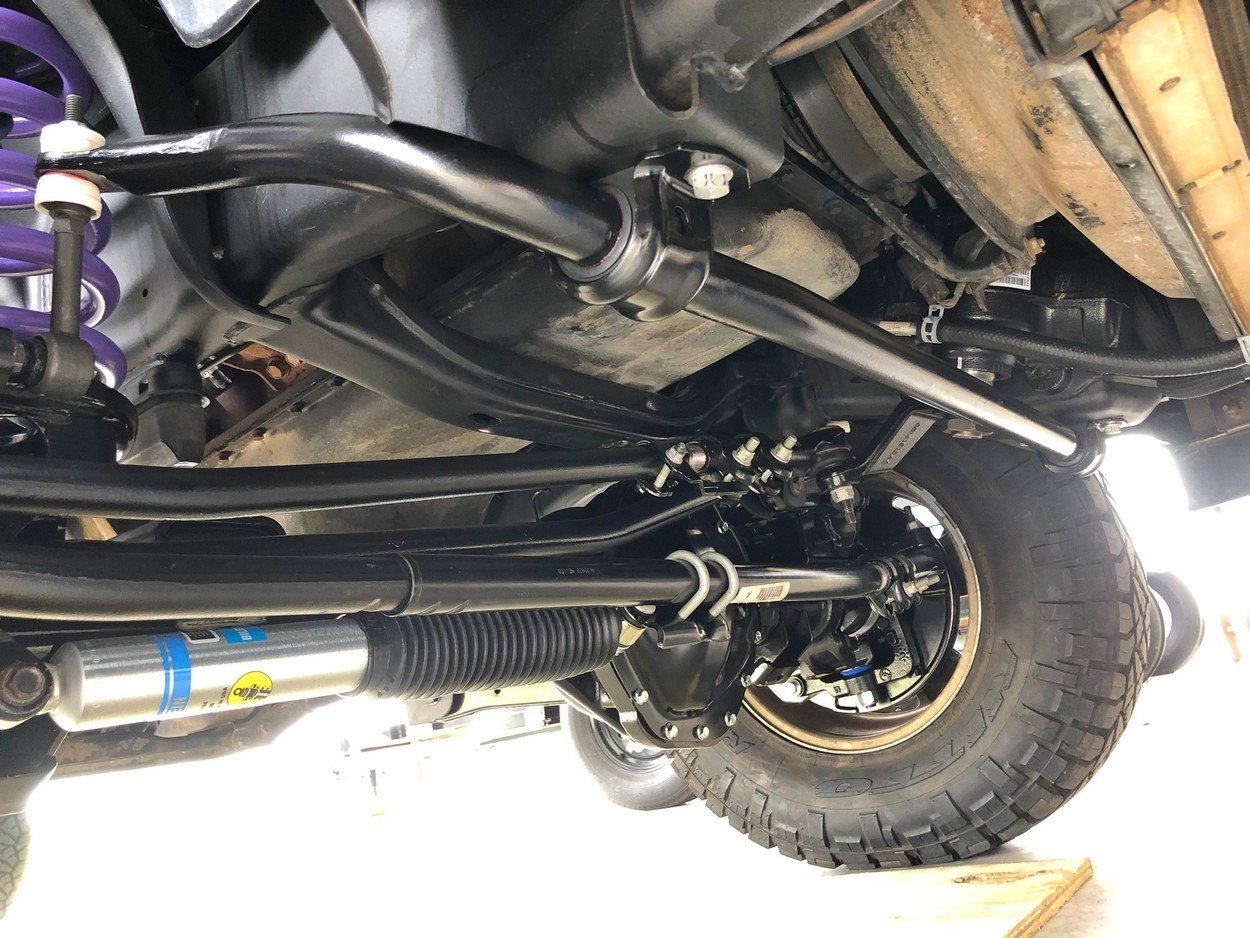
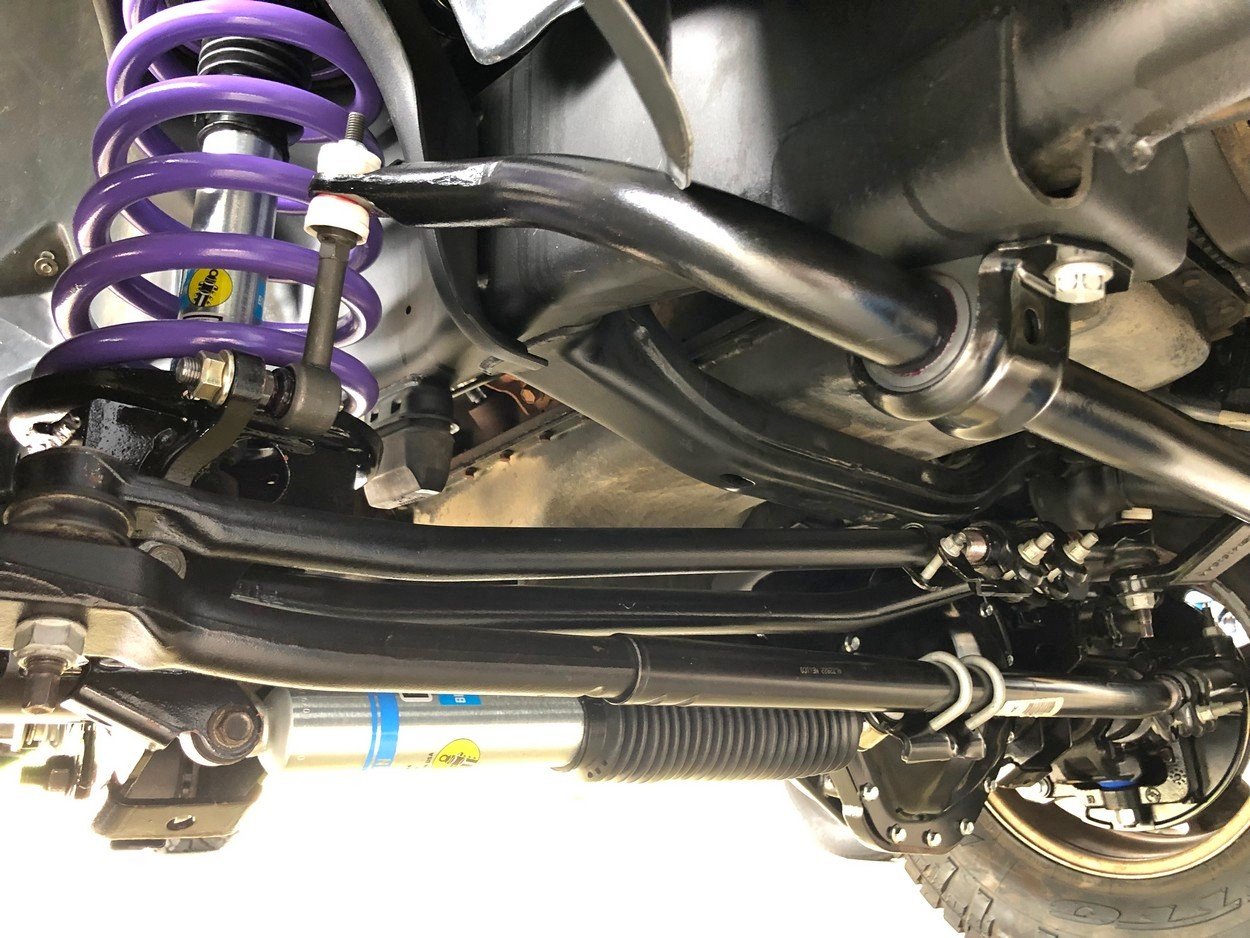
New control arms and bolts
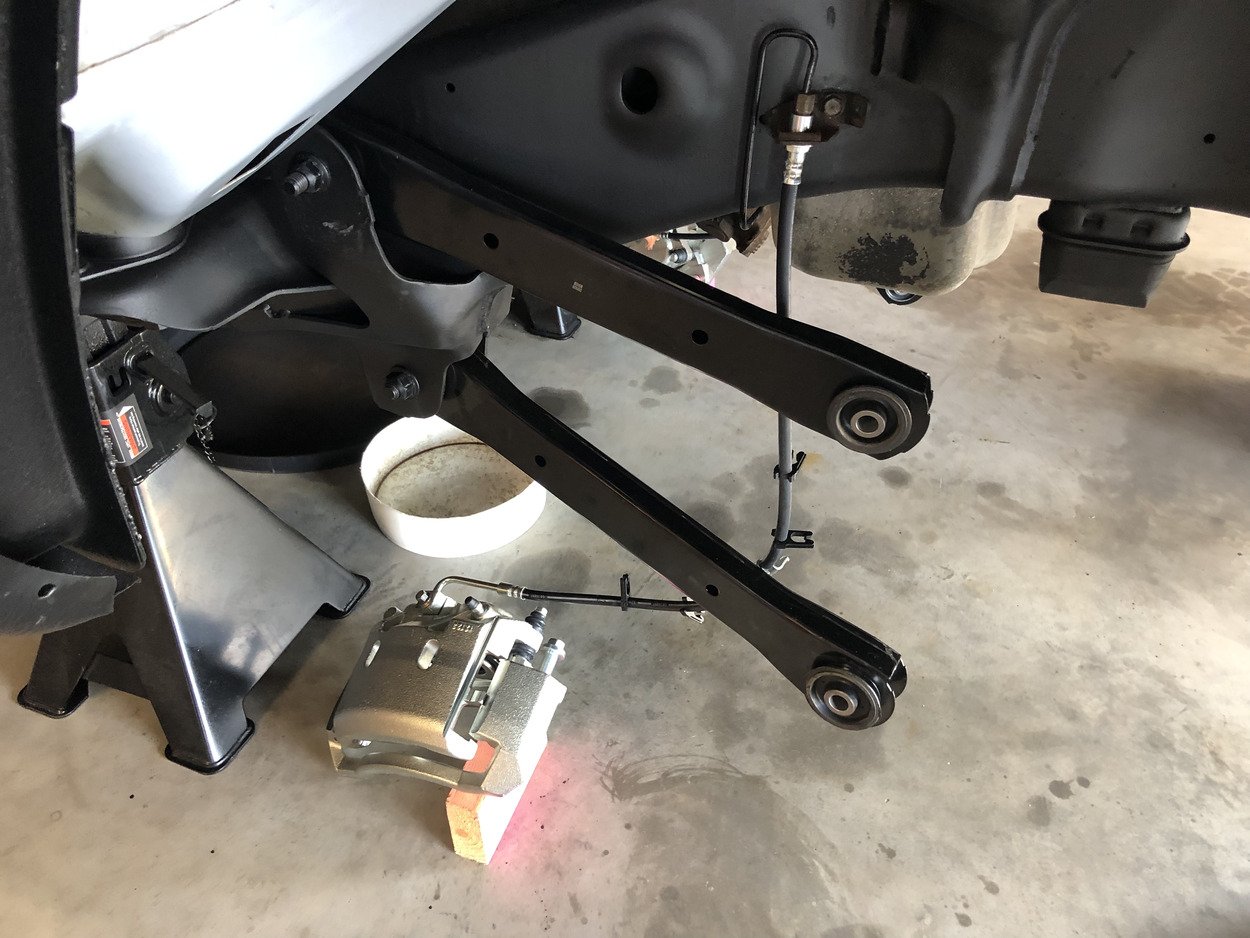
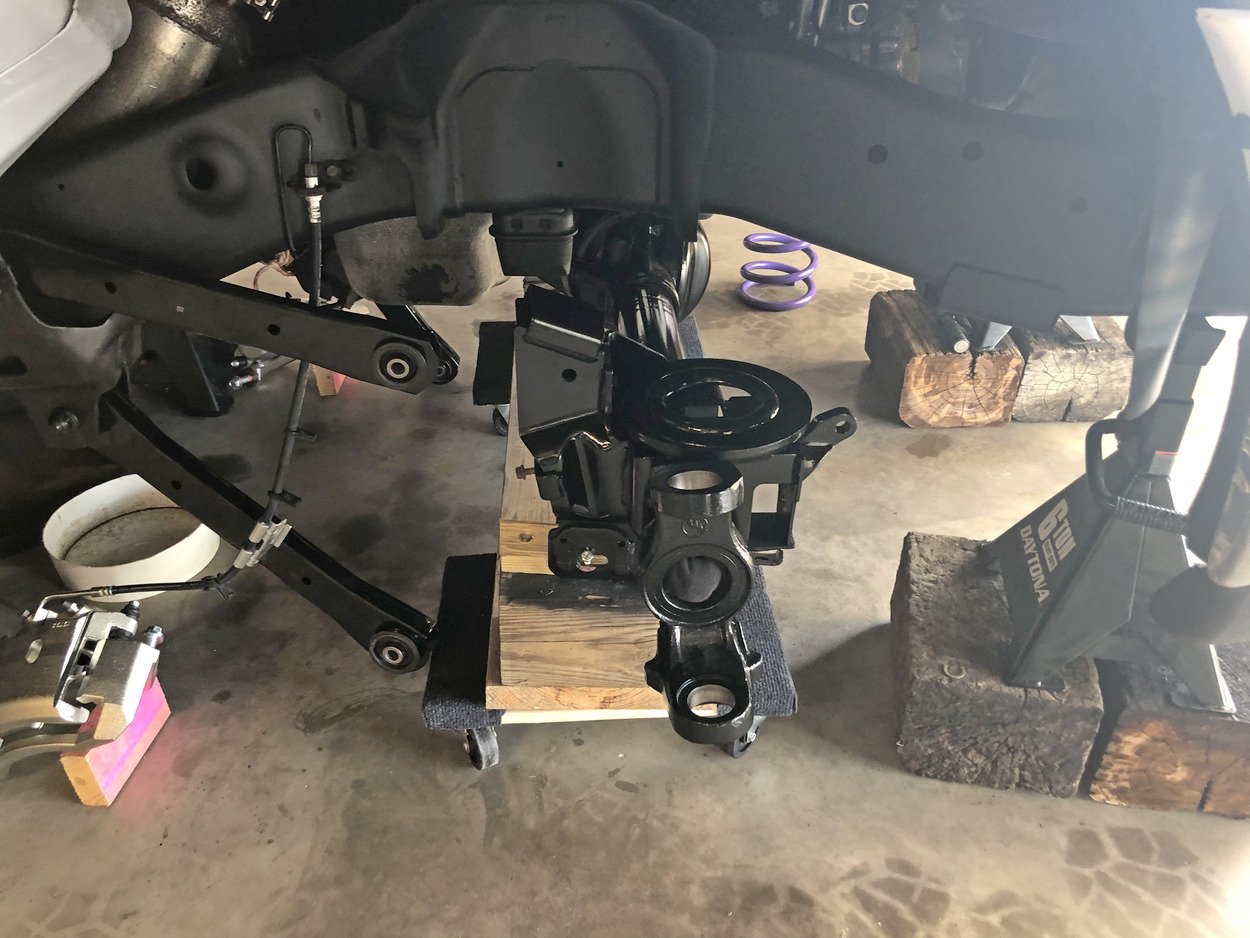
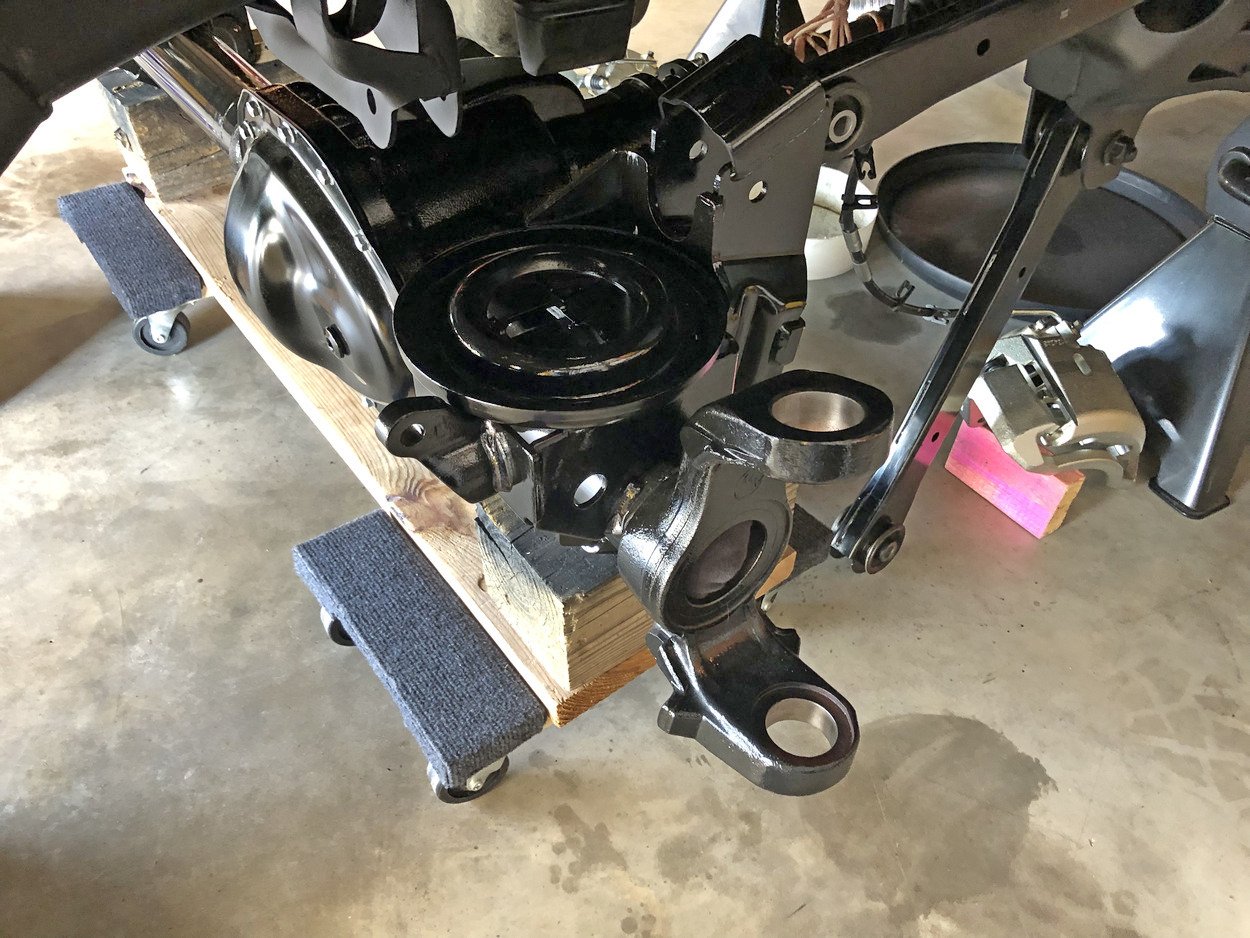
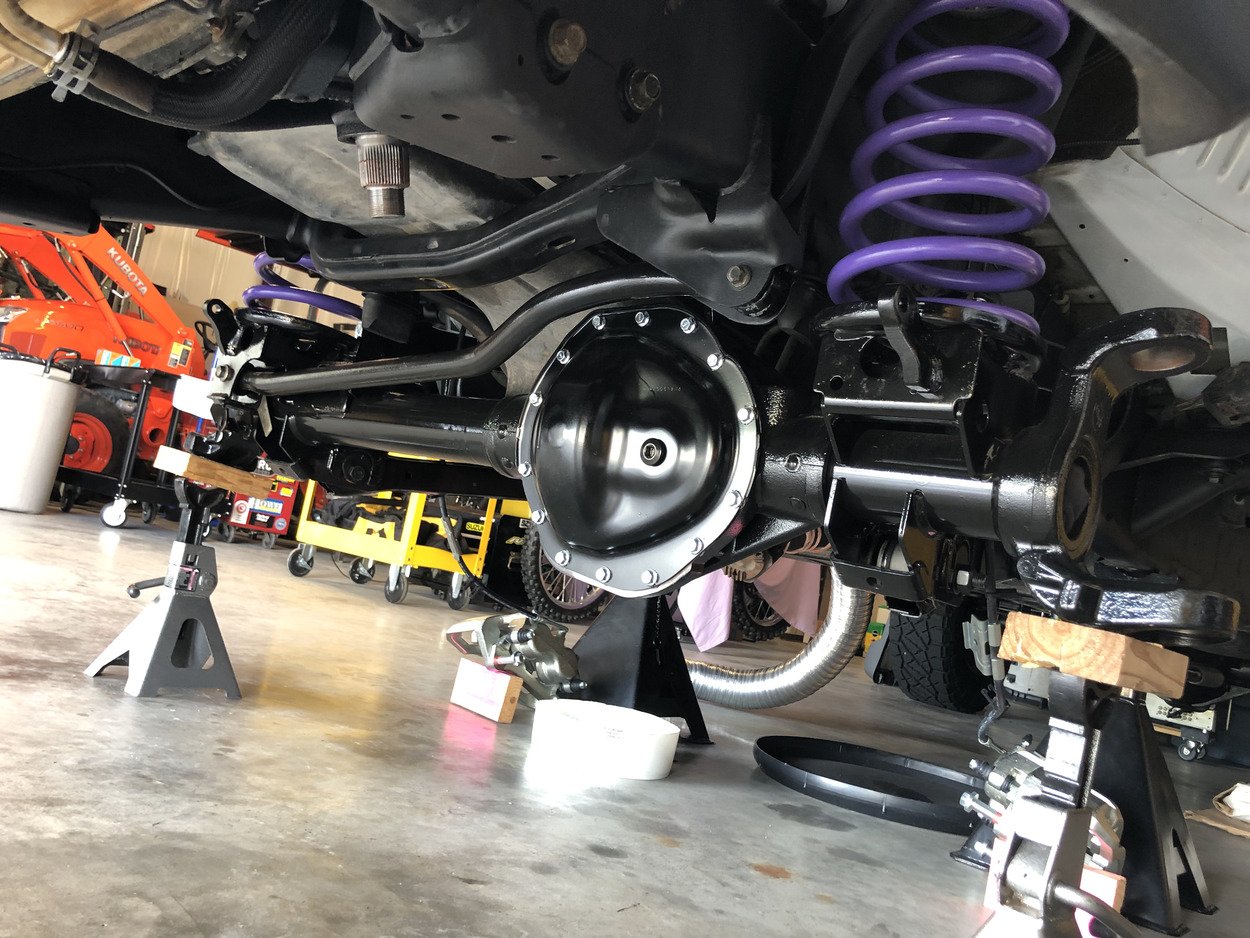
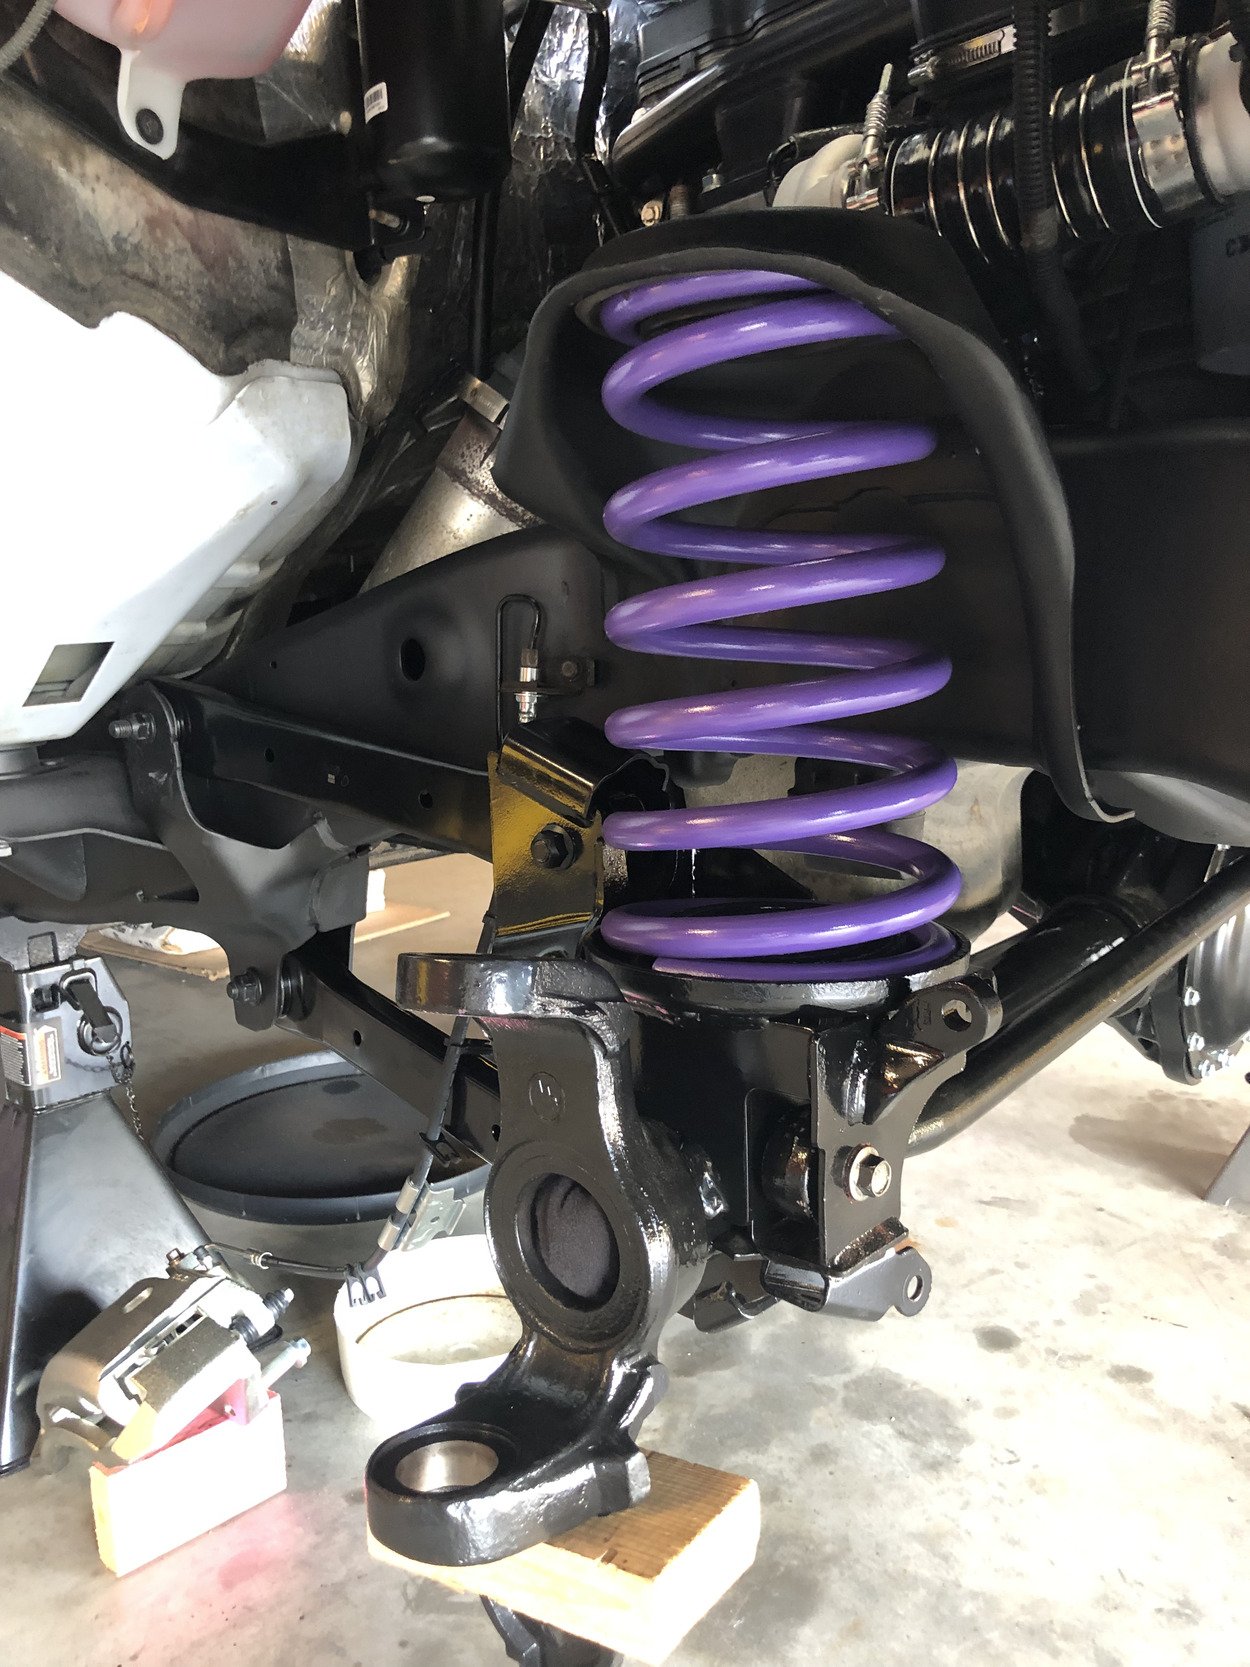
I used the original track bar, but pressed in new bushings on each end
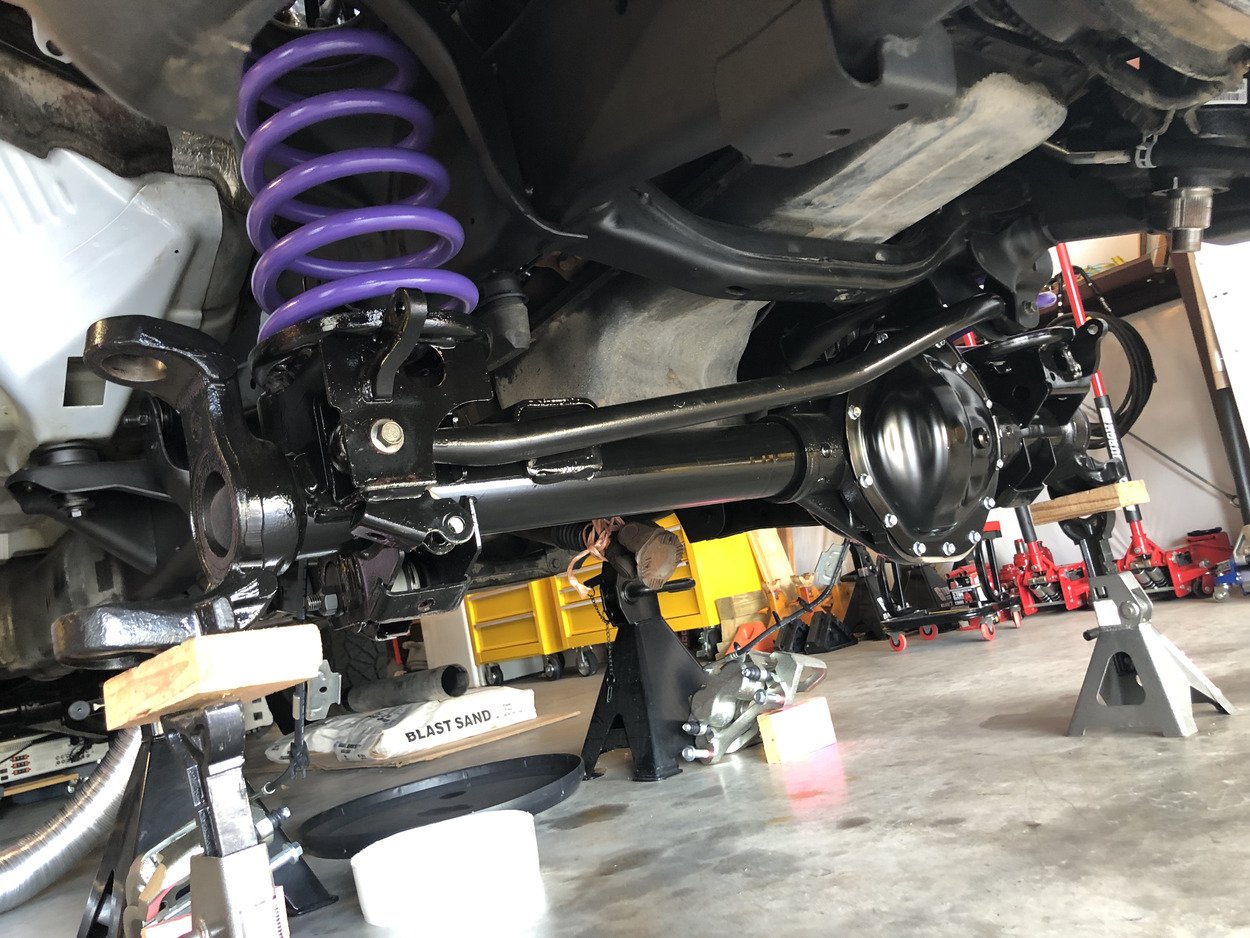
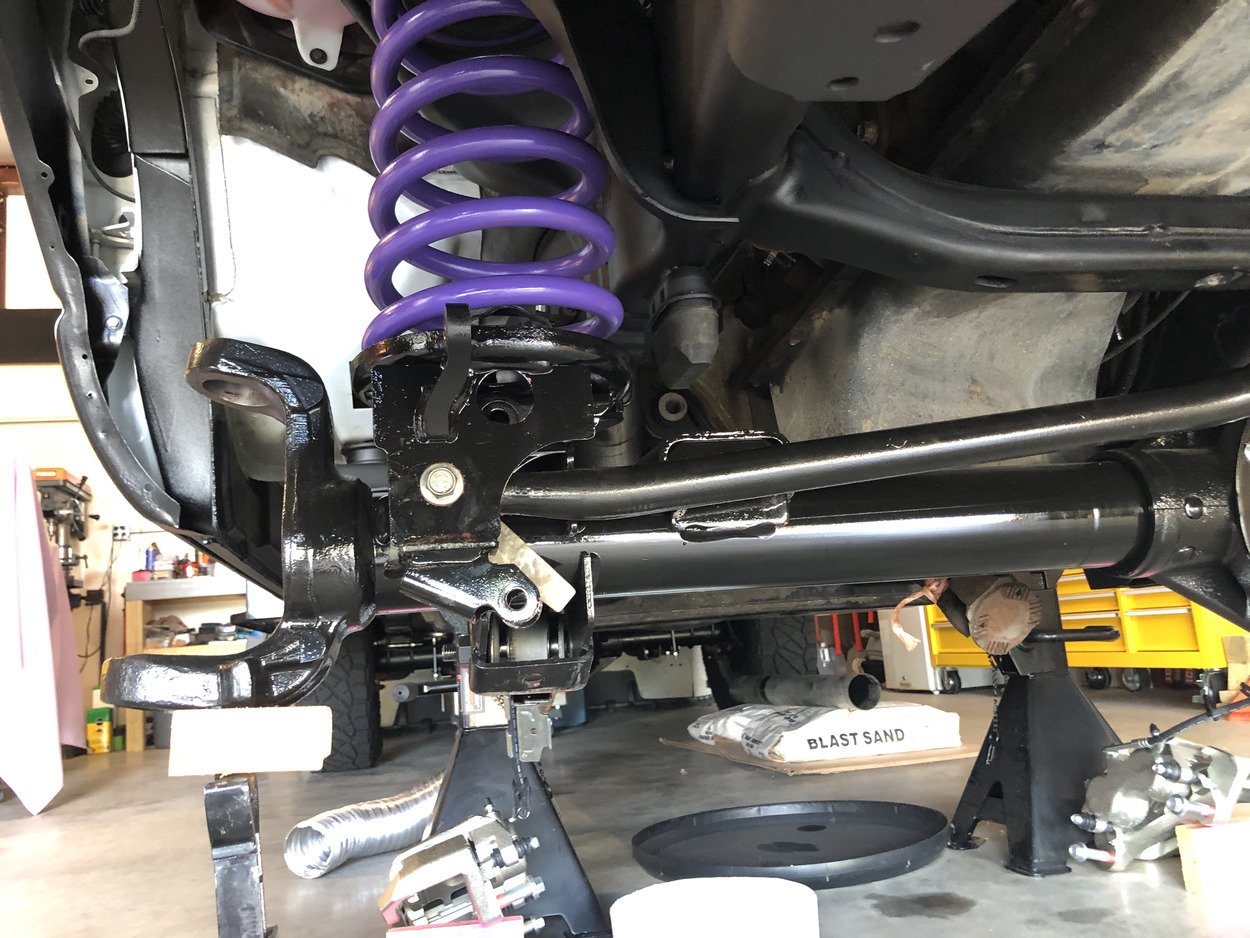
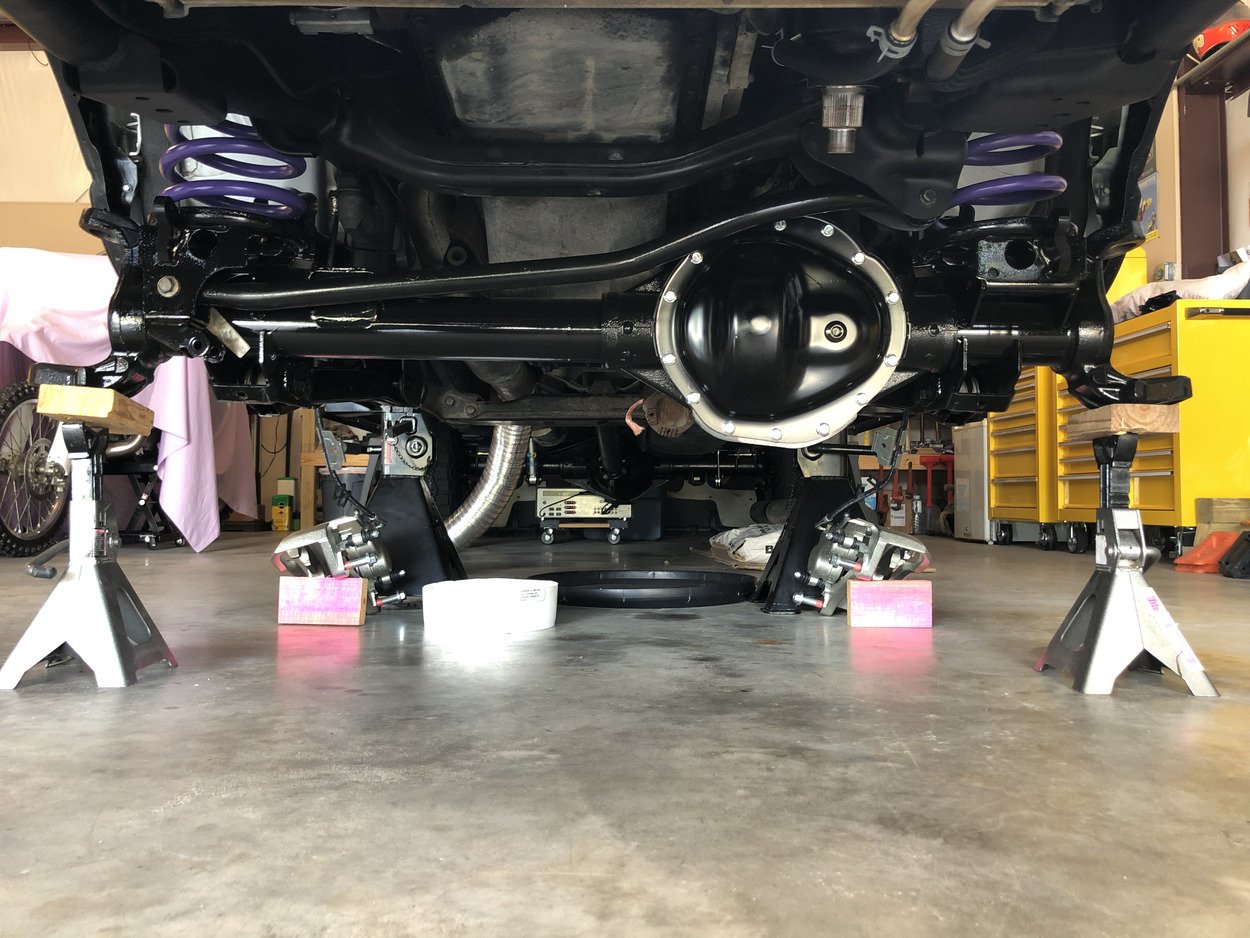
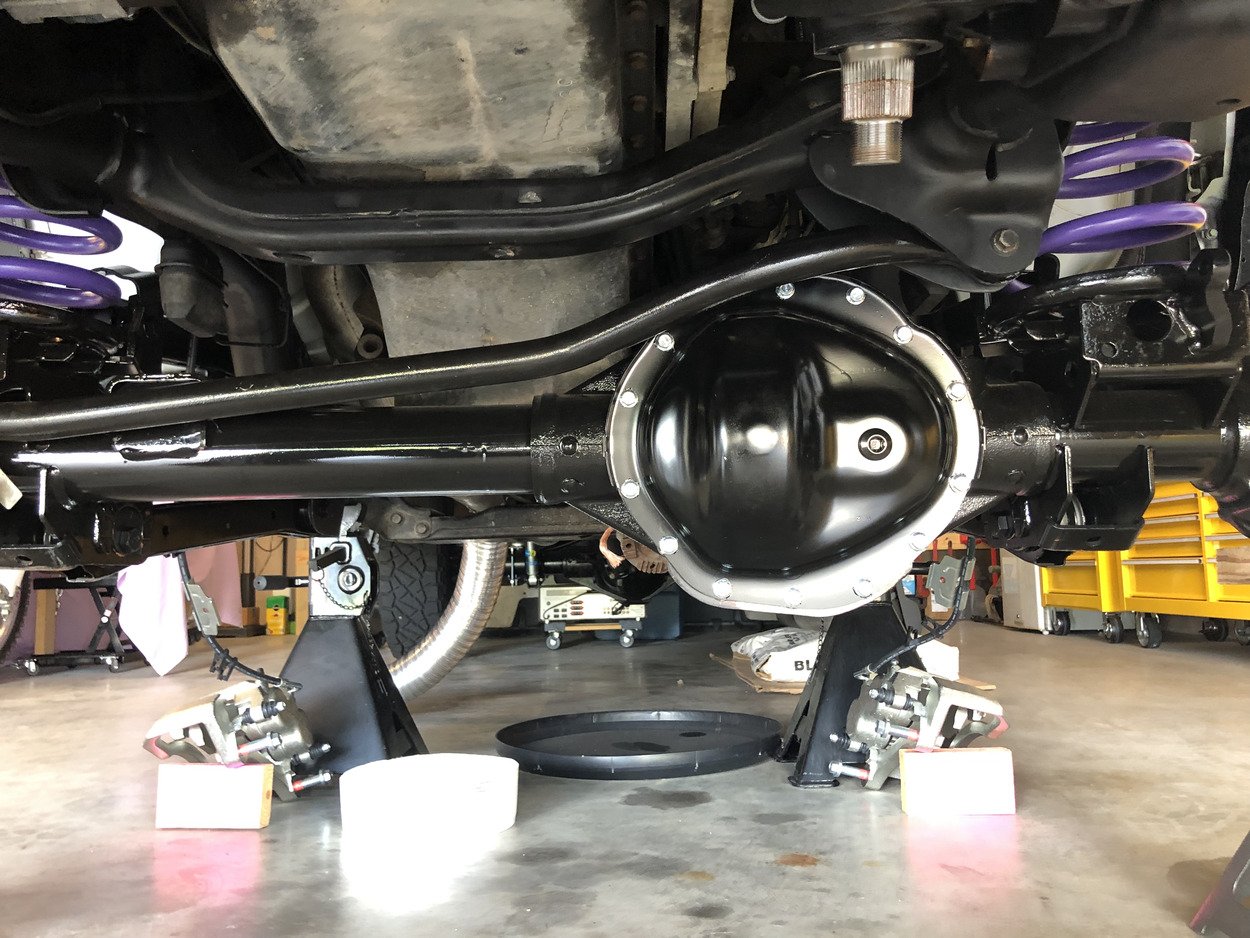
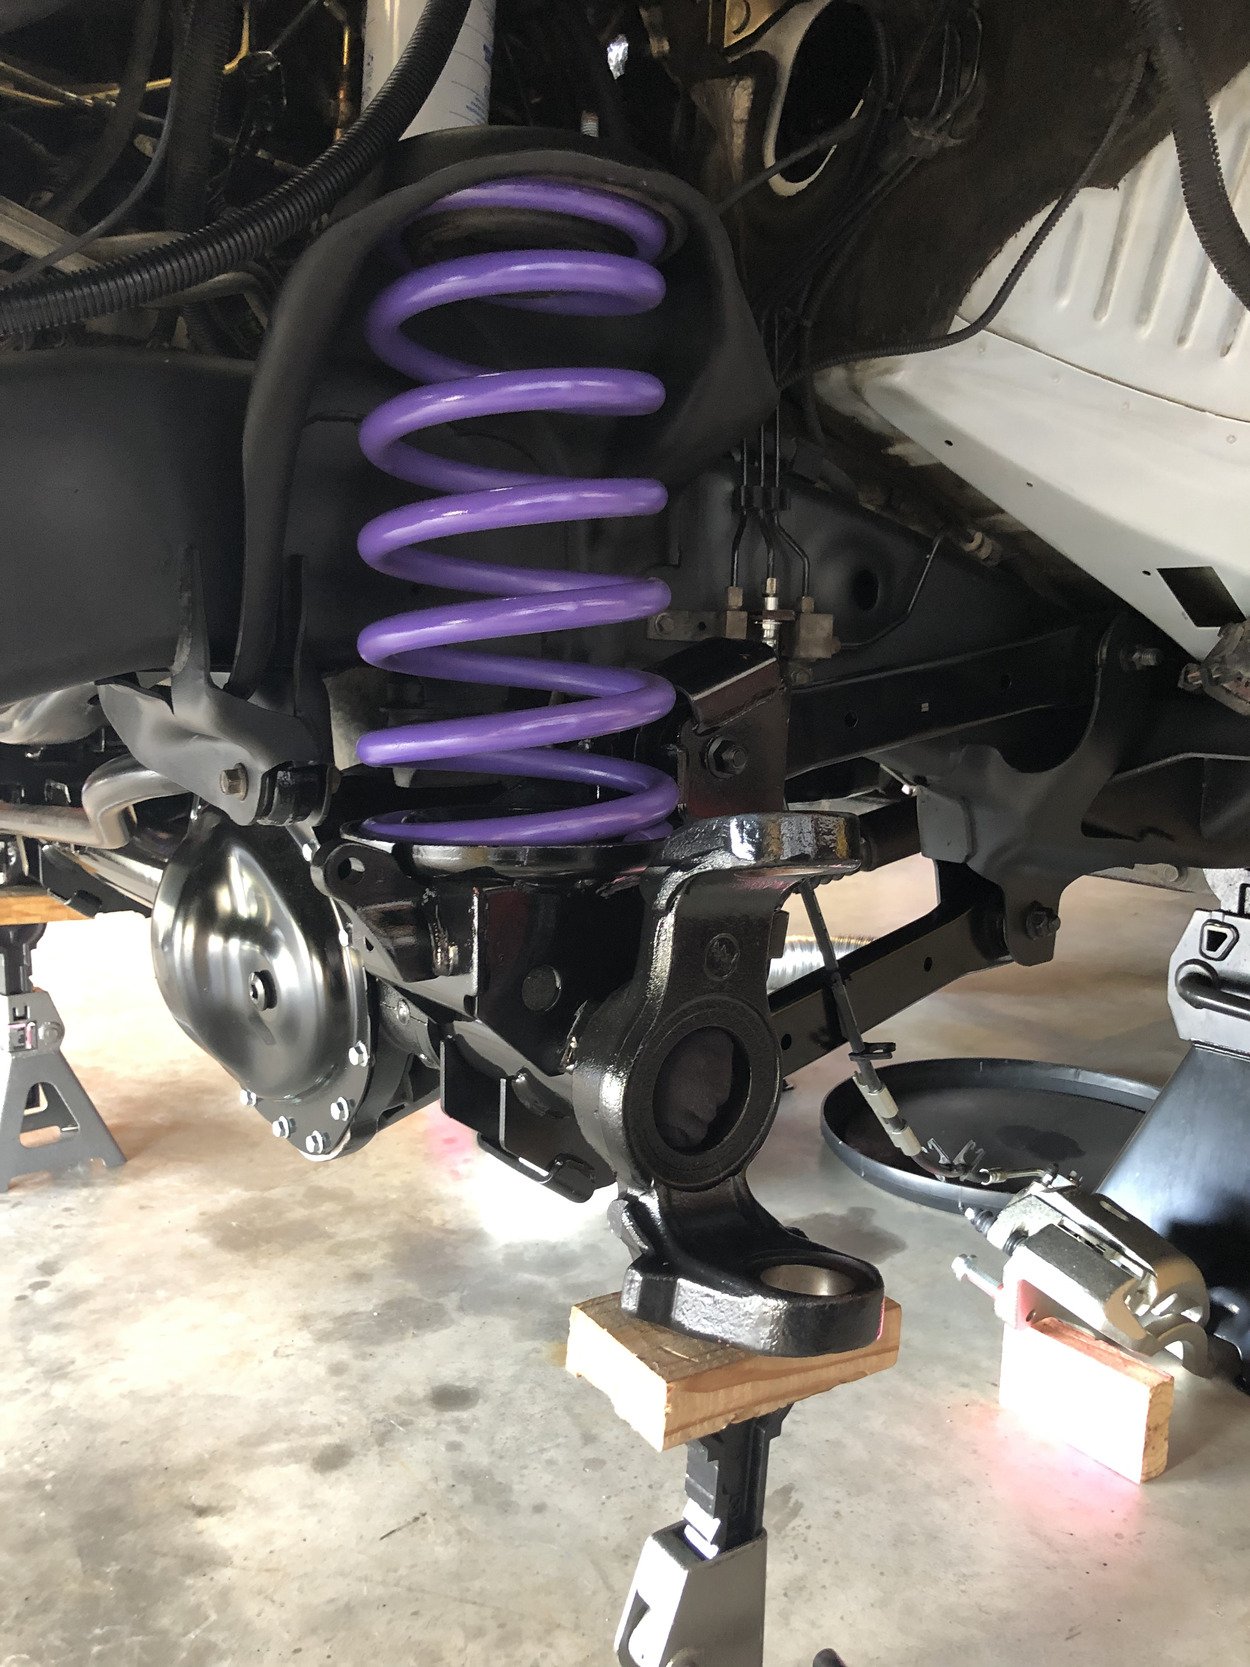
Install new EMF ball joints
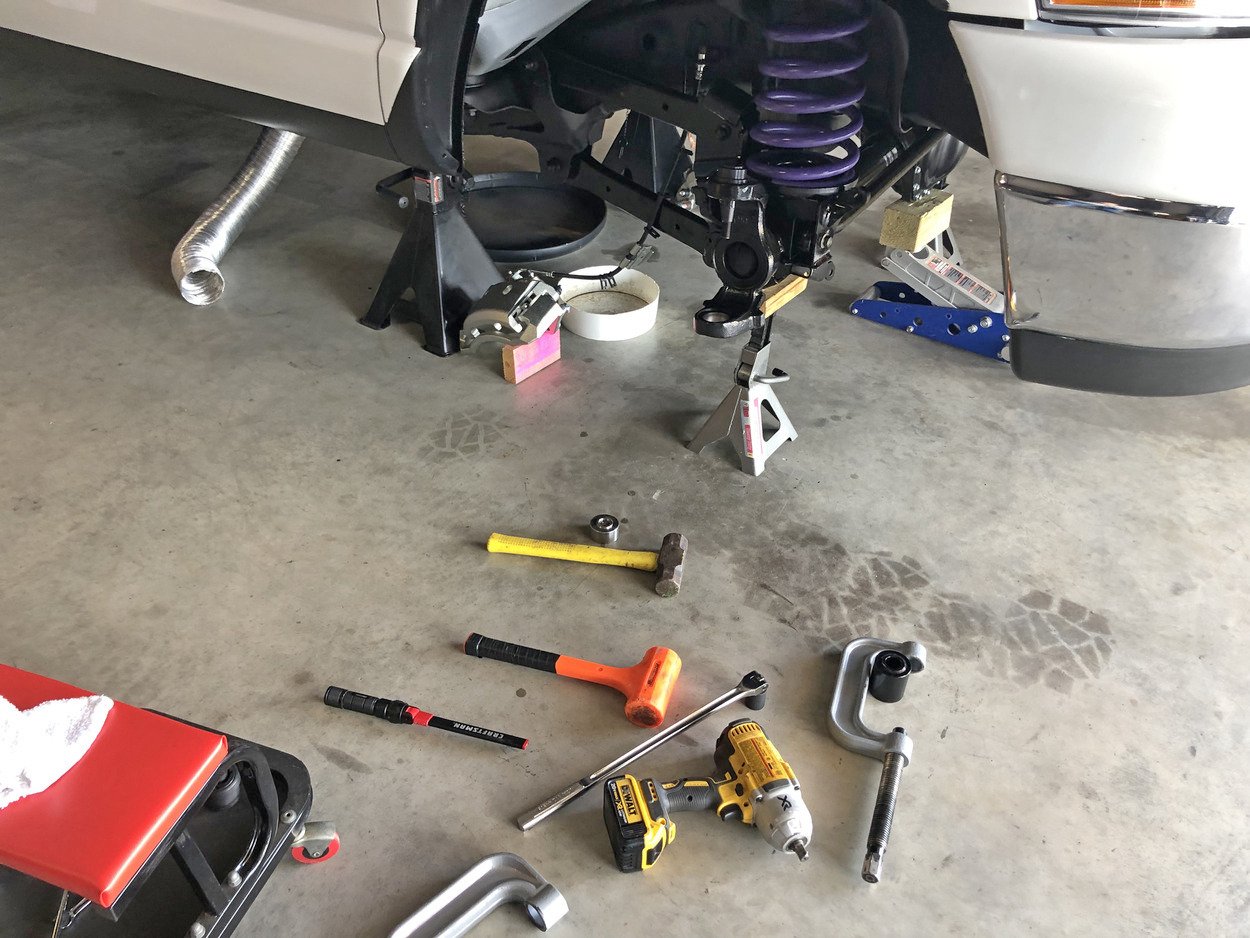
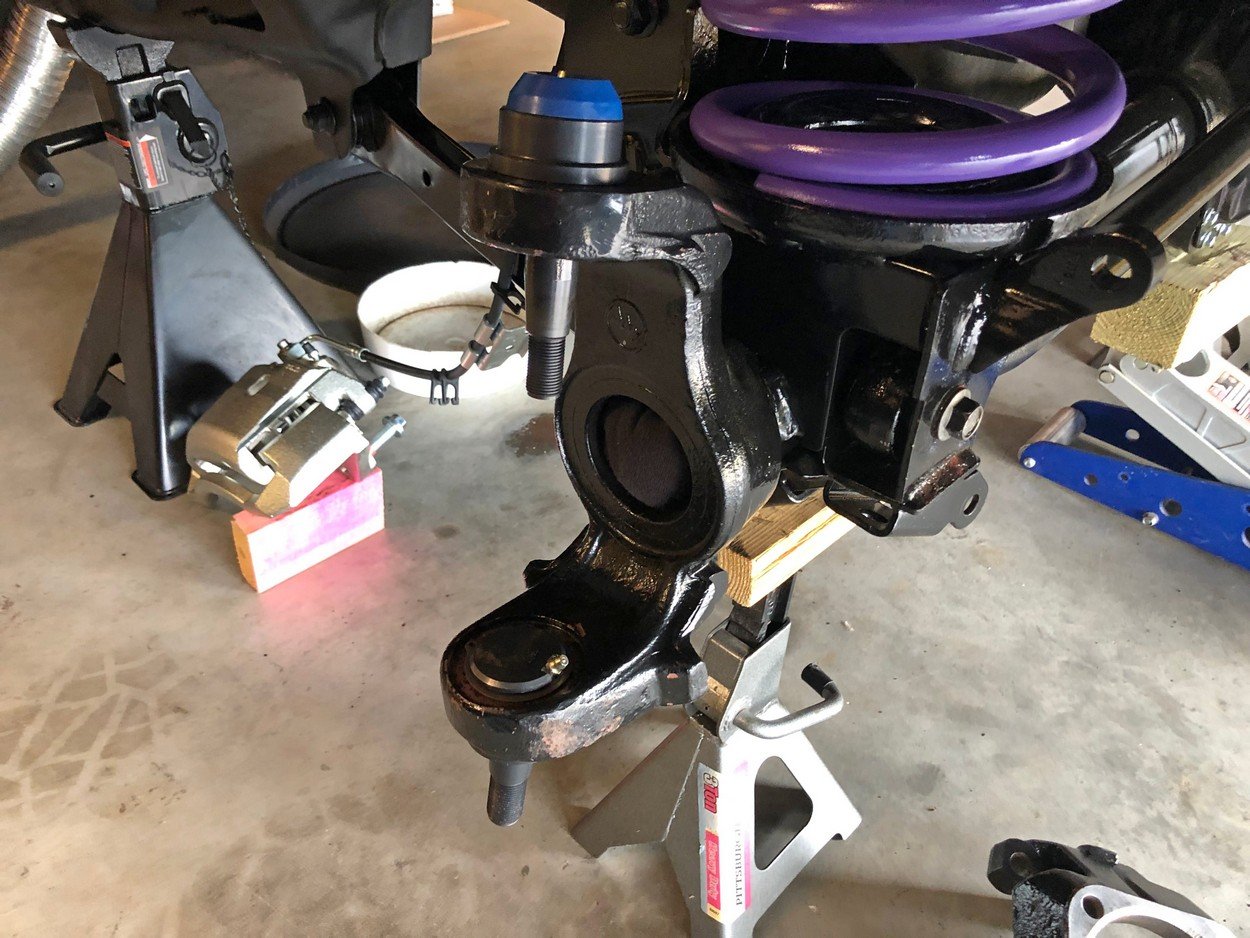
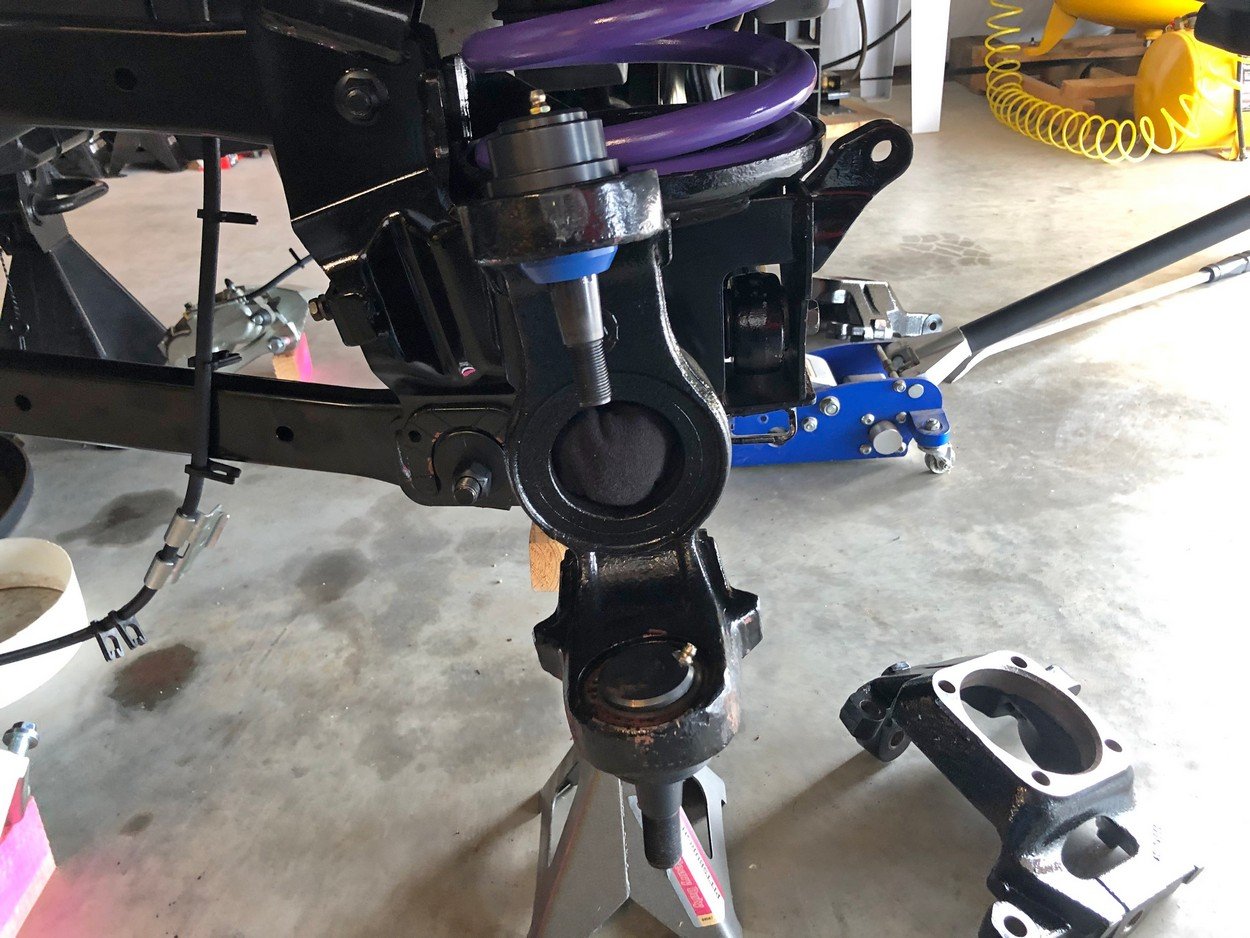
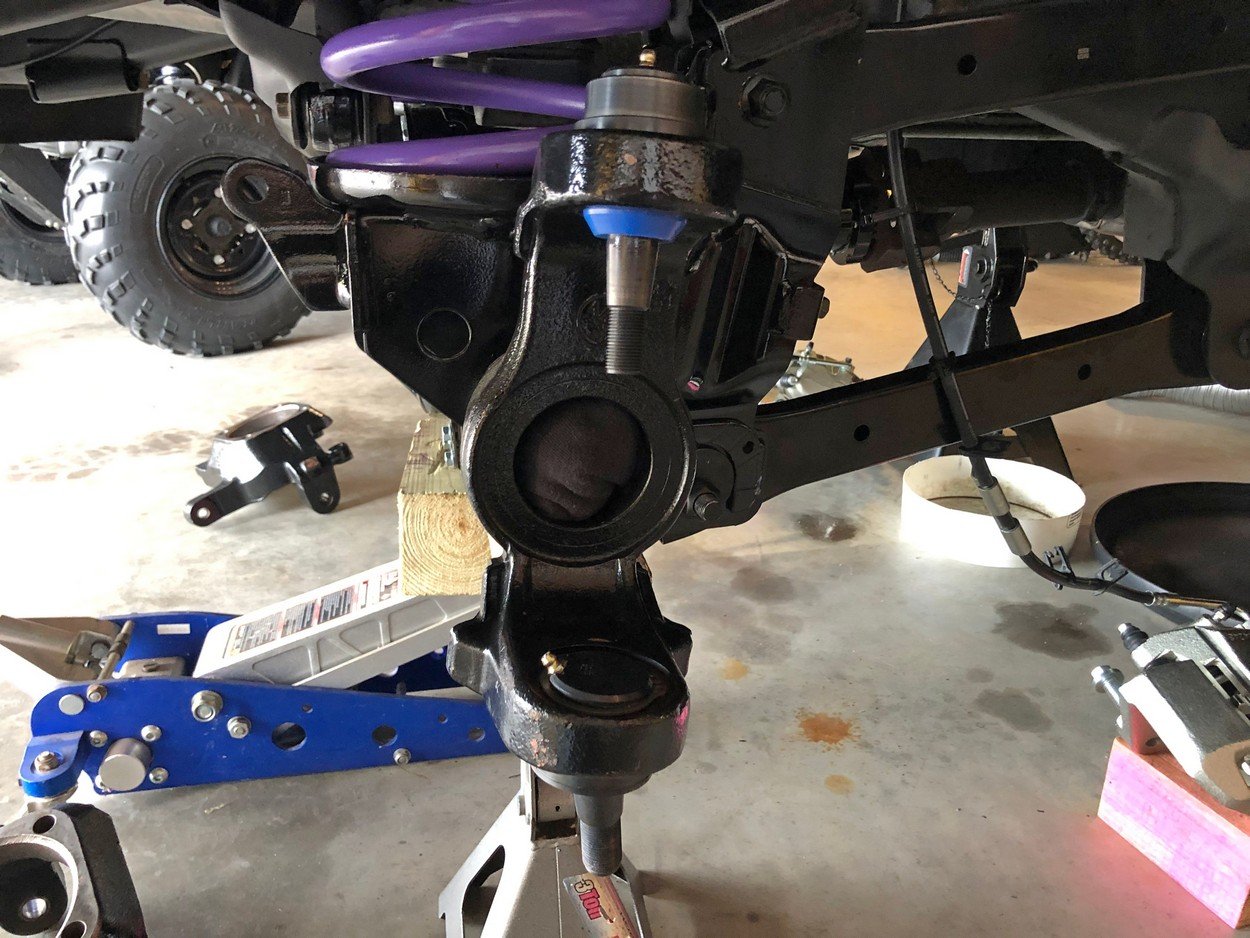
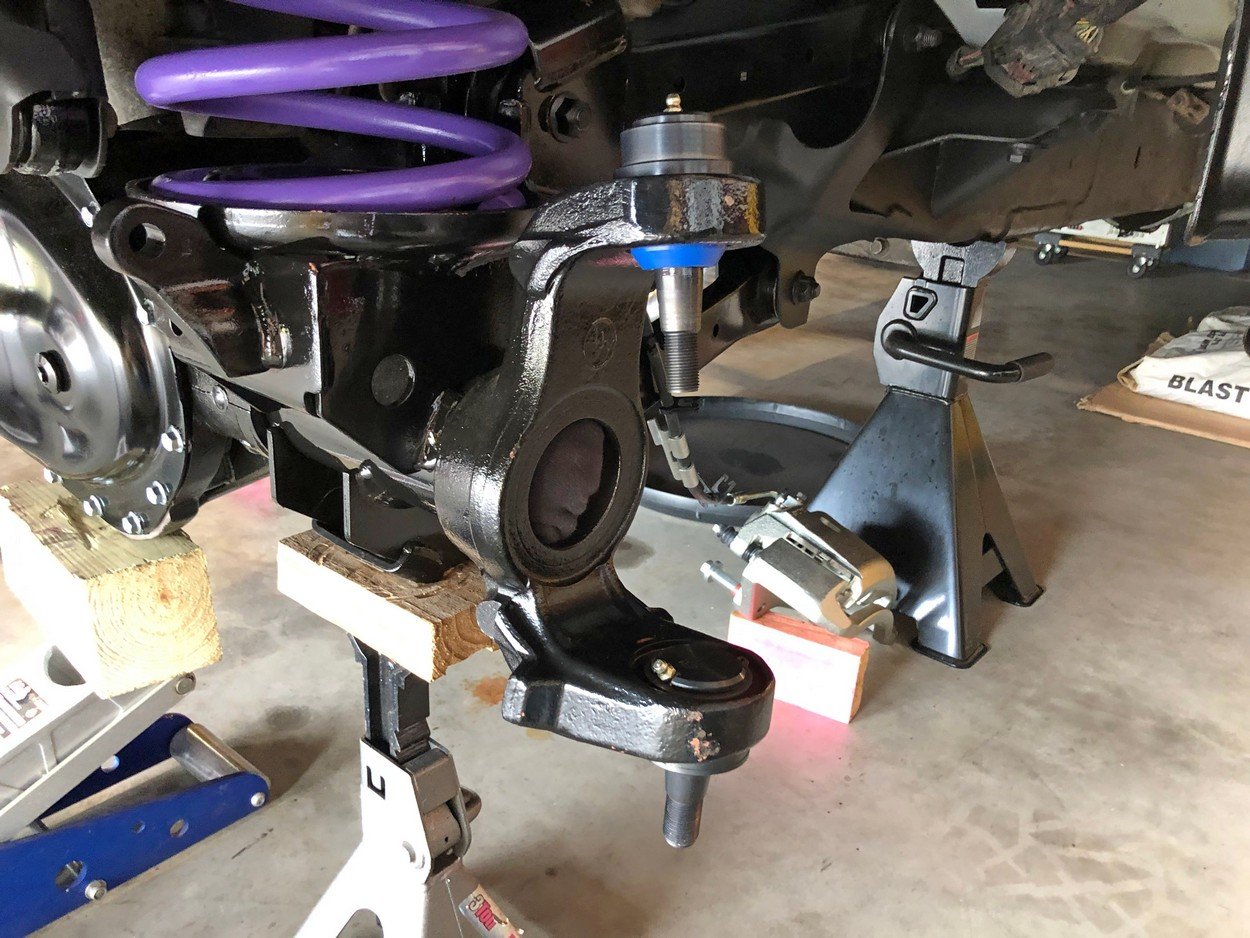
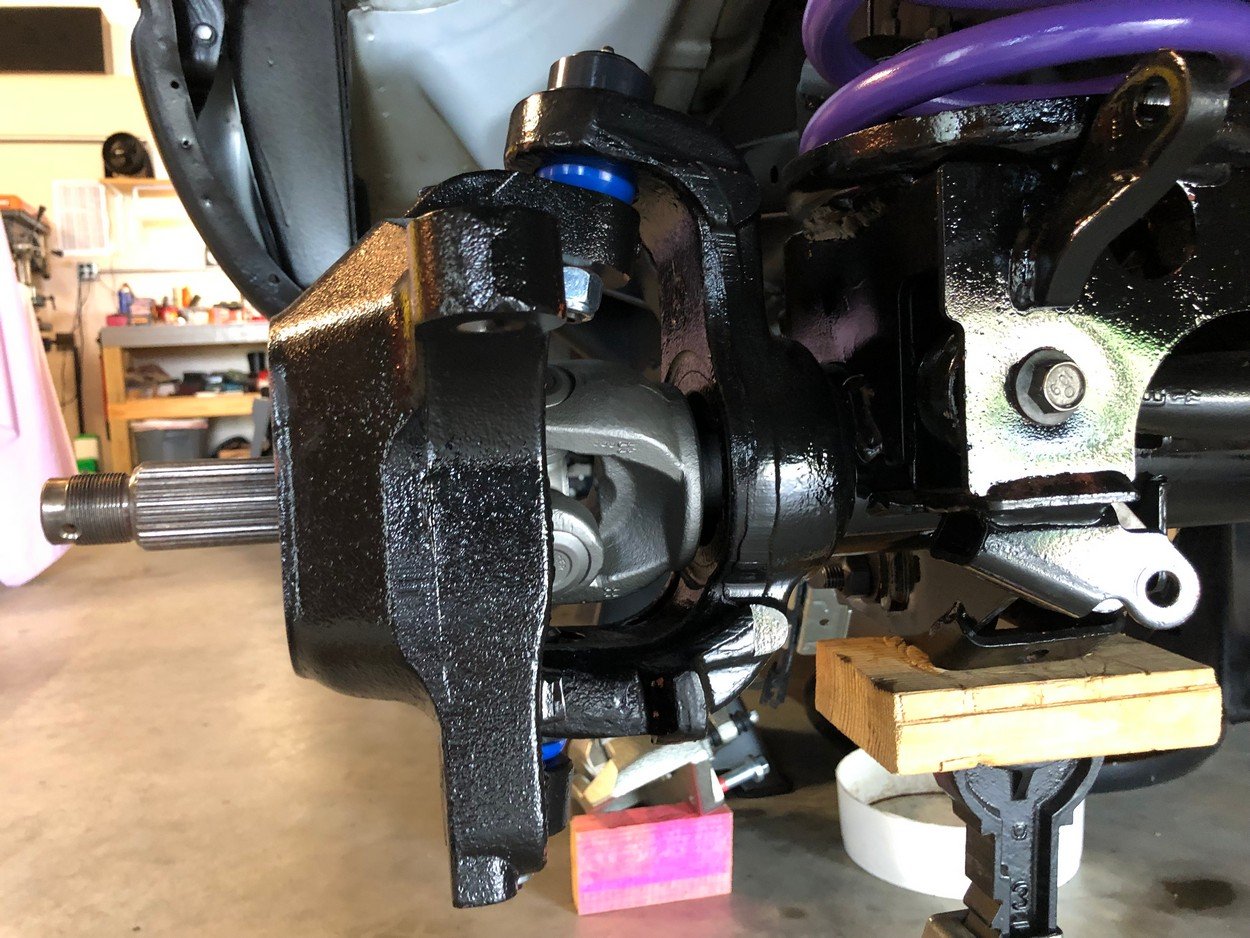
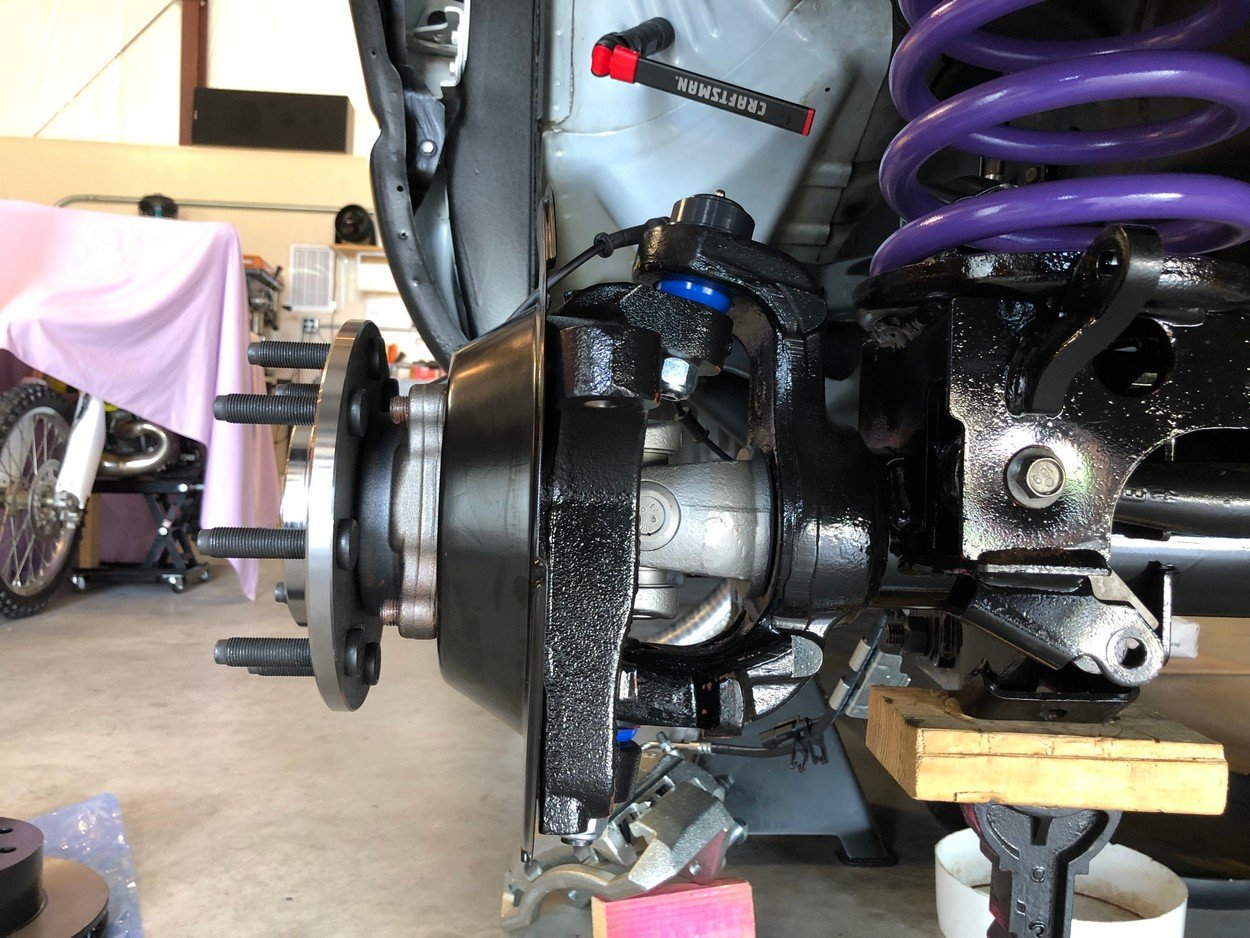
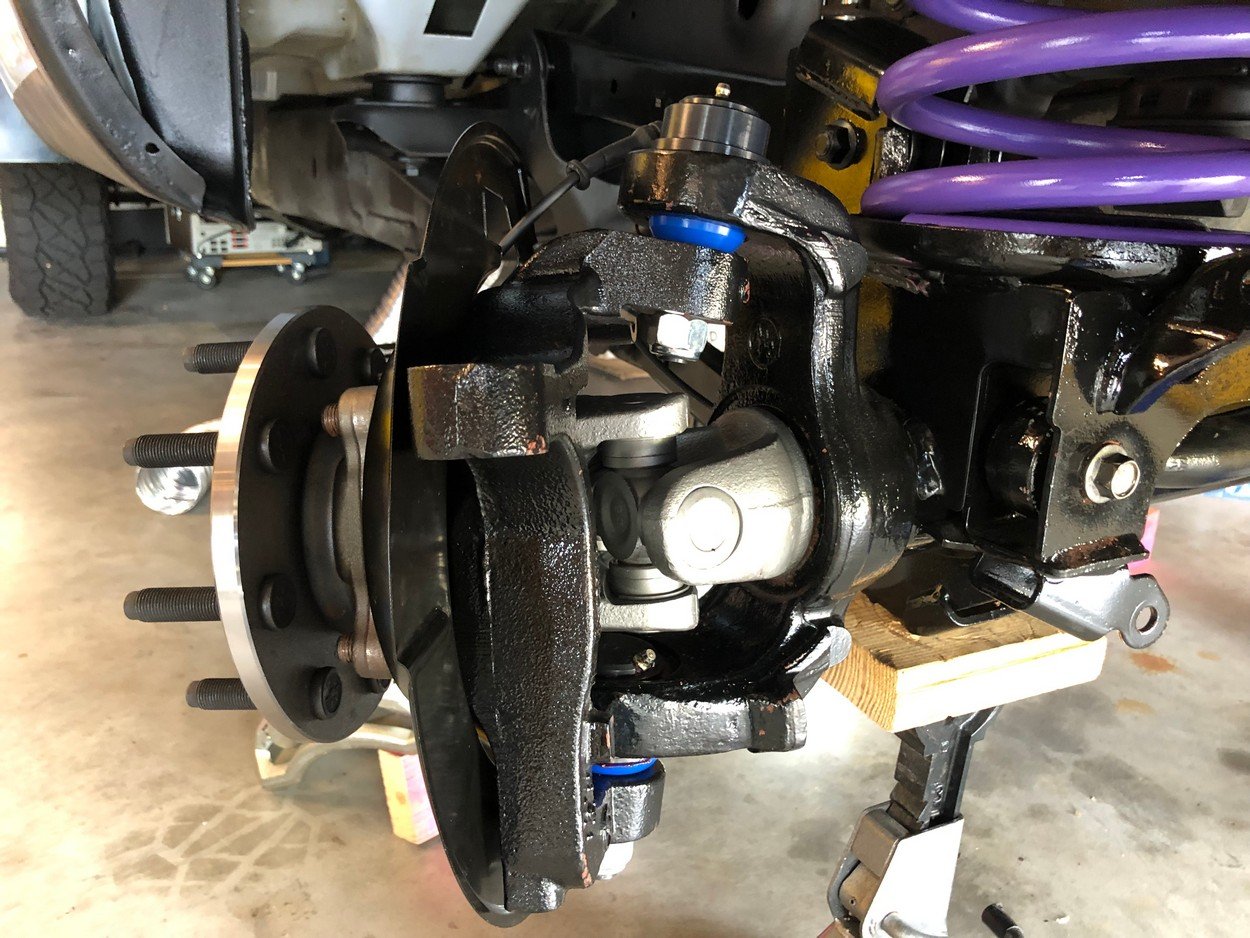
Put on the knuckles
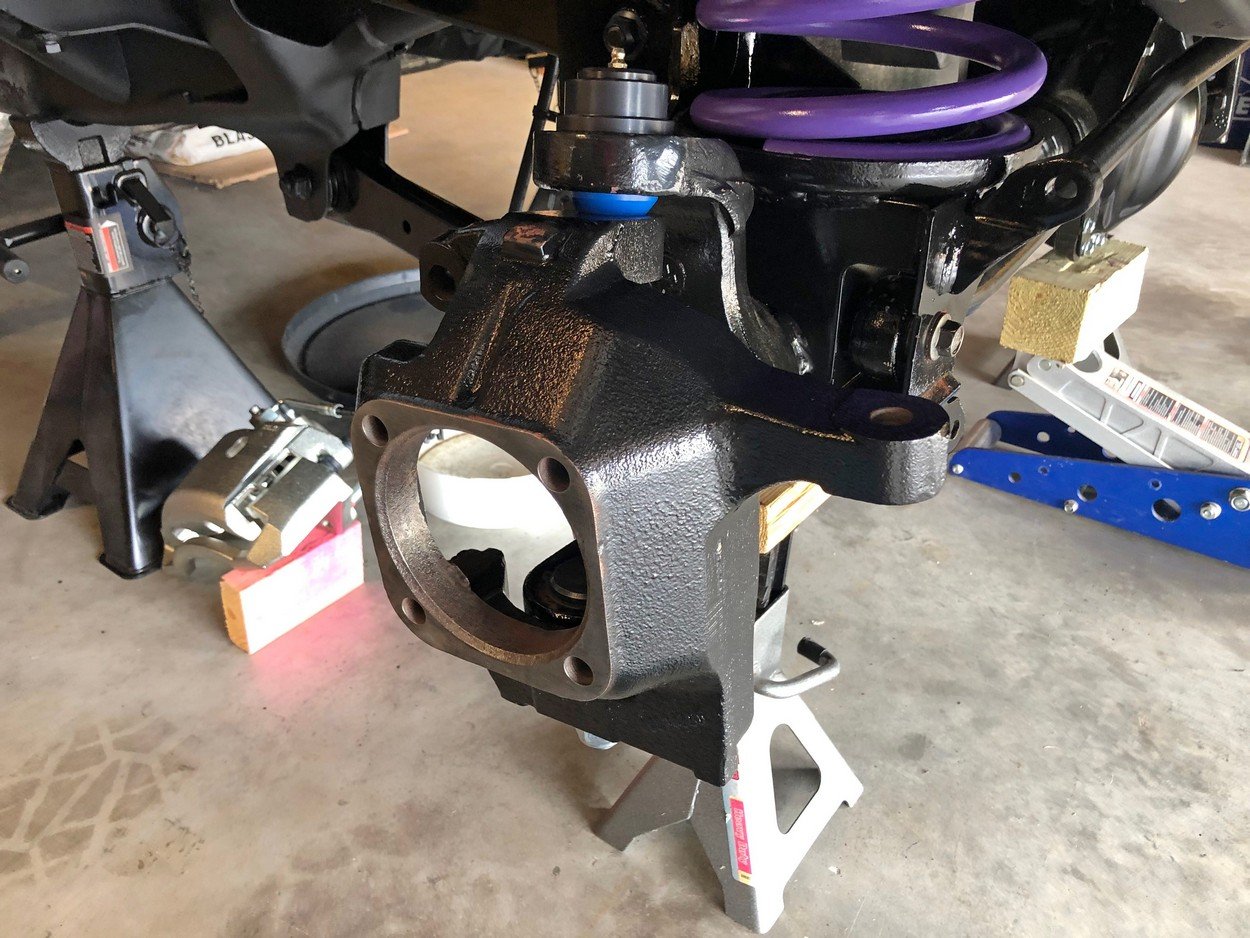
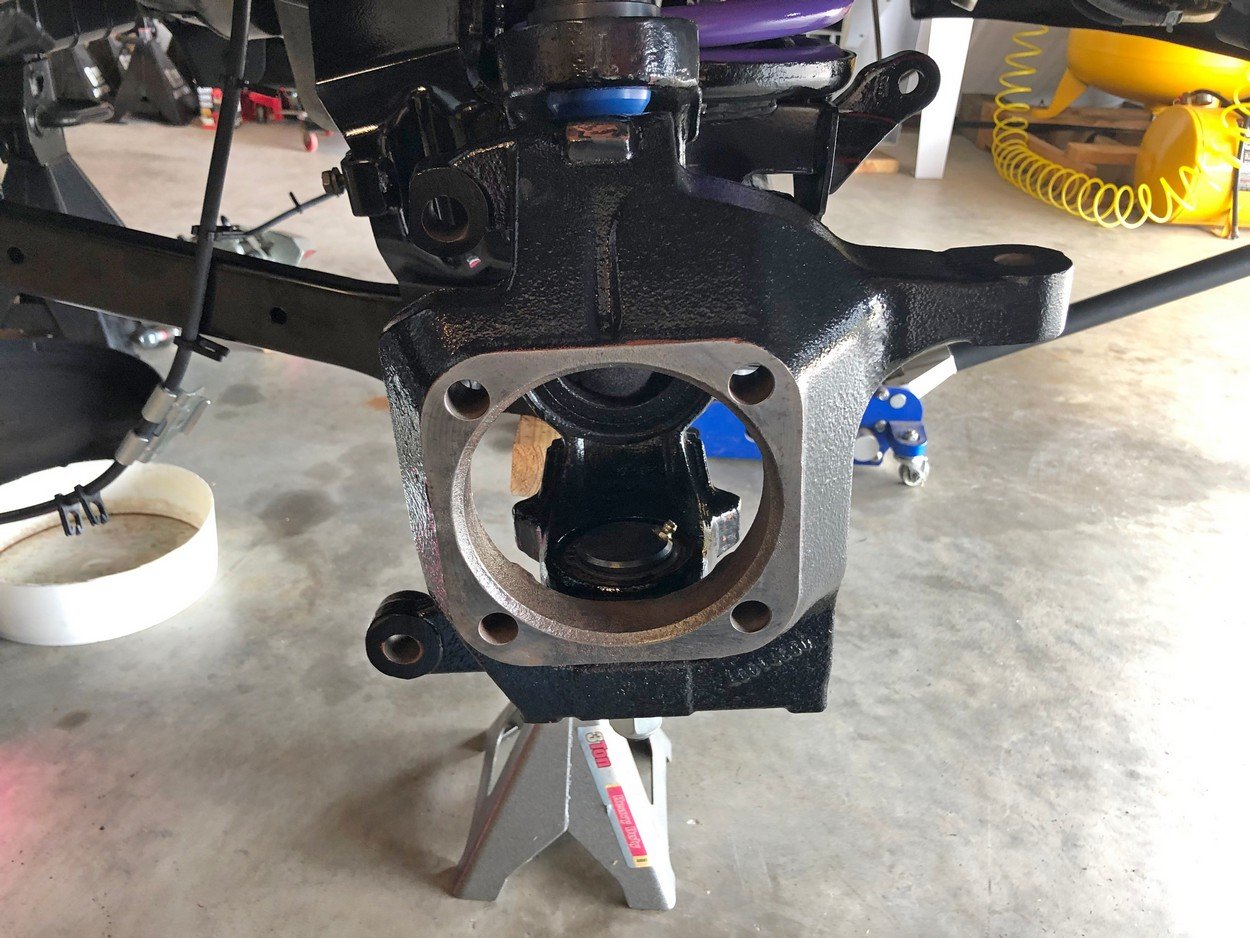
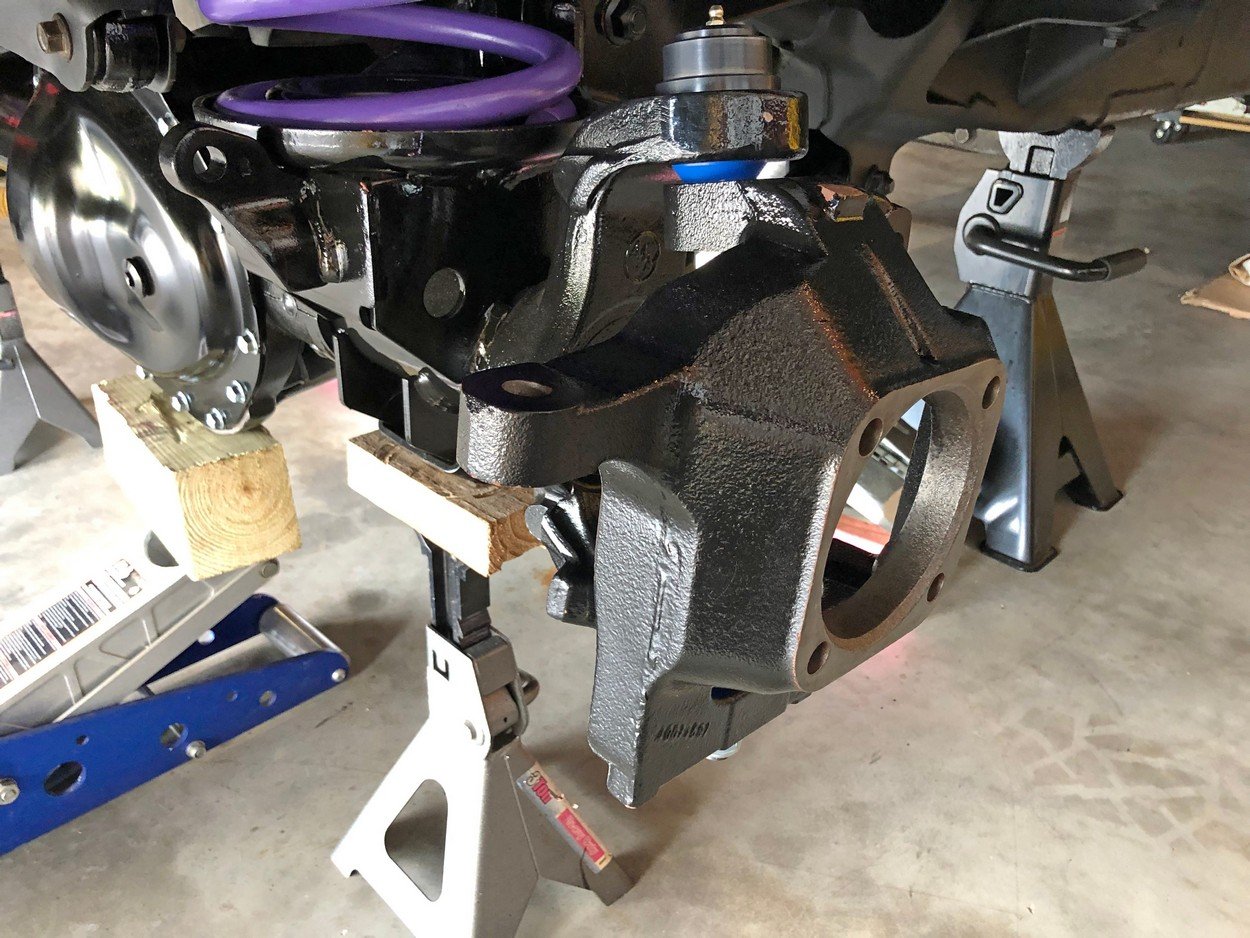
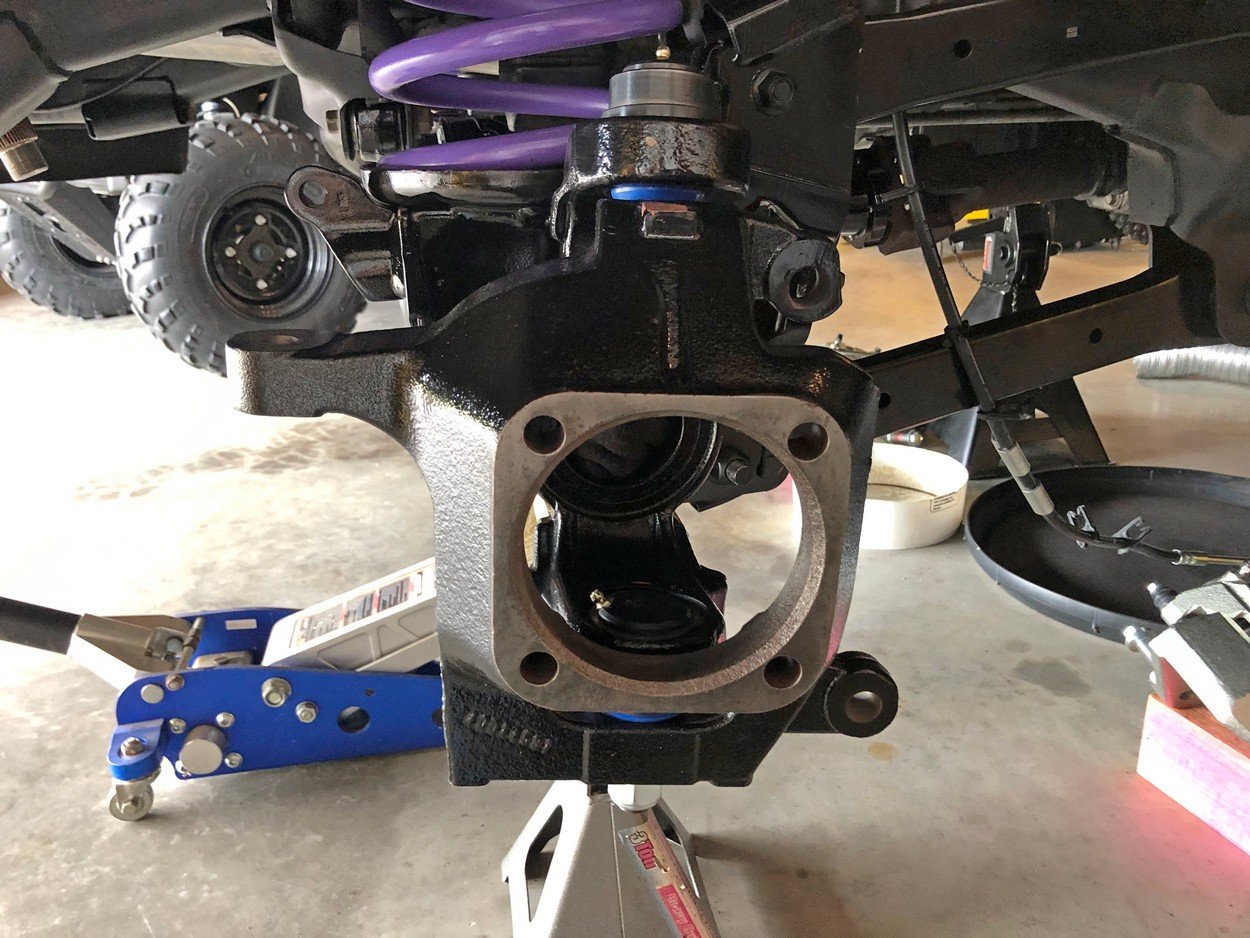
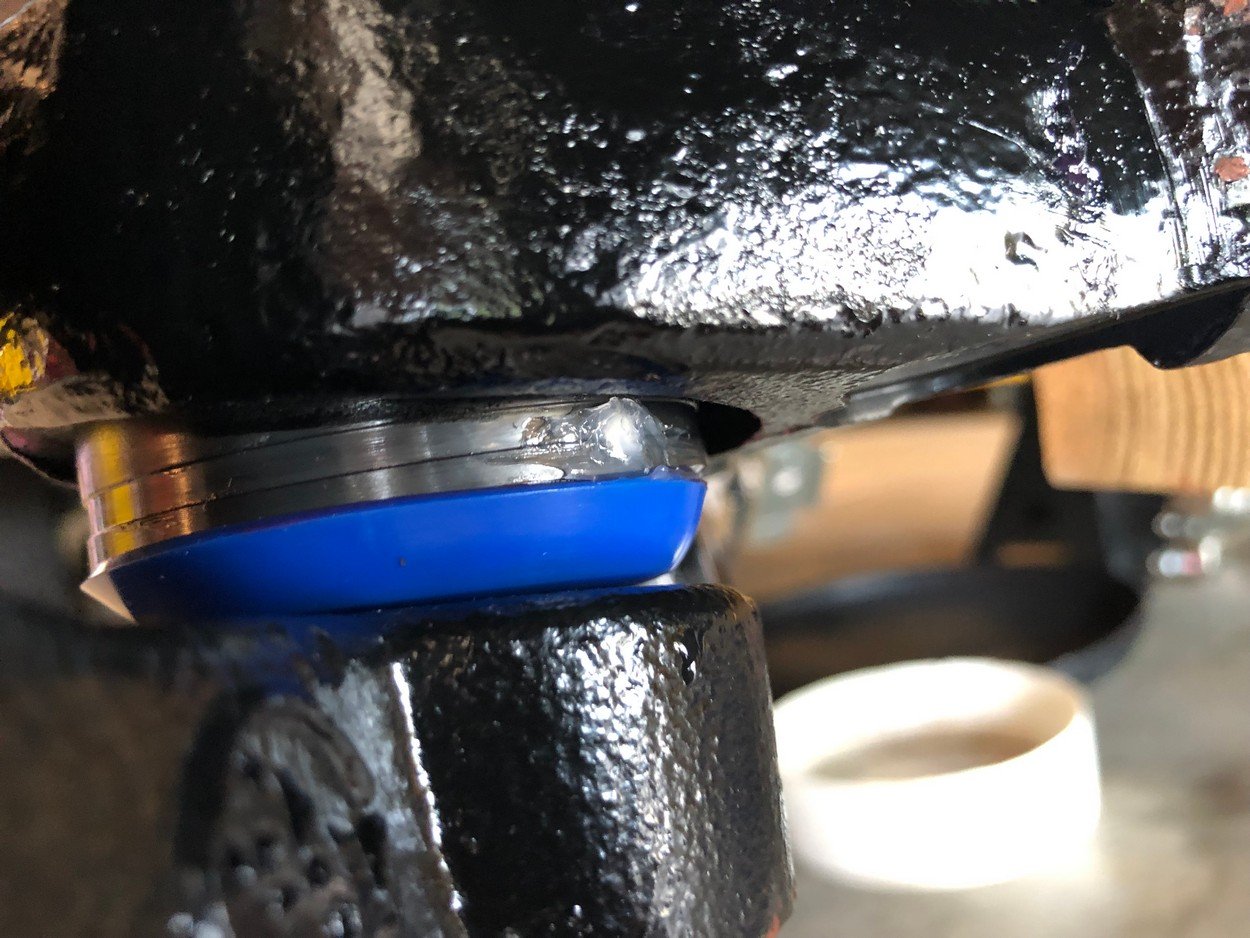
Seal off EMF balljoint set screws to keep debris out
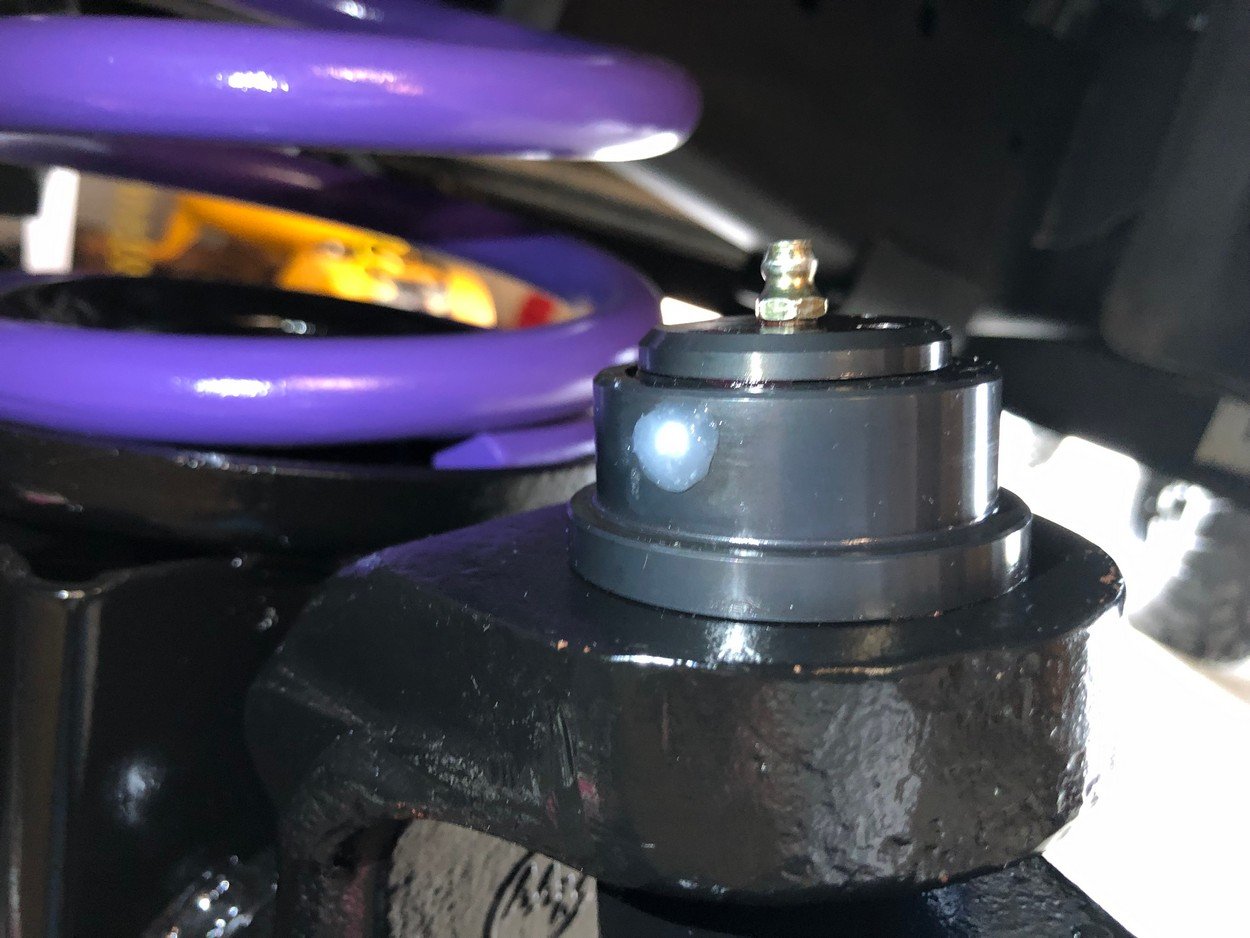
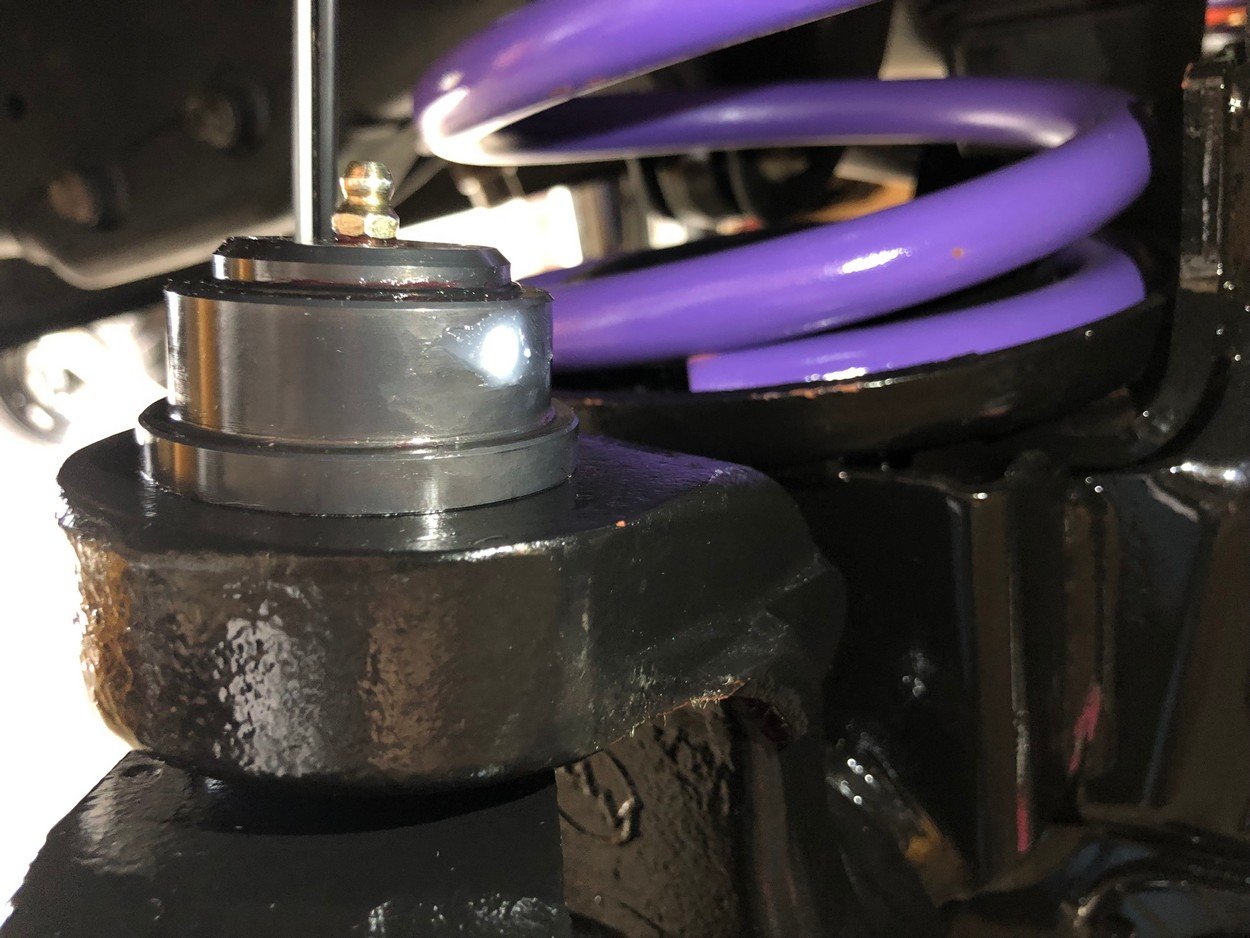
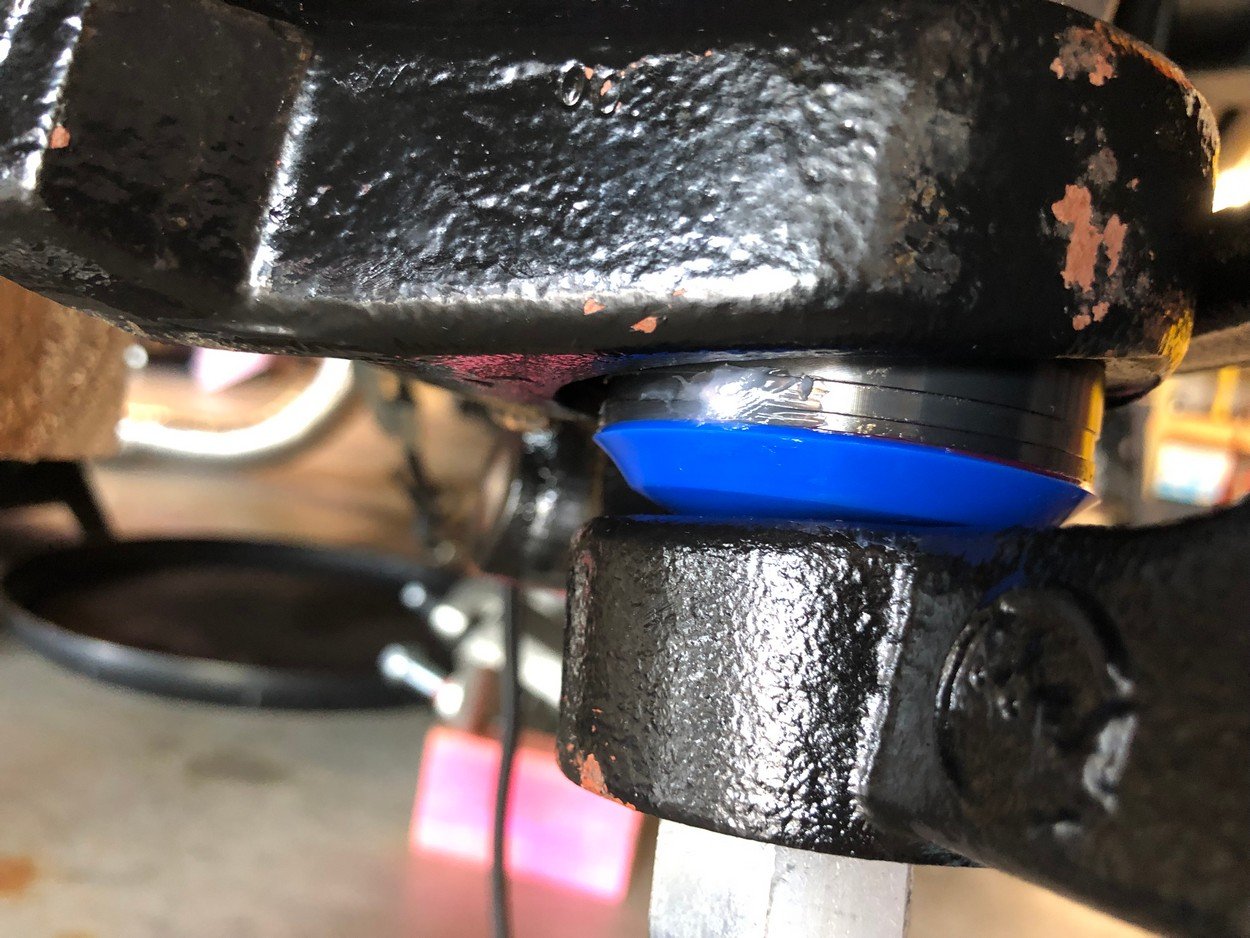
Axles reinstalled
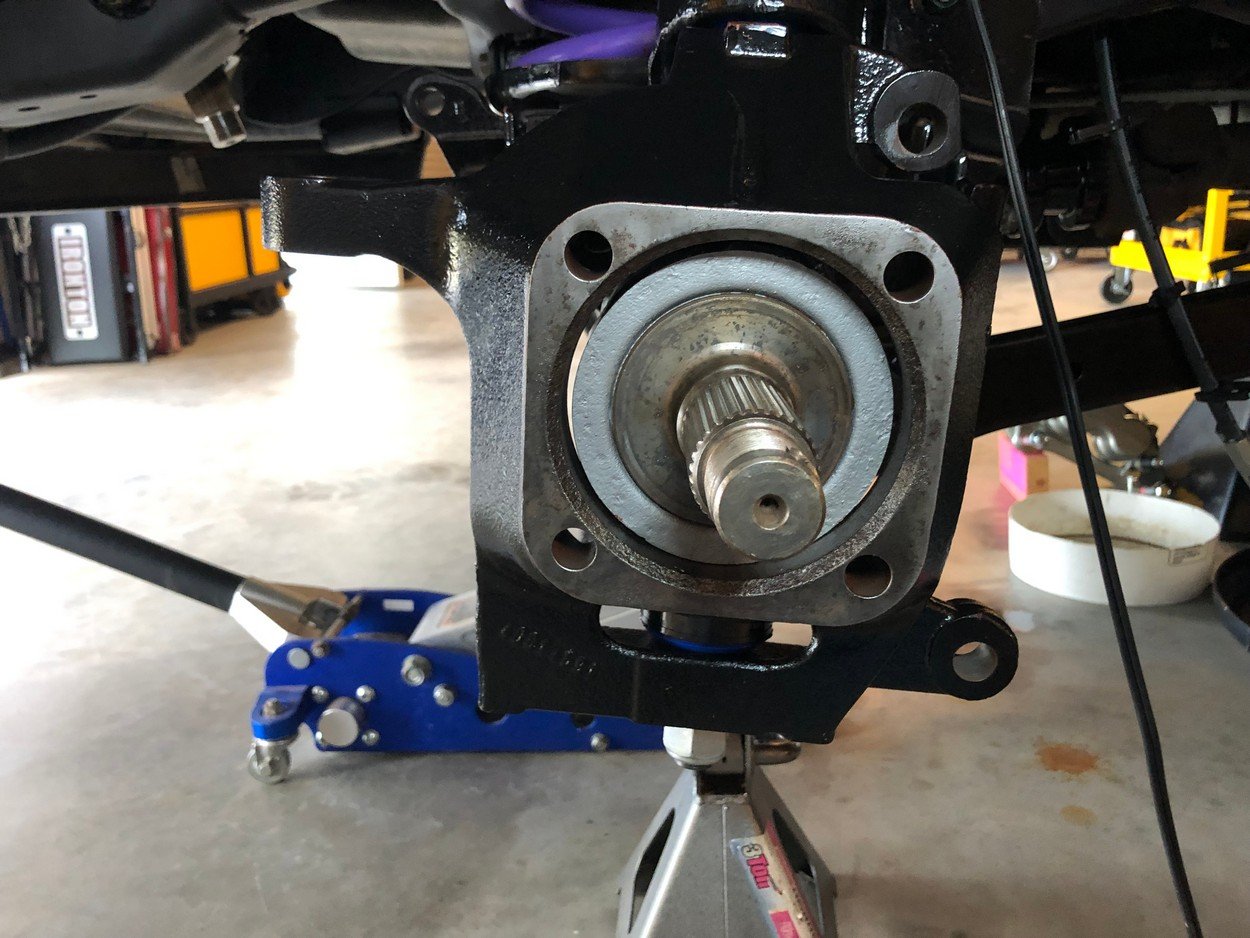
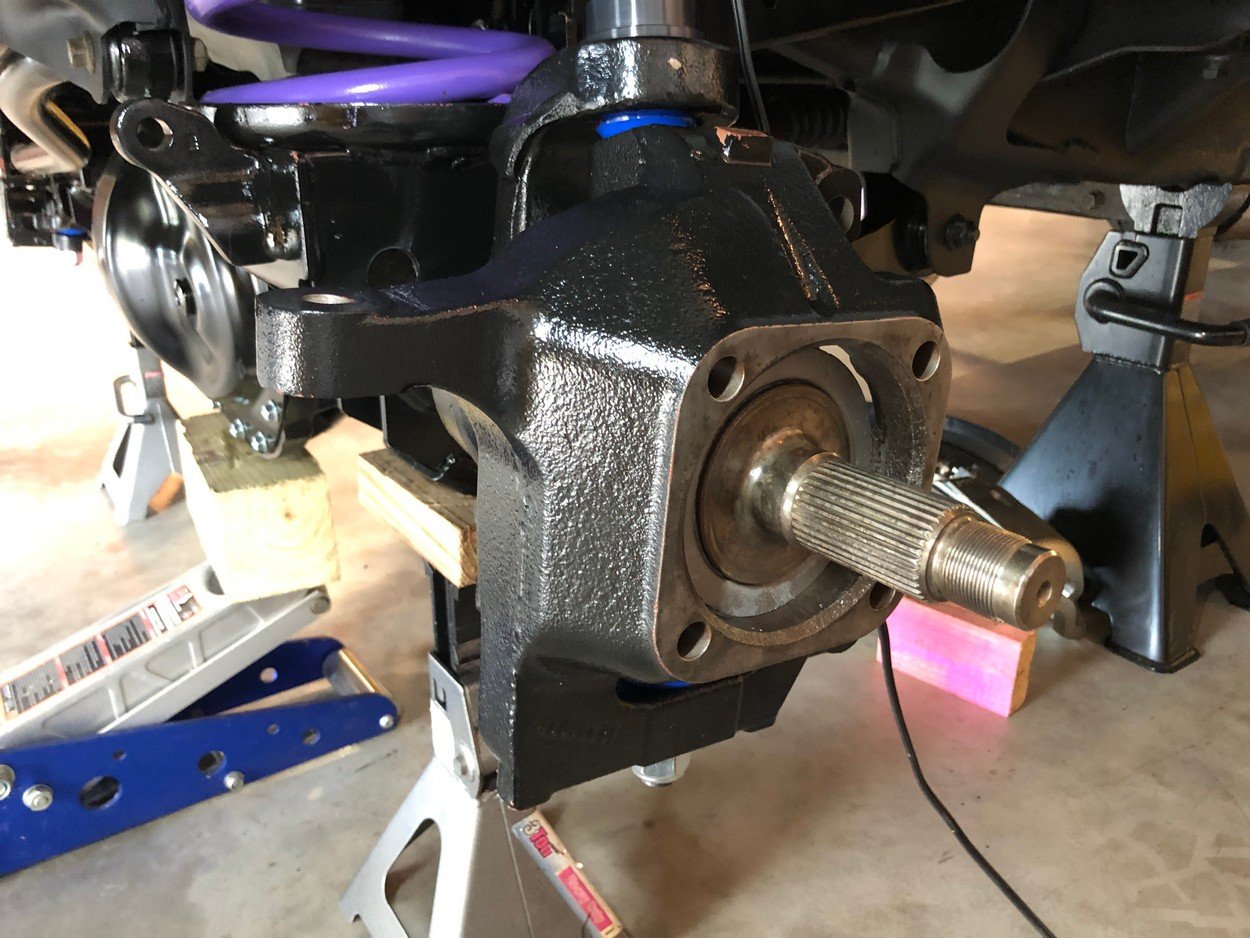
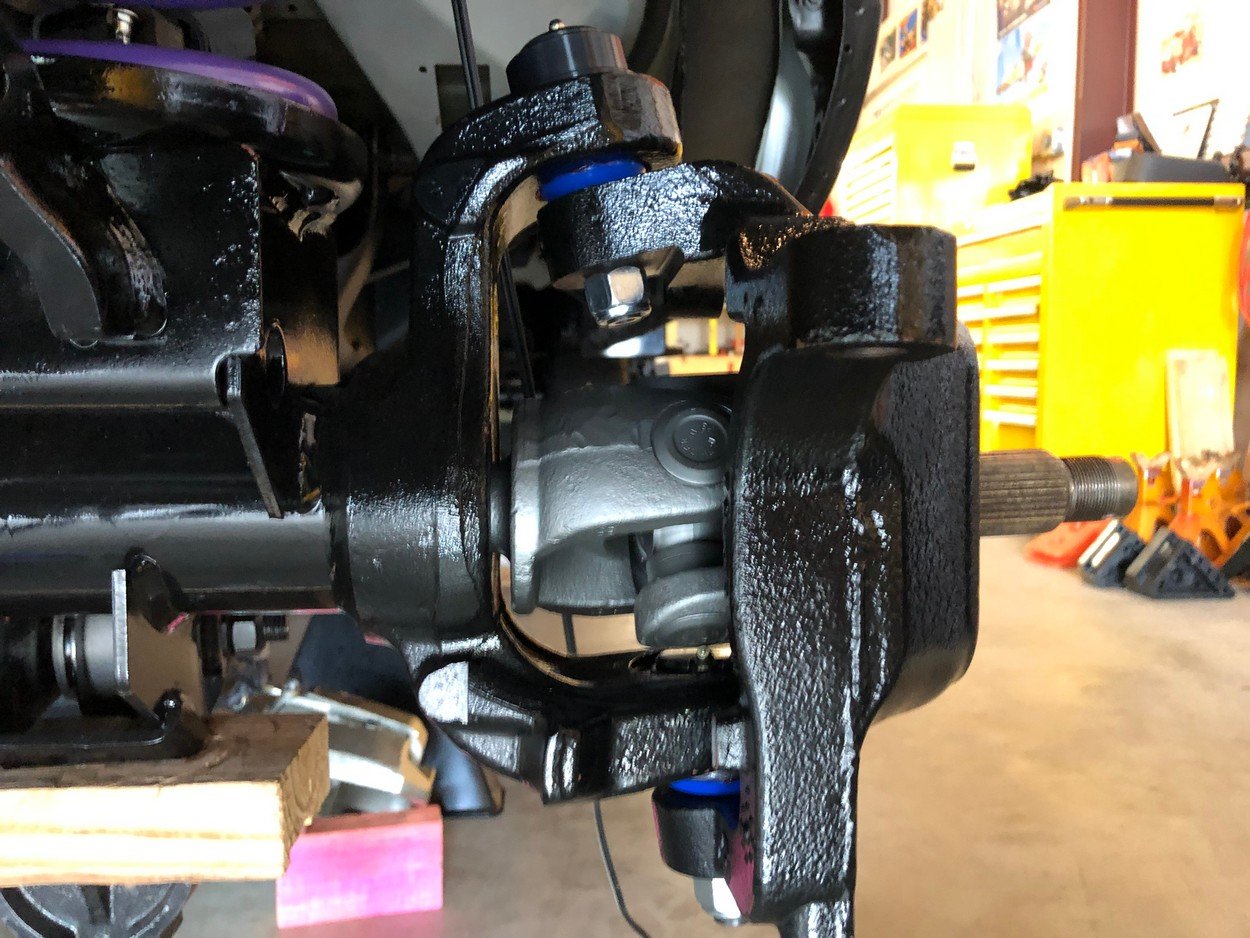
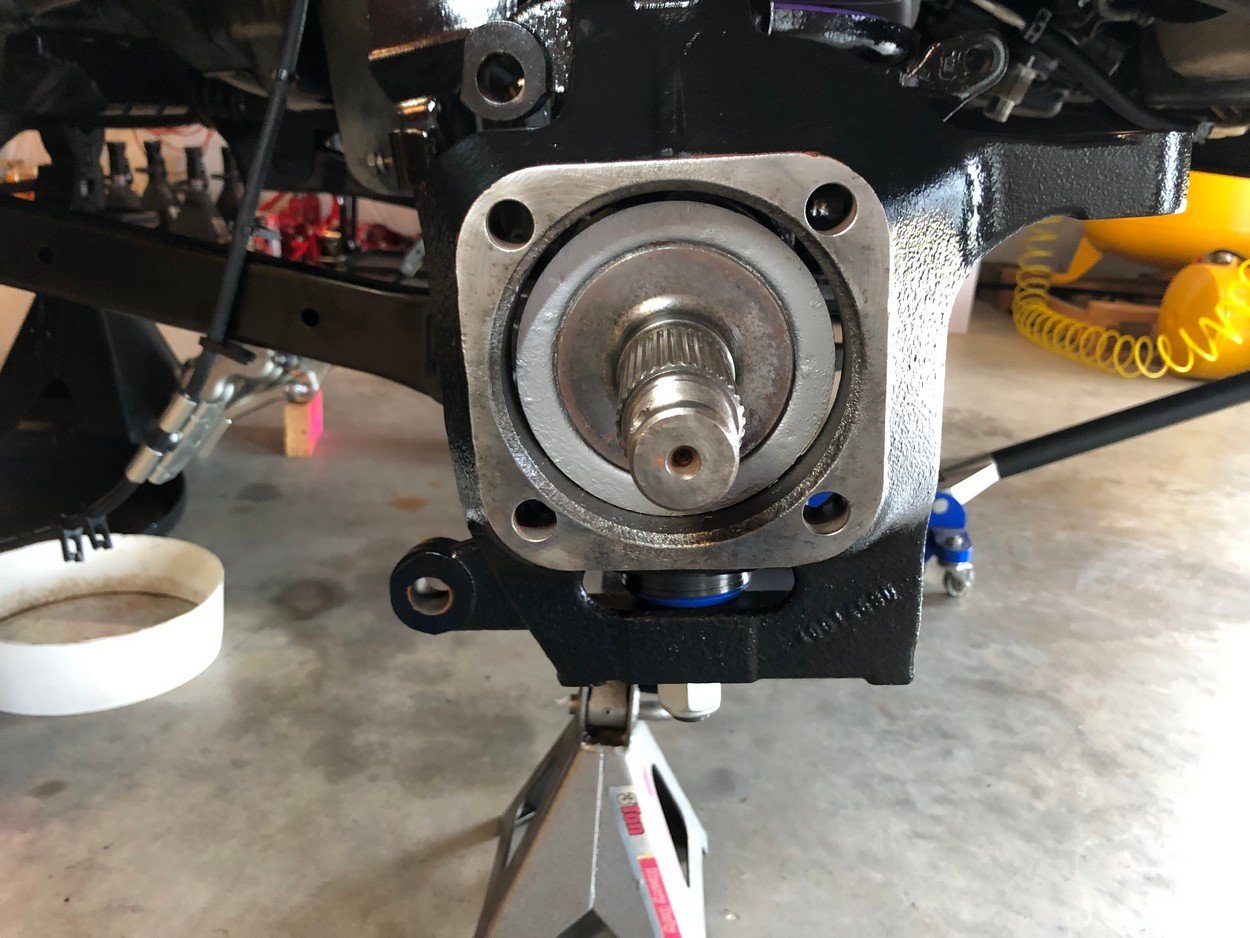
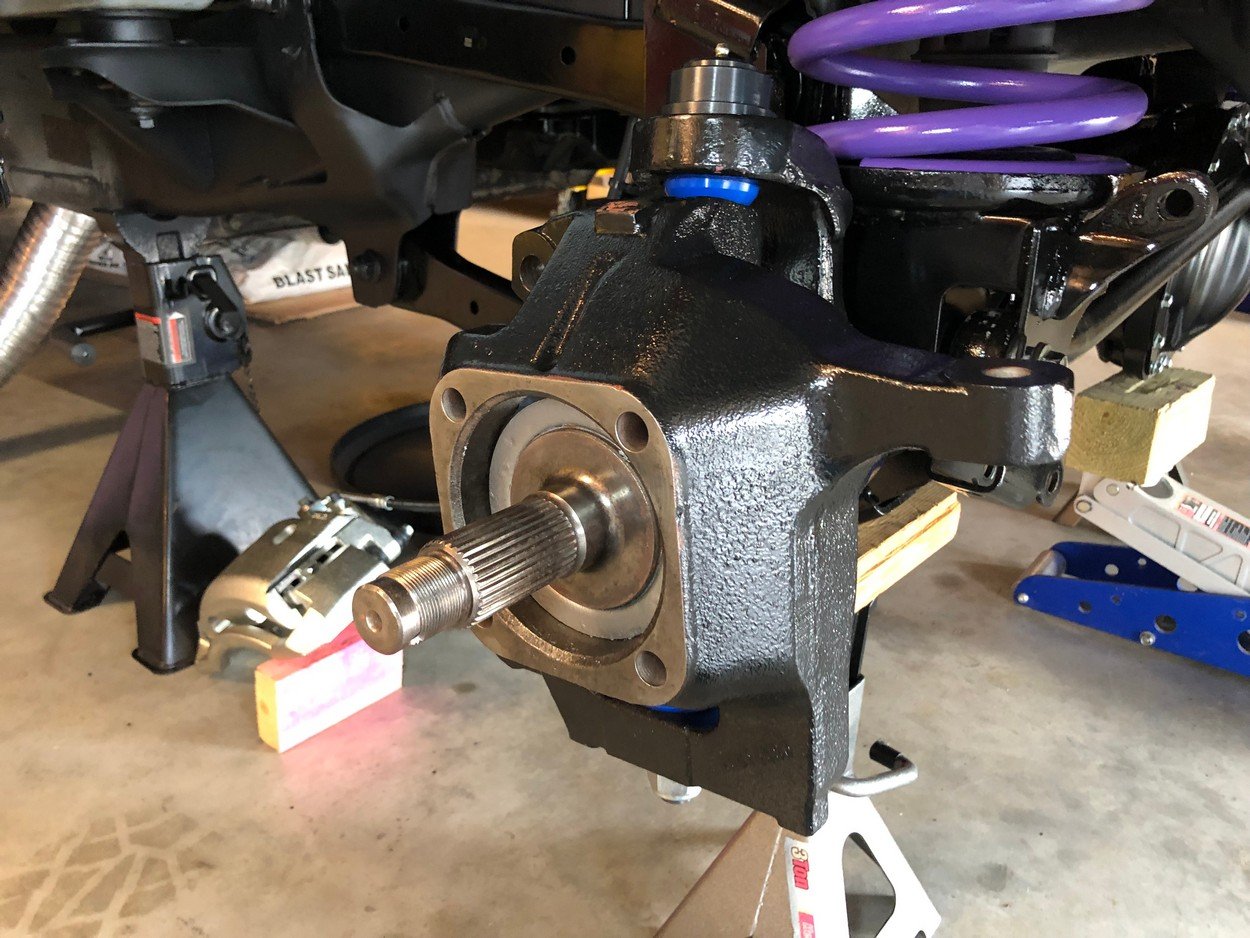
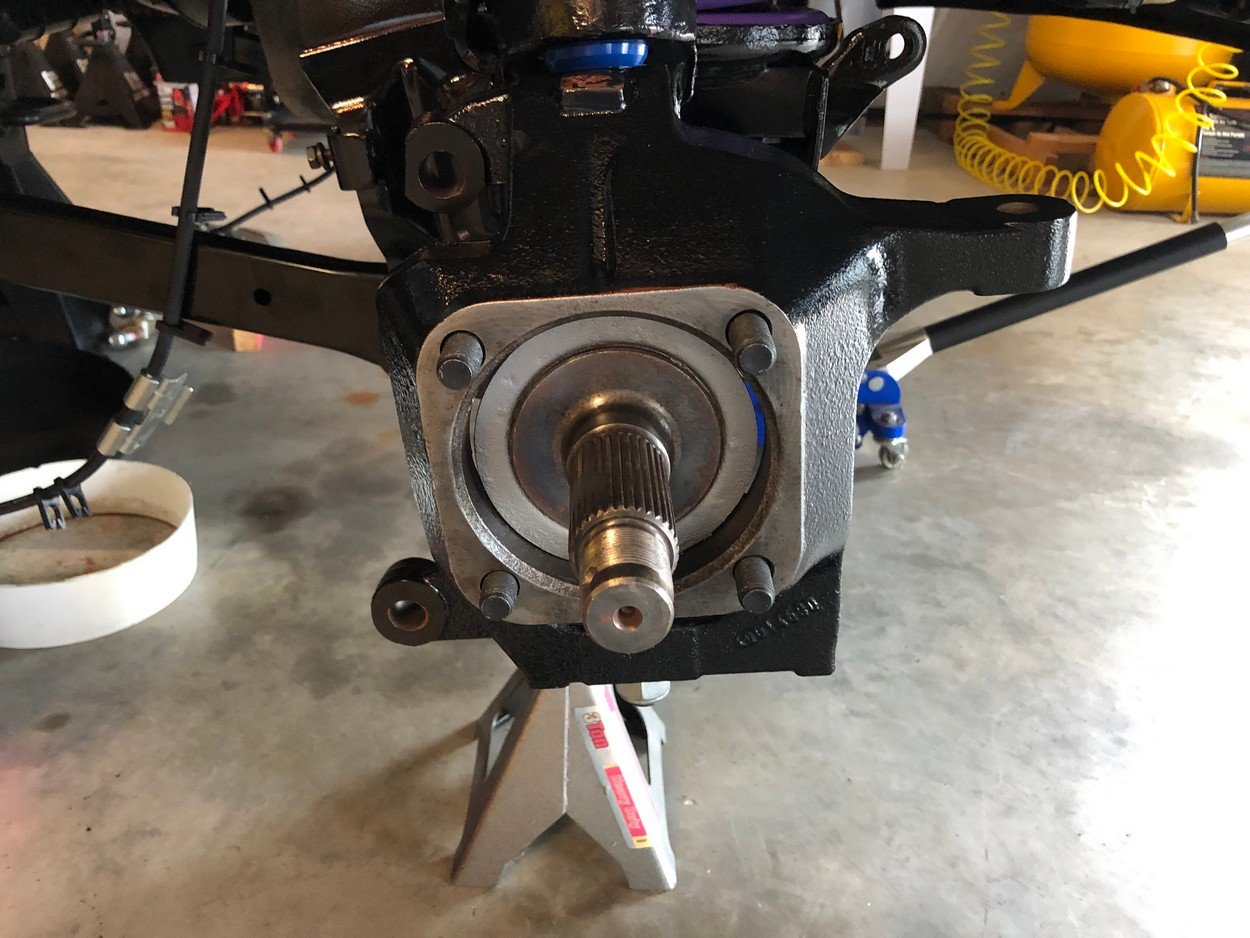
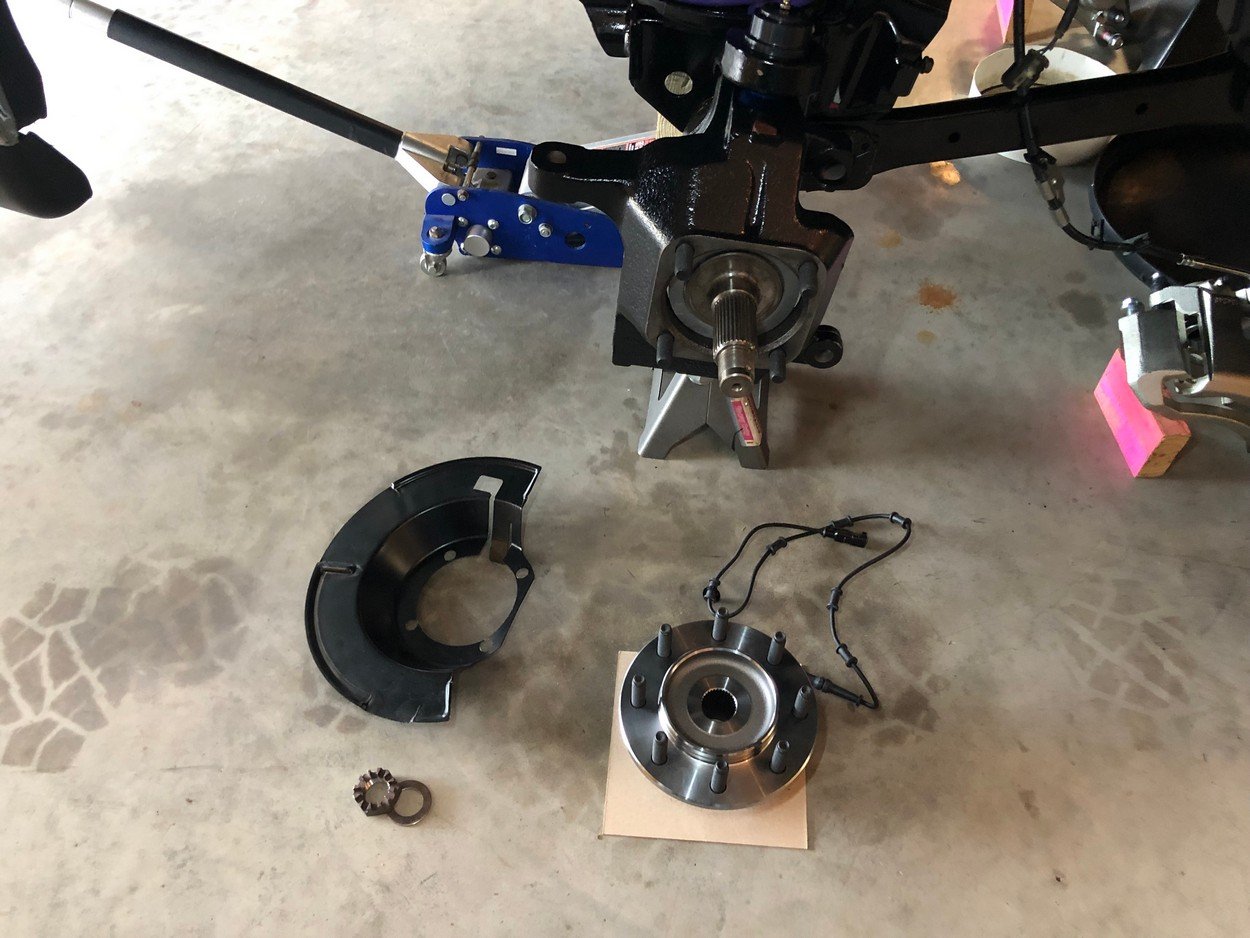
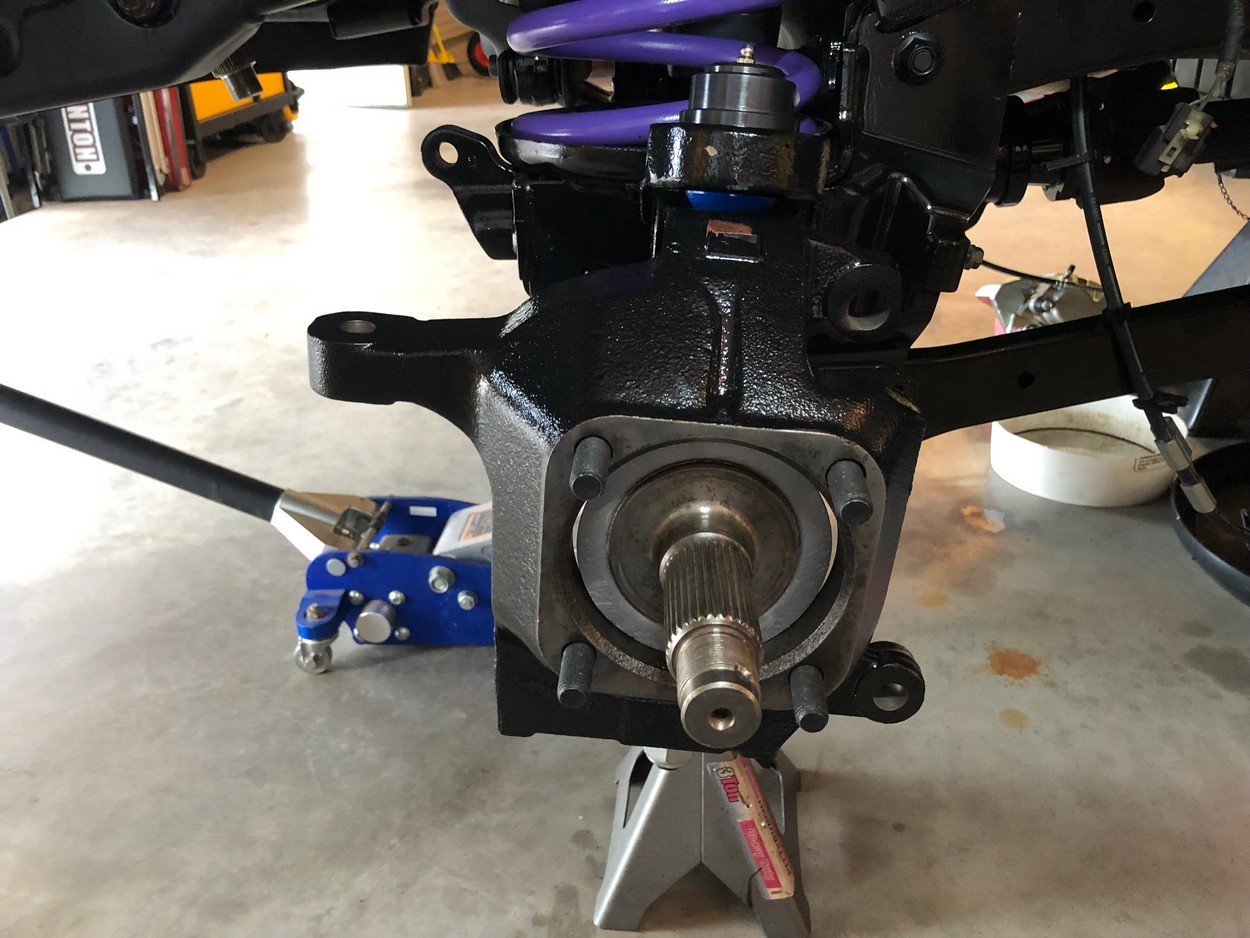
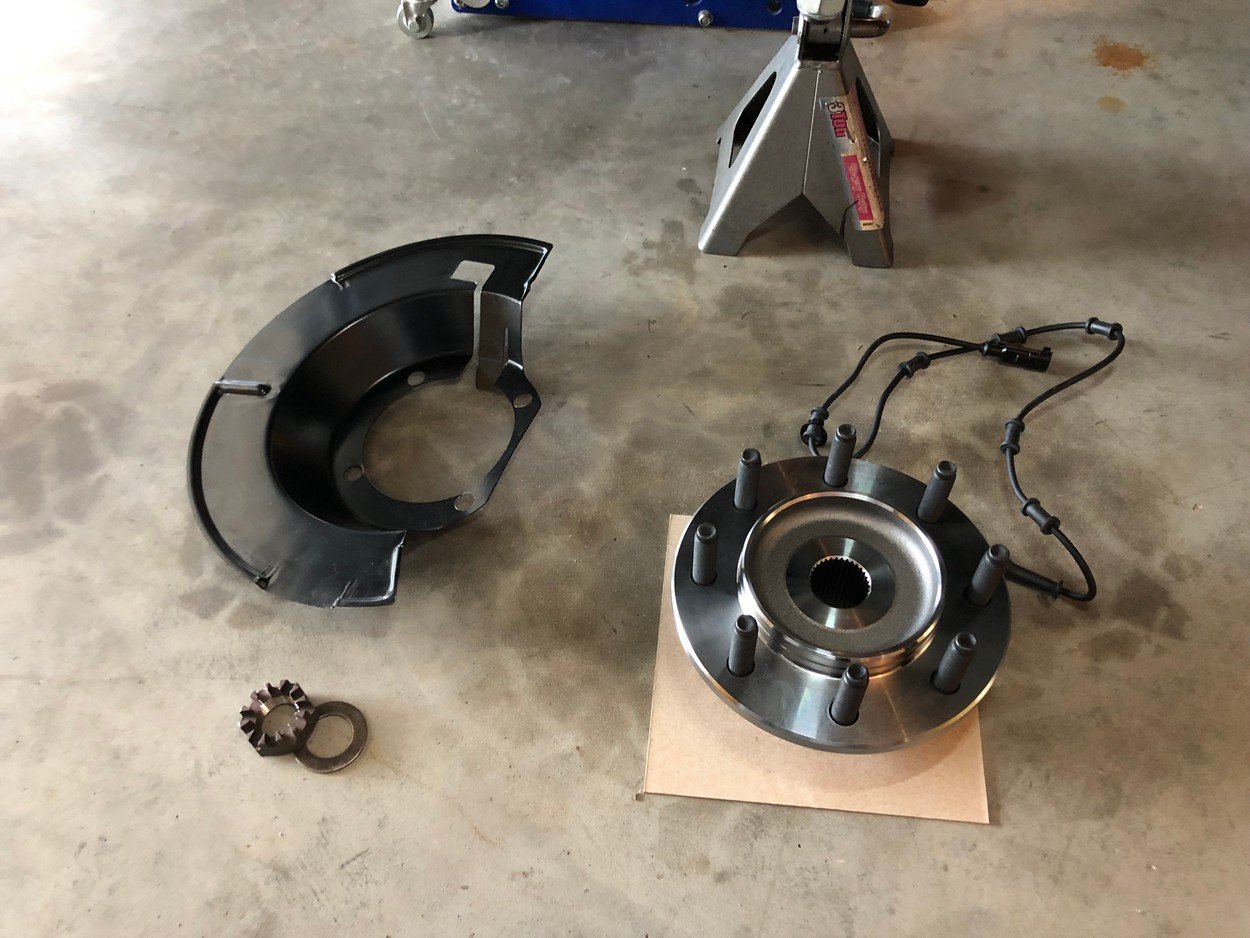
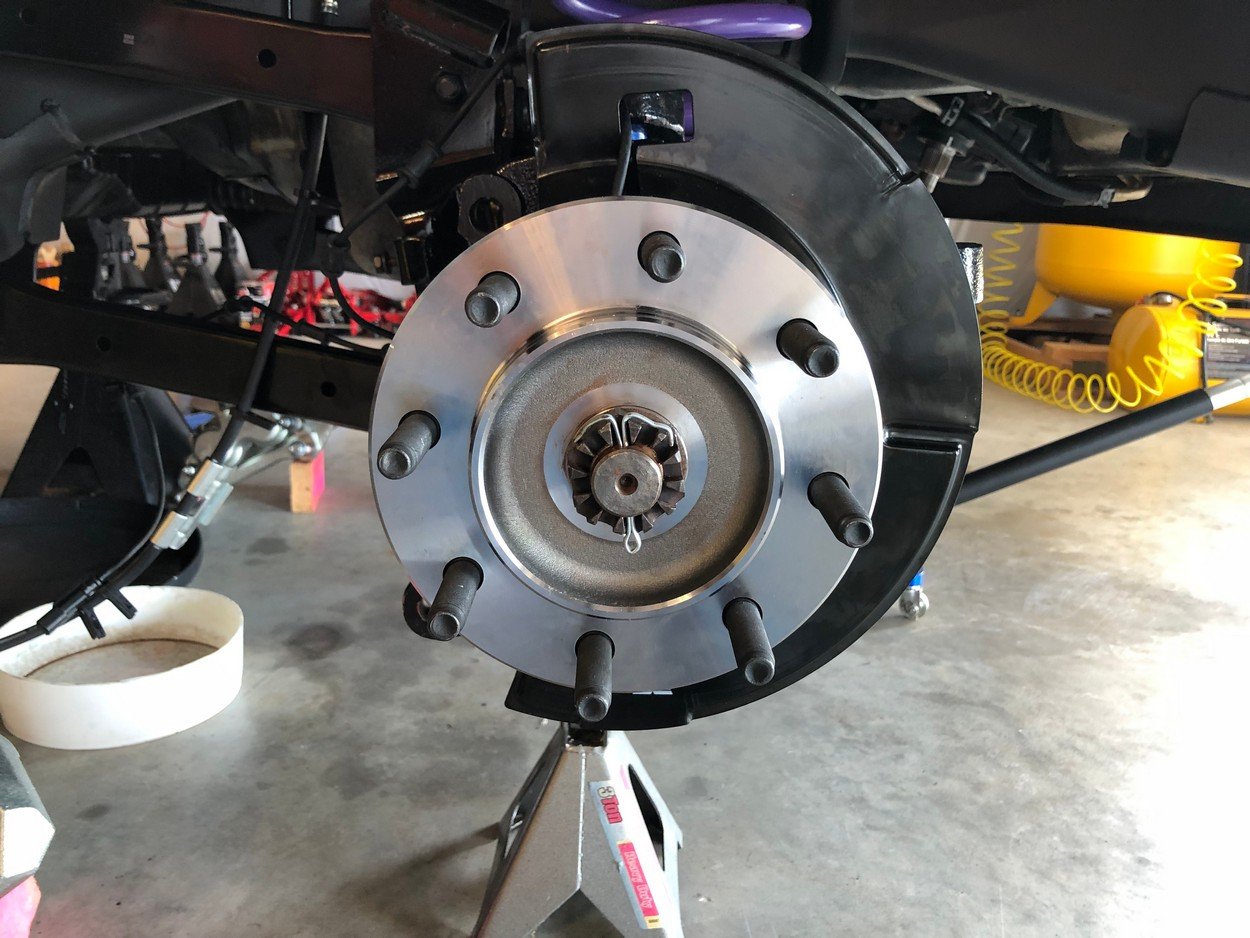
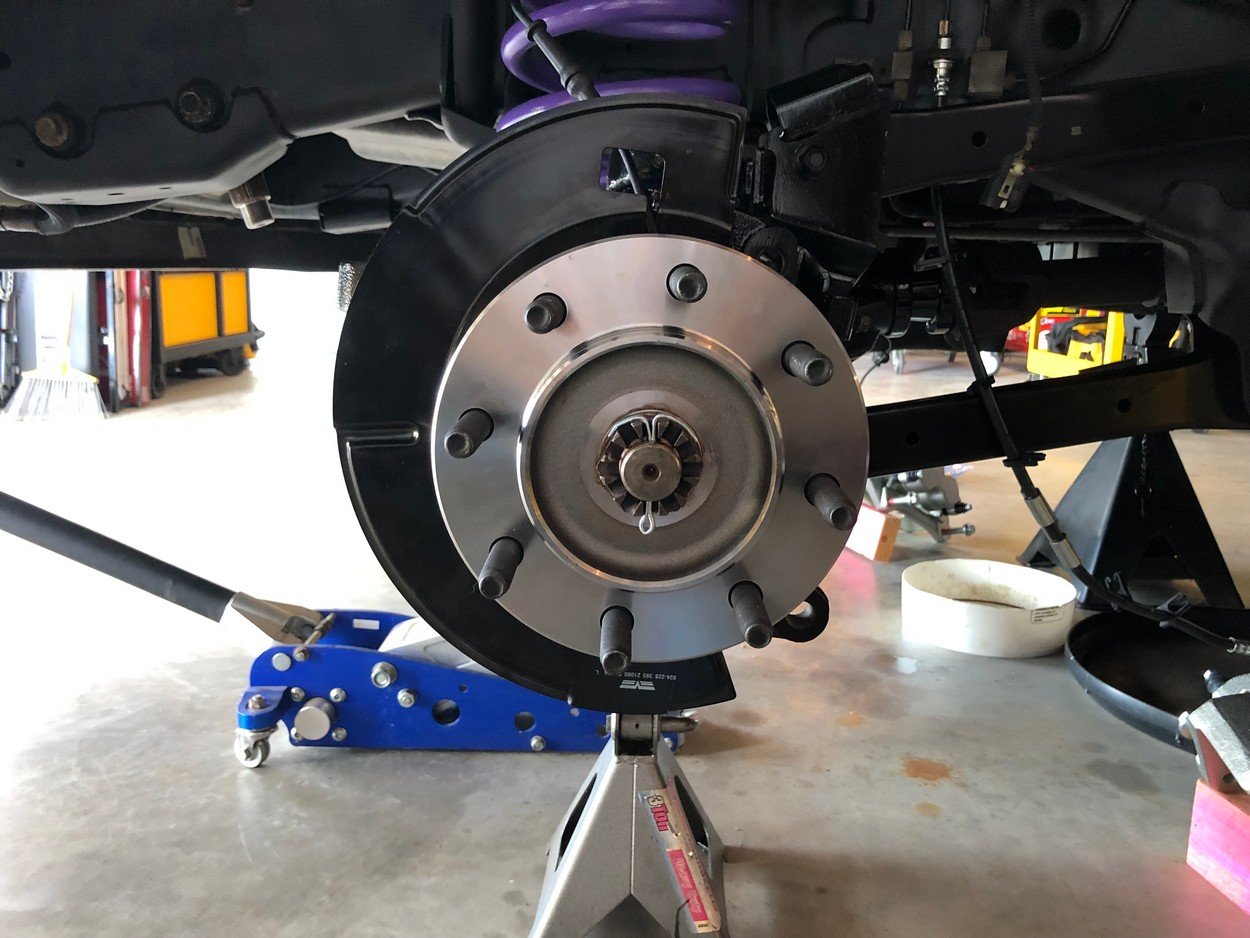
New Timken bearings and brake dust plate
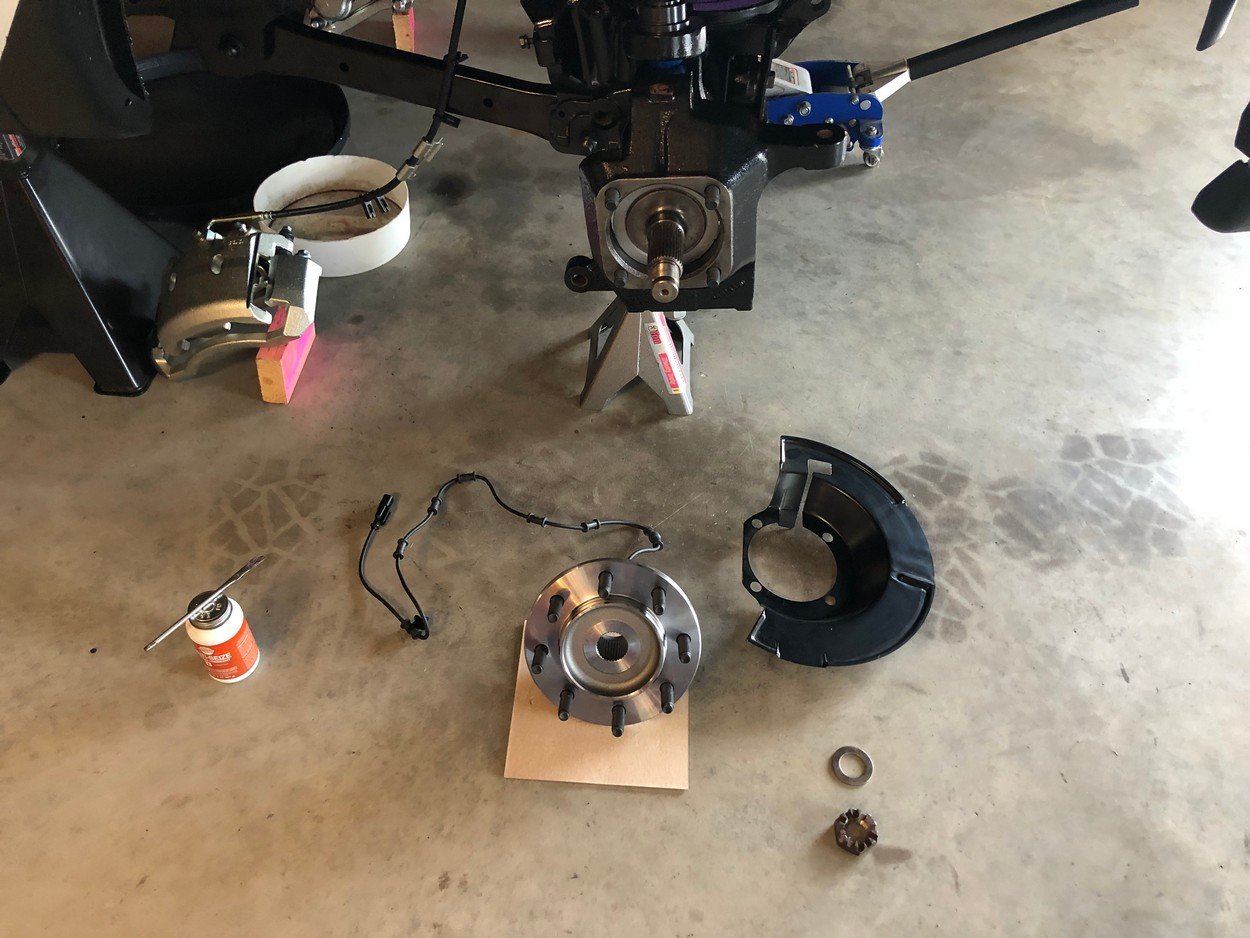
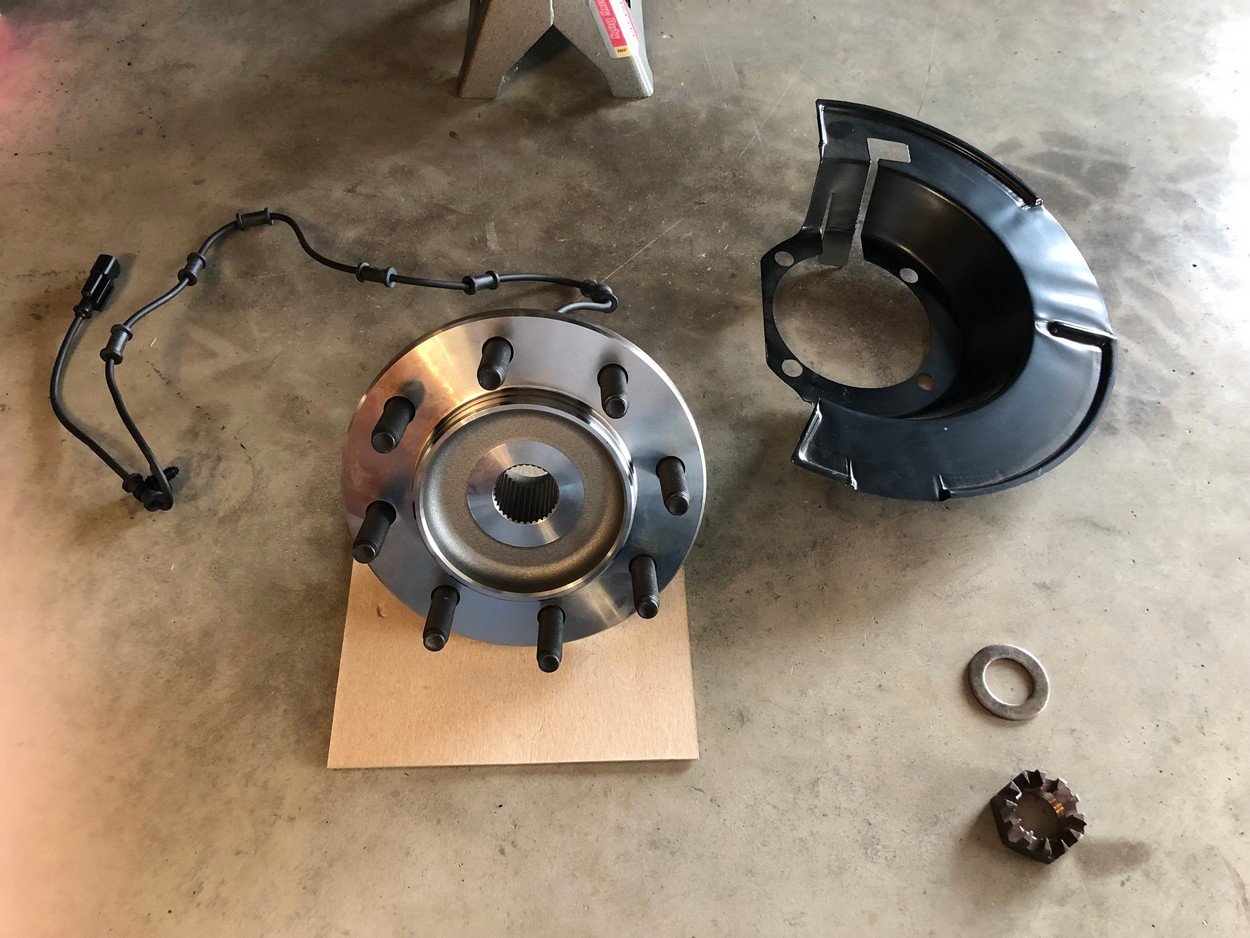
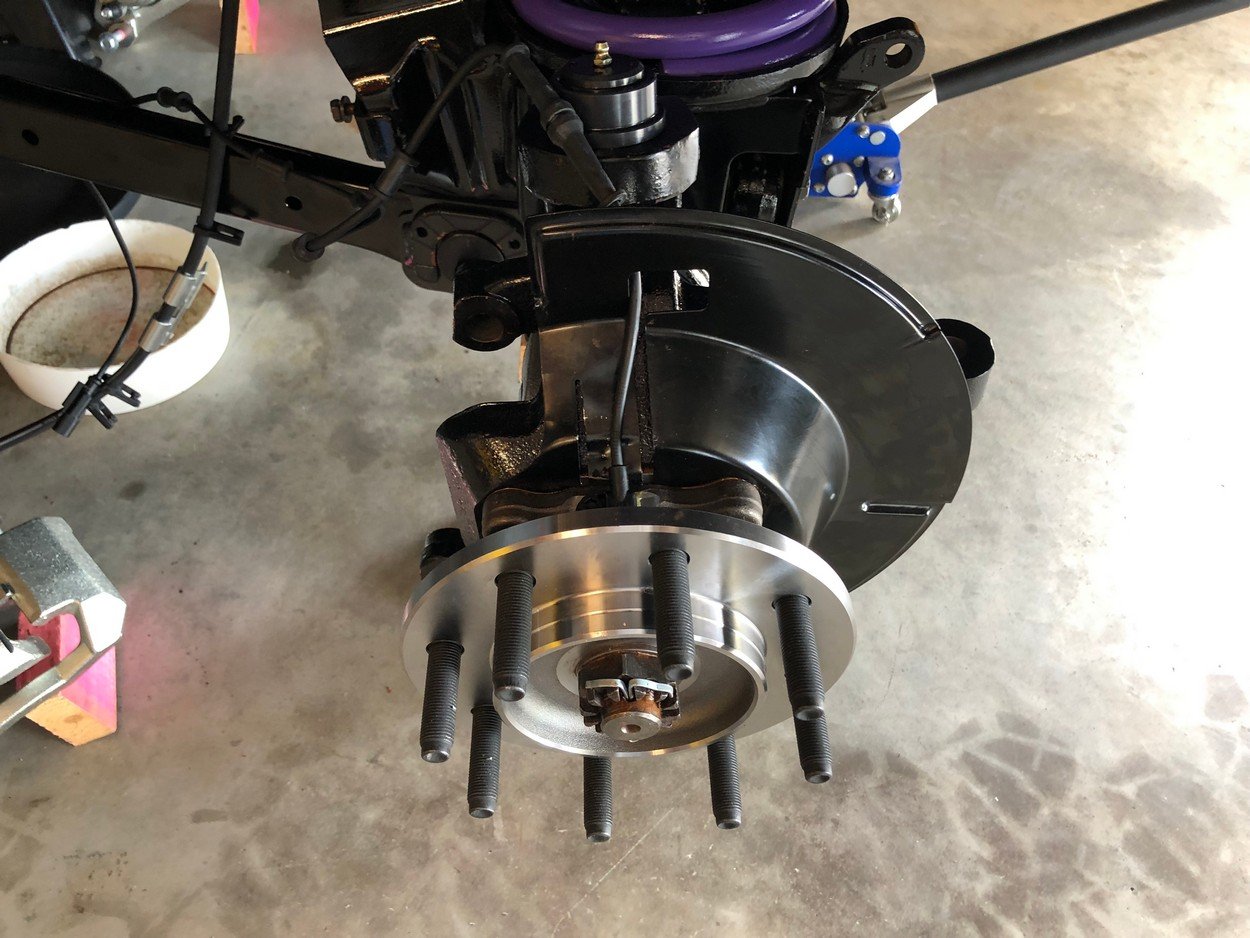
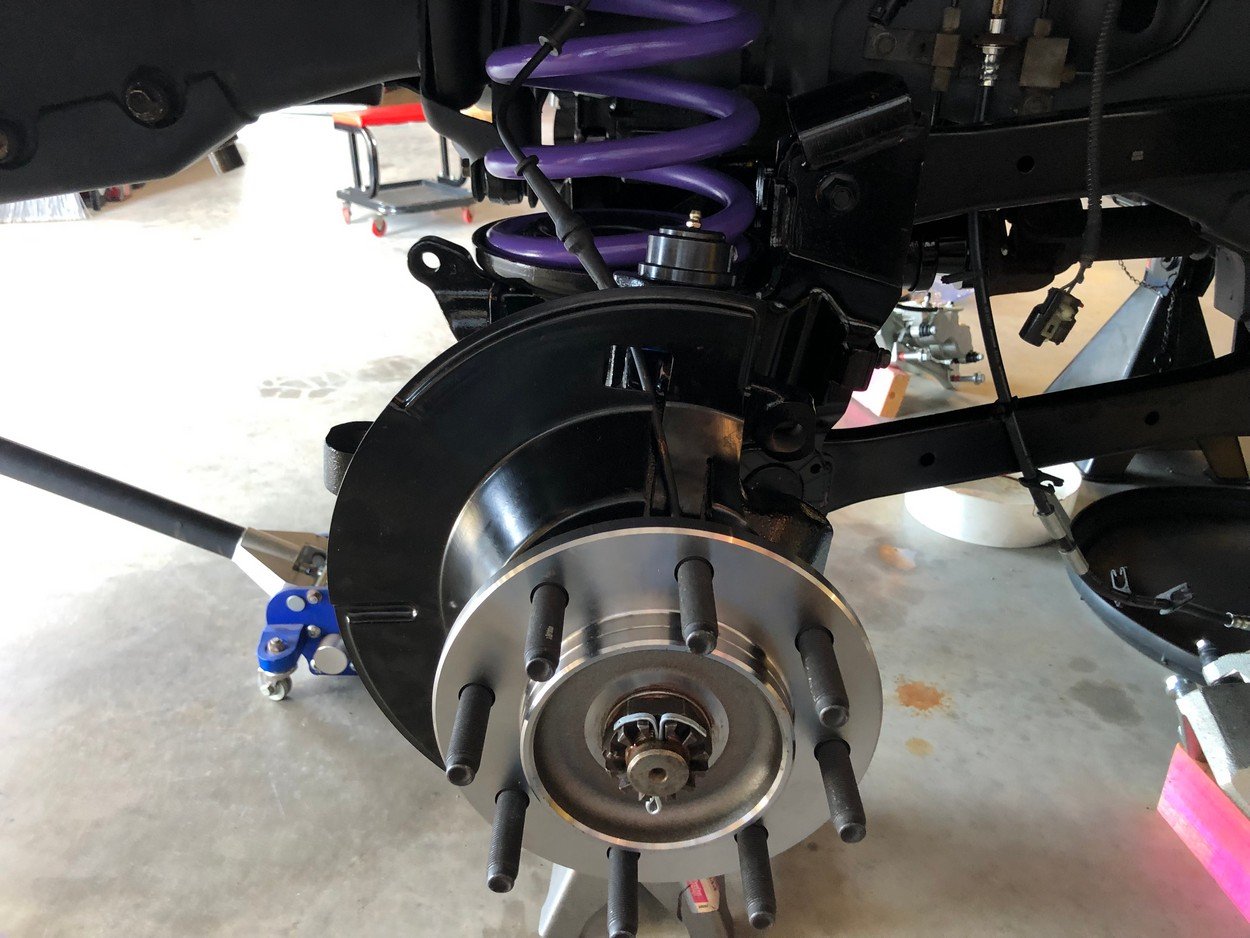
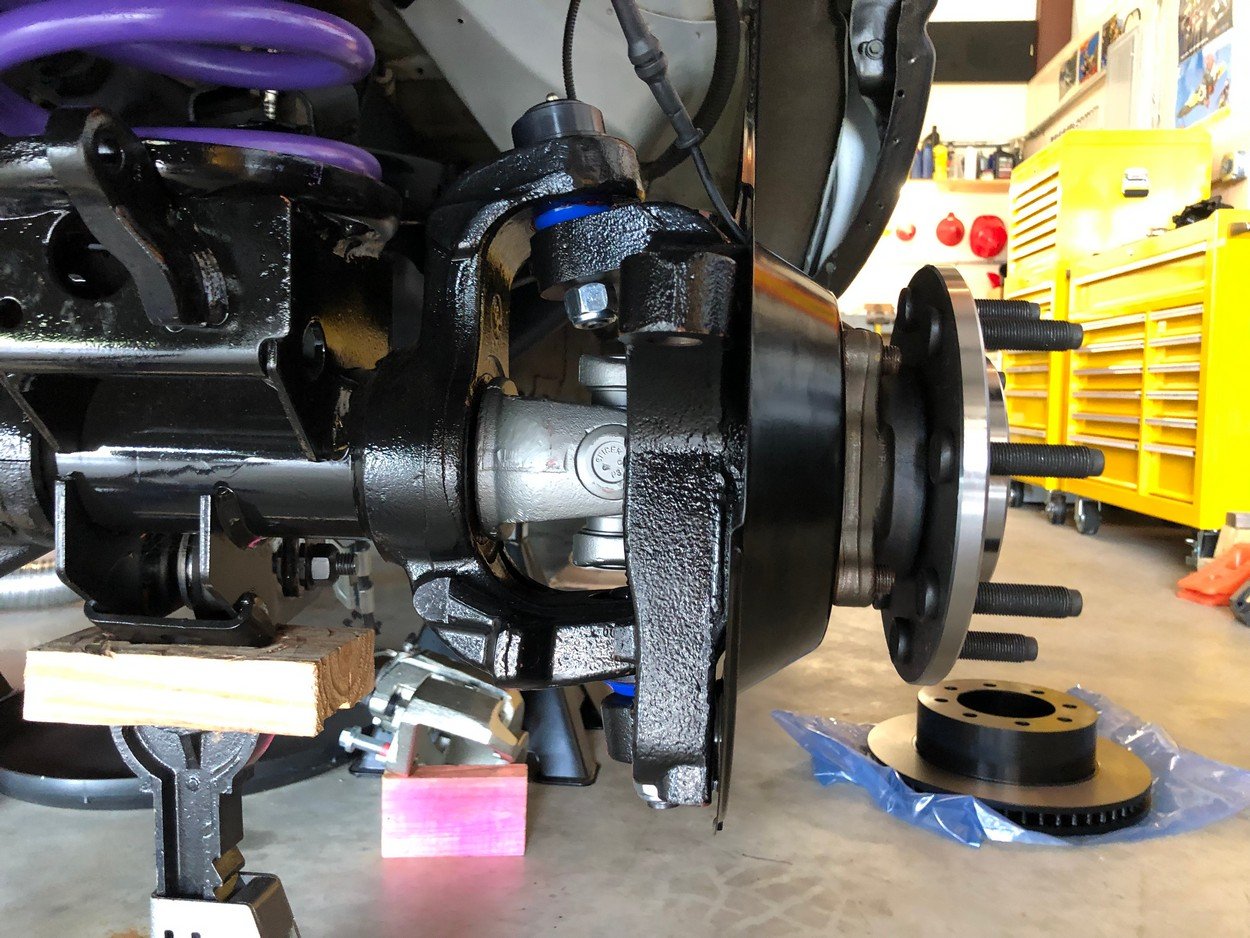
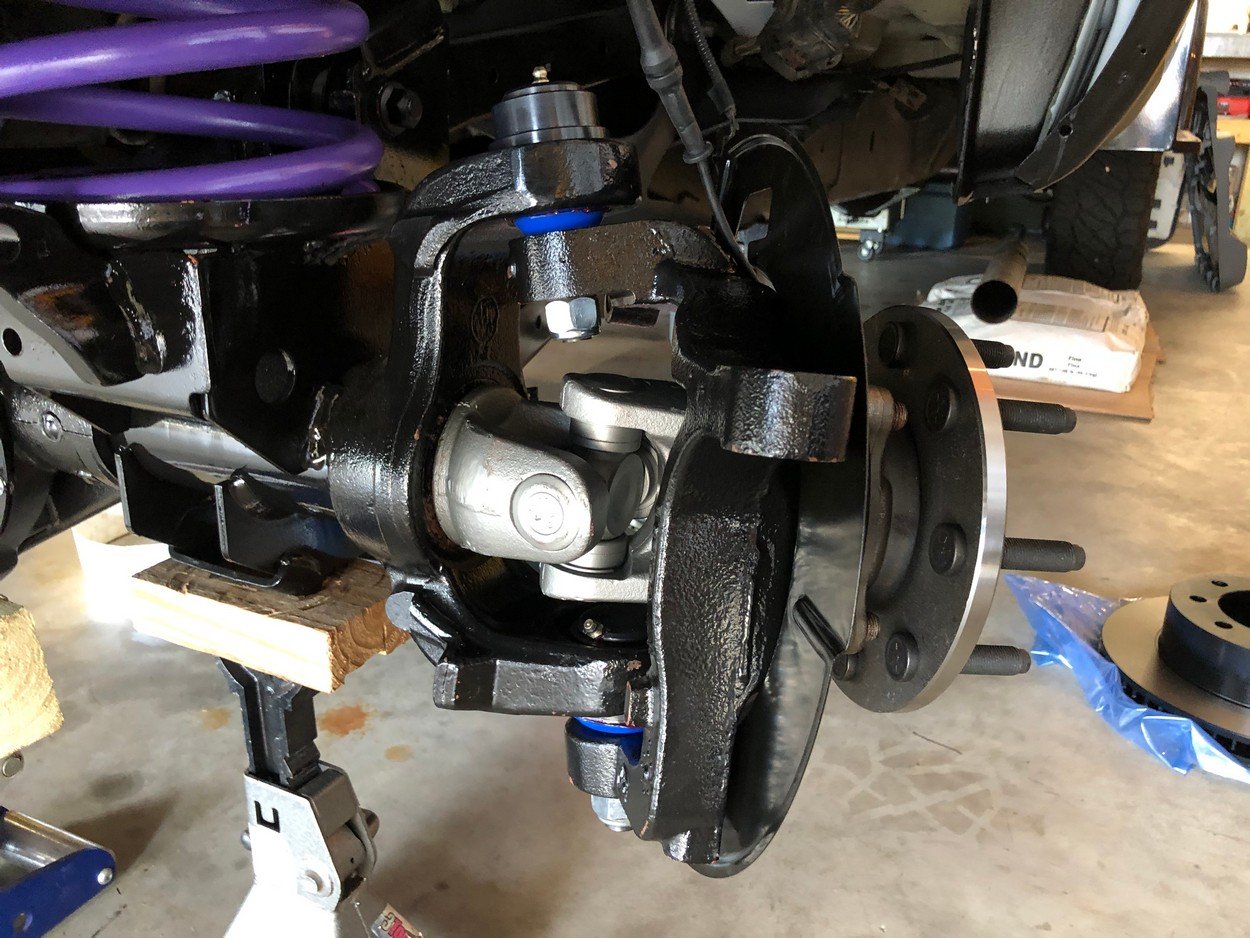
Install new Bilstein shocks and shock towers
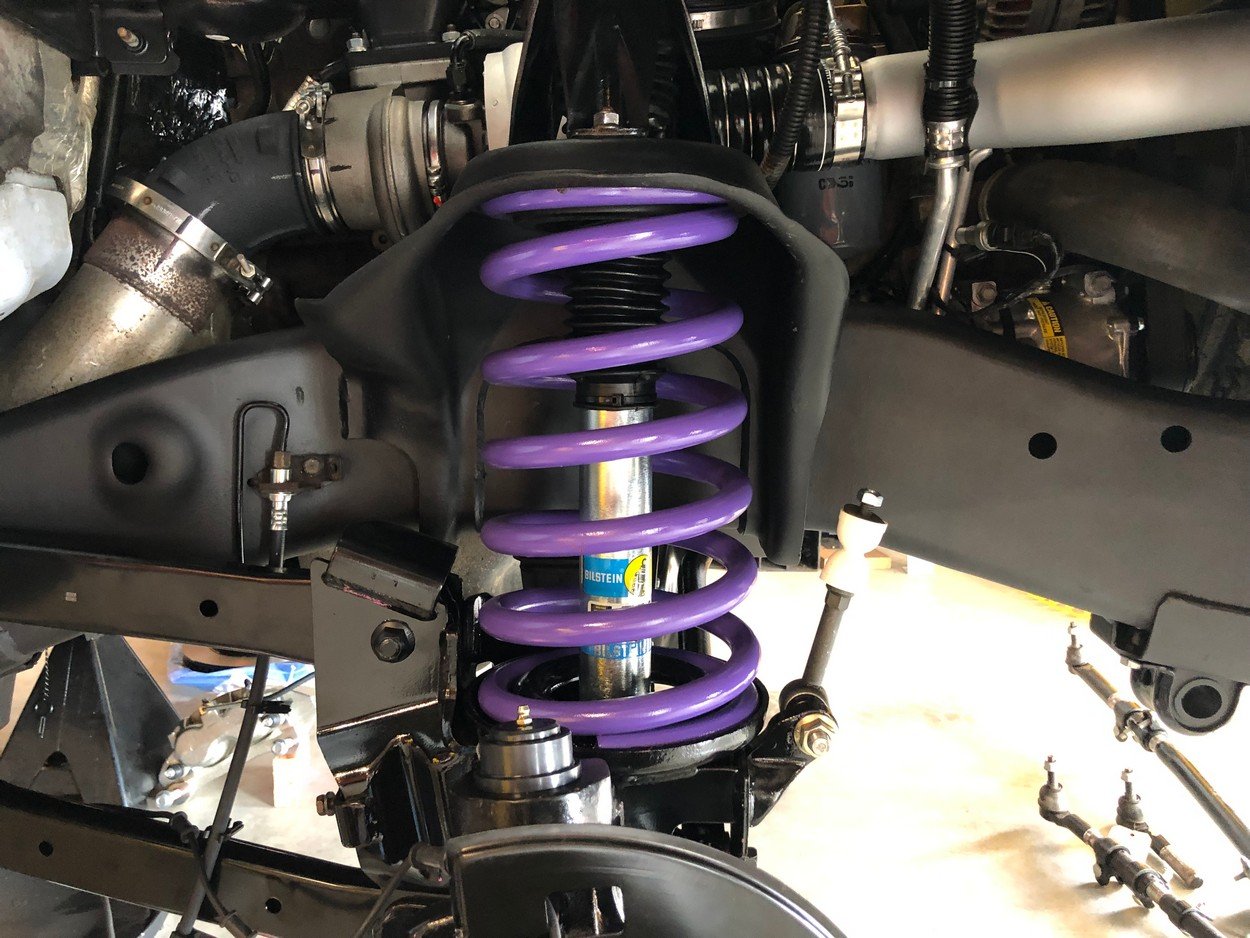
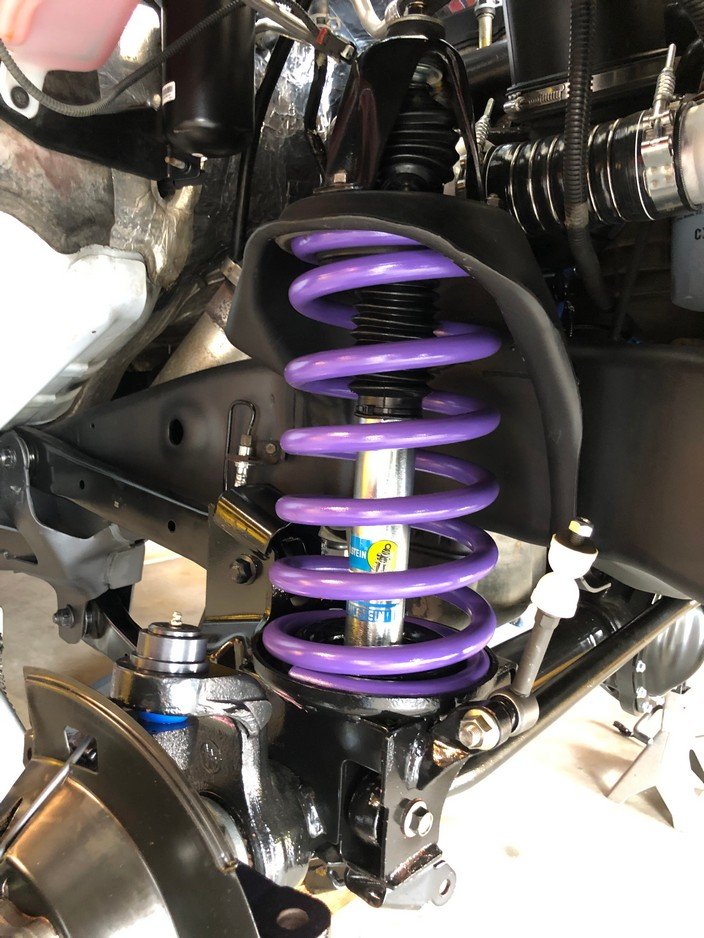
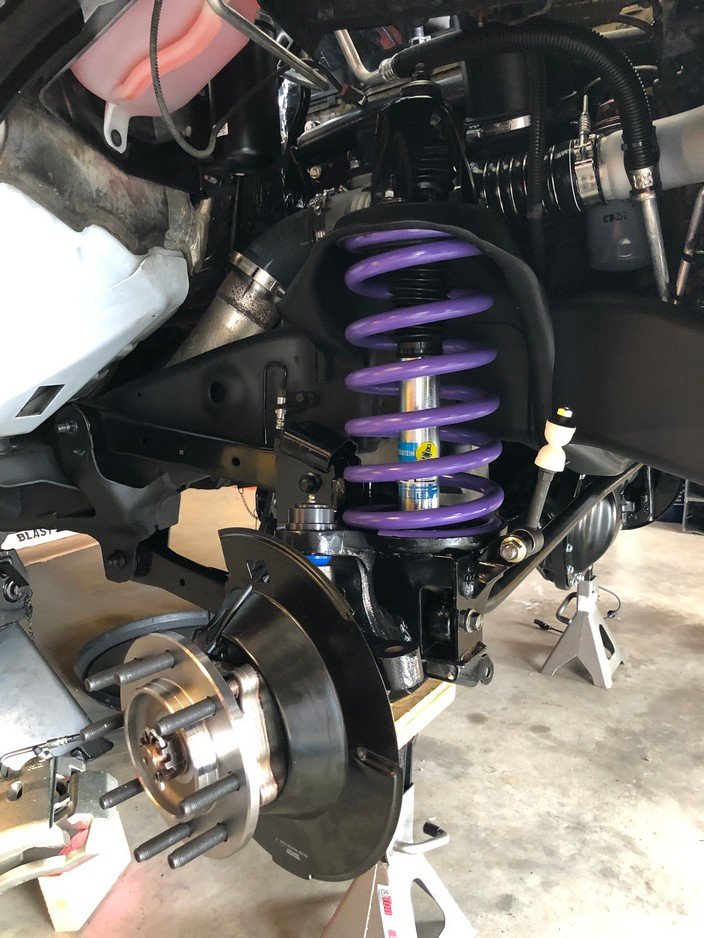
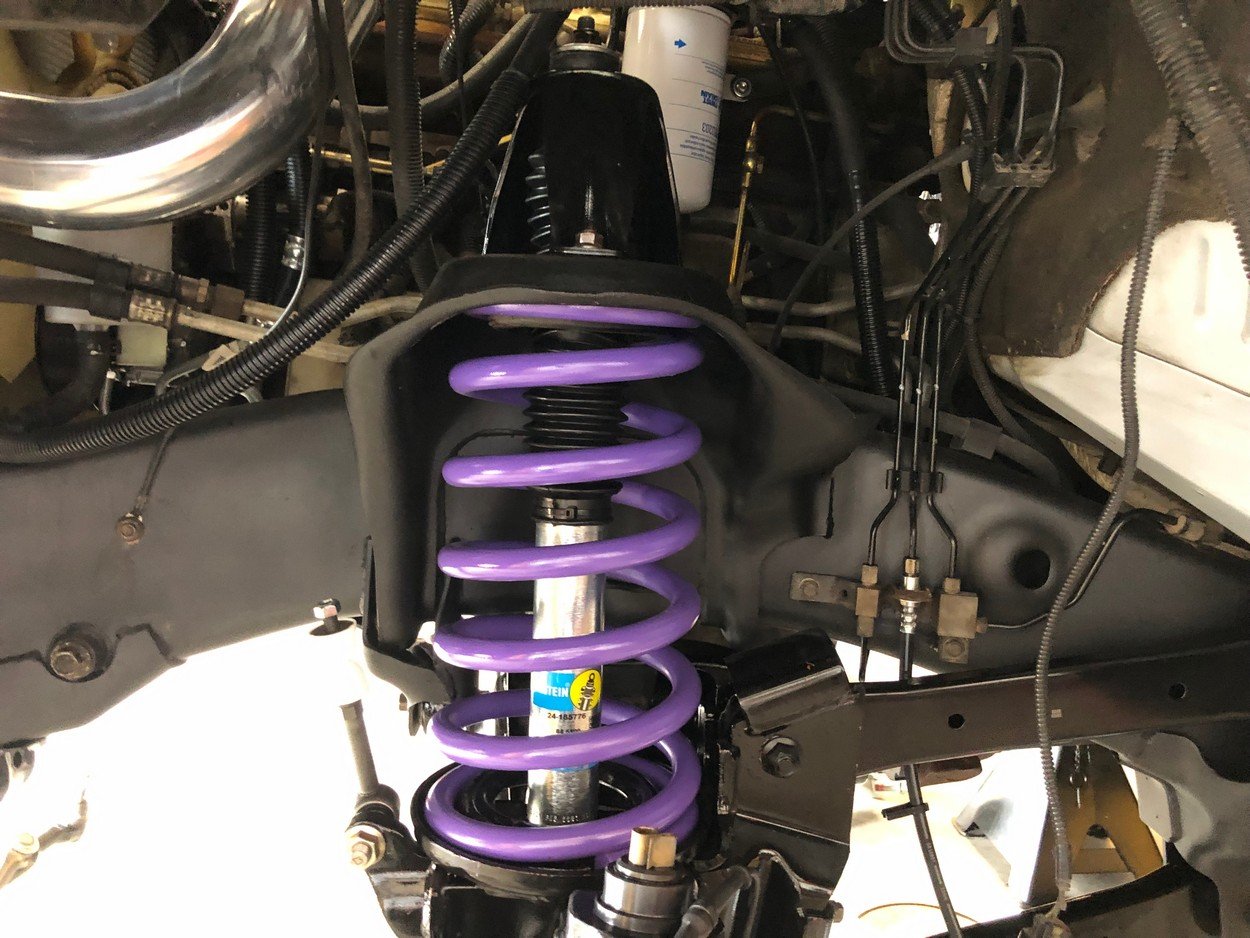
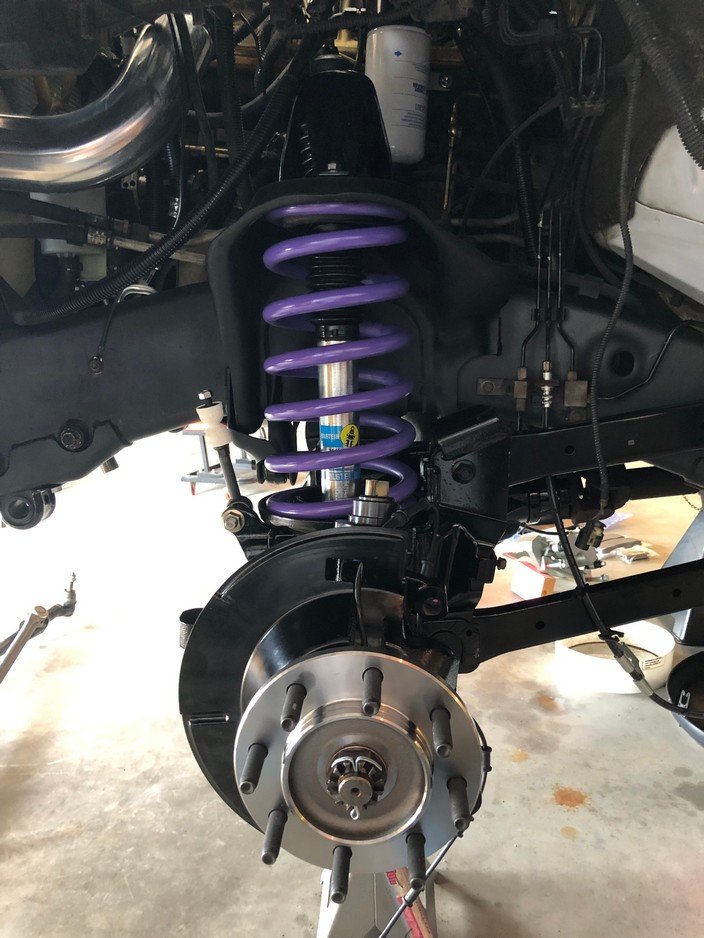
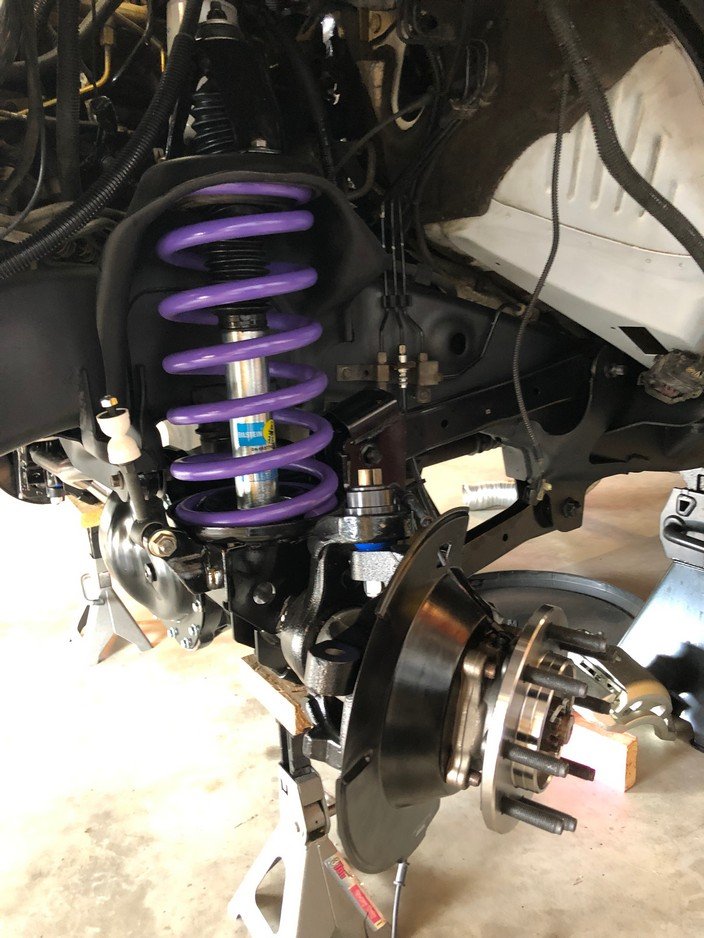
Put on new rotors and connect new brake calipers to new brake lines
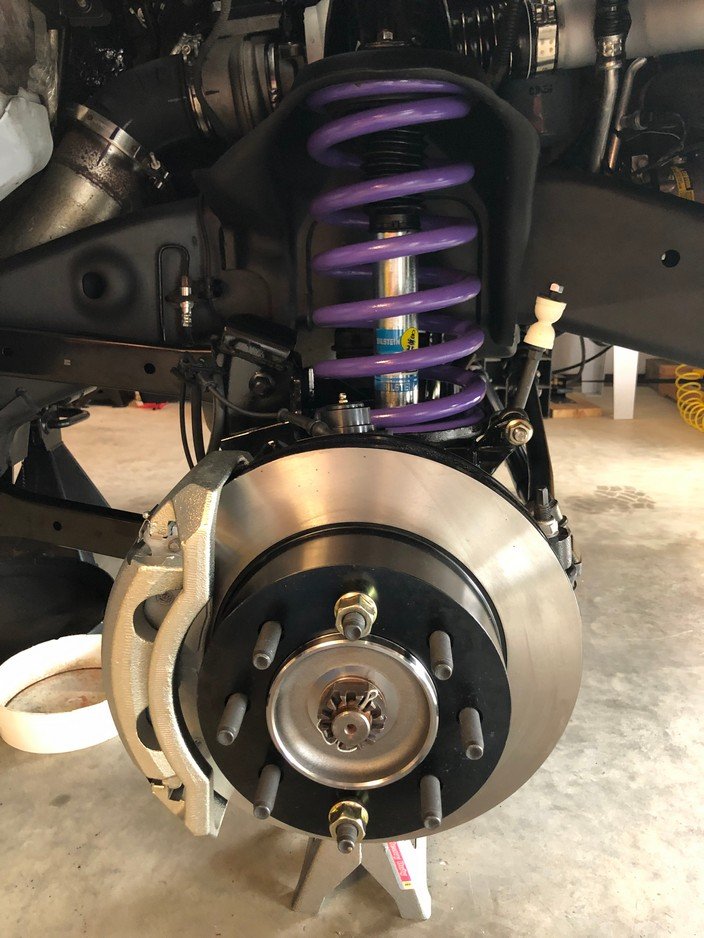
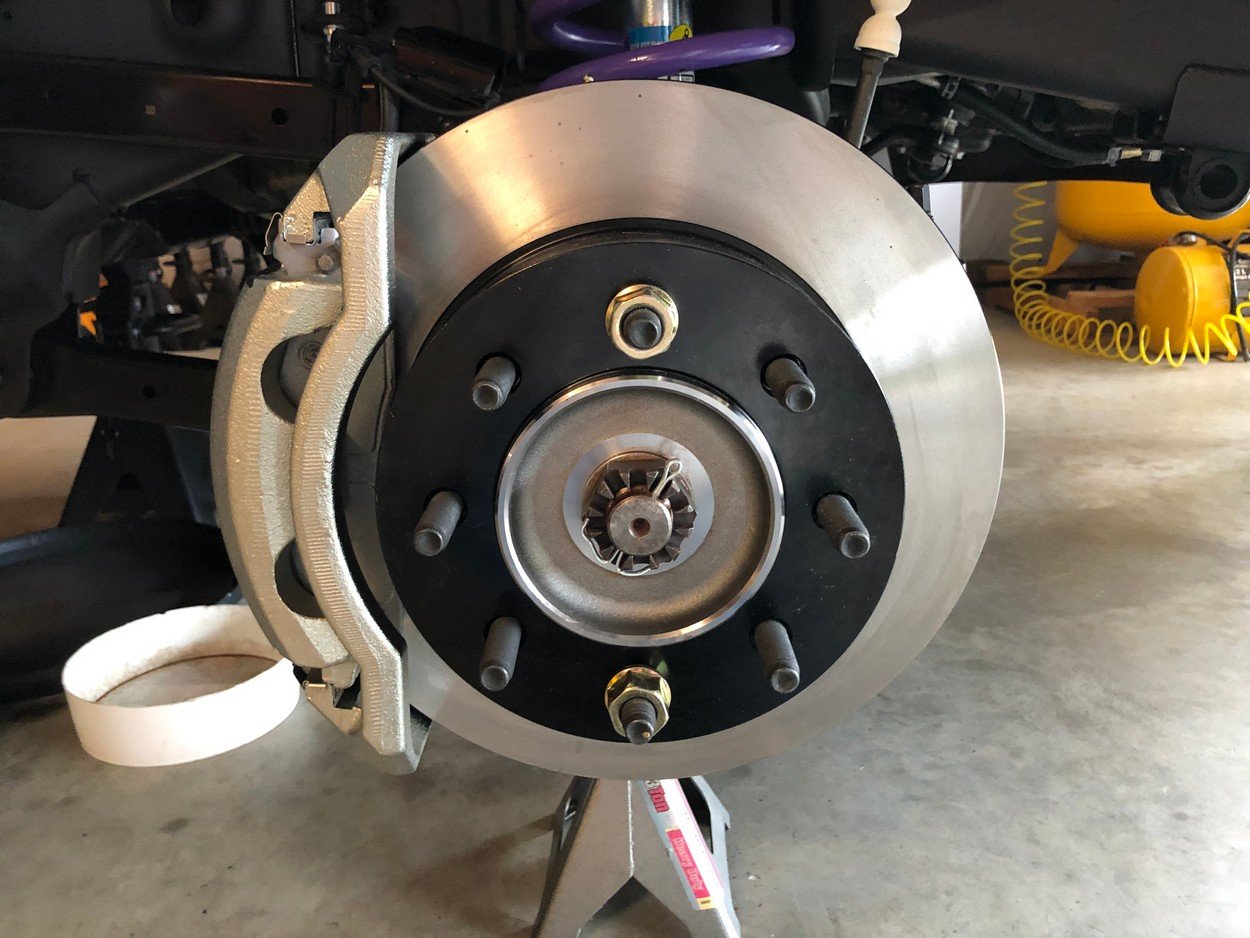
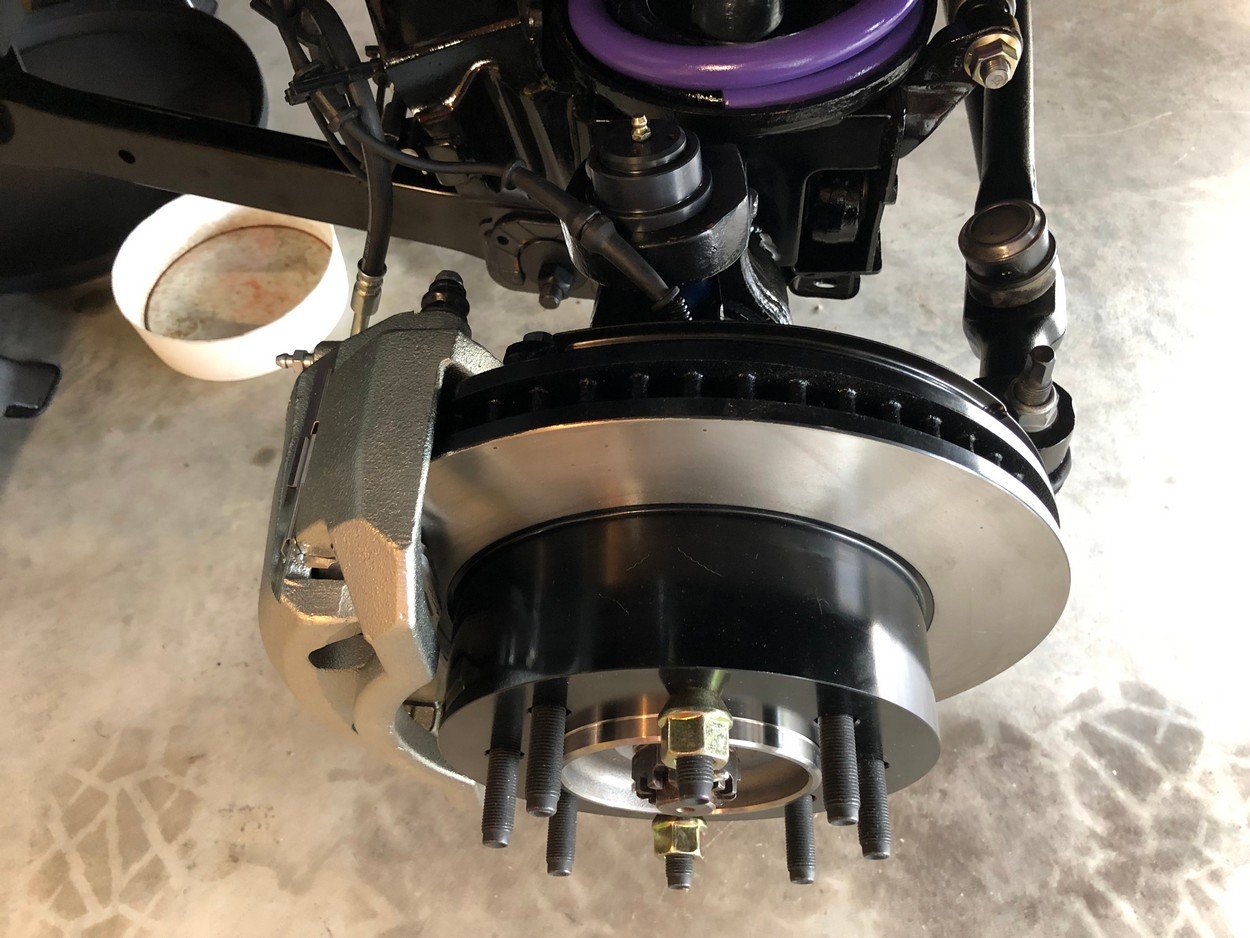
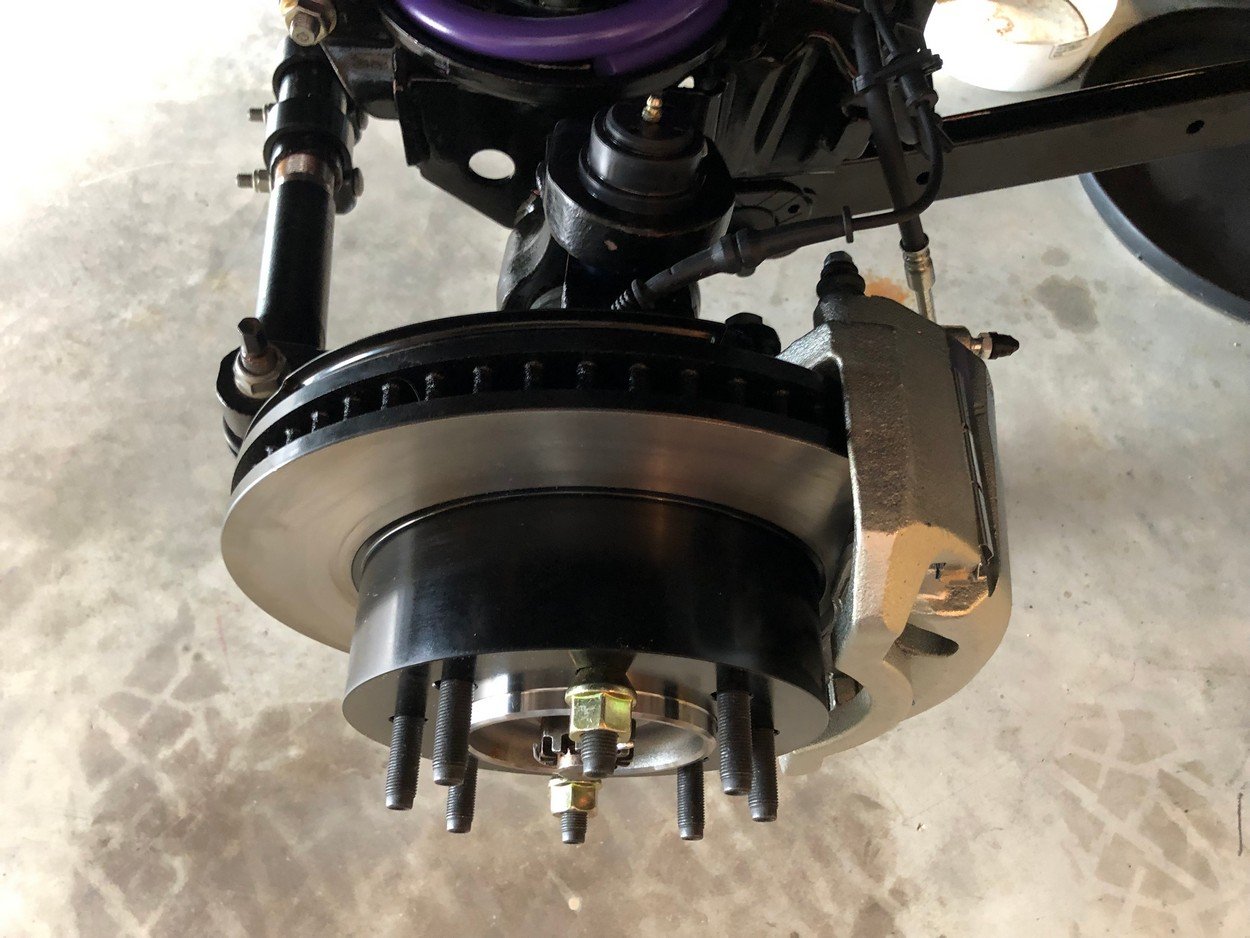
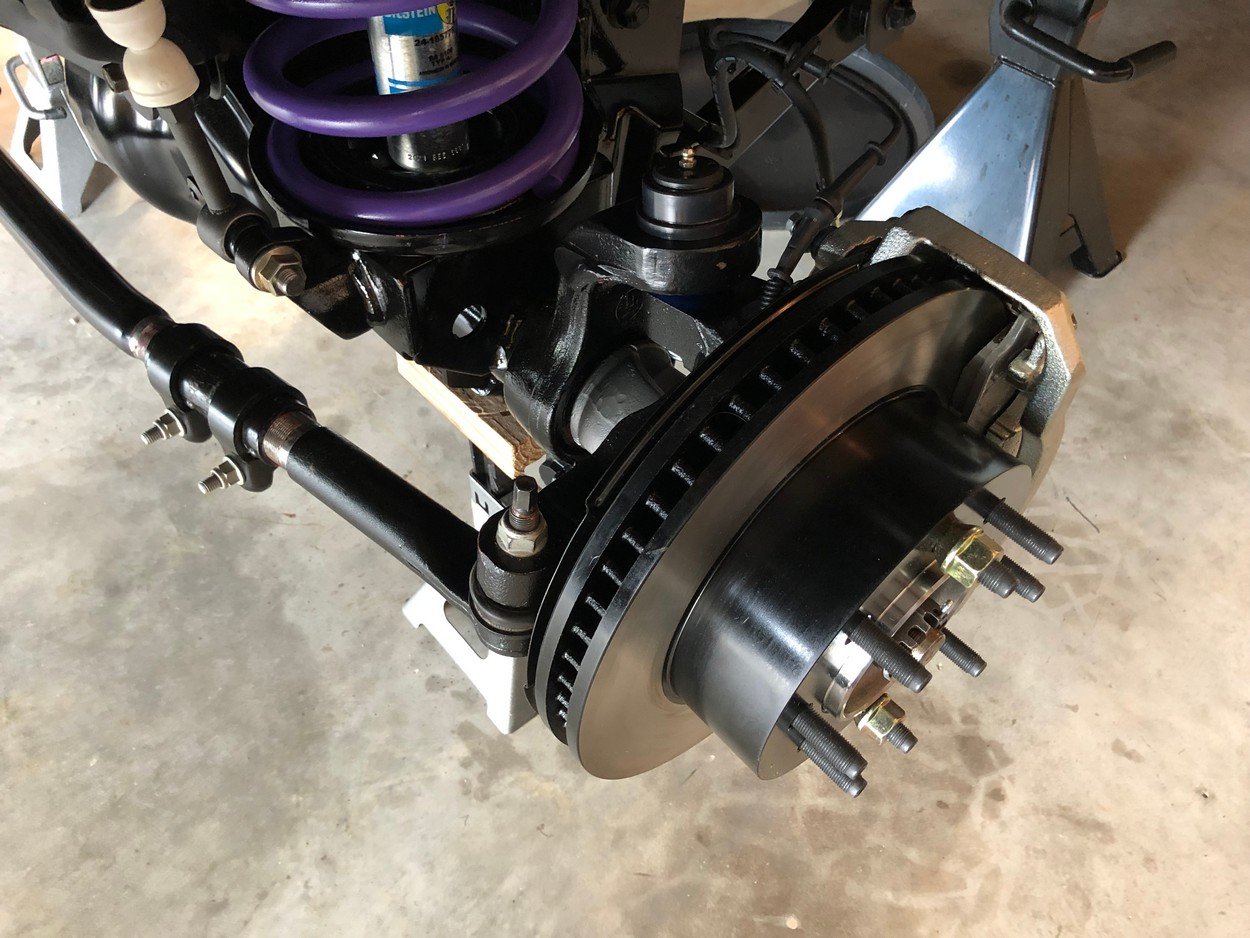
Install new Mopar 'T' style linkage
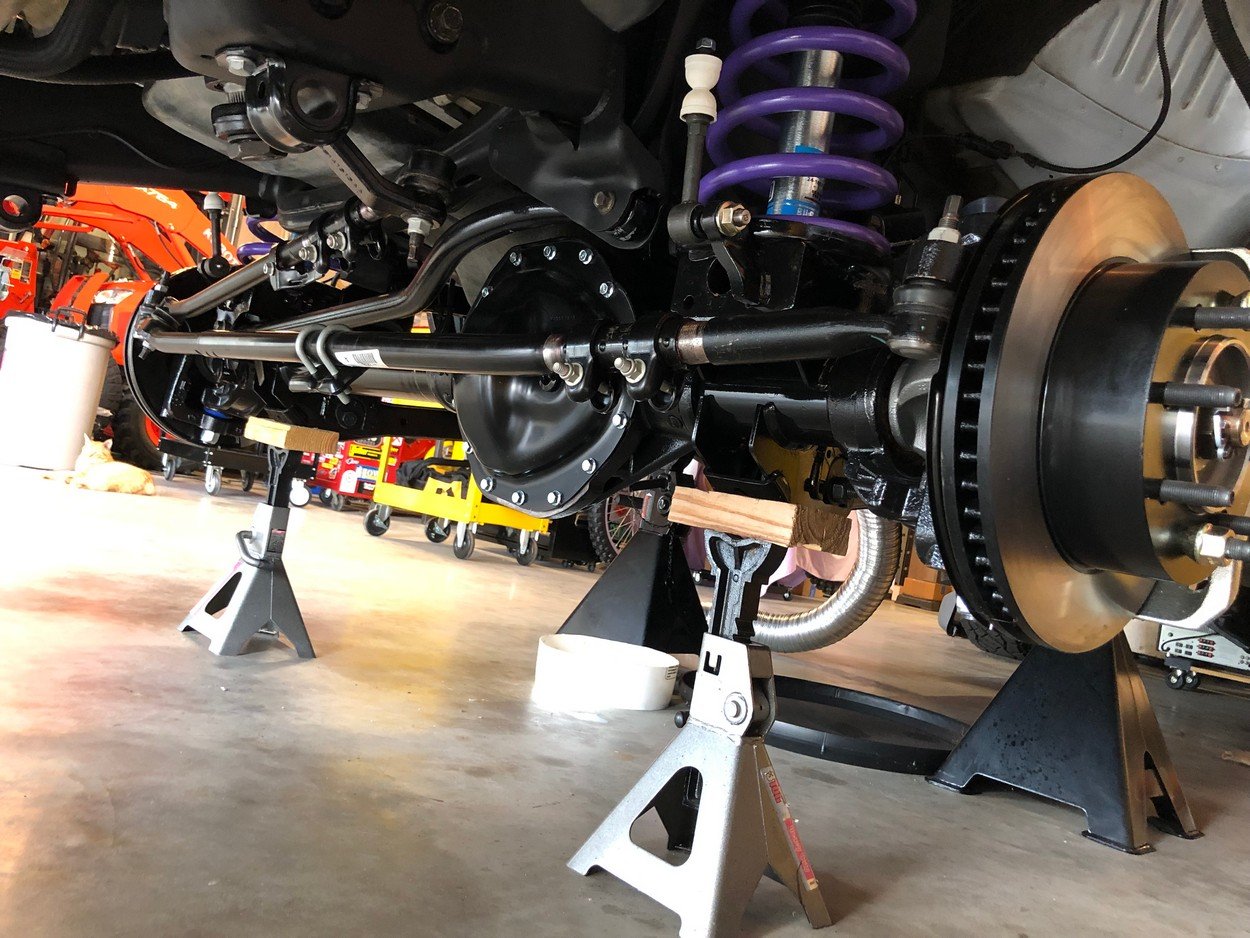
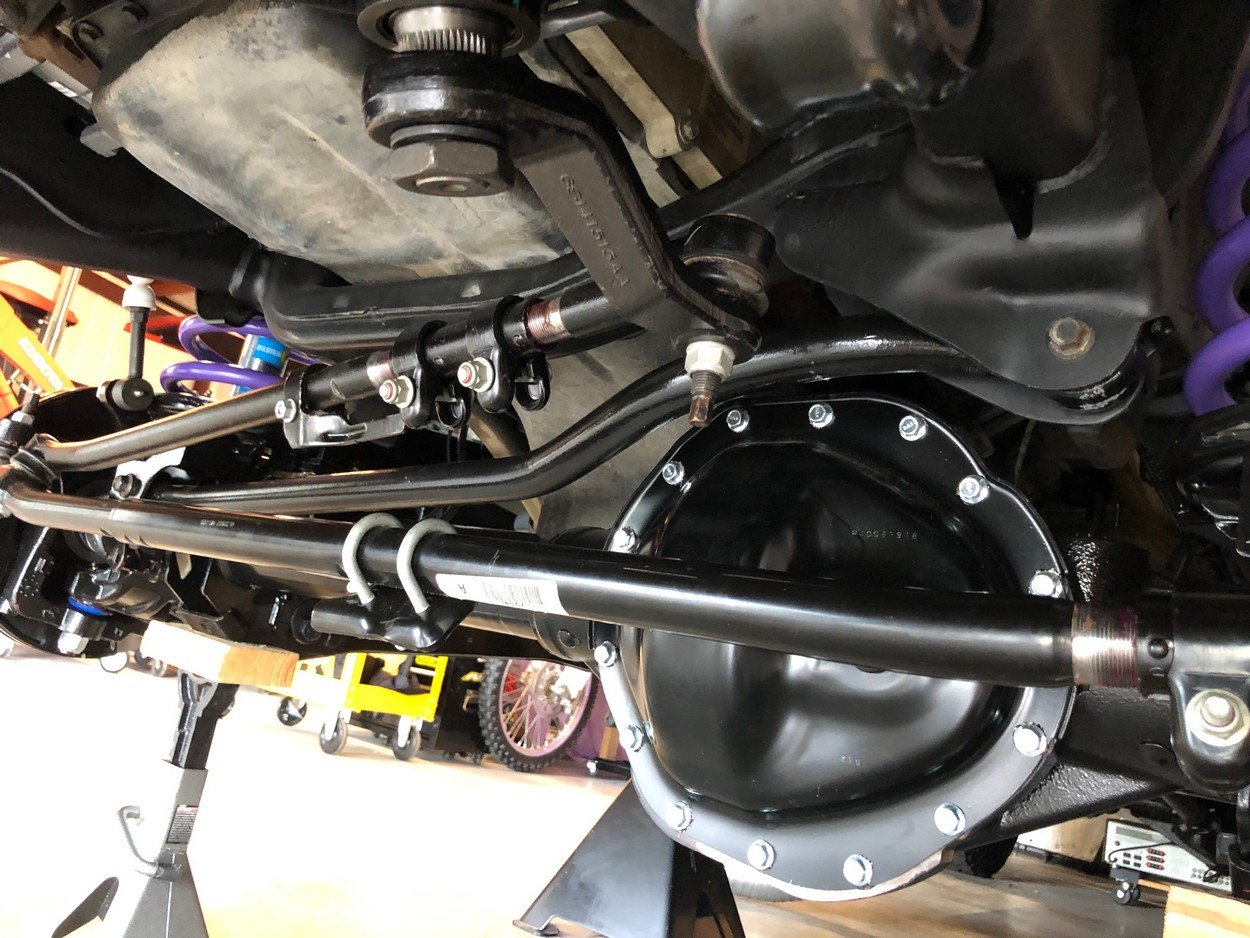
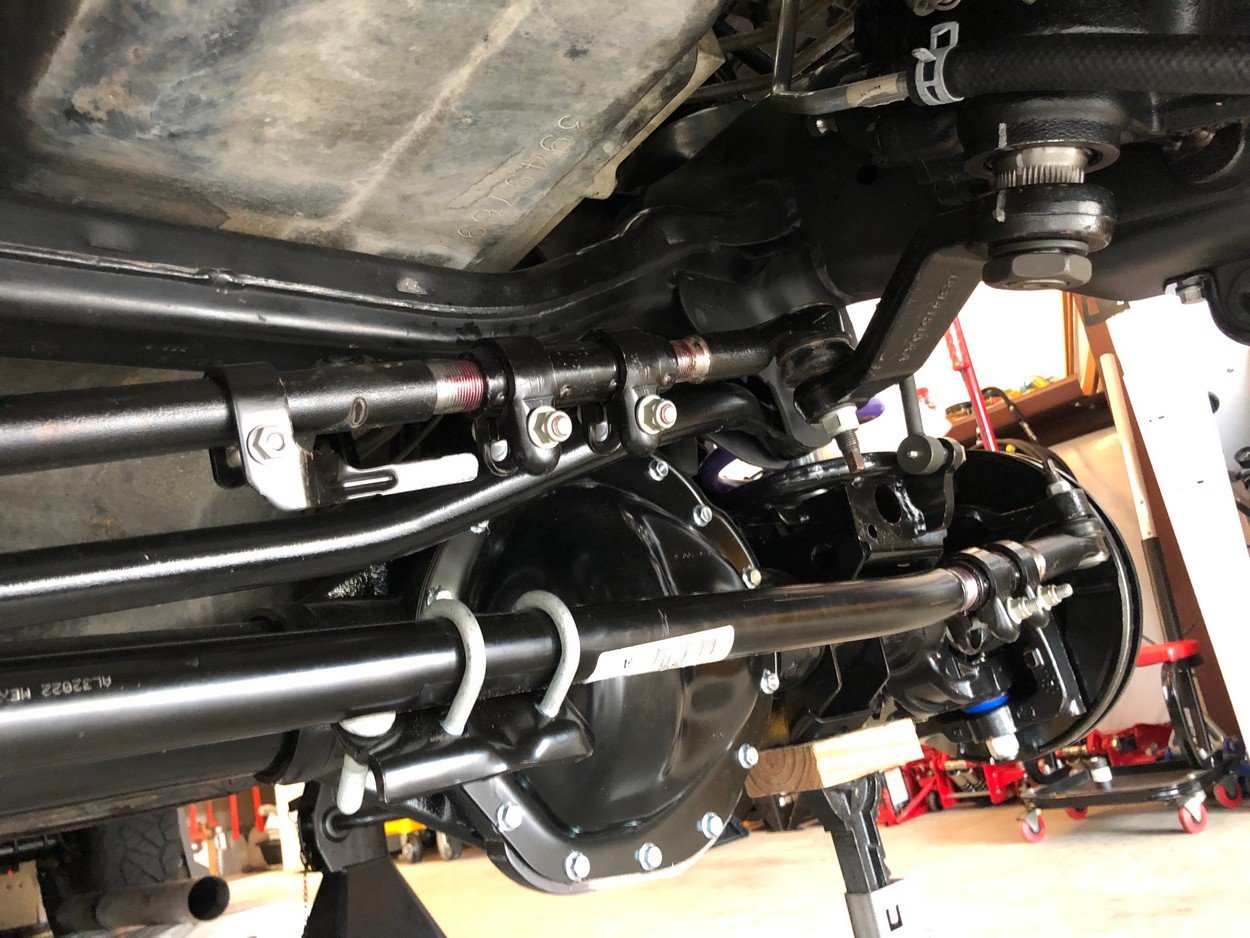
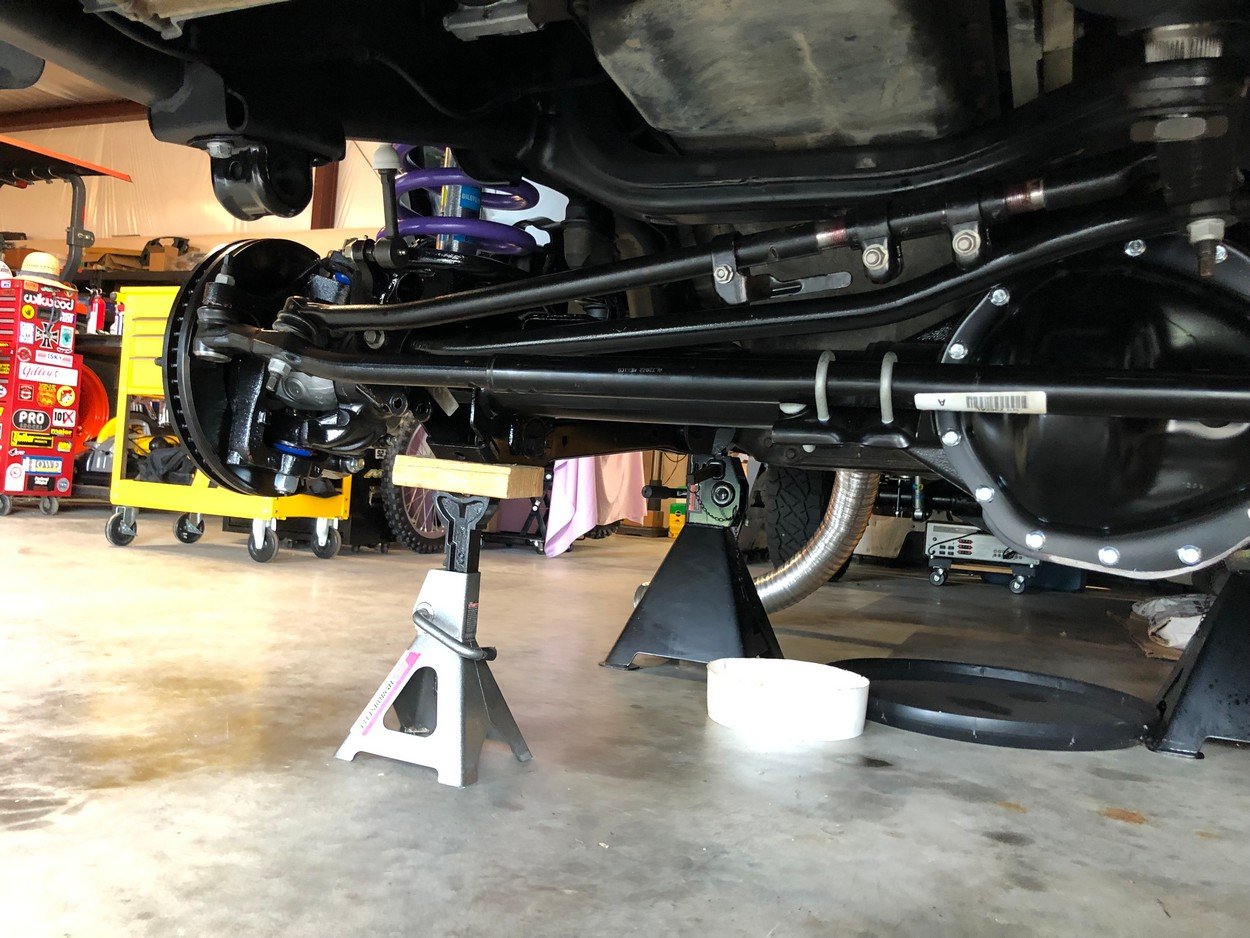
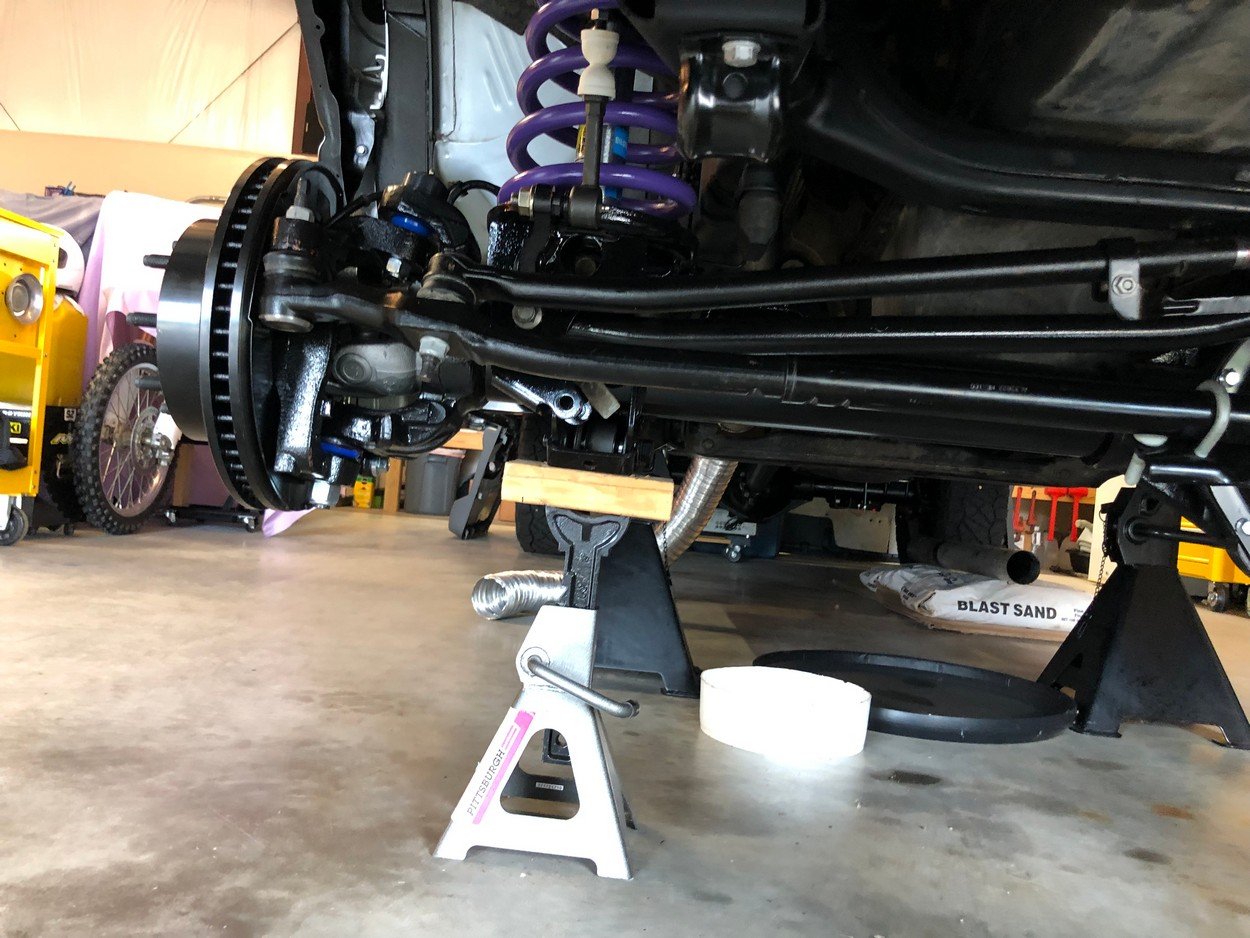
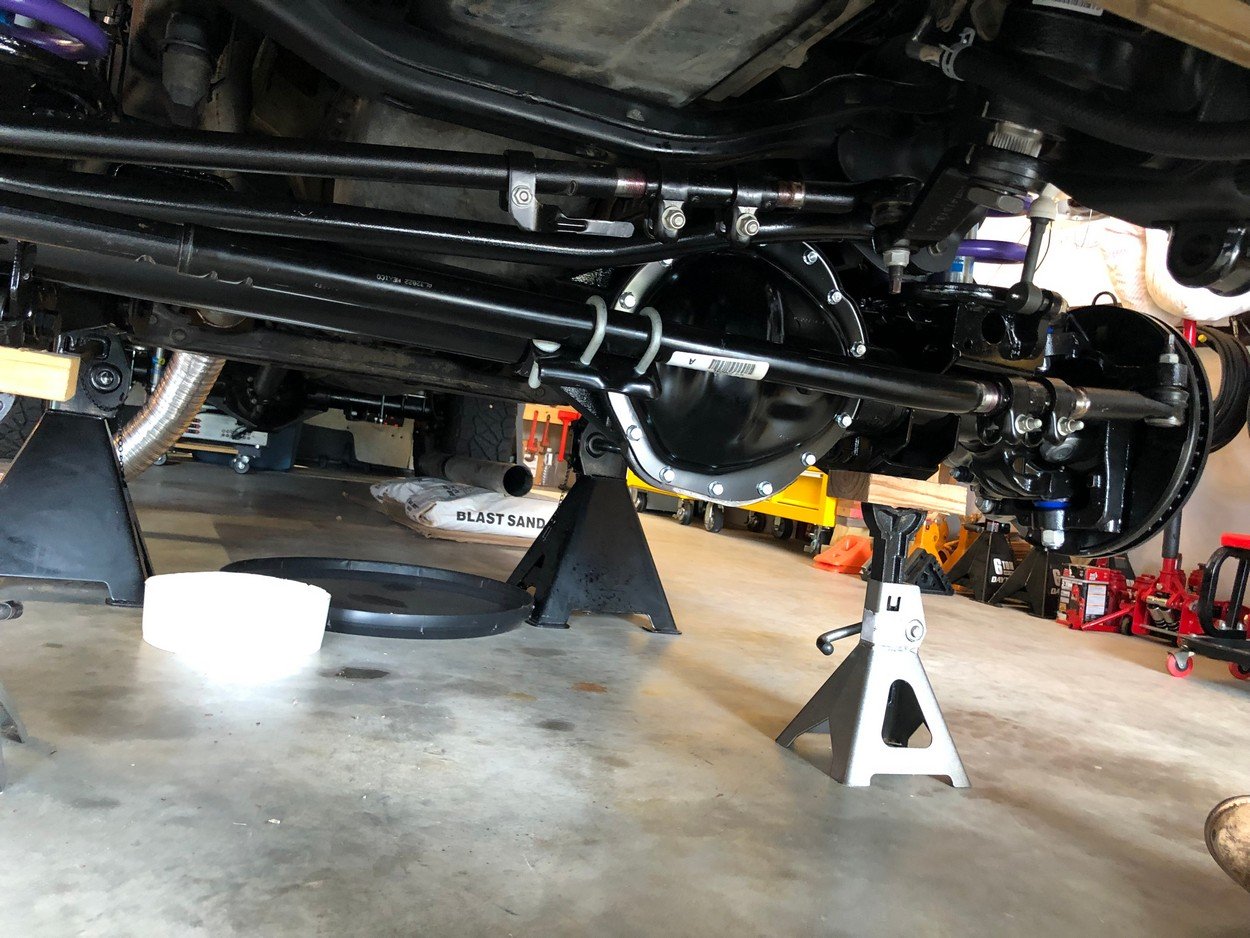
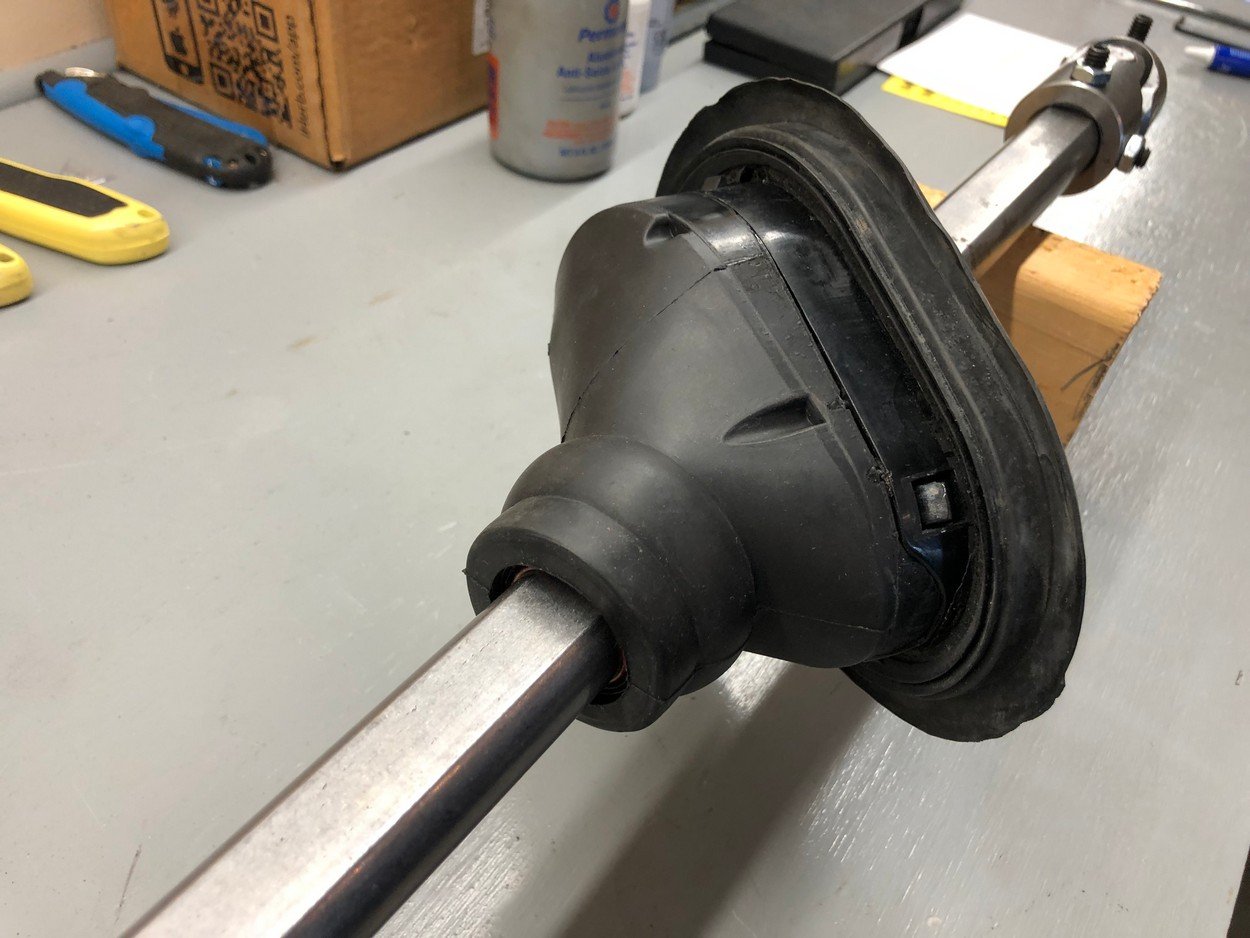
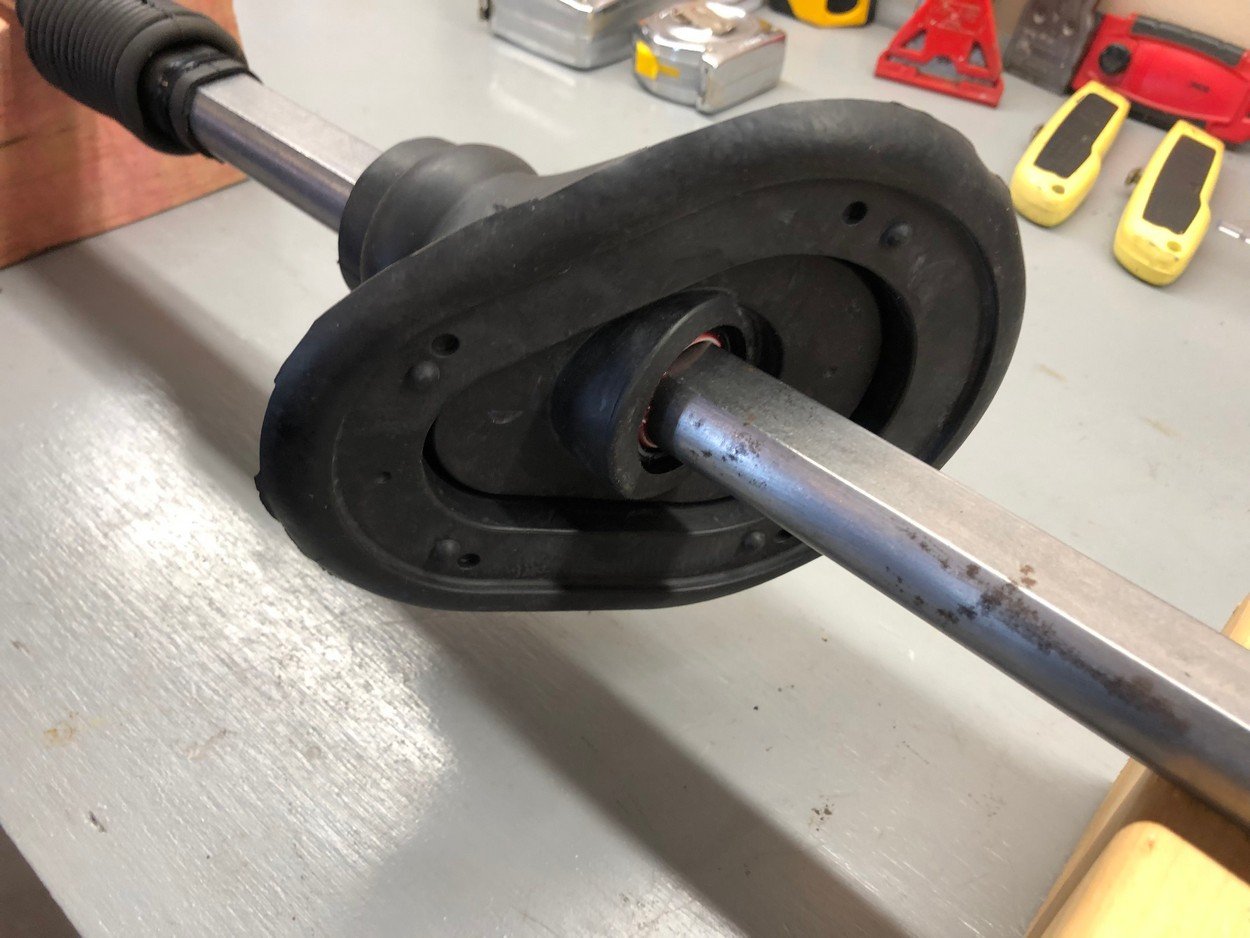
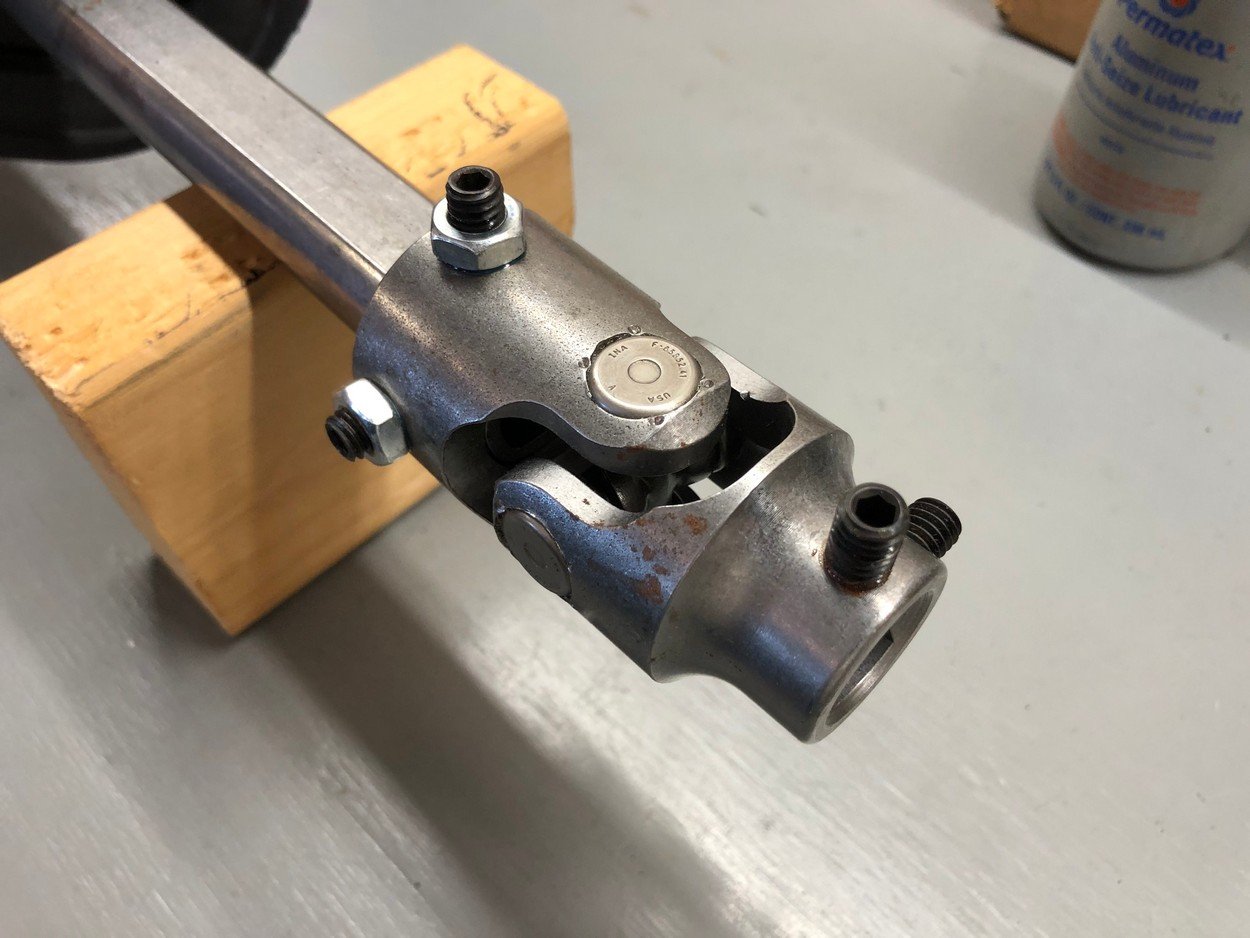
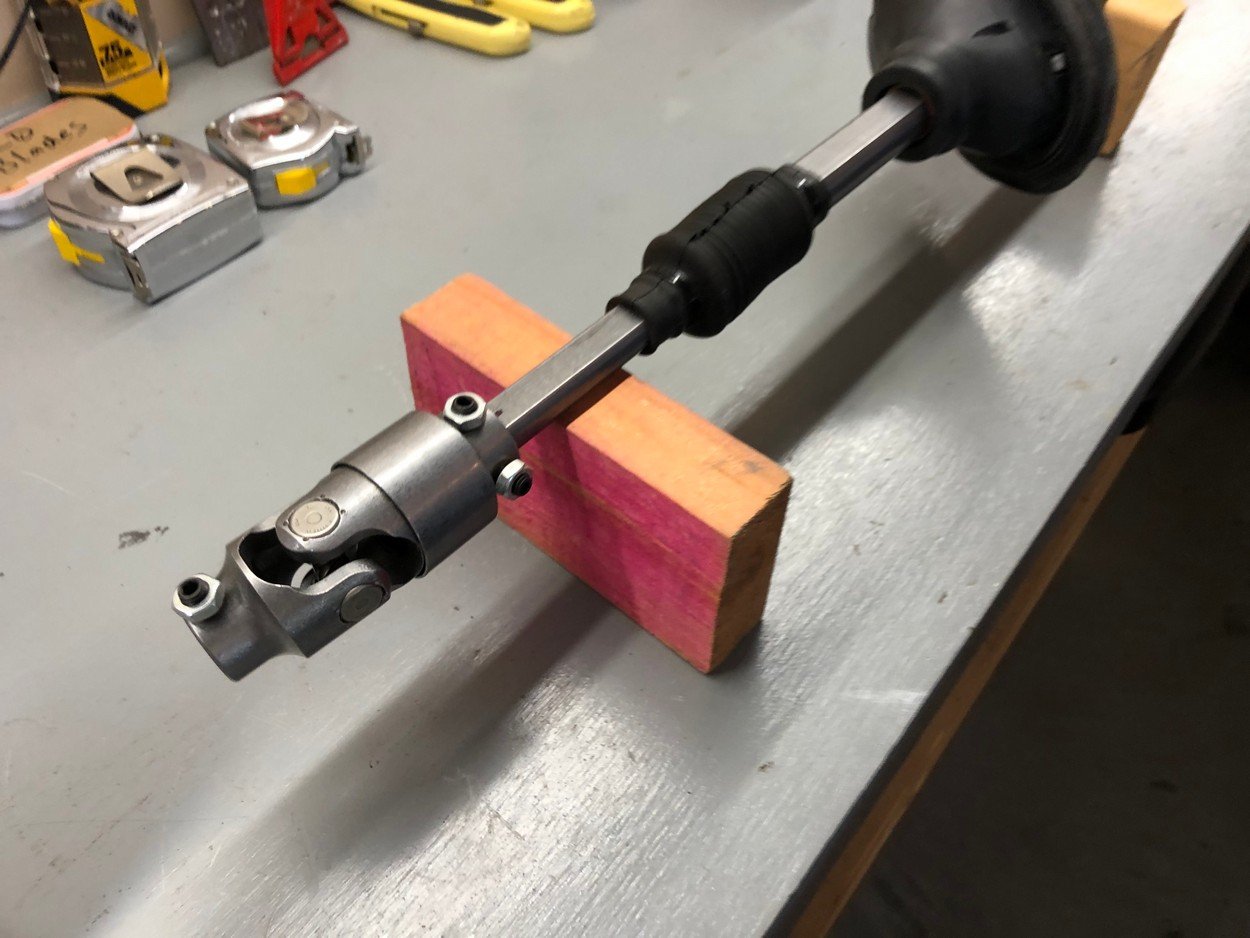
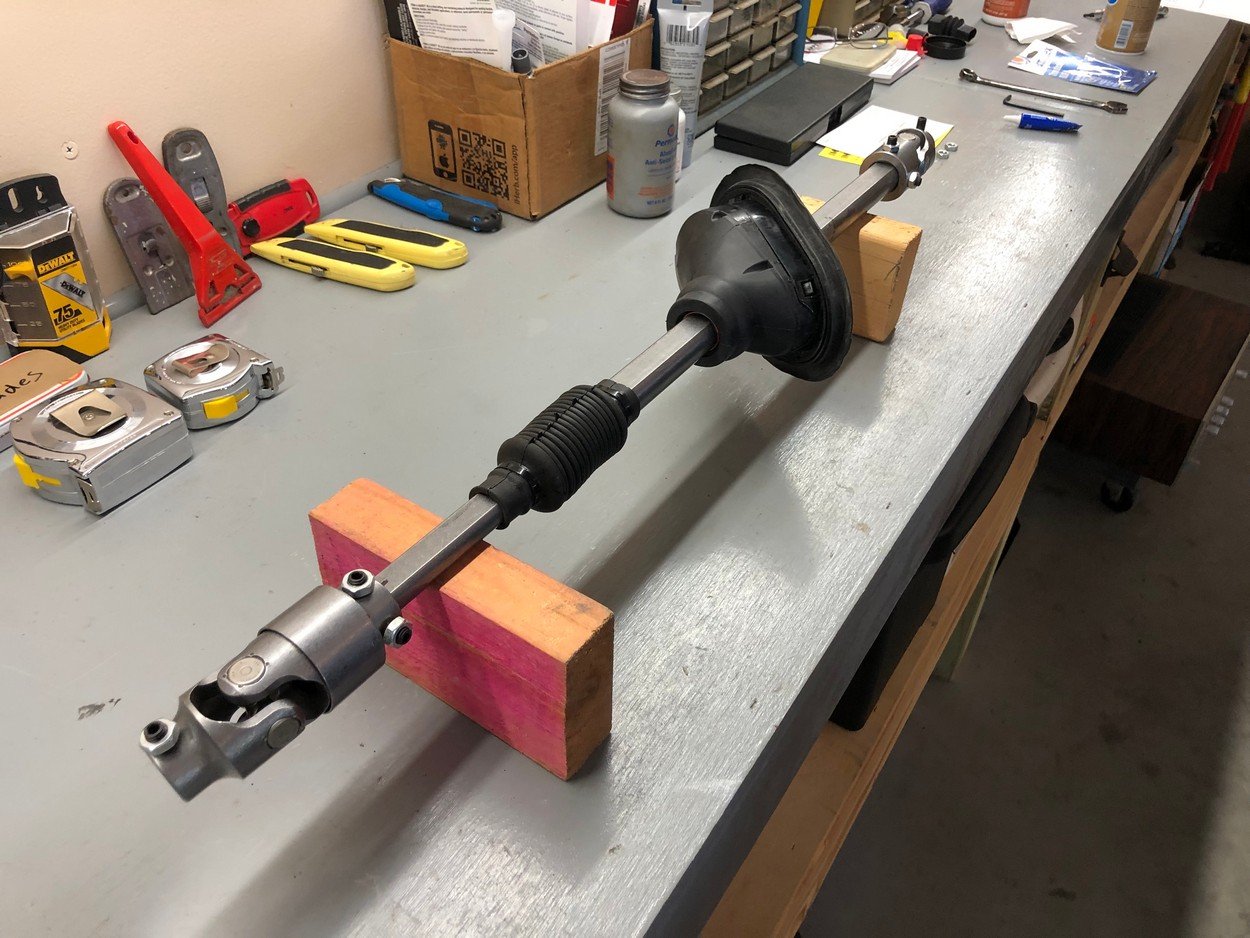
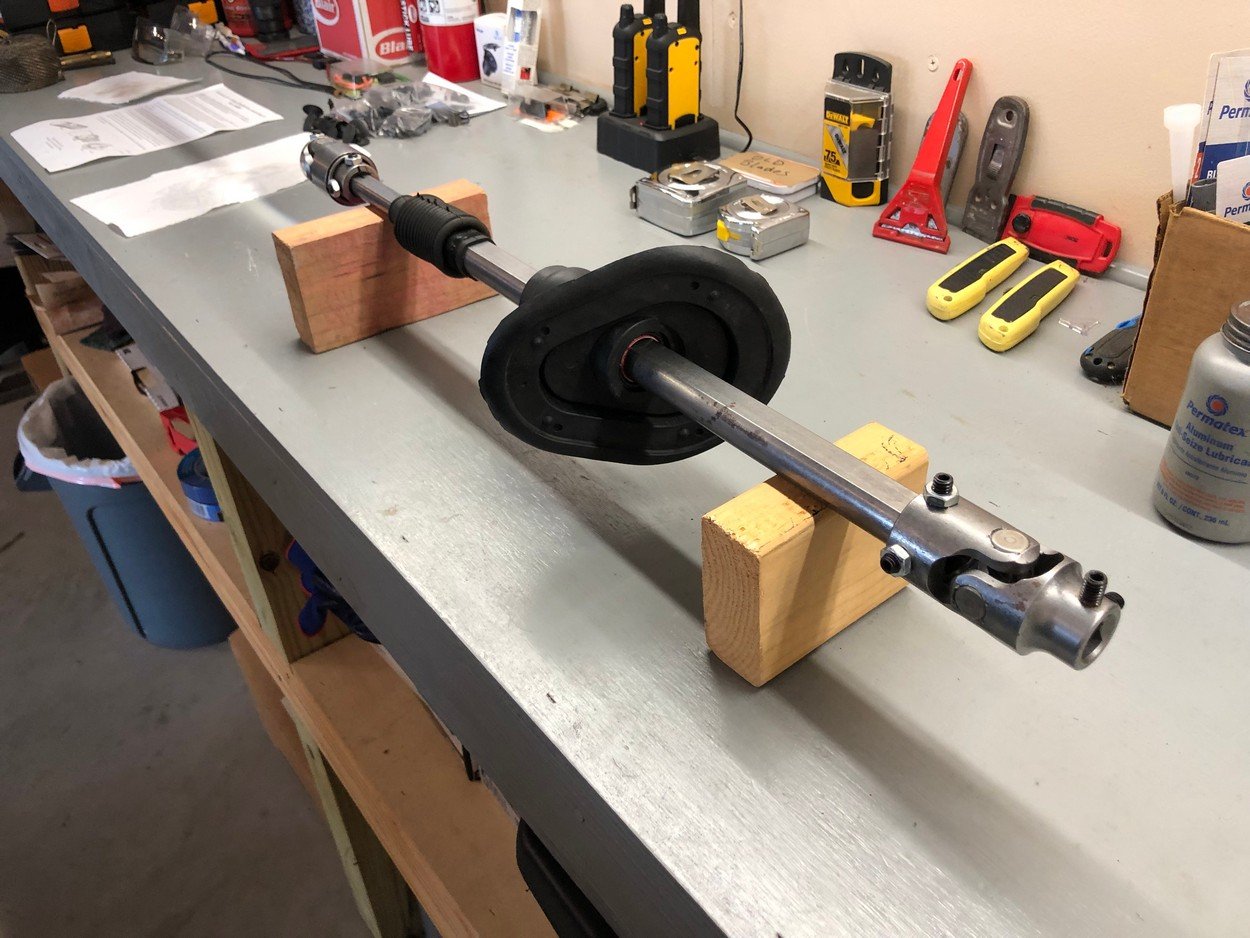
New Borgeson steering shaft
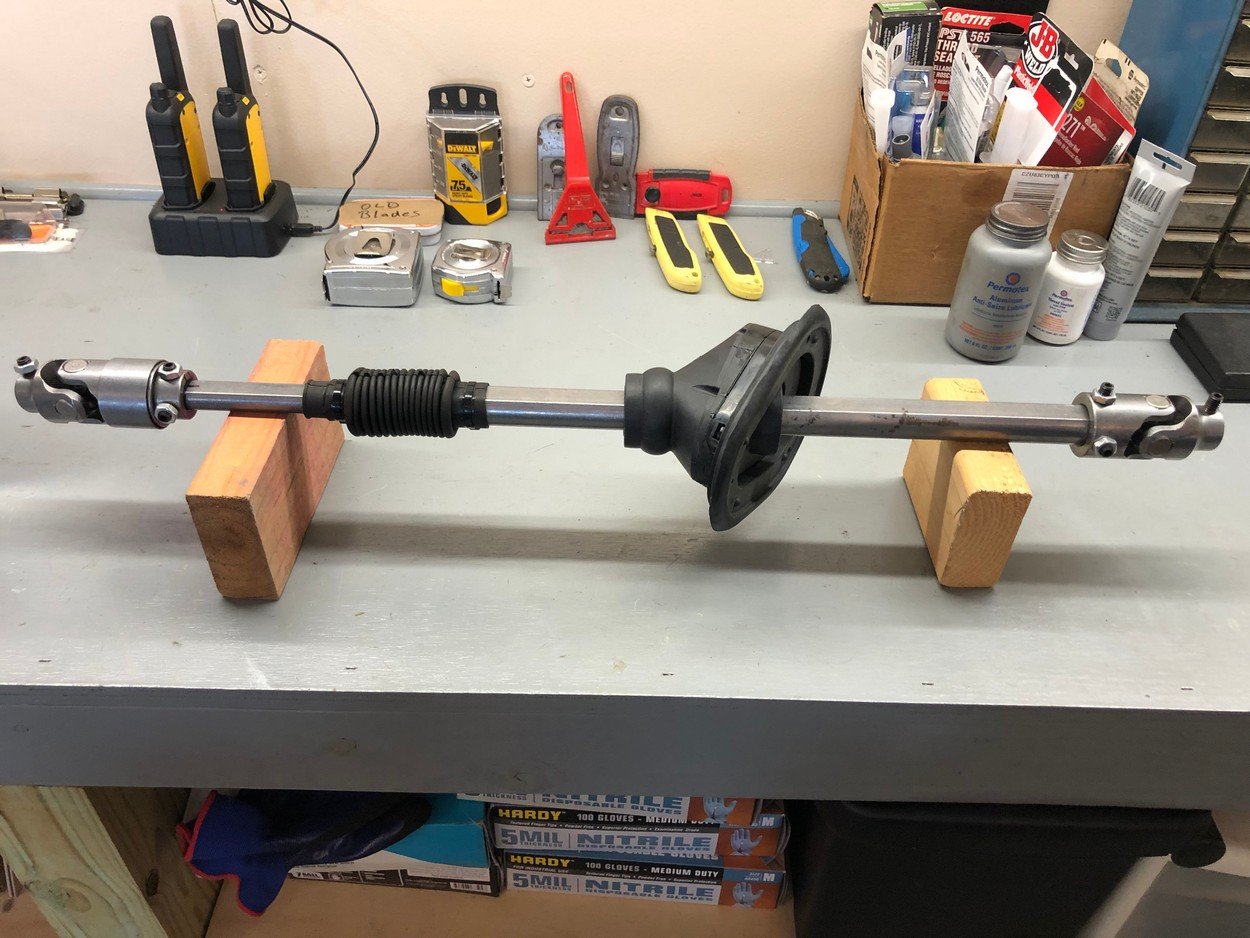
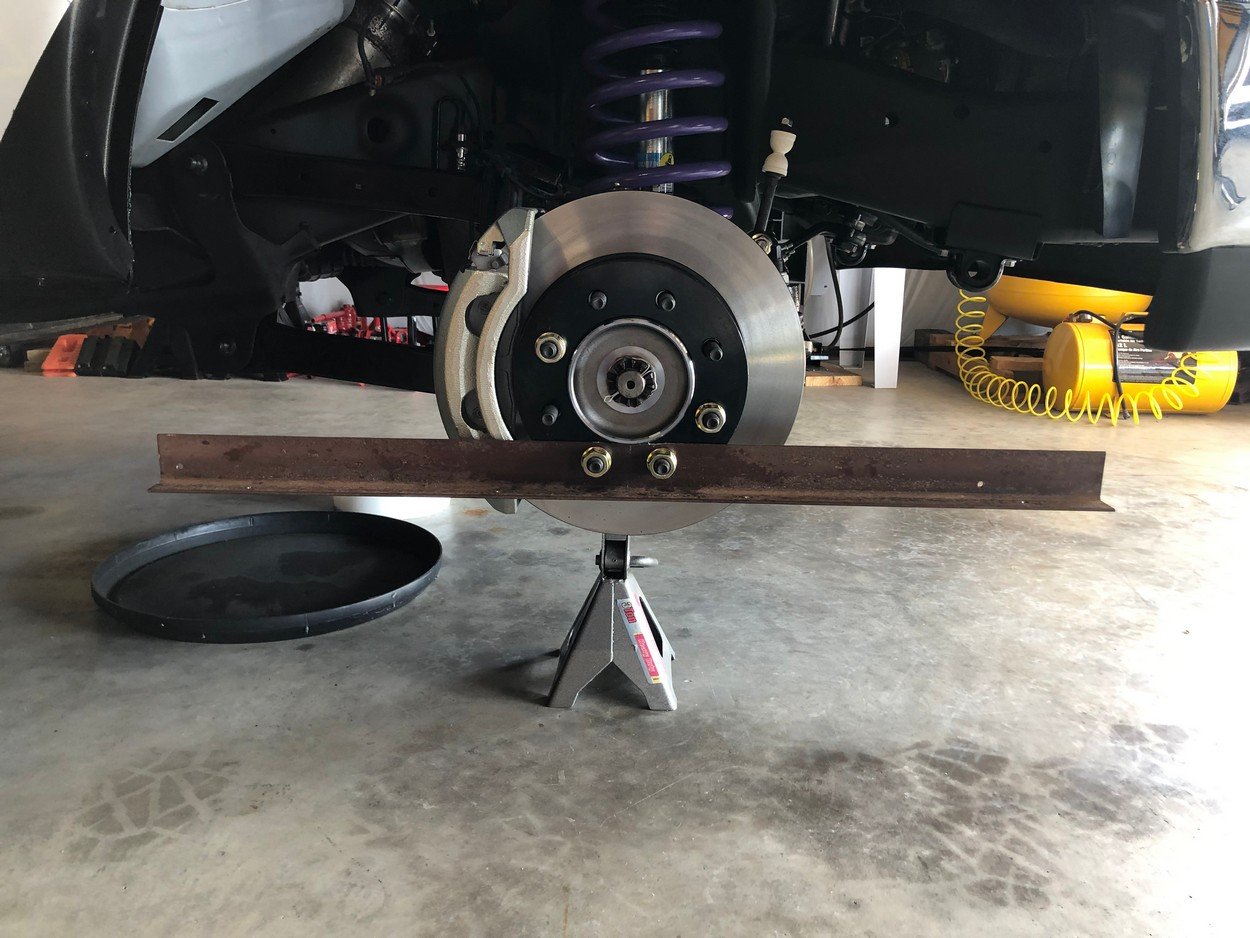
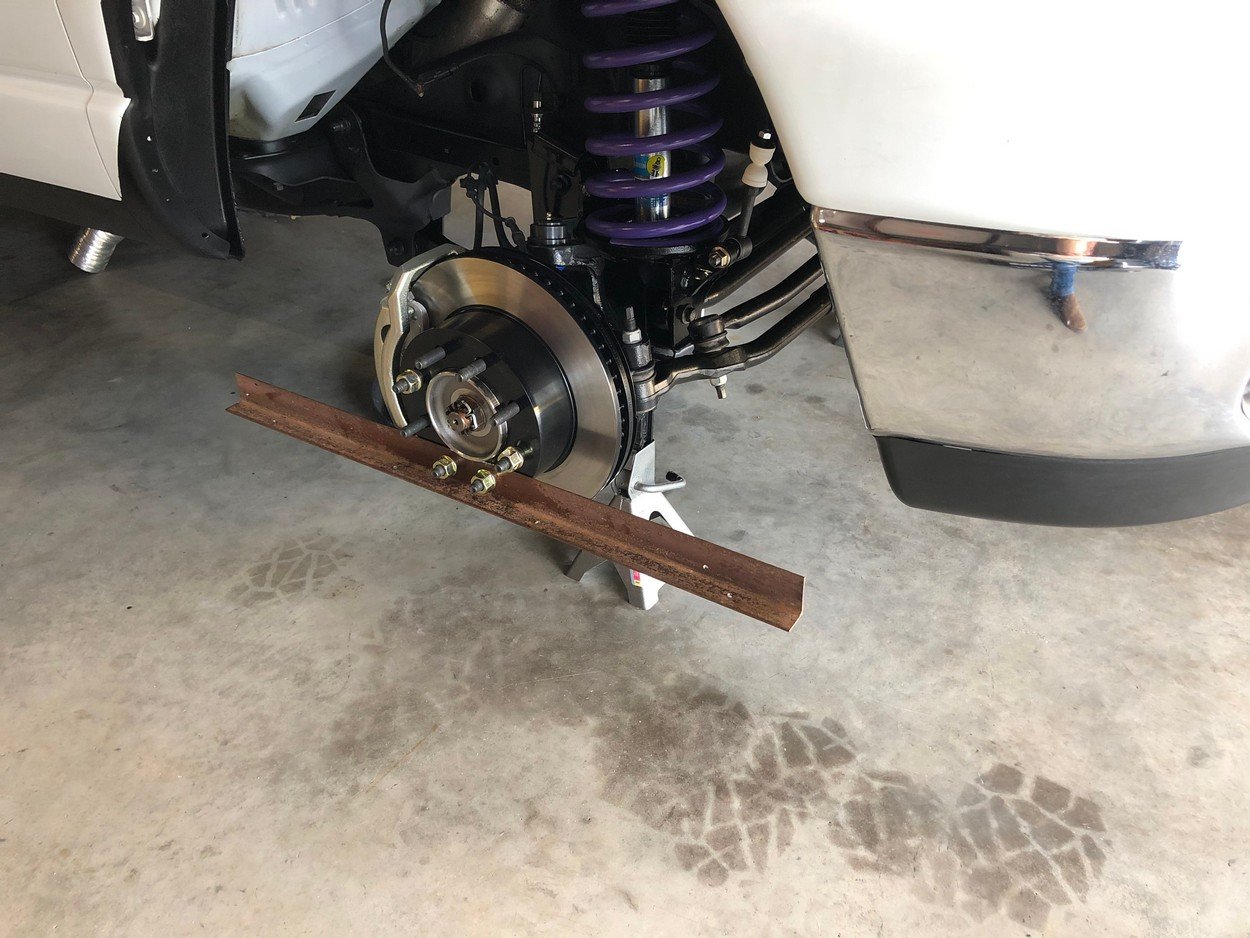
Set front toe as close to zero as I can get - will dial in exact toe amount on Hunter Laser fixture
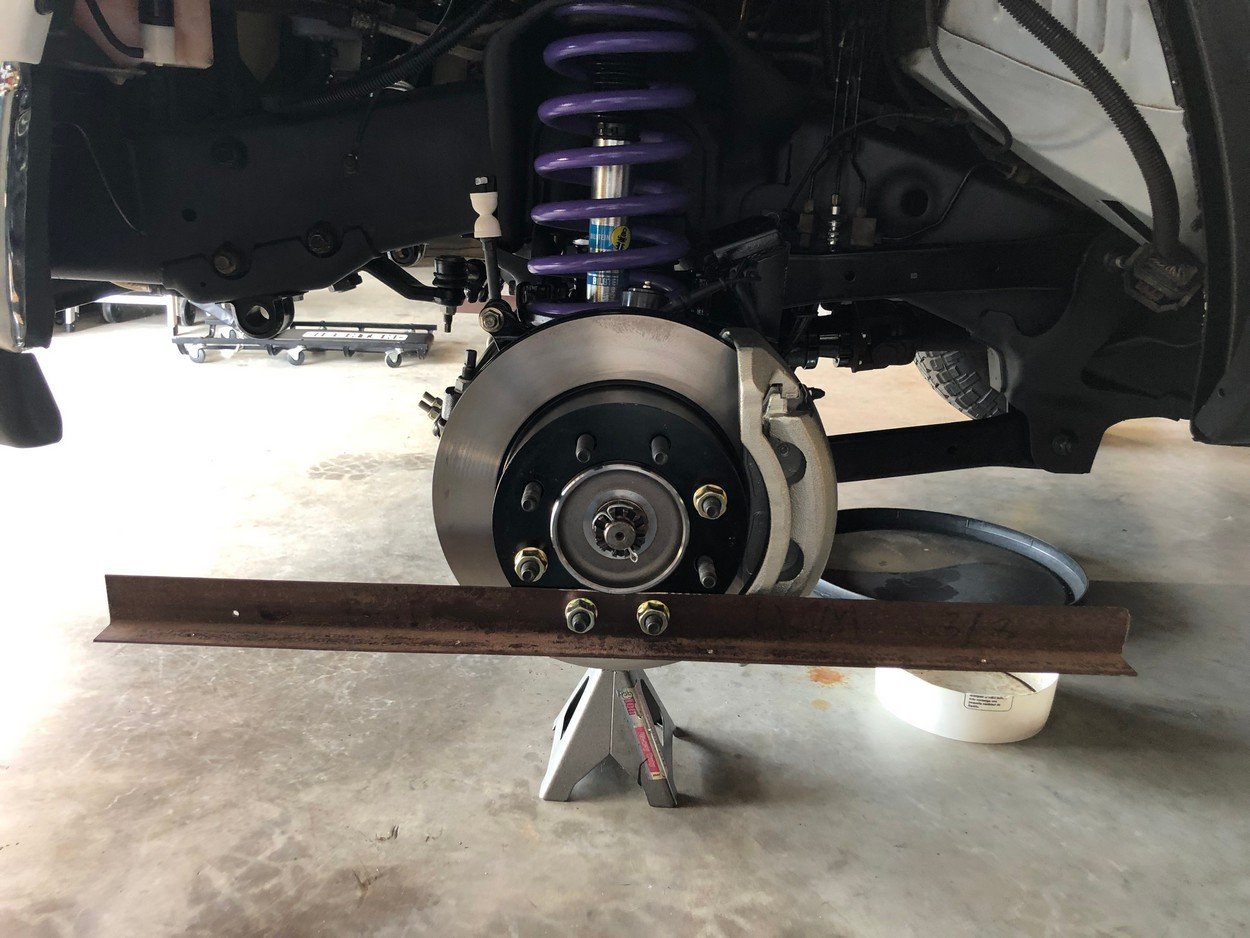
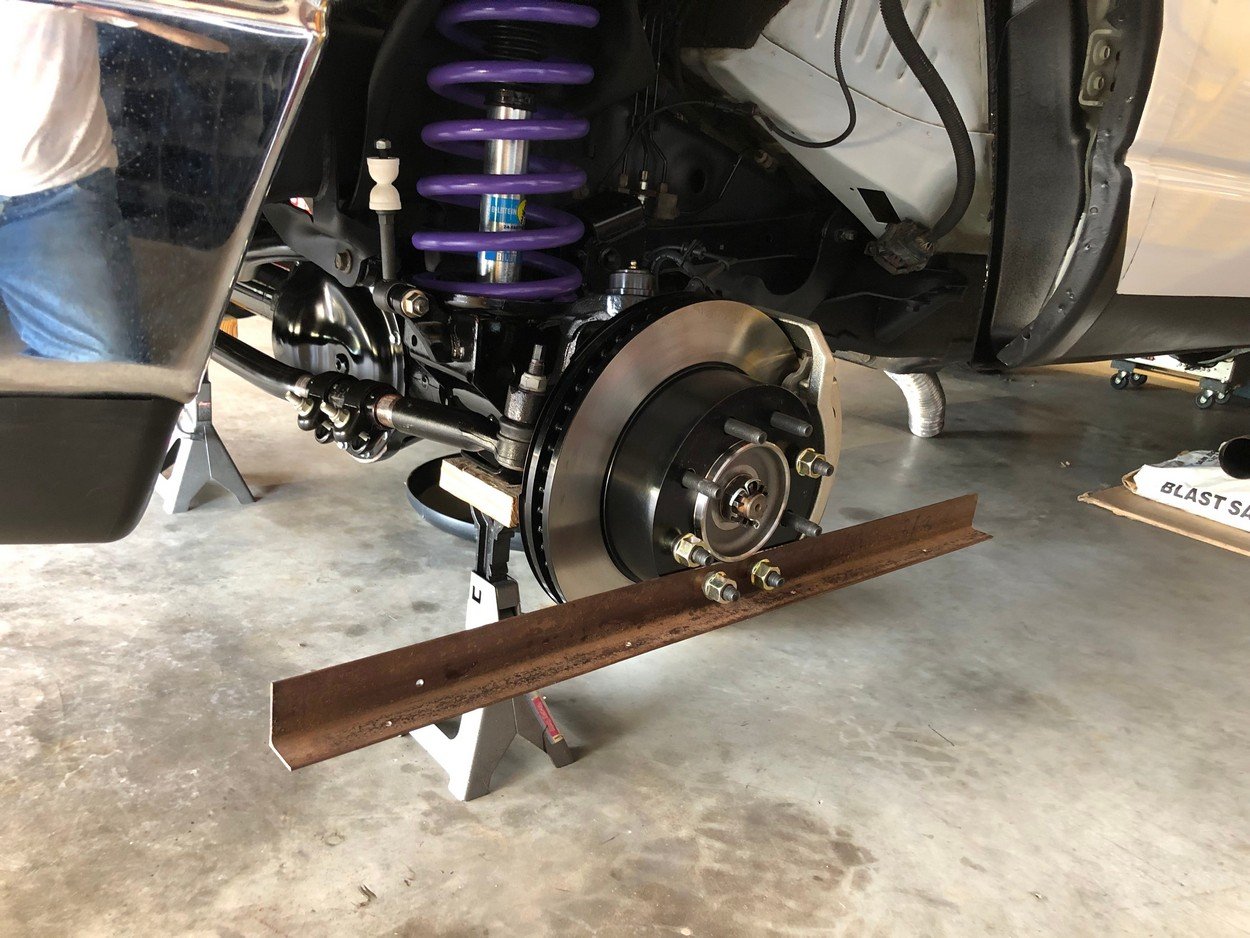
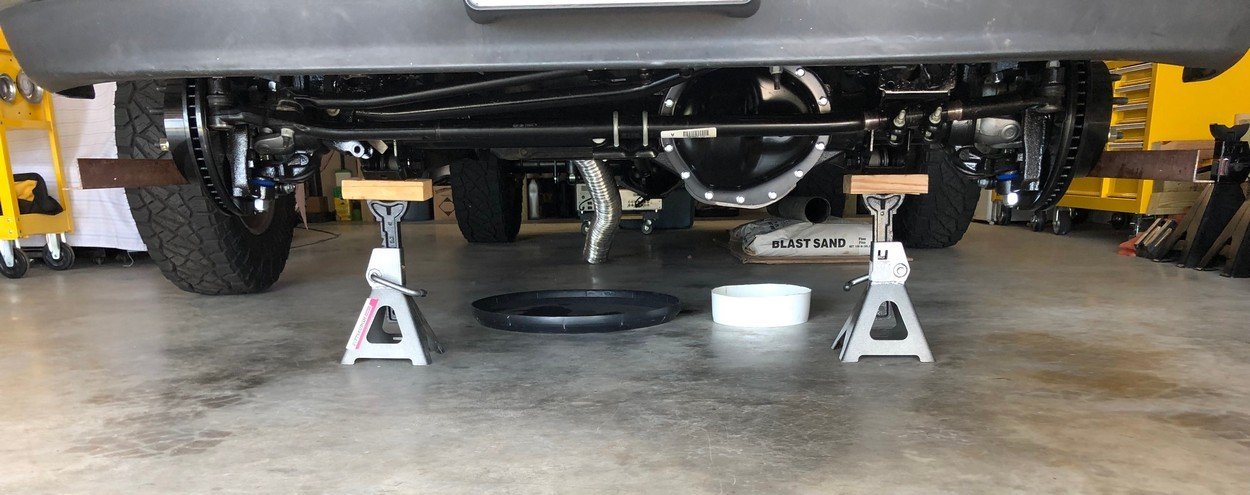
Install anti-sway bar
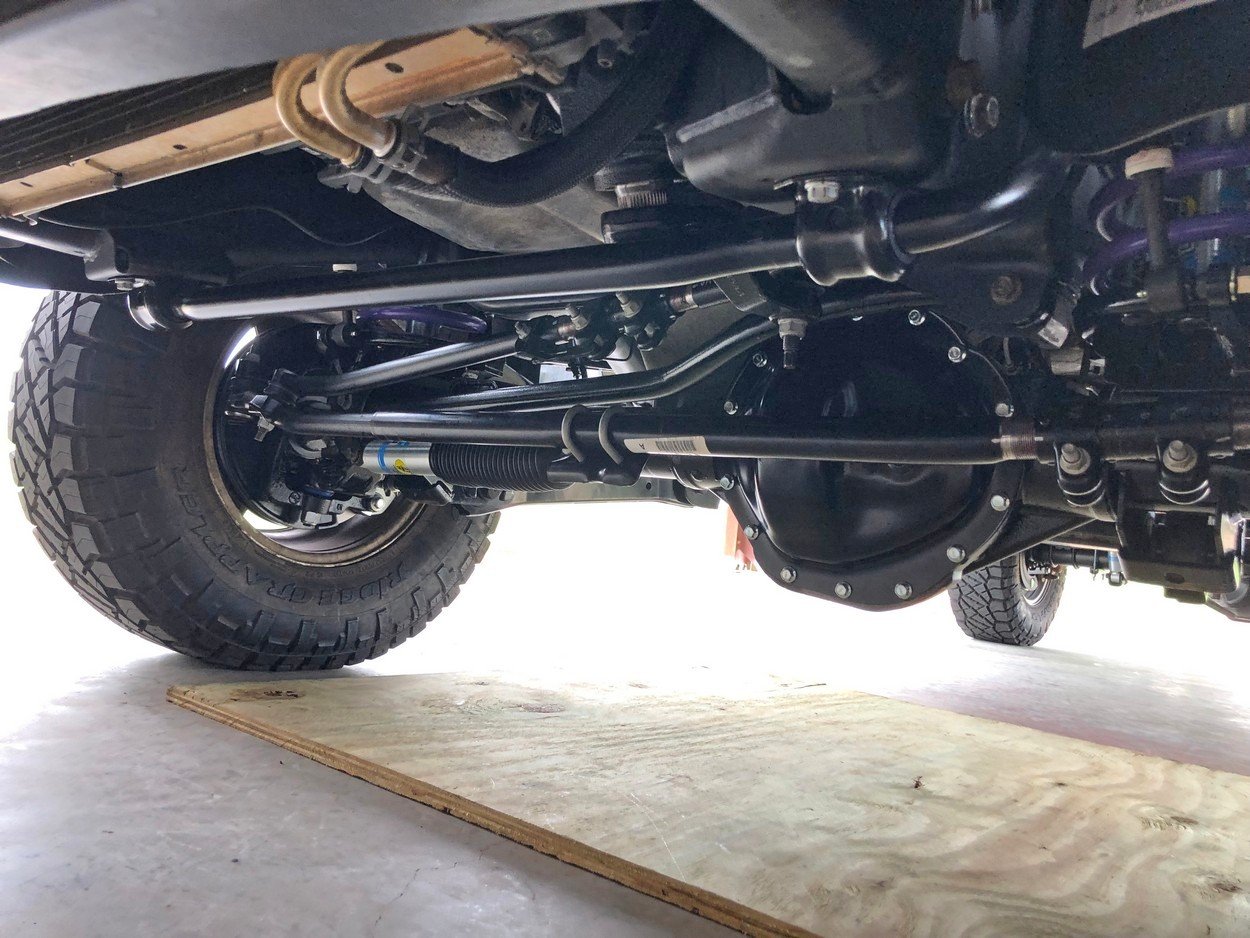
Put in new fender liners
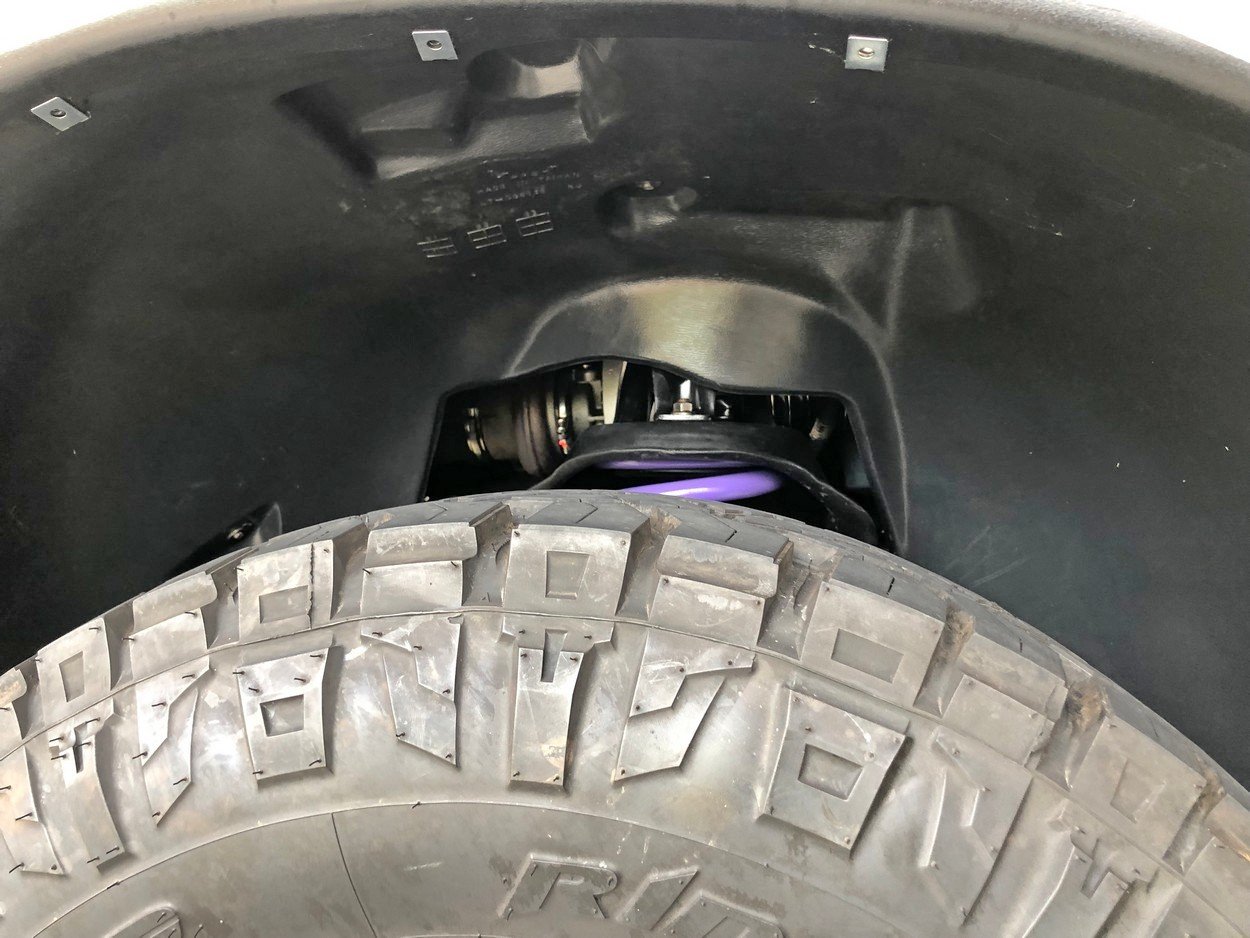
Finally the fender flares
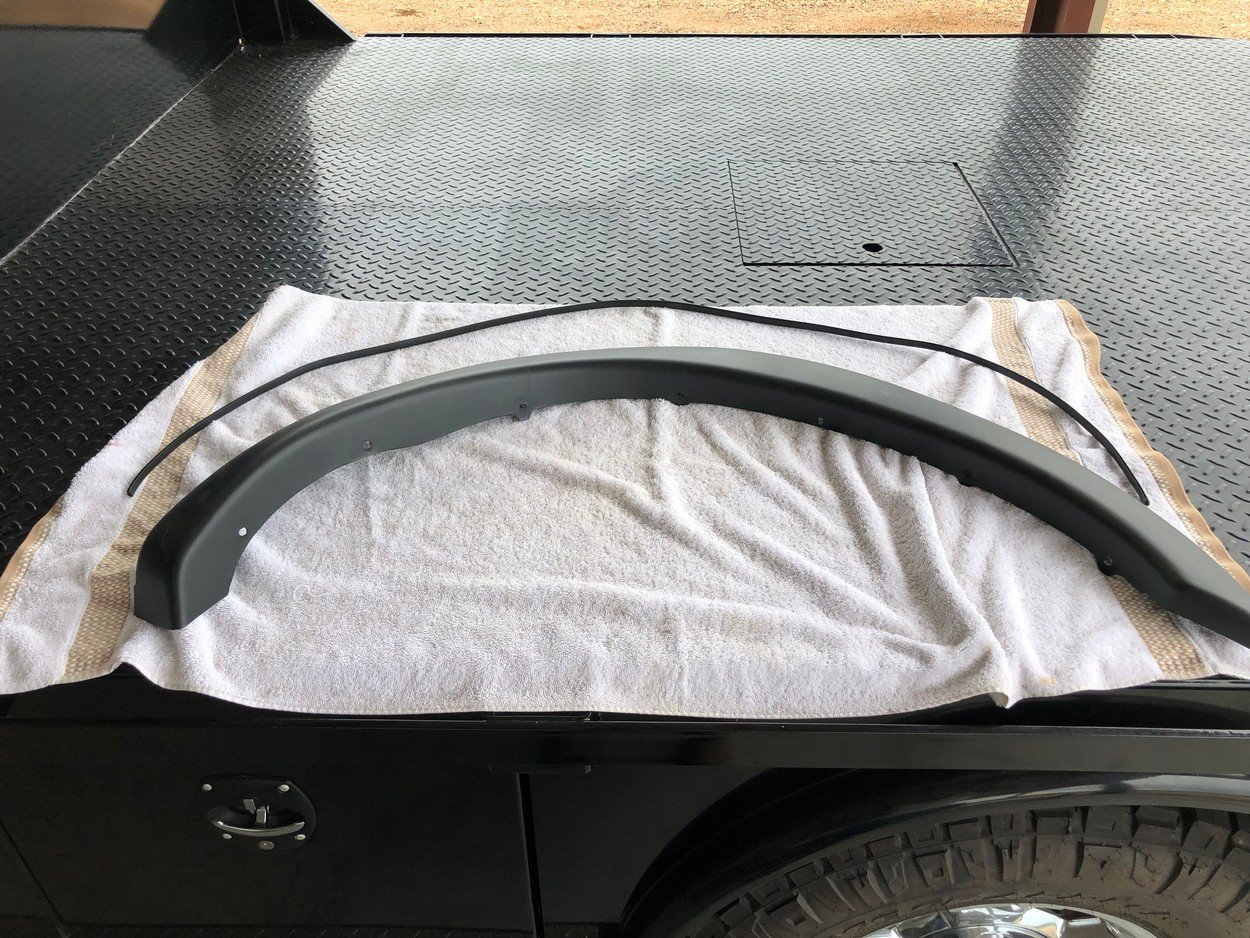
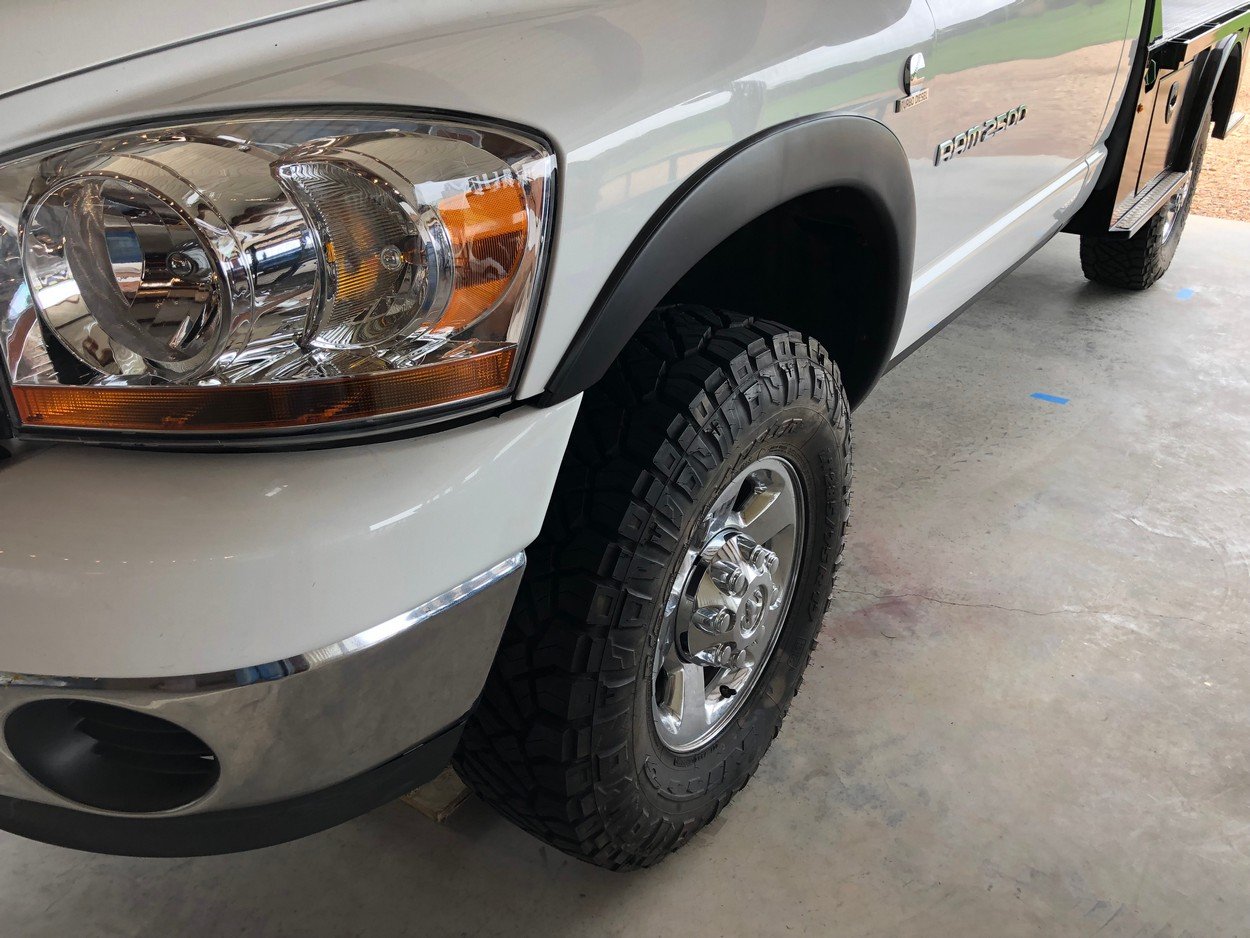
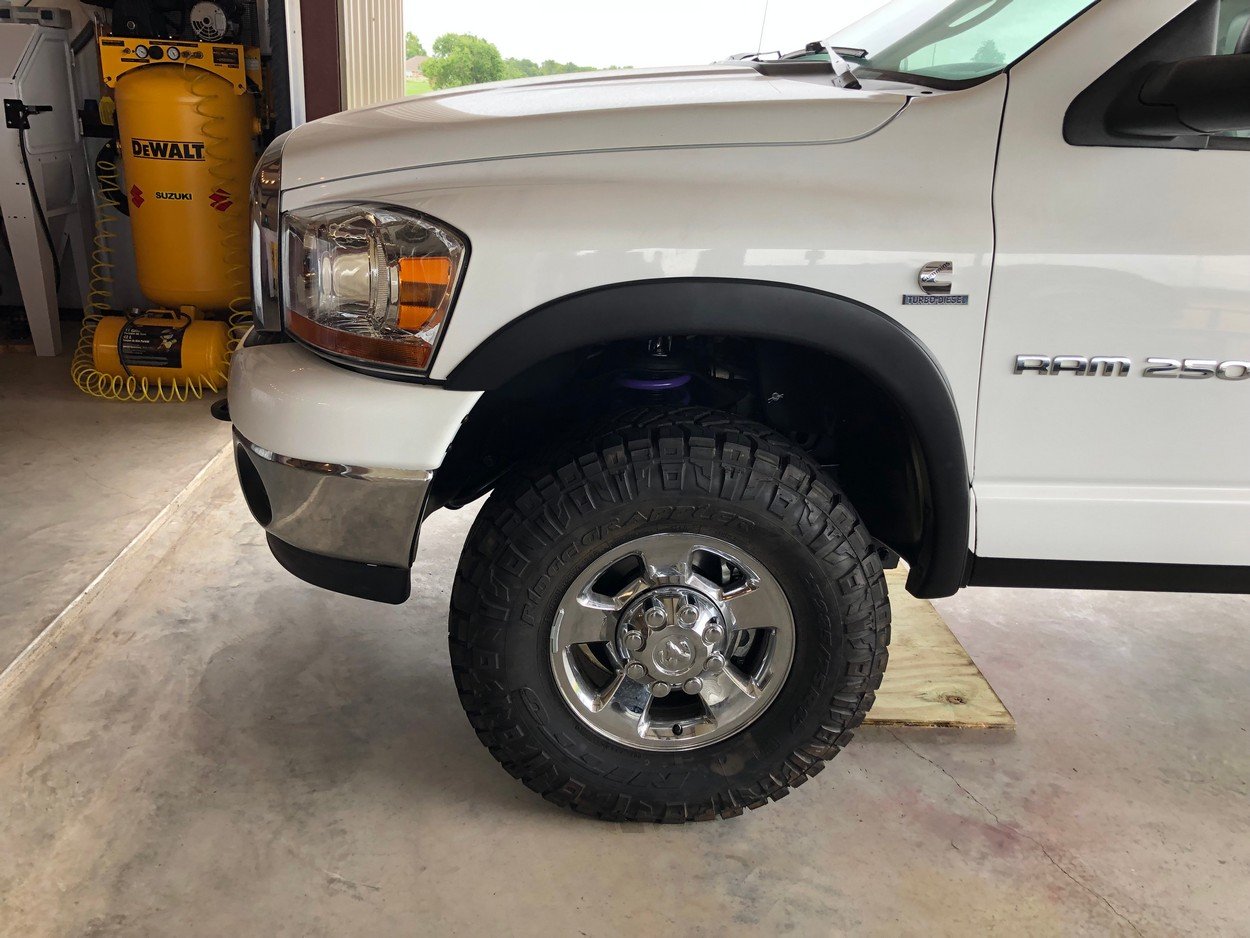
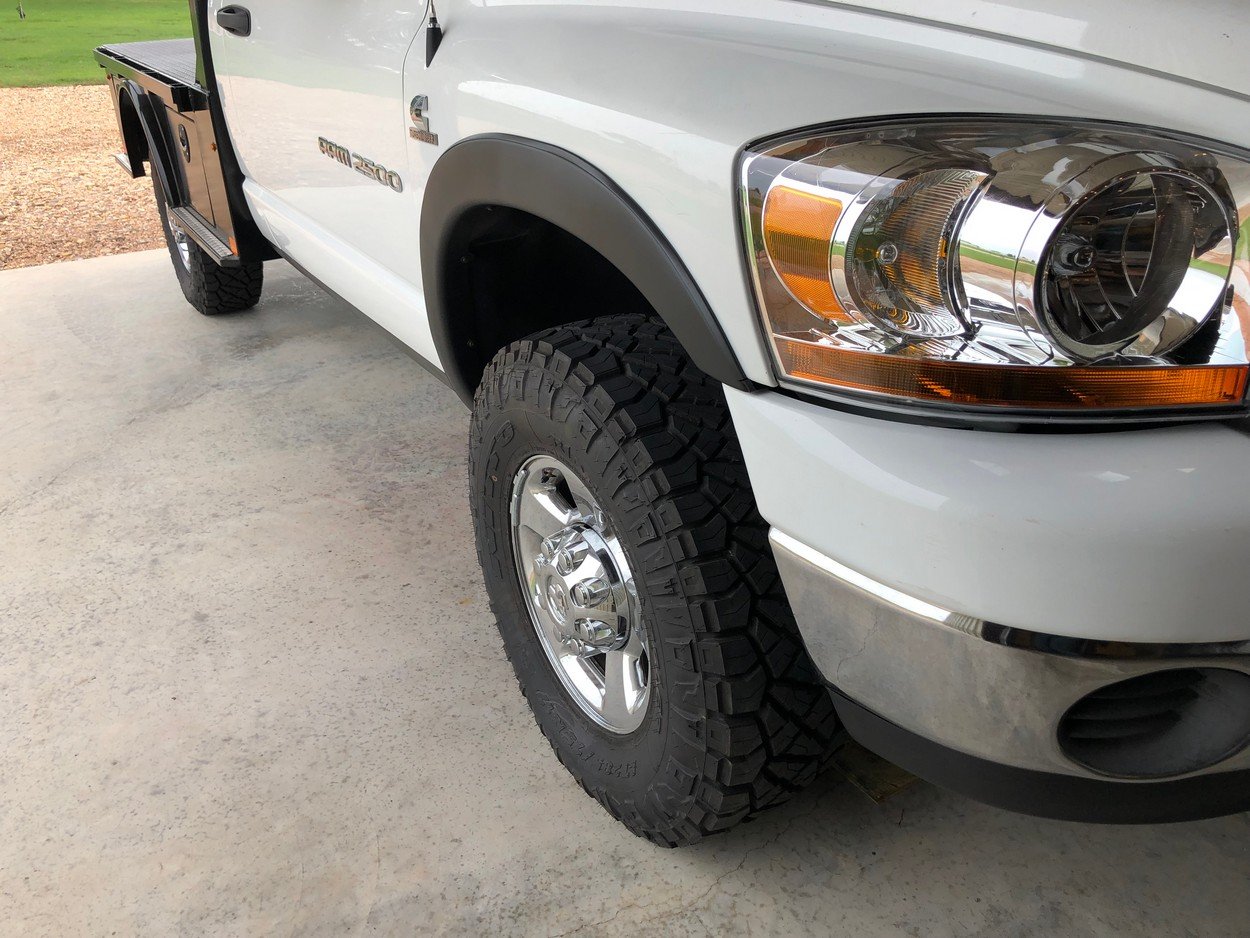
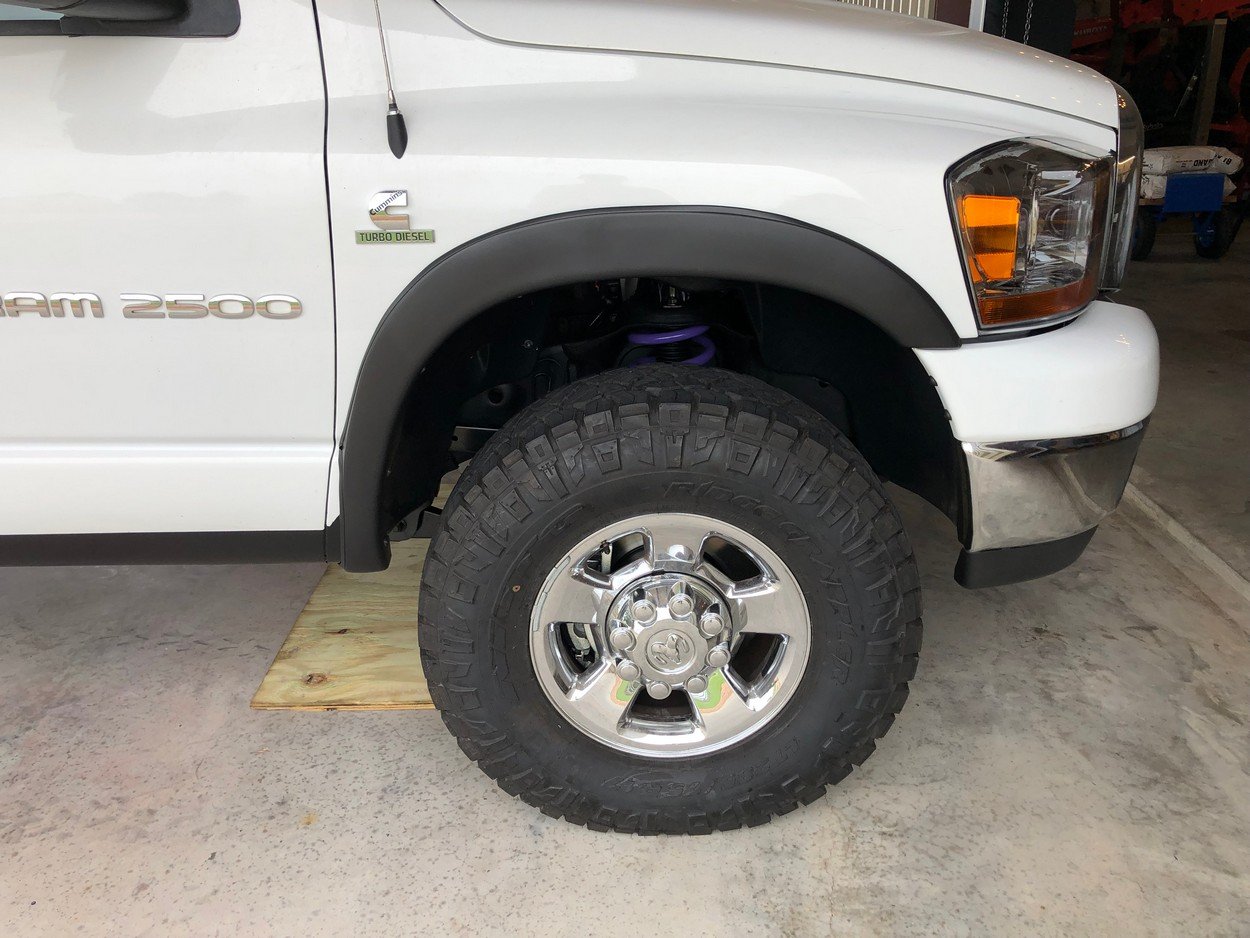
Ready to get front end aligned
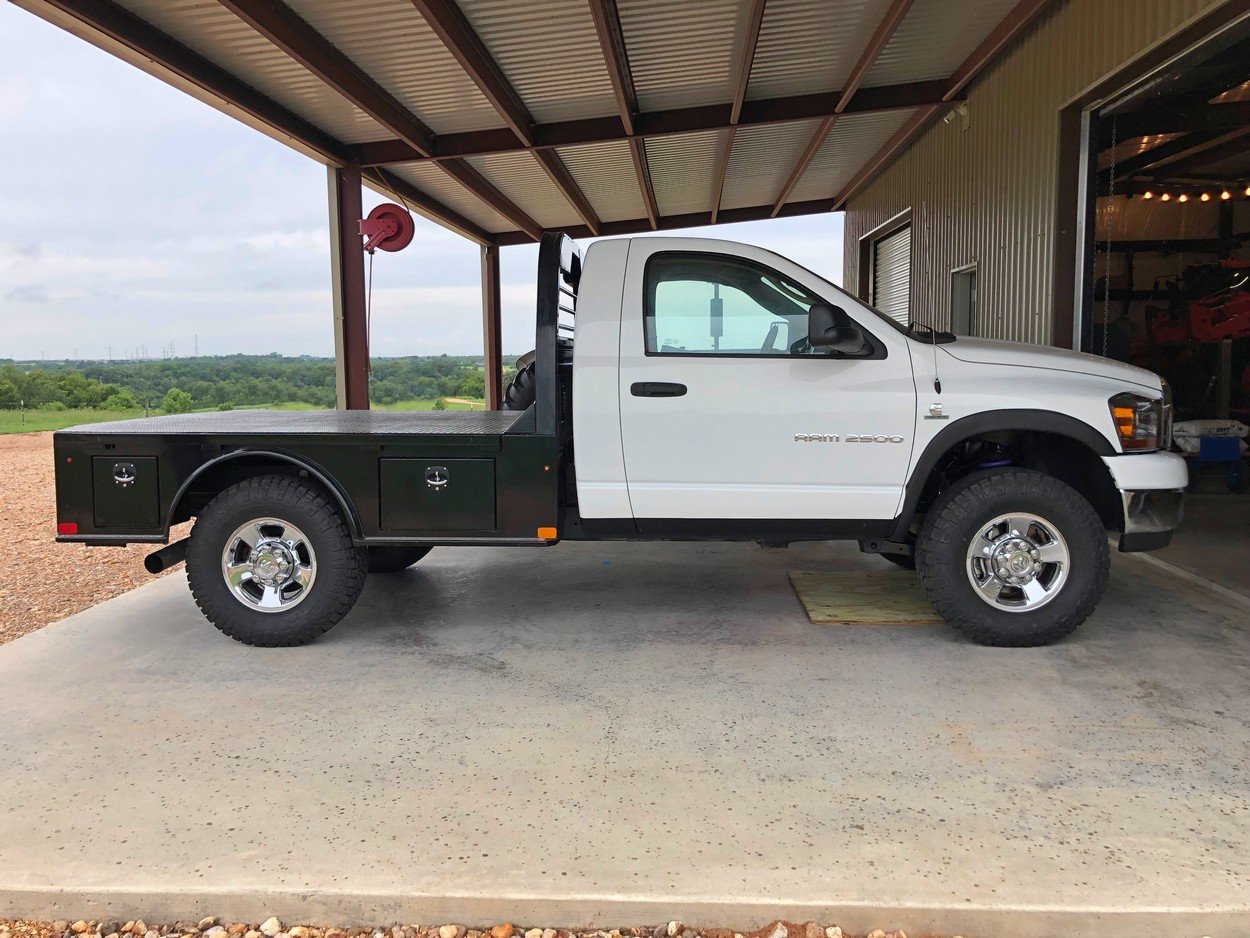
Got the front end aligned on a new Hunter Laser system
Caster set at 4.0 positive on both sides and Toe set at .14
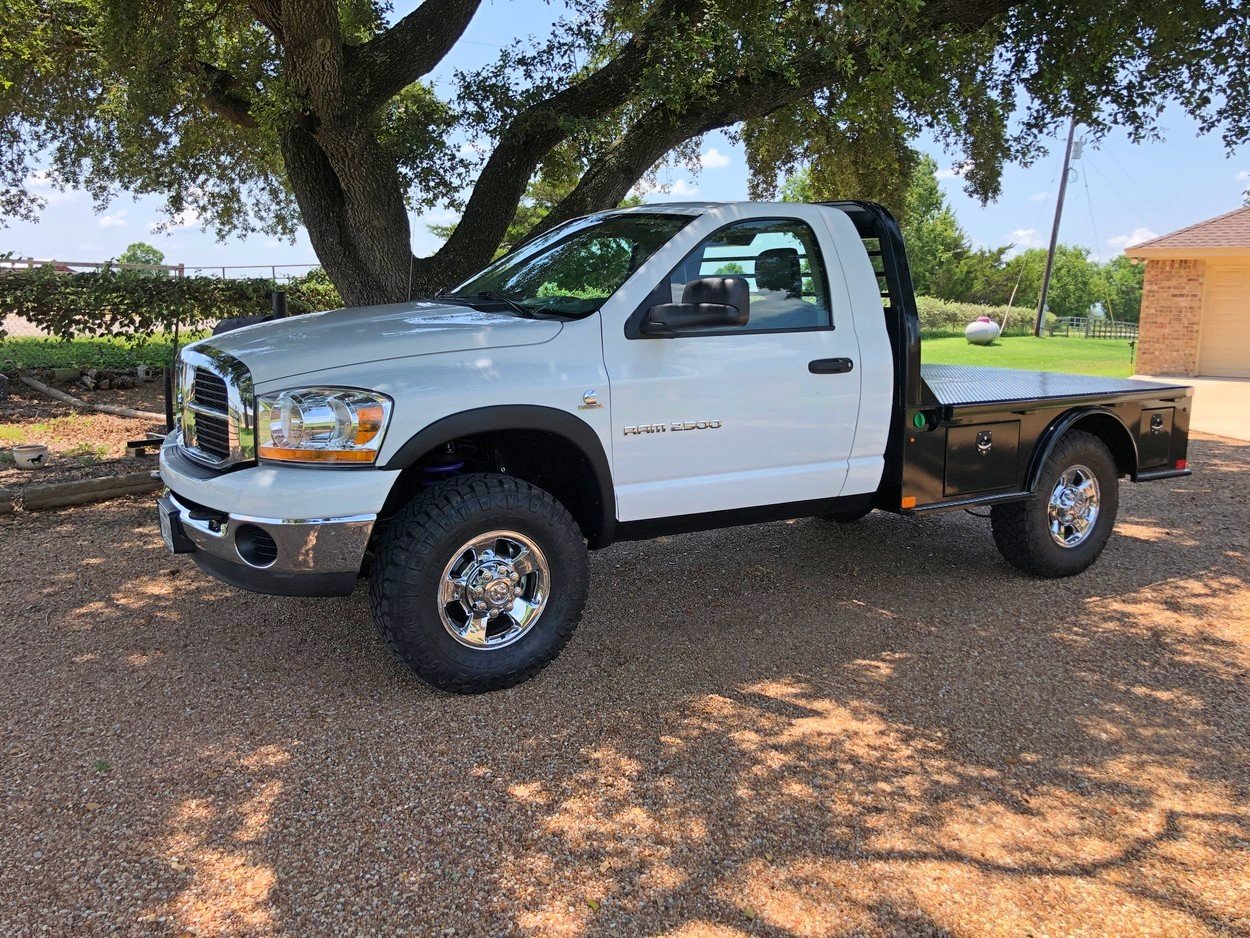
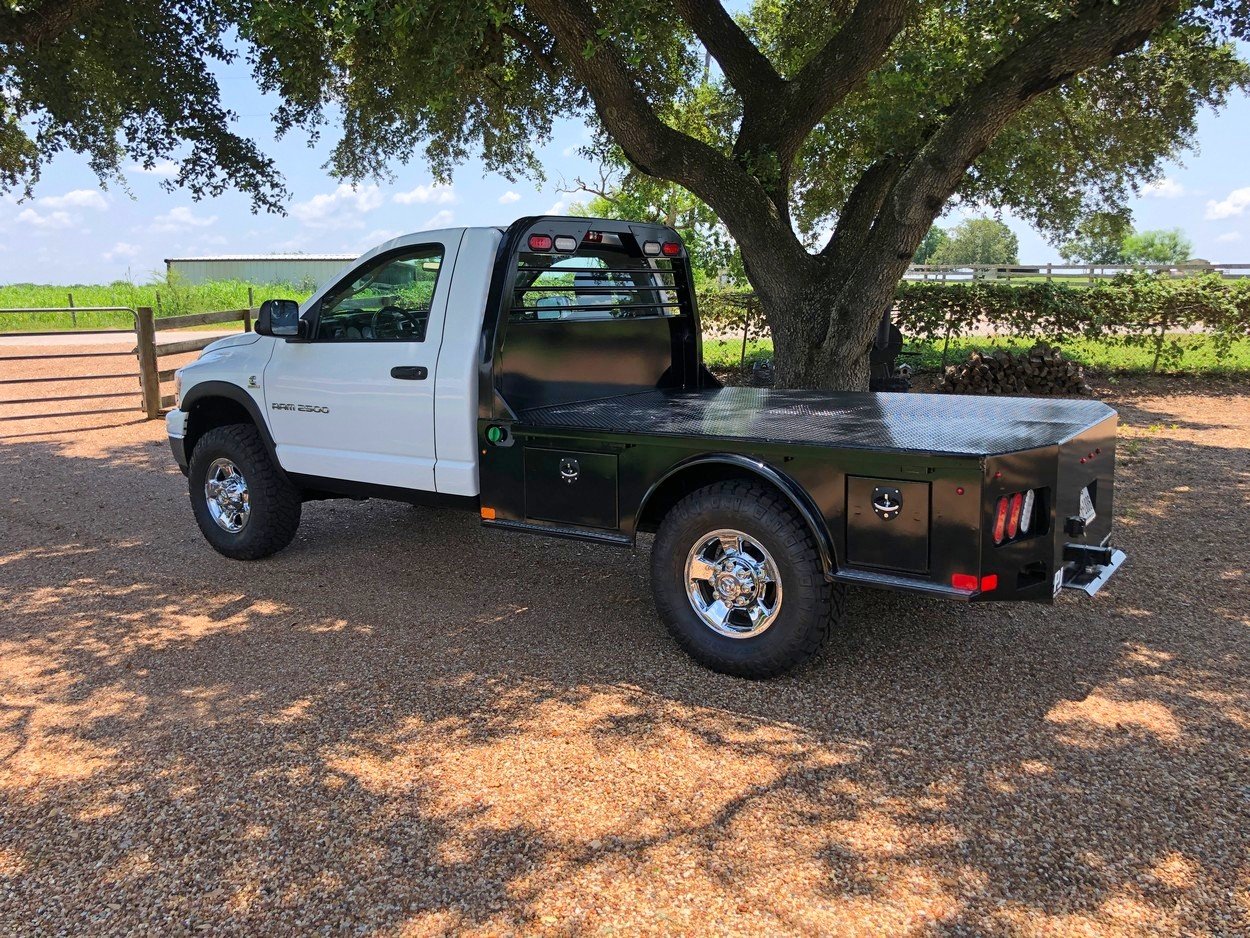
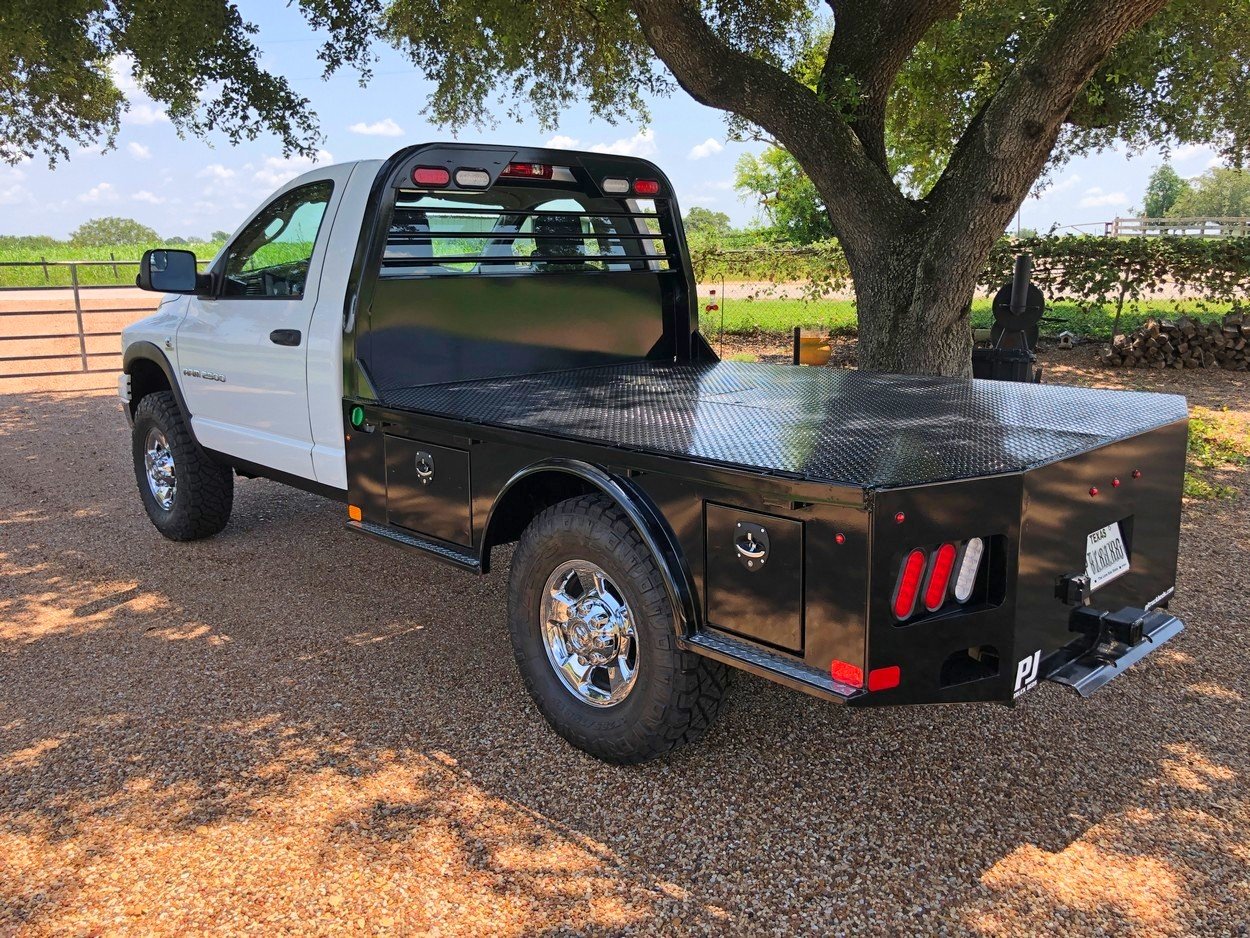
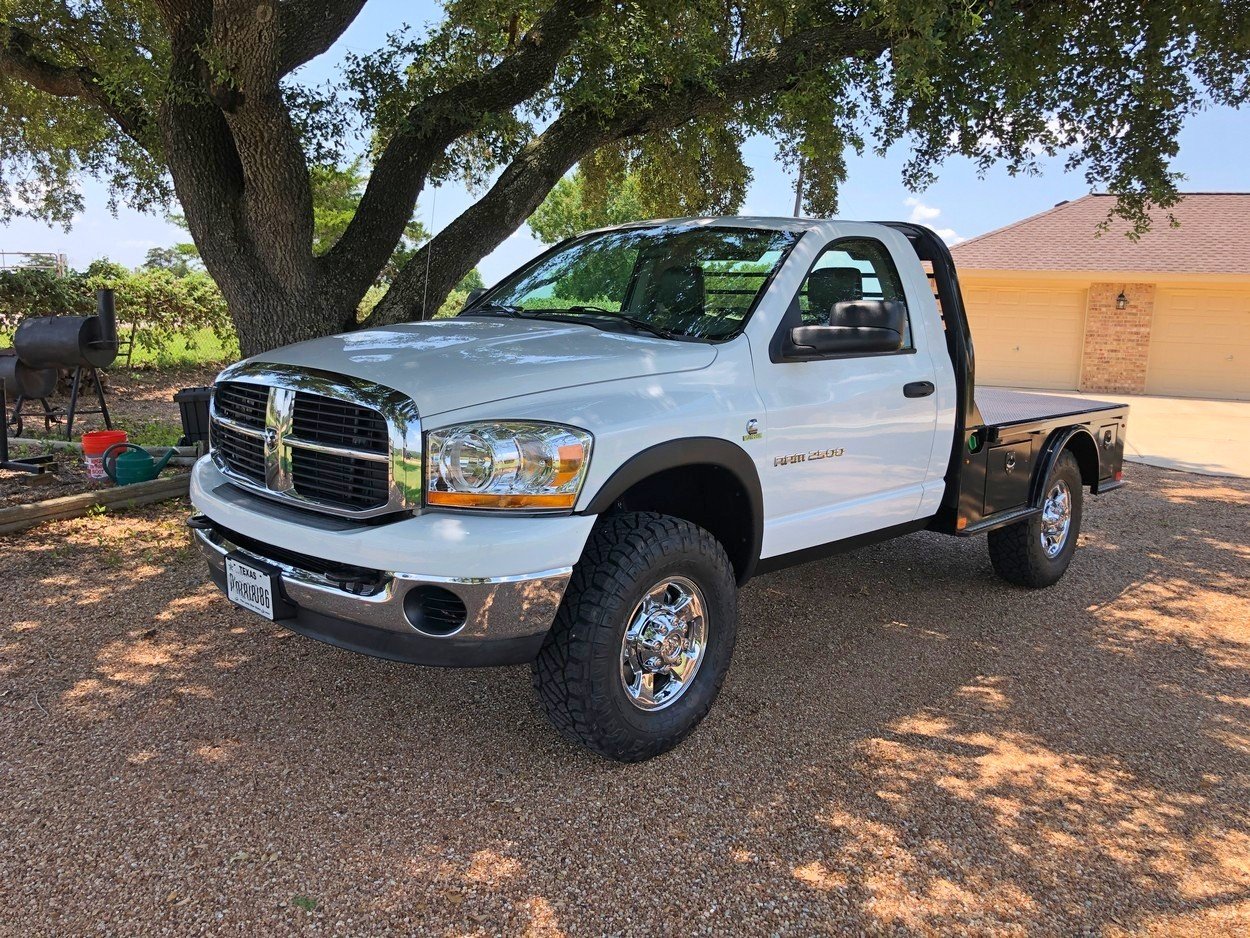
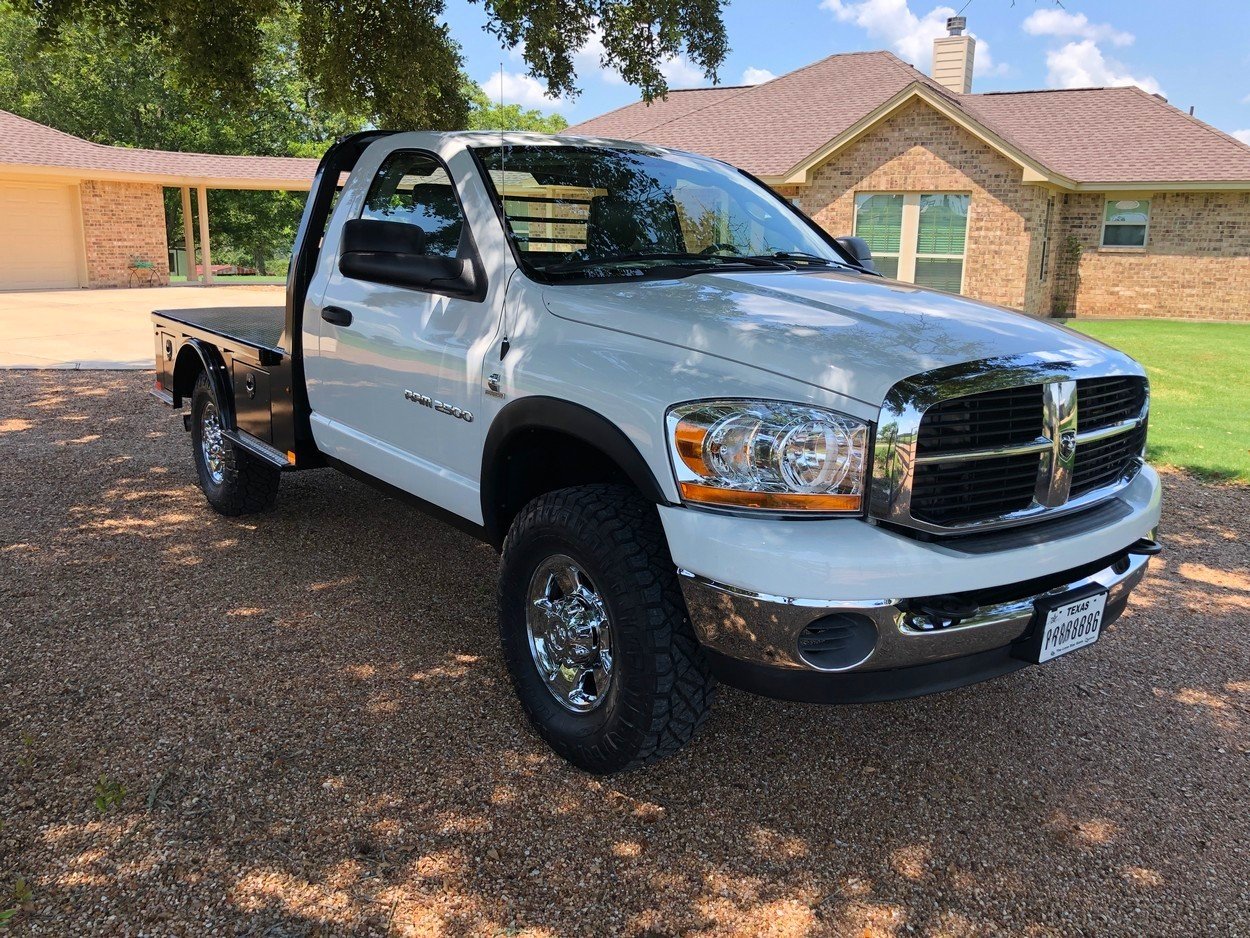
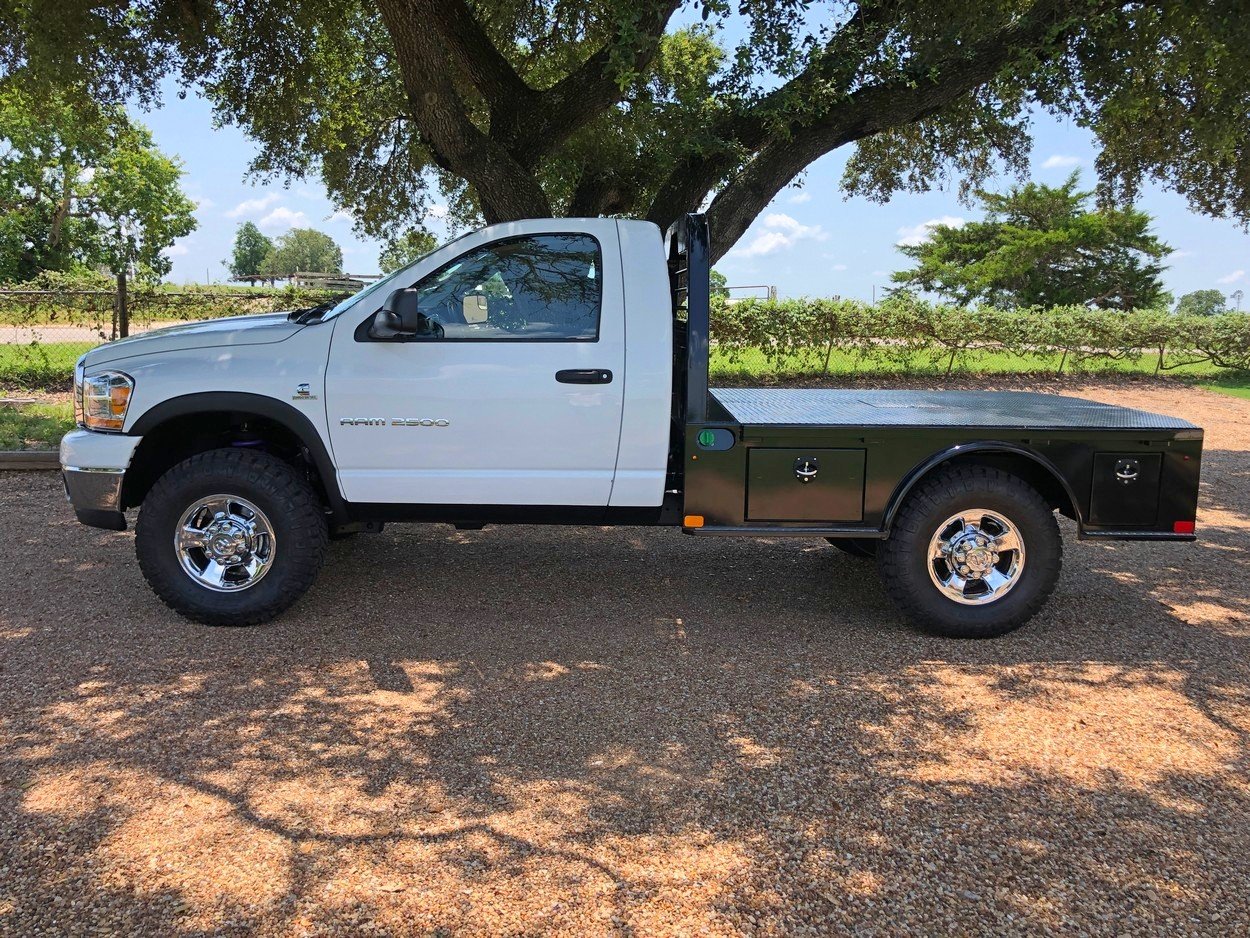
Back on the road!


